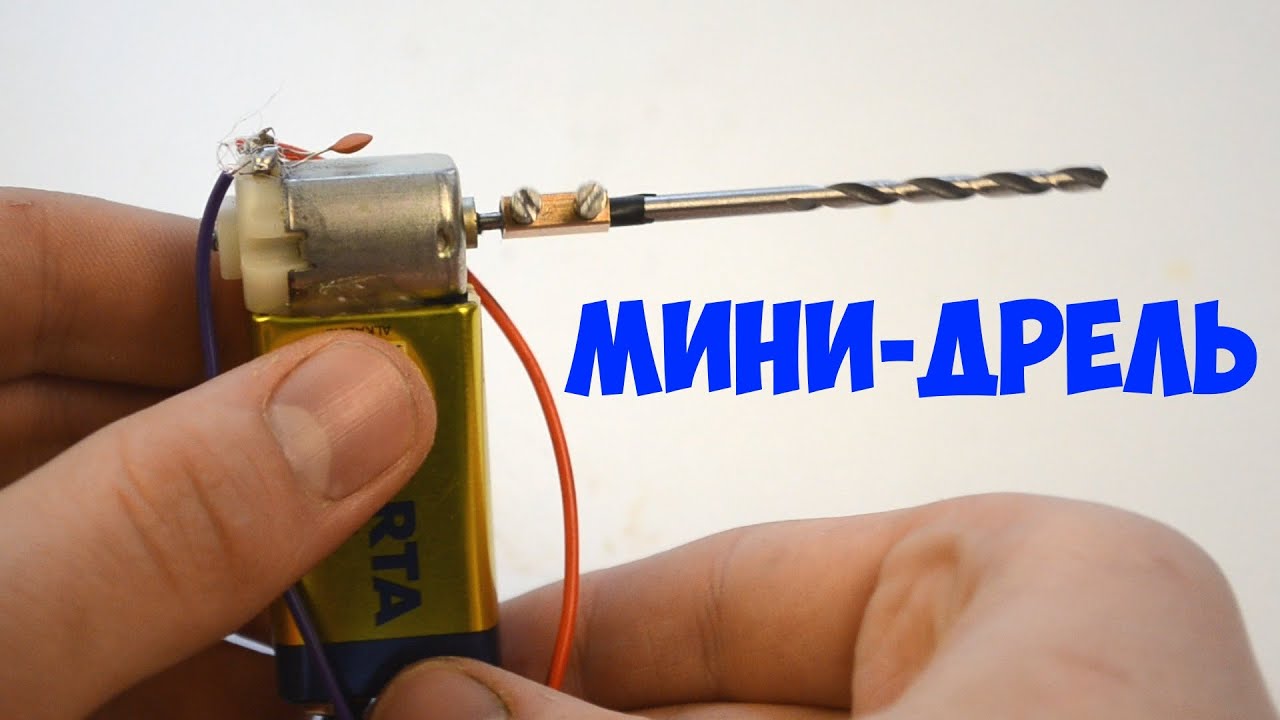
DIY mini drill
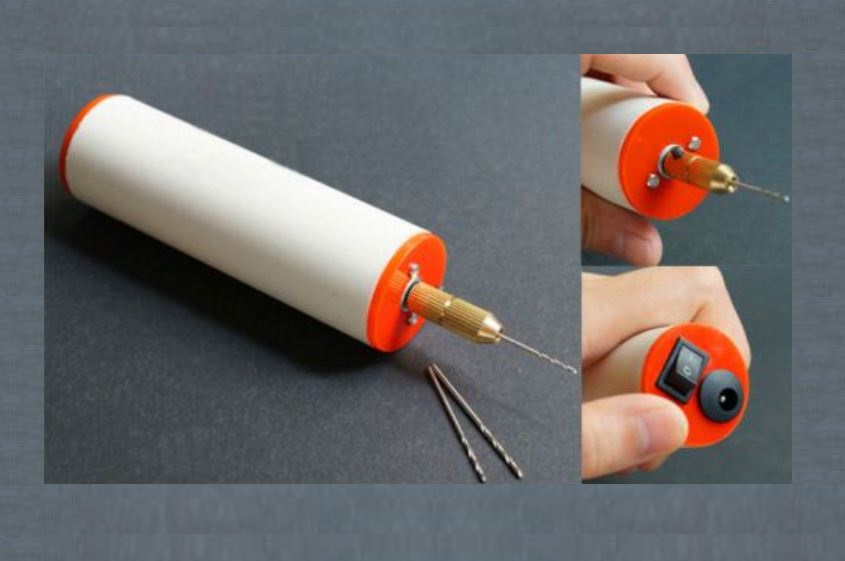
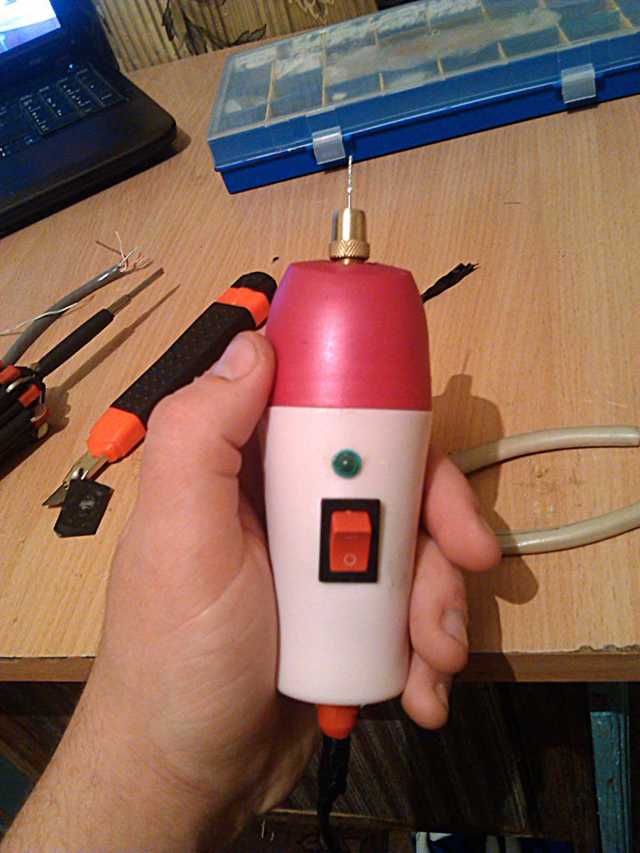
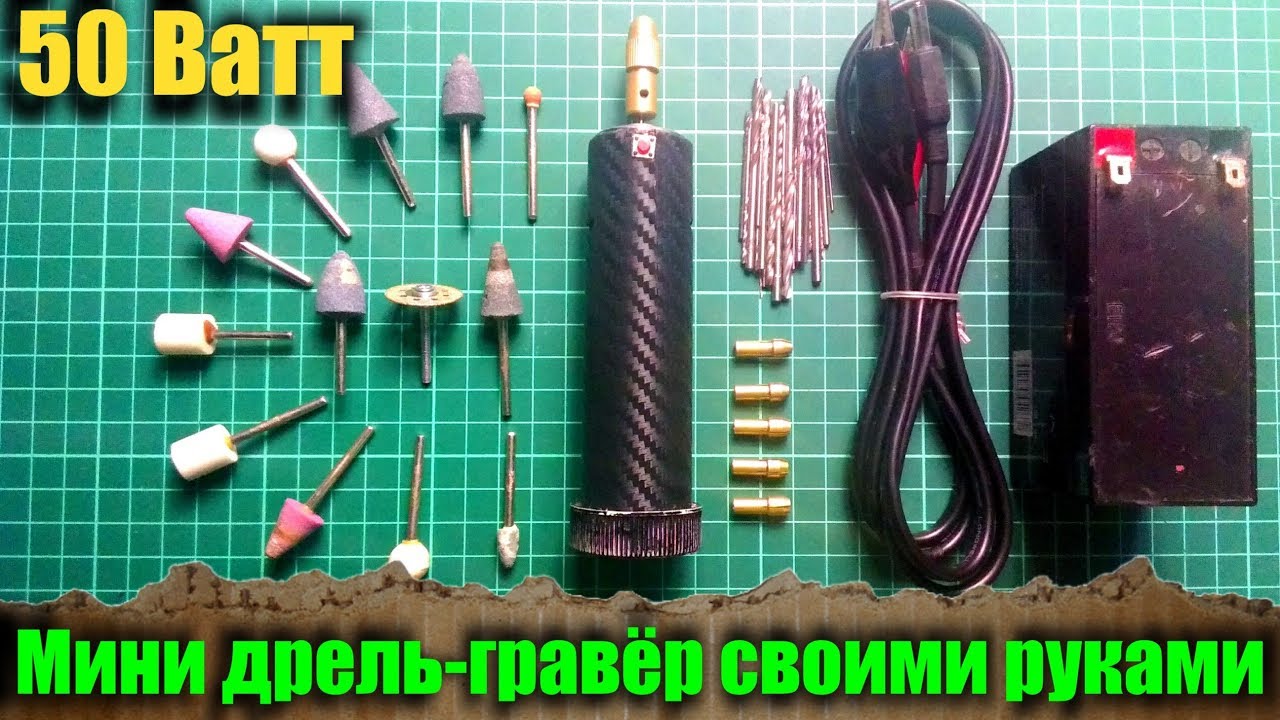
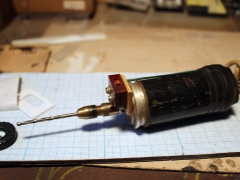
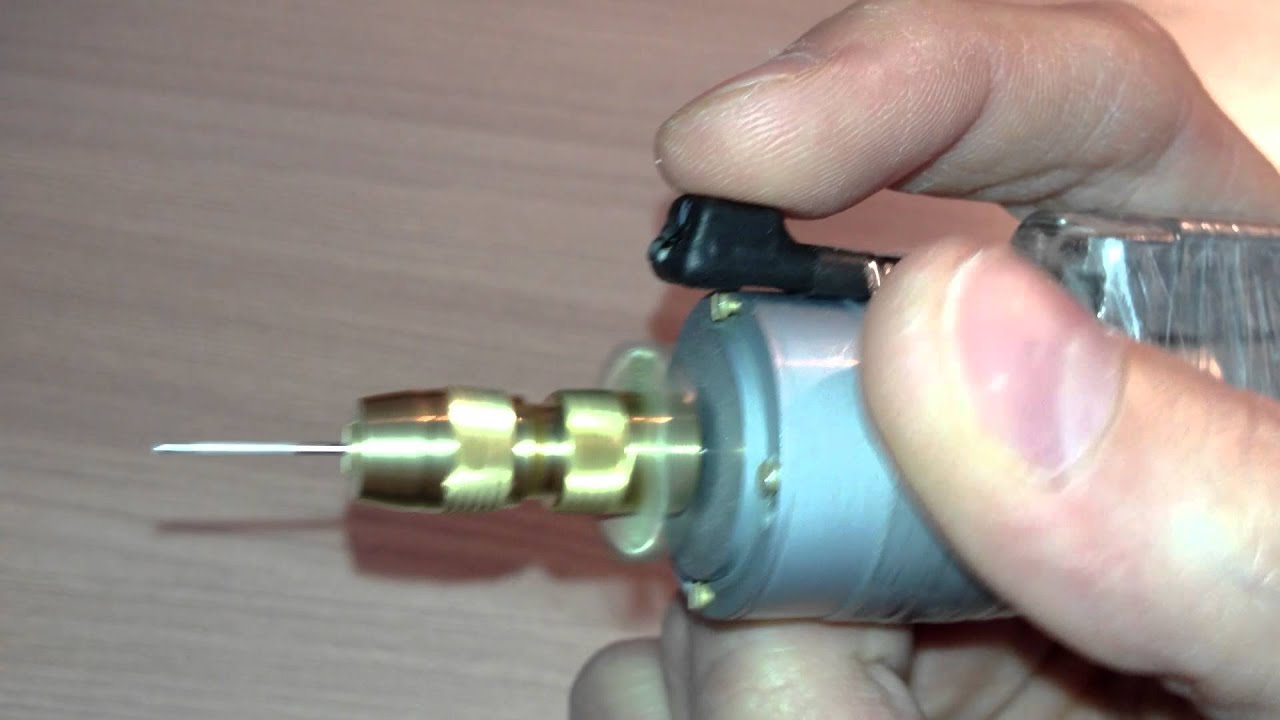
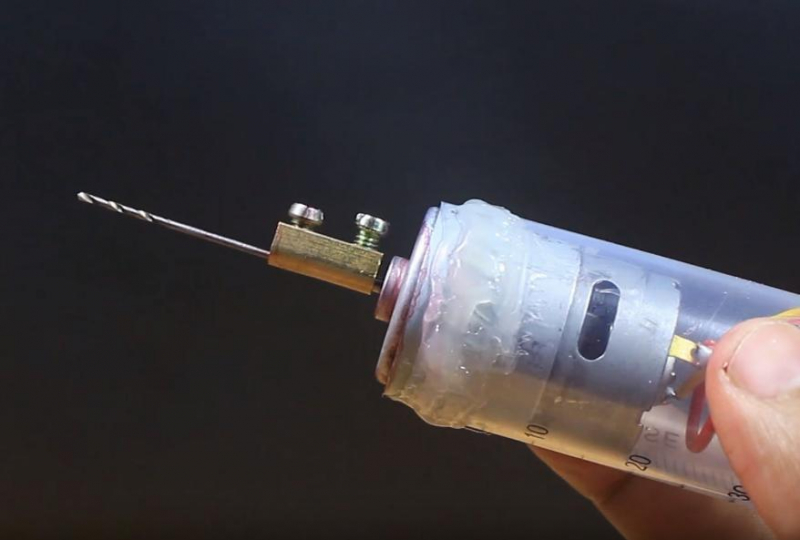
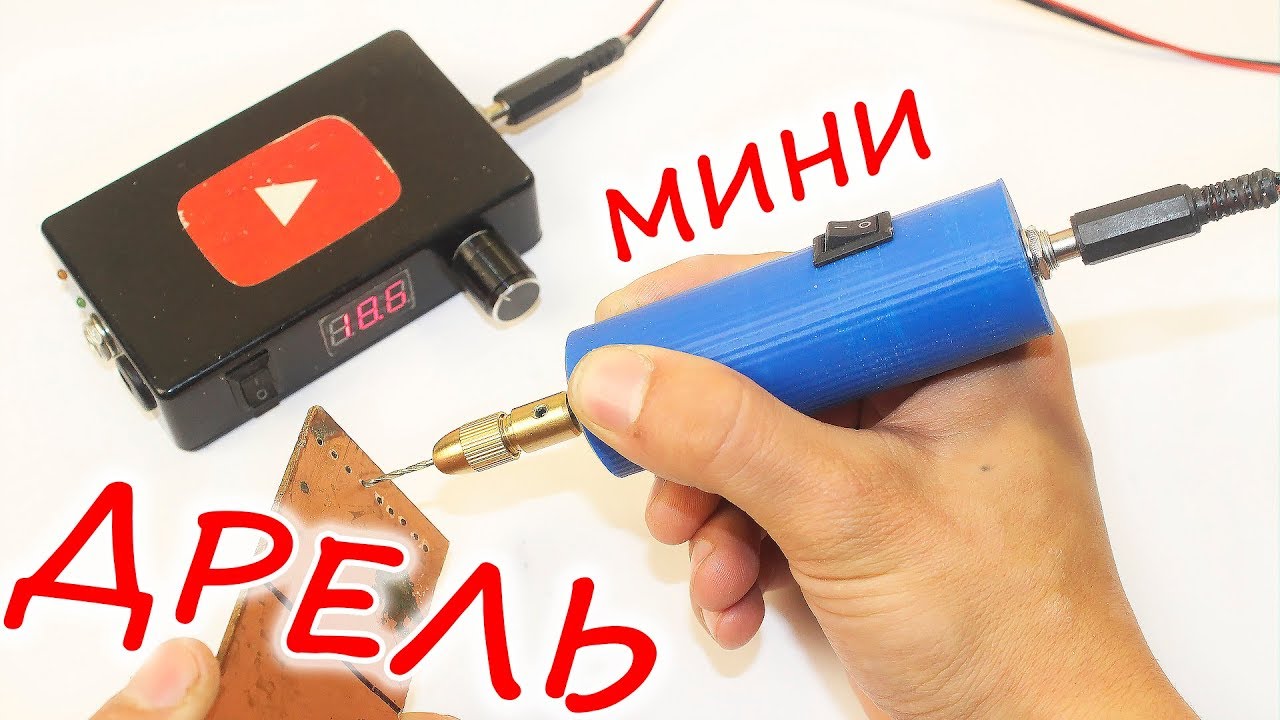
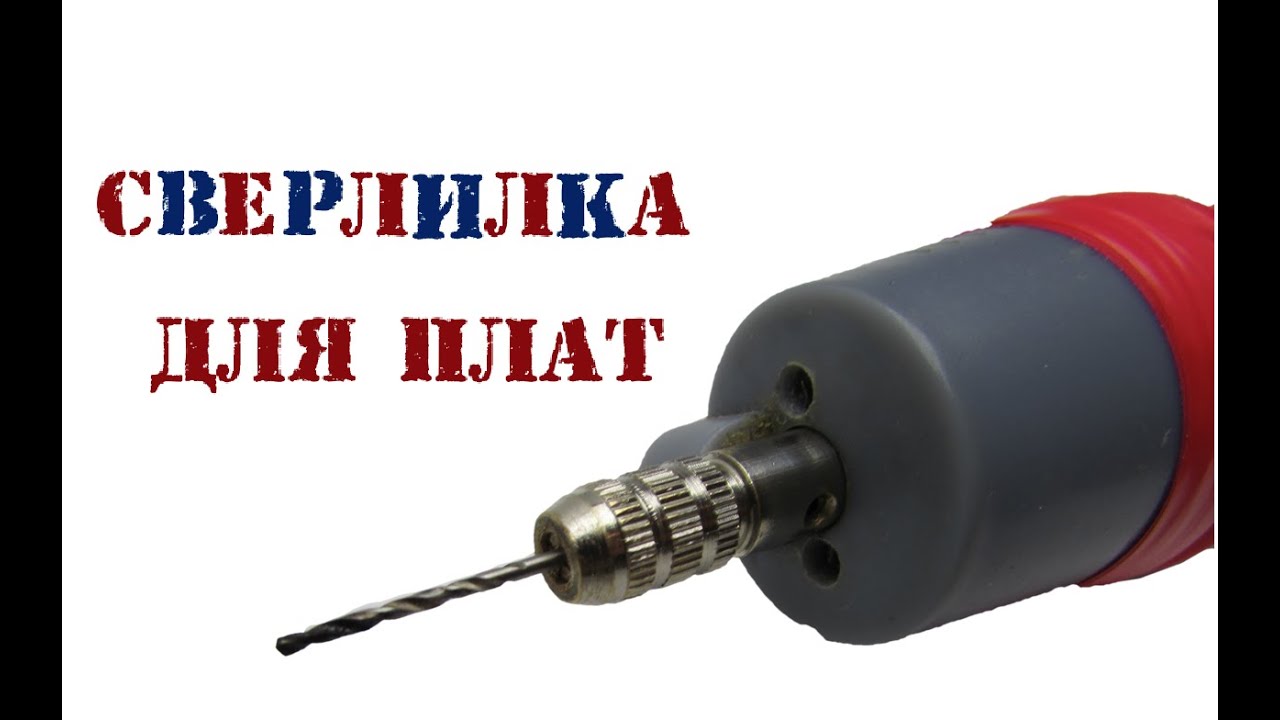
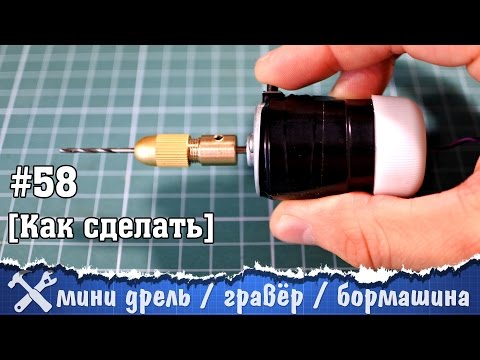
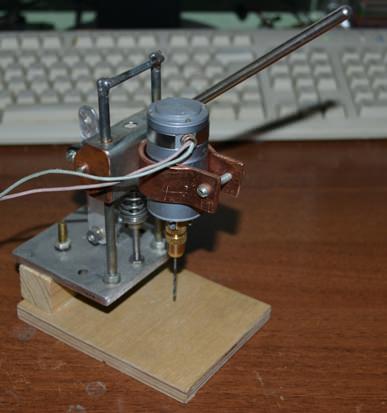
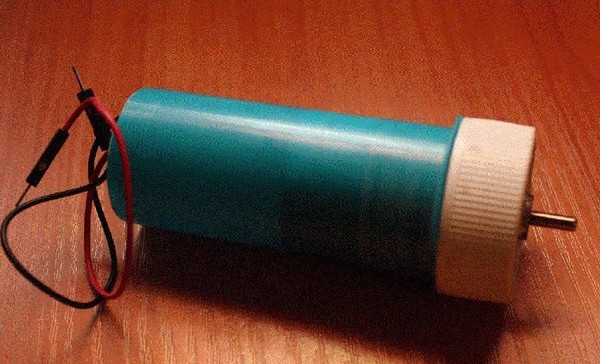
The basis of a homemade mini drill will be an engine from an old hair dryer, and a package (plastic tube) from vitamins will be used as a body.

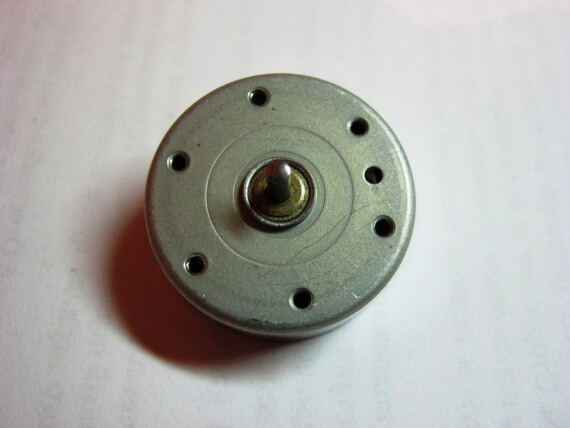
A little about the engine. It is highly undesirable to use an engine from tape recorders, as recommended by some craftsmen. It has clearly insufficient power for comfortable operation of a mini drill. We could not find the exact datasheet for the engine we used from Mabuchi Motor RS-365SD-2275 (apparently out of production), but on some forums there was information that it works at a voltage of 6-20 V (starts from 3 V), and the number of maximum revolutions is according to various sources is 12000-18000 rpm. With such an engine, if desired, it will be possible not only to drill plastic and textolite, but also to grind or cut thin metal.

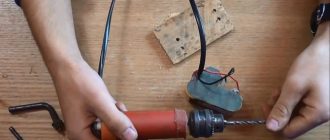
Let's start preparing the case. We cut off the bottom of our tube and prepare a rubber plug for the hole (a leg from an old system fitter is ideal). Next, in this plug, we will make a hole for the power connector and a reverse switch.

On the reverse side, we press in our engine. The landing takes place very tightly and securely; there is no need to additionally fix the engine in the housing.

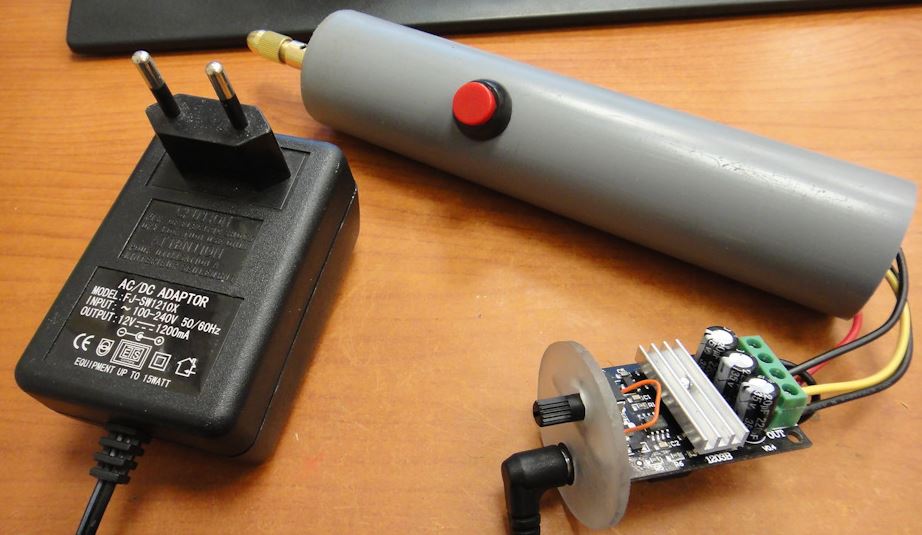
As a mini drill speed regulator circuit, you can use a lot of options. We took the simplest single-transistor circuit.
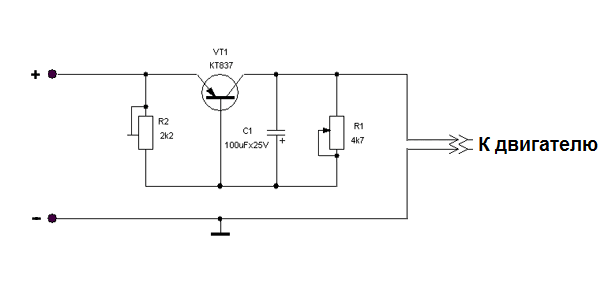
It has a lot of shortcomings, but its only plus is that it is simple, works without preliminary dances with a tambourine and fits easily into our small building. The circuit can be assembled by mounting, and the transistor must be installed on a good radiator. It is better to take the transistor more seriously, for example, KT837, or even better KT825 (or another equally powerful analogue).

When the engine is running, a small air flow is created from the back of the engine. Thanks to this, a radiator with a transistor can be located behind the engine, this will improve its temperature regime.
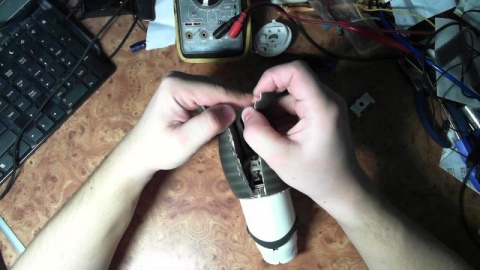
A little about the reverse. Do mini drills need to be reversed? Undoubtedly, this function will be useful, but it is not the main one, and if you wish, you can do without it. To implement the reverse, a simple circuit was used on one six-contact switch.
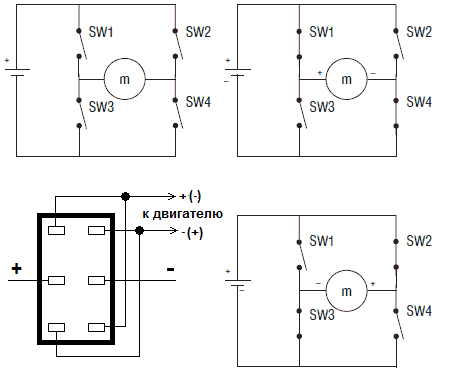
We fix the variable resistor of the speed regulator, install the rubber plug with the power connector and the reverse switch.

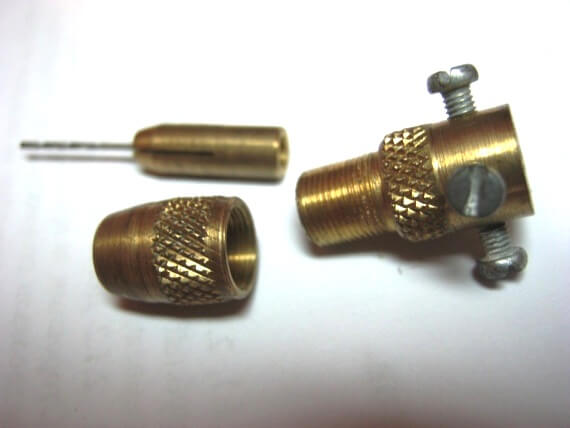
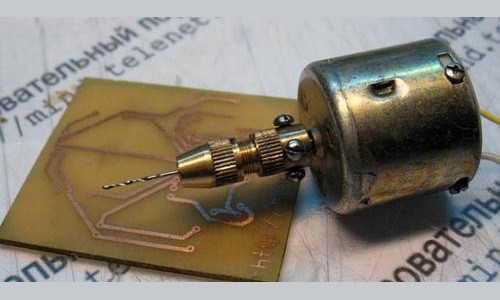
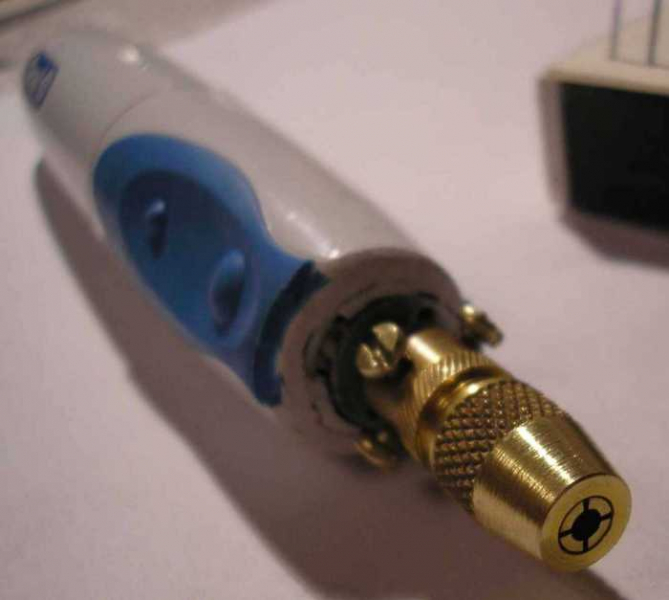
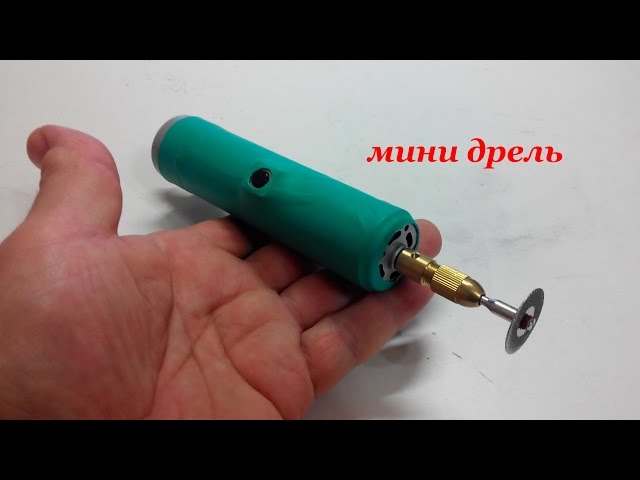
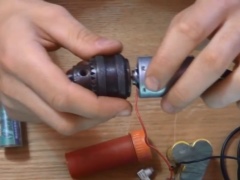
It remains to install the collet chuck and the mini drill with your own hands is ready.

To power such a homemade mini drill, you can take a power supply with a voltage of 15-18 V and a current of a couple of amperes.


For the first time and for tests, a 15 V unit was selected; 0.4 A.

A mini drill with such a power supply unit works, but the power of the unit under heavy load is a little lacking. Perhaps in the future it will be powered from a small power supply laptop.


Well, and the final video demonstration of the work of a homemade mini drill.
comments powered by HyperComments
Alternative options
A mini drill in a ballpoint pen body is a model that does not require large assembly costs. For construction you will need:
ball pen;
- miniature drill with the required diameter;
- hot glue;
- strong pin-shaped stick along the diameter of the hole in the pen body. At the end of the pin there should be a cross, crossbar or "drum", which will ensure the rotation of the stick in the body.
It is desirable that the body be made of metal or durable plastic, as it will have to load when rotating the stick-pin inside the structure.
In order to make a dremmel, all elements are removed from the body and instead of a rod, a drill is fixed to the "writing" end.This is done so that part of the drill goes into the body and is fixed with glue on a pin, which is inserted into the body from the bottom side until the rotary part stops. For greater reliability, the drum can be fixed to the body so that only the pin and the drill mounted on it rotate.
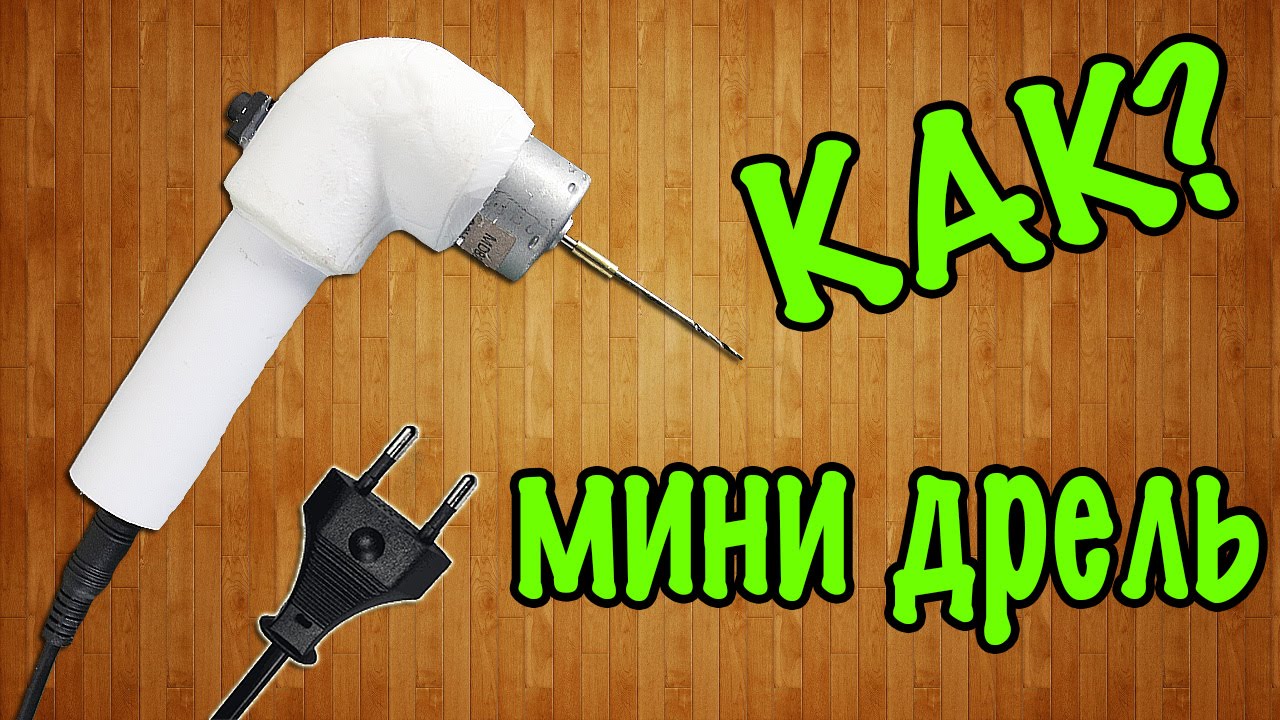
Another original option is an old hair dryer. It will not be difficult for the master to remove the heating element from it, and the power of its motor, at 1500 - 1800 rpm, is enough to perform the main rotational operation.
Finally, in another mini-drill model, which can be made in a home workshop, the body is a cartridge from a conventional incandescent lamp. Its size is just enough to fix the electric motor inside. Hot melt glue or "cold" welding is suitable for this. At the same time, the power supply unit is placed separately, for example, in a tight plastic jar for medicine or even soap bubbles.
The wires or cord are led out through the cover and are fixed on the holder with a soldering iron. Also, a switch can be located on the cover, then the wiring wires are first connected to it.
Thus, using the methods presented above in order to make a mini-drill on their own at home can be either a seasoned master or a beginner with minimal skills in working with wires and electrical equipment.
A compact tool created by your own hands will replace an expensive industrial analogue and, with proper handling, will cope with the tasks assigned to it and will serve for a long time.
Shell options
If, in order to make a clamping device, it will be necessary to go to Aliexpress or another similar portal in search of a collet chuck, everything is much easier with the casing. To create it, rubbish will do, which, as usual, is thrown away.
Let's take a look at several variations.
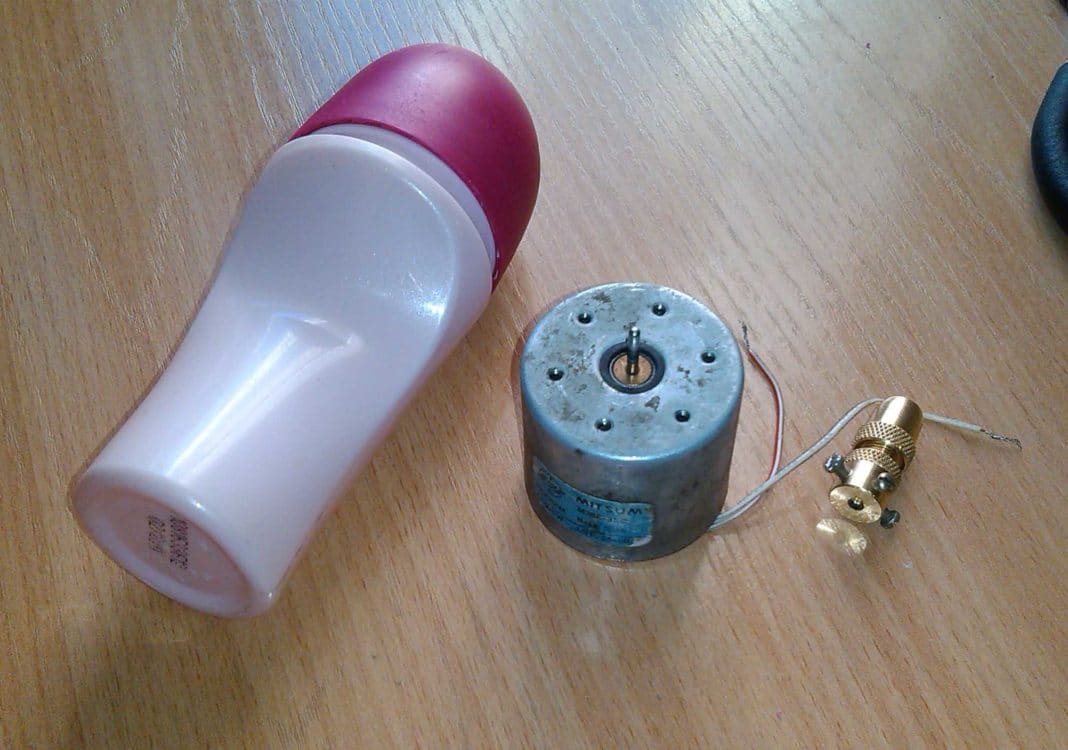
Antiperspirant deodorant bottle. Individual containers made of plastic perfectly fit the dimensions of the motor from an audio tape recorder or a CD player. In a situation where the engine is slightly larger, insert it with a slight stretch. In the lid of the antiperspirant bottle, a hole must be cut to remove the collet. For greater practicality, at the very bottom, you can put a socket for connecting a power source, and on the side there is an on / off button. This makes it possible to keep the drill away from the block.
Tools and materials
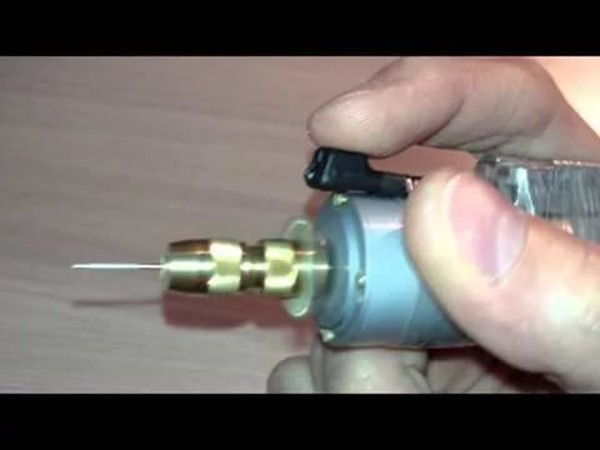
Would need:
- electric cartridge,
- engine,
- plastic containers from soap bubbles,
- sharp knife
- hot melt glue,
- insulating tape,
- soldering device,
- toggle switch.
Preparatory work
To make a case in a lid from a jar from under soap bubbles with a heated soldering iron, it is necessary to do slightly larger hole drill base diameter. The bottom of the container must be removed. The core of the tool is constructed from the motor and the chuck. An engine of suitable power can be taken from old equipment. Before fastening the engine and the cartridge, they are degreased with acetone. Bonded by cold welding or hot glue.

Assembly
The work is carried out in several stages. First, a cartridge with a motor is placed in a plastic container from under soap bubbles.
The wires coming out of the electrical socket must fit into the housing cover.
The cartridge is fixed with hot melt glue, smearing the side voids. Wait for the binder material to dry.
Glue the toggle switch to the cover, connect the power supply wire to it according to the standard scheme. Use an ammeter if necessary. Insulation is done with electrical tape or hot glue. The lid is screwed to the tube, a drill is fixed on its reverse side.
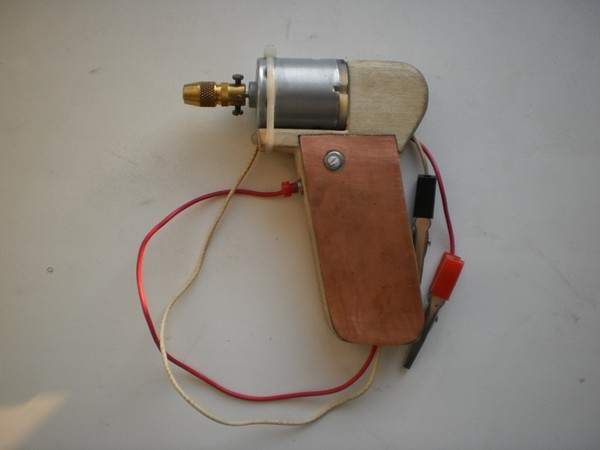
Examples for inspiration
Above, we have provided 3 of the most popular options for homemade micro drills for drilling printed circuit boards.On the forums, we found a few more original ideas that may inspire you to make your own, unique homemade product.
So, to your attention a photo of the idea of spare parts for creating a mini drill with your own hands at home:
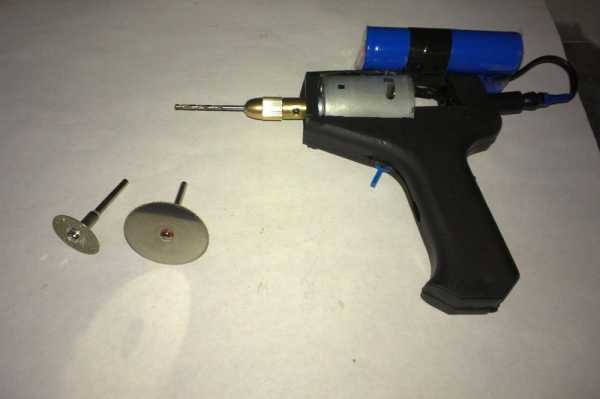
- Glue gun handle for easy operation. Motor taken from an old Canon printer. Power is supplied from a conventional charger.
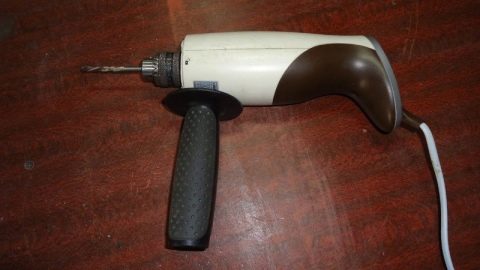
- A second life for a hair dryer. According to the inventor, this homemade product is assembled on the basis of a motor from an ordinary household hair dryer, which means that it does not require special power supplies and has high power. However, do not forget about the danger of mains voltage, therefore, a reliable housing and isolation of all connections are required. Similarly, you can make a device from an old blender, and leave the handle untouched.
- Toothbrush for drilling circuit boards. The next idea is to use your toothbrush as a mini drill. There are already batteries and a motor, you just need to cut off the upper part and install the collet nozzle.
- A plastic bottle can also be successfully used as a housing for a homemade drill, and the collet chuck perfectly replaces a special sleeve, the analogue of which is in the terminal blocks for wires.
- Another option with a toggle switch for easy control. In this case, you will not need to constantly plug the power plug into the outlet to drill holes on the seals. In addition, the comfortable handle will make the drilling process more comfortable.
That's all that I wanted to tell you about how to make a mini drill from a motor with your own hands. As you can see, there is nothing complicated, and there are an infinite number of ideas for assembly. We hope that our photo examples and video instructions were useful and interesting for you. In addition, you can assemble a micro drill on your own using an old DVD drive, a screwdriver, an electric shaver and even a washing machine motor!
Related materials:
- How to charge your battery at home
- How to become a real electrician
- How to make an electrode boiler with your own hands
What to make
On the Internet you can find a lot of video materials on the manufacture of homemade models of mini devices. The most popular mini drill designs represent the following list:
- MD from an electric cartridge.
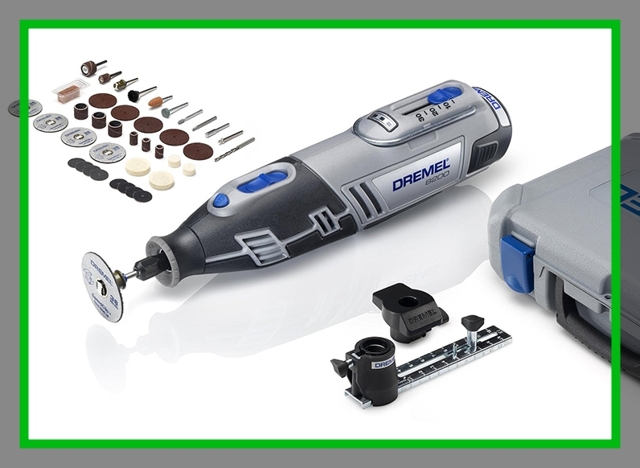
- A complete analogue of the factory "Dremel".
- Toothbrush drill.
- MD from the printer drive.
- An economical option without a case.
- Second life to an old tape recorder.
- Antiperspirant idea.
MD from an electric cartridge
Every home has an electric bulb holder. You can make a case from it. There are standard sockets and housings for minion bulbs. Both are suitable for homemade products. It all depends on the outer diameter of the electric motor.
Manufacturing takes place as follows:
- The core of the hardware is removed.
- Unscrew the back cover.
- A motor is inserted inside the body, the side surface of which is covered with hot melt glue or cold welding.
- Adjust the thickness of the shaft to the size of the collet hole.
- A polymer cover from a plastic container is glued to the front of the case. A hole is preliminarily cut out in the cover for the passage of the motor rod.
- The chuck is attached to the shaft with a locking transverse screw.
- The motor wires are threaded through a hole in the screwed cover, which are then connected to the rectifier output terminals.
- If it is possible to place a microswitch in the back cover of the electric cartridge, then it will be convenient to use a drill.
Note! The rectifier regulator changes the current strength and voltage value, thereby increasing or decreasing the rotation speed of the functional attachment. At the same time, one should not forget that if the permissible current values are exceeded, there is a risk of "burning" the engine
Full analogue of the factory "Dremel"
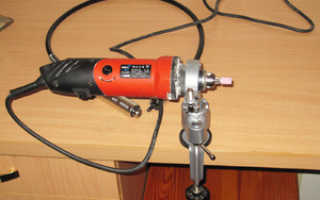
A mini drill is often called a dremel after the name of Dremel, the leading manufacturer of this type of power tool. It is almost impossible to make a homemade product that is completely analogous to the Dremel model.
It all depends on the master in terms of the selection of spare parts. Making DIY in a home workshop can never be compared to the professional production of MD. Although with a certain effort, you can achieve some success in this direction.
Advice. Don't blindly copy a manufacturing model. It is better to purchase a ready-made tool.
Toothbrush drill
Those who have used electric toothbrushes know how quickly brush heads deteriorate and new brushes cannot be found on the market. If one is lying around in the household, then this is a suitable option to make a mini drill.
The complexity of manufacturing consists in removing the vibrator and installing the cartridge on the engine shaft. The device is powered by a battery or an 18650 battery. Such a device will not have a large number of motor shaft revolutions. But the MD will serve well as an engraving tool.
Dynamo from printer drive
An old printer is a great "supplier" of parts for making mini drills. The electric motor and the power supply are removed from the device. If the motor shaft is too thick, it is ground on a sharpener. The engine is turned on and brought to the abrasive. Regularly measuring the diameter, the turned stem is adjusted to the opening of the collet chuck. After completing all the work on installing the case, fixing the cartridge, installing the limit switch, the device is connected to the power supply. After that, it remains to install the desired functional attachment and get to work.
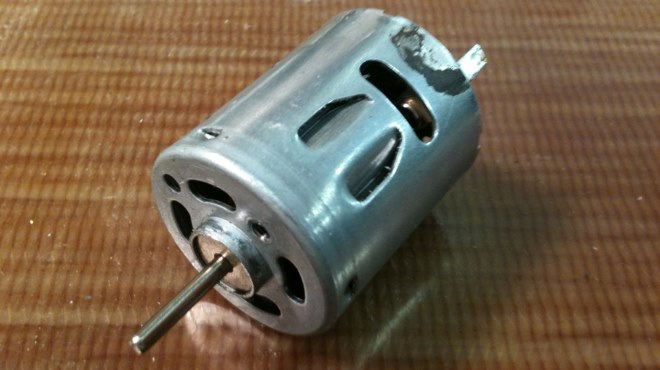 Engine from an old printer
Economical option without housing
In order not to search for a suitable product for the drill body, the engine is wrapped in 2 layers of heat-shrinkable film. The heated coating tightly covers the side surface of the motor, thereby creating reliable insulation of the power tool.
 Mini drill without housing
Second life to an old tape recorder
An old tape recorder or player can be found at a thrifty owner. If the sound reproducing device is made in a stationary form, then a power supply is used, as in the previous case.
The engine from the player is also adapted to rotate the cartridge with a nozzle. The device will be mobile, since powerful finger batteries are placed in the power supply instead of batteries.
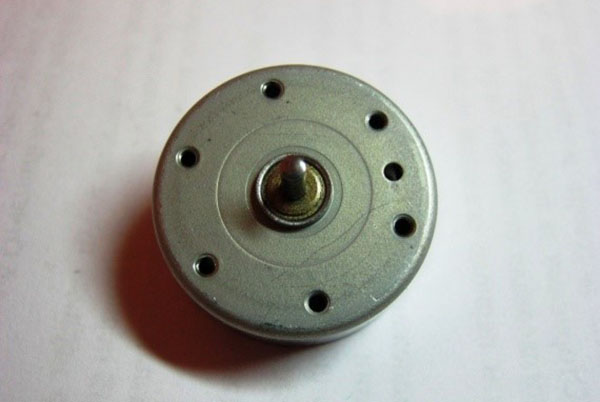 The electric motor from the tape recorder
Antiperspirant idea
The used ball-on deodorant body is quite suitable for making a mini drill. The advantage of this option is the shape of the plastic bottle. It is designed to be comfortable and firm to hold in your hand.
Roll-On Deodorant Body
Additional Information. When manufacturing the MD case, you should try to install the power button in the reach of the employee's thumb. This will create an additional convenient option for controlling the device.
Scope of application
The mini drill is widely used for various tasks.
- Making holes in plastic, circuit boards for microcircuits and other objects. Of course, the device will not be able to drill through thick iron, but to make a hole in a sheet up to one millimeter thick, there will be enough strength.
- Screwing and unscrewing small hat and thread screws. Such fasteners come across mainly on automatic machines (switches), electrical wiring boards, in office equipment, as well as in small-sized low-power electric motors.
- Equipped with special attachments, it can be used as an engraver or grinder; for this, spherical attachments with a rough working plane are placed in its chuck. During rotation, the nozzle processes the part or applies the required pattern.
These are the main areas where mini-drill is practiced, but, in addition to them, it has found extensive use in everyday life, for example, for processing (cleaning) two glued objects made of plastic or glass. When preparing the joints, both products are cleaned, after which the surfaces are adjusted so that the pieces are closely adjacent to each other.
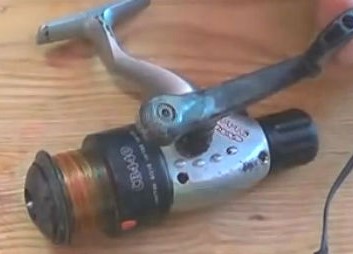
Method number 2 - Reel in motion!
Another original way to make a mini drill at home is using a fishing rod reel. In this case, the assembly technology is quite simple, but the principle of operation itself will already be based on mechanical rotation, you get a hand-held mini-drill
To make a device with your own hands, you will need:
- spinning reel;
- a chuck from an old drill or a collet of a suitable size;
- hot glue or cold welding;
- drill.
The assembly process is quite simple and consists of only two stages. The first step is to dismantle the spool with line and cut off the remaining excess axle.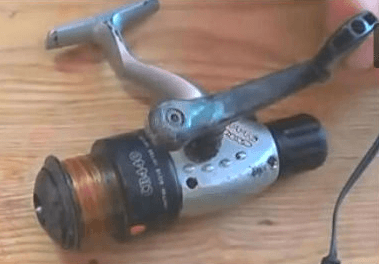
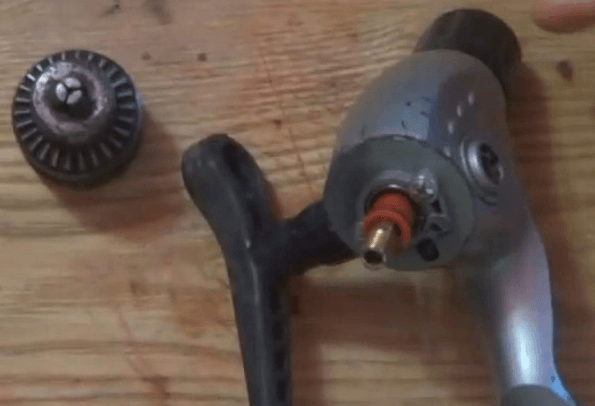 After that, the chuck is glued onto the remaining stem. You can do without a chuck and install a collet instead.
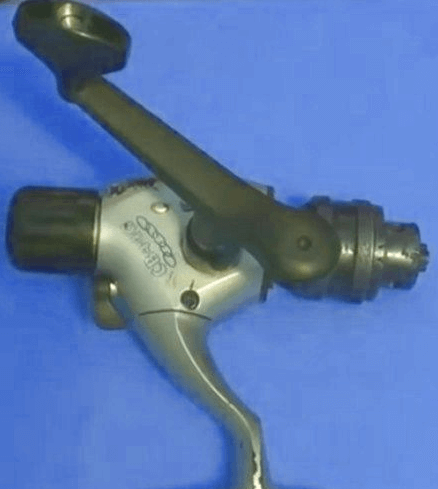 When the glue hardens, you can check the finished mini drill. You can see all the details of the assembly in this video example:
How to make a micro drill from a coil yourself
Simple mini drills
Many people who do not want to shell out a significant amount of money for a finished tool often ask how to make a mini drill with their own hands.
You can make a small mechanical drill yourself using an old fishing rod reel.
To do this, remove the spool from the reel (the core in the form of a cylinder on which the fishing line is wound) and cut the protruding metal axis to the desired size. Then you need to glue the old chuck from a conventional drill or collet to the protruding rod.
Video:
The collet is a device for clamping round parts in a small chuck, in this case you will need to clamp a drill.
You can attach the collet to the spool axis using cold welding or hot melt glue. After the glue or welding is dry, you can insert a small drill into the collet and start working.
By twisting the handle of the spool, the mechanism rotates the collet with the drill, thereby making holes in the desired material.
It should be borne in mind that you need to hold the resulting mini-drill strictly perpendicular to the surface to be drilled, otherwise there is a risk of breaking the drill. Strong pressure on the tool is also not recommended.
You can still make a mini-drill with your own hands using an old motor from a CD player.
To start the engine, you need either a suitable power supply or a battery (or a few smaller ones). The collet must be attached to the motor shaft using cold welding or glue.
It should be noted that the diameter of the motor shaft is usually 1.5 millimeters. Sometimes there are motors with a shaft diameter of 2.3 mm.
This dimension must be taken into account when choosing a collet, since the shaft must fit into the hole tightly, without gaps. Otherwise, there will be vibrations during drilling, which sooner or later will disable the mechanism.
After the collet is put on the shaft, you need to attach the wires to the motor, which will go to the voltage source. It is best to solder the wires to improve the strength of the attachment.
Then you can insert the drill into the collet and start working. The motor may start spinning in the opposite direction (not the one that is needed), in this case it is necessary to swap the wires, otherwise there will be no drilling.
By the same principle, you can assemble a mini-drill with your own hands using motors from other electrical appliances.
When using a motor from a small washing machine, the mini-drill will turn out to be more powerful, and it will be possible to insert drills of a larger diameter into it.
Another good option would be a motor from an electric razor, a faulty screwdriver, a printer or a fan.
The mini-drill can be left as it is, and it will cope with its functions, or you can put the motor and collet in a plastic case, so it will be much more convenient to hold the tool.
From a ballpoint pen
To make a drilling device from a ballpoint pen, no electrical elements are needed, no power tool skills are required.
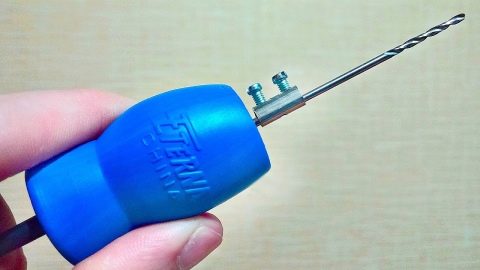
You need a ballpoint pen with an automatic mechanism, hot melt glue, a stick with jumpers at the end, with which the drill rotates, a drill of the required standard size. The main load falls on the case, so you need to choose samples from metal or dense plastic.

Build process
The ballpoint pen is completely disassembled. A drill is inserted into the lower part of the body, from which the rod usually comes out. The shank is fixed in the hole on the stick. To the whole working structure of the tool has become a single mechanism, the parts are fixed to the inner walls of the case with hot melt glue. The drilling process will be carried out by mechanical action on the stick, which serves as the handle of the device.
Clamping mechanism
The next important component of the device is the chuck used to hold the drill. To make a clamping device, you need to purchase a collet in advance. It is a clamping device capable of firmly holding cylindrical objects. After fixing the drill in the collet chuck and clamping it tightly on the motor axis, you just need to connect a power device or batteries to the motor.
A similar simplified version of the mini-drill is already capable of drilling holes.
If you have no desire to further burden yourself, and you will not use the tool very often, you can leave it as it is.
However, holding the "naked" motor in your hands is uncomfortable, and the mini-drill looks unattractive. To get started to the finish line, you need a shell and separate control components.
Manufacturing process
When you have prepared the body and core, you can start directly assembling the drill yourself:
- Place a cartridge with a motor connected to each other in a jar. This must be done so that the wires that protrude from the cartridge are then placed in the lid of the jar.
- When the cartridge is completely in the can, fix it. To do this, fill the voids on the sides with hot melt glue, and wait until it fully sets.
- Fasten the switch to the cover and connect the power wires to it. It can also be glued.
- We connect all the wires to the switch, the connection scheme is used as standard. You can use an ammeter for accuracy.
- After connecting the wires, they must be insulated with electrical tape or hot glue.
- We fasten the lid to the jar and attach the drill on the other side.
A ready-made mini-drill is good in that it can work both on batteries and on electric power. We have considered the option of assembling a universal model.
Naturally, without the skills of working with electricity, it will be extremely difficult to assemble such a drill with your own hands. Below we suggest that you consider the options for assembling simpler drills for small household needs.
How to assemble a drill on the basis of the handle body with your own hands

To make it you will need the following materials: automatic ballpoint pen; drill with the required diameter; hot glue; sturdy stick with handles at the end with which you can rotate it.
Pay special attention to the choice of a handle for making a future drill, and specifically, its body, since during operation the main load will fall on the body. The requirements for the pen body are as follows:
The requirements for the pen body are as follows:
- it must be as strong as possible to withstand the load;
- the best option is a case based on high-quality metals;
- if there is no handle with a metal body, choose a handle based on thick plastic.
The build process looks like this:
- Disassemble the handle until only one body remains of it.
- The lower part of the case, from where the writing rod usually sticks out, needs to be unscrewed.
- Instead of this part, insert the drill into the body in such a way that its working part sticks out from under the bottom part, and the second part is inserted into the hole that is in the stick.
- The stick is inserted into the body at the same time as the drill.
- In order for the structure of the drill to be integral, it is fixed to the wall of the case with hot melt glue.
- When you turn the mechanism using the special handles, the drill will rotate, providing the desired work by pressing on the handle body.
How to make a drill for boards:
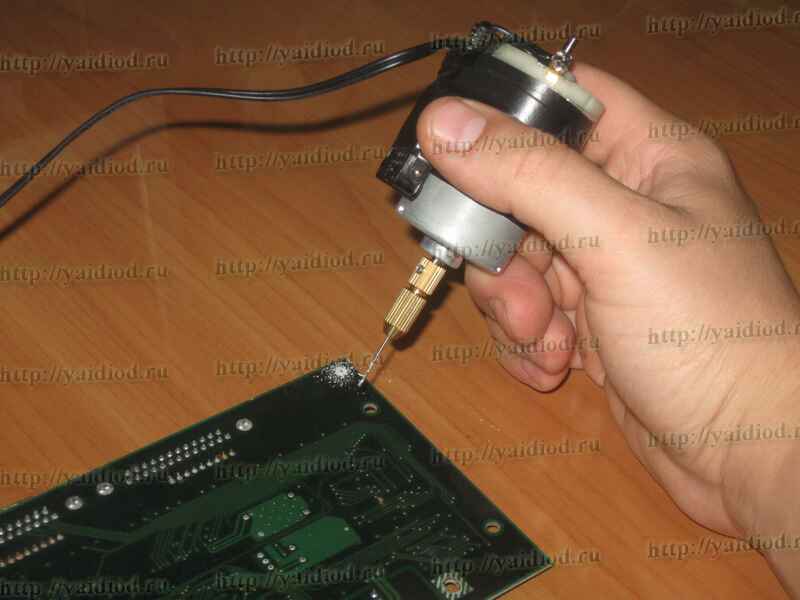
Now, making a drill for drilling printed circuit boards has become much easier. It is enough to find or buy for a penny a used inkjet printer with a power supply, as well as buy a special collet cartridge for drills 0.7 - 1.5 mm, which is widely sold in all kinds of online auctions and online stores. These collet chucks can be sold in all kinds of construction and tool stores, auto markets, "iron" markets. The price is about 2 USD per piece (maybe cheaper).
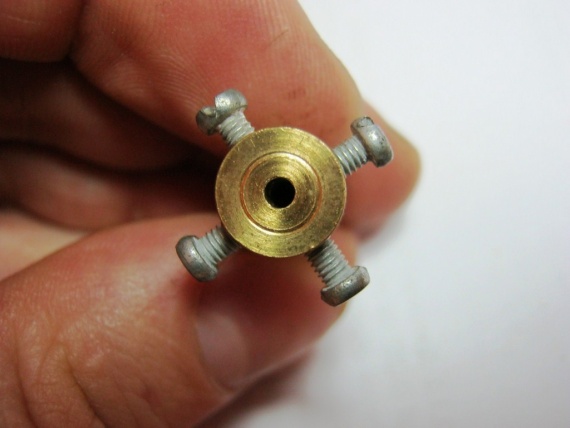
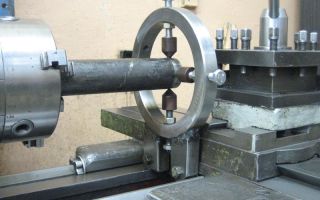
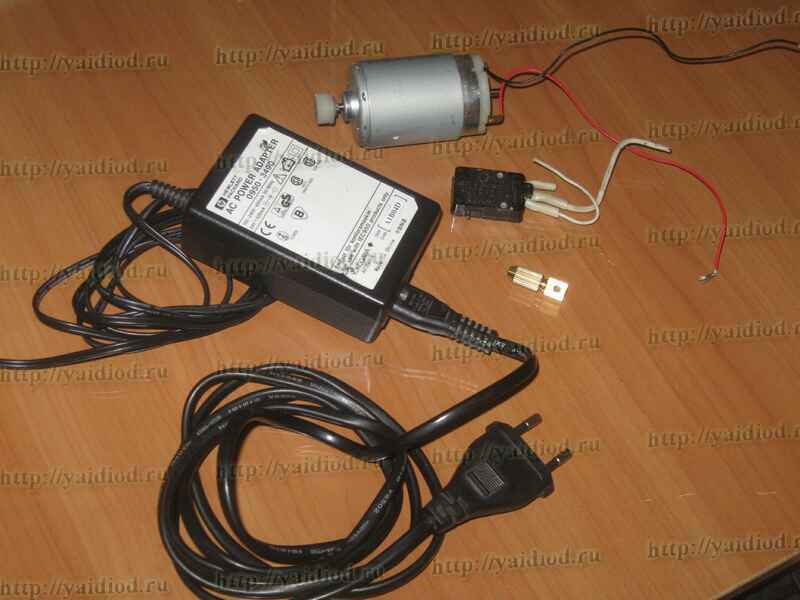
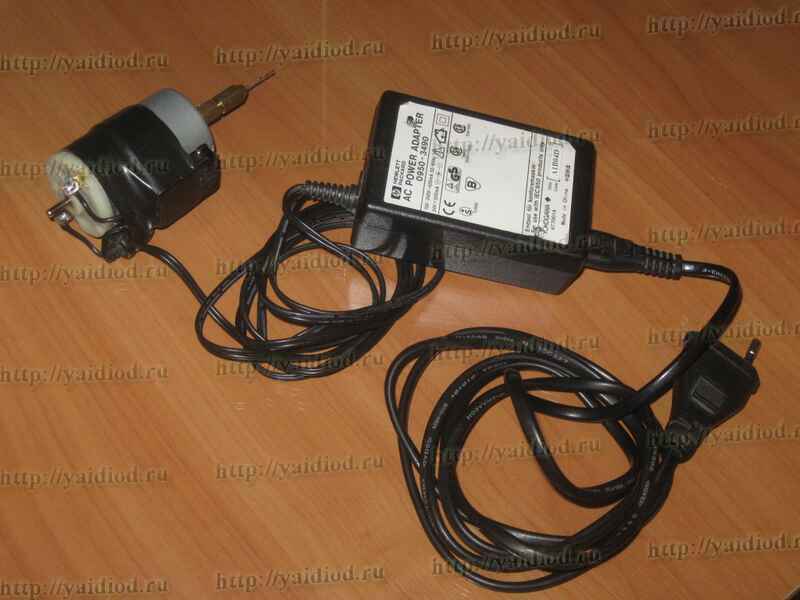
Interestingly, these collet chucks come in two different shaft seating diameters: 2.3 mm and 3.2 mm. It is precisely these two types of motors that are used in printers. That is, when making this mini drill, first you need to decide on the motor and measure the diameter of its shaft. The motor itself from the printer is a 24-volt DC motor (servo motor for the transverse feed of the printer carriage). They are the same type in almost all printers. It is necessary to disassemble the carriage drive, pull out the engine, remove the standard gear from the shaft and put on the collet chuck. It is fixed on the shaft with fixing screws.
In my case, the motor was removed from some old printer, like a Hewlett Packard Deskjet 640.
The start button of the drill is of any design, for the corresponding motor current. I used a button - a contactor from a Soviet reel-to-reel tape recorder.
It is also desirable that the donor printer has a switching power supply. It is compact, lightweight and very easy to use. Early models of inkjet printers had a transformer power supply - a very bulky device weighing about a kilogram. In terms of operation, it is not very convenient, although this option is also possible. In general, a 24 volt power supply is connected to a 24 volt motor through a button fixed to the motor case with electrical tape.
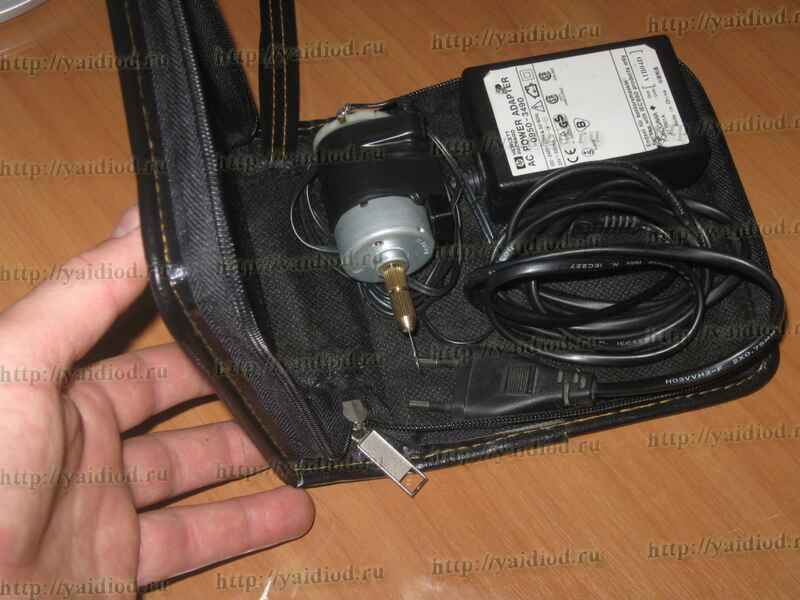
To store a mini drill, it is very convenient to use a bag - a wallet for laser computer disks, after carefully cutting out the inserts for the disks themselves from it.

Mini drill in various housings
It will be much more convenient to work with a mini drill if you place the motor and collet in a housing. For this, a plastic antiperspirant case, for example, is suitable.
The advantage of using a plastic housing is the ability to attach an on / off button to the small drill, making the tool even more convenient to use.
To make such a tool, a motor and a collet must be placed in the case. A hole must be made in the antiperspirant cap for the drill or the top of the collet (depending on the size of the body).
For greater convenience, the wires from the motor can be soldered to a separate connector and brought out through the bottom of the case.
This makes it possible to keep the instrument unconnected to the batteries or power supply at all times. The button for turning on / off the mini drill can be removed from the old extension cord, connected to the wires and brought out to the antiperspirant case.
To prevent the device from dangling inside the case, it can be fixed with plasticine or hot melt glue.
Thus, a convenient small drill with a button is obtained, which is much more convenient to work with than just holding a motor with a collet in your hands.
The principle of assembling the tool is exactly the same - the motor shaft is exposed, a collet or an old drill chuck is put on it, and holes can be drilled. A mini-drill from an old blender is assembled in the same way.
A more convenient option for assembling a mini-drill with your own hands would be to use a glue gun.
It already has a comfortable handle, a motor and a power cord in its body. It is necessary to remove the front of the pistol and attach the cartridge to the motor.
Glue guns are quite powerful, which makes it possible to use larger diameter drills.
The handle allows you to comfortably hold the tool in your hands, positioning the drill perpendicular to the surface.
Video:
Thus, with your own hands you can assemble a less powerful analogue of a screwdriver, which can well be used not only instead of a screwdriver, but also as a mini-drill.
The imagination of craftsmen is endless, and there are many ways how you can make a handy mini drill with your own hands.
There is an option to place the motor and collet in a regular plastic bottle with a small capacity.
But one of the most original options is to use an old motorized toothbrush.
To make a tool, you need to remove the bristles and bare the motor shaft, then, according to the above scheme, a collet is put on it, and the mini-drill is ready.
Video:
The use of a ballpoint pen as a body for a small drill differs in originality, but the power of such a device is extremely low.
A mini drill can be purchased at a hardware store, but its cost forces many to improvise and assemble a tool from auxiliary parts.
To make a mini-drill, you will need a low-power motor, which can be taken in any electrical household appliance, an old drill chuck or collet, which can be bought very cheaply, wires, hot melt glue and a power source.
If free time allows and you want to have a more convenient tool, then you can put a mini-drill in some kind of plastic case, install an on / off button.
There are a lot of items for use as a case, which allows you to assemble a handy mini-drill with your own hands with ease.

