How to store?
What's great about lithium batteries is that they are not overly demanding on storage conditions. They can be stored, whether charged or discharged, at almost any reasonable temperature. If only it was not too cold. Temperatures below 25 degrees below zero are fatal for most types of lithium batteries. Well, and above 65 degrees of heat, it is also better not to overheat.
However, when storing lithium batteries, be sure to take into account the very high risk of fire.
The correct storage conditions are when the battery is at least 50% charged and the room temperature is from 0 to +40 degrees. At the same time, it is advisable to save the batteries from moisture, including in the form of dripping (dew).
You will find out which battery is better for a screwdriver in the next video.
How to charge correctly?
Lithium batteries are quite picky about charger specifications. Such batteries can be charged fairly quickly with a significant current, but excessive charging current leads to severe heating and fire hazard.


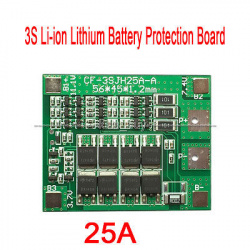
It should also be borne in mind that when cells are connected in series in a battery, lithium sources are very prone to uneven charging of individual cells. This leads to the fact that it is not possible to charge the battery to its full capacity, and the element, which regularly works in undercharged mode, simply wears out faster. Therefore, chargers are usually built according to the "charge balancer" scheme.
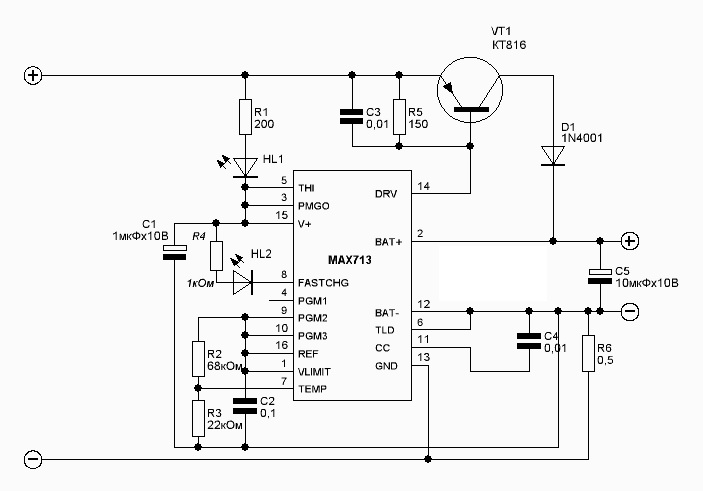
Fortunately, all modern factory-made lithium batteries (except for outright fakes) have built-in protection and balancing circuits. However, the charger for these batteries must be specialized.
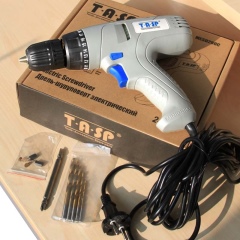
Which lithium battery to choose?
In 7 out of 10 cases, 12-volt batteries are used for screwdrivers.
The magnitude of the voltage is the determining factor in the selection. It can be specified in the technical documentation for the device, on the Internet.


- Discharge current value. Screwdrivers operate on batteries with a high discharge current. You can clarify the required parameter for a specific model in the technical documentation. Choosing a battery only by its capacity is a mistake, since the main parameter is the current. It can fluctuate between 15-30 A, sometimes up to 40 A.
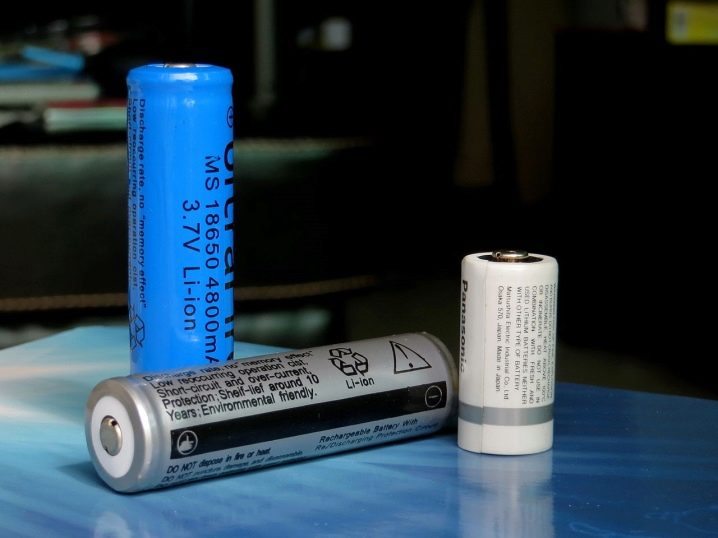
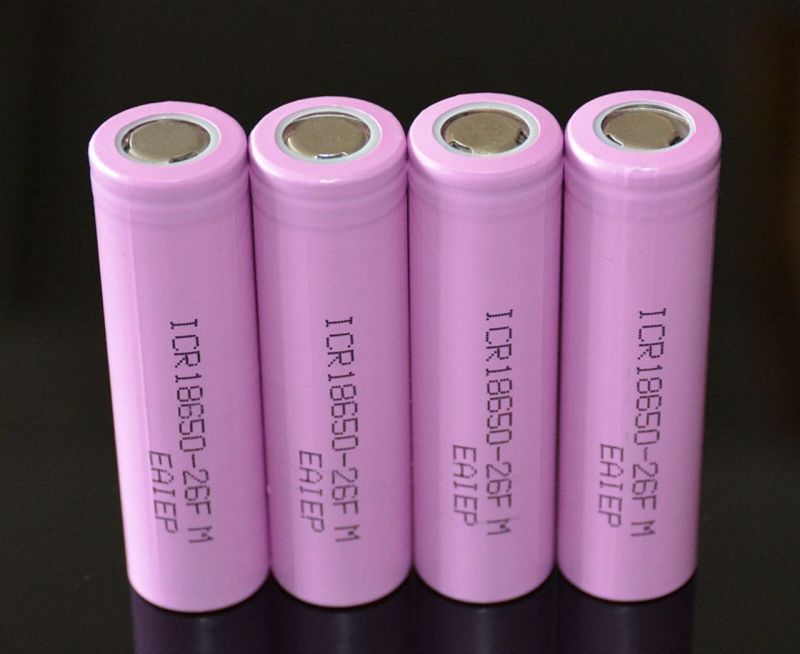
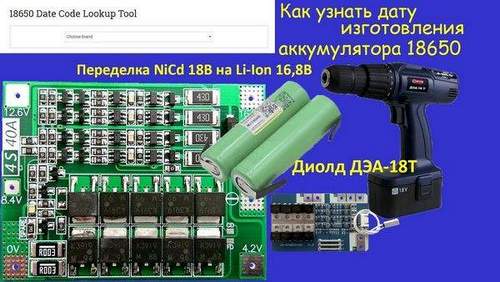
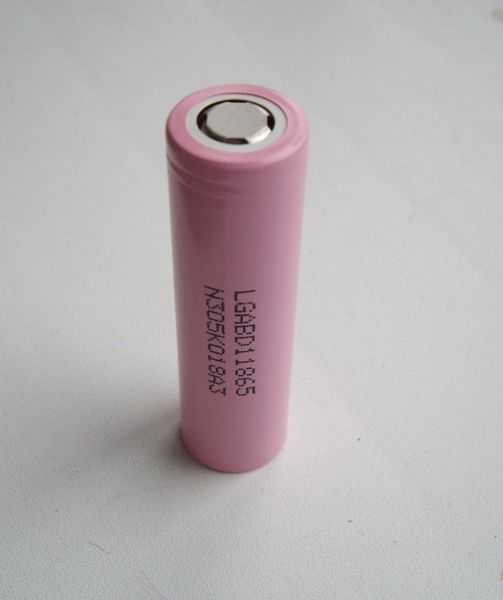
- Characteristics of lithium-ion cells. 18650 batteries must have the same capacity specifications.
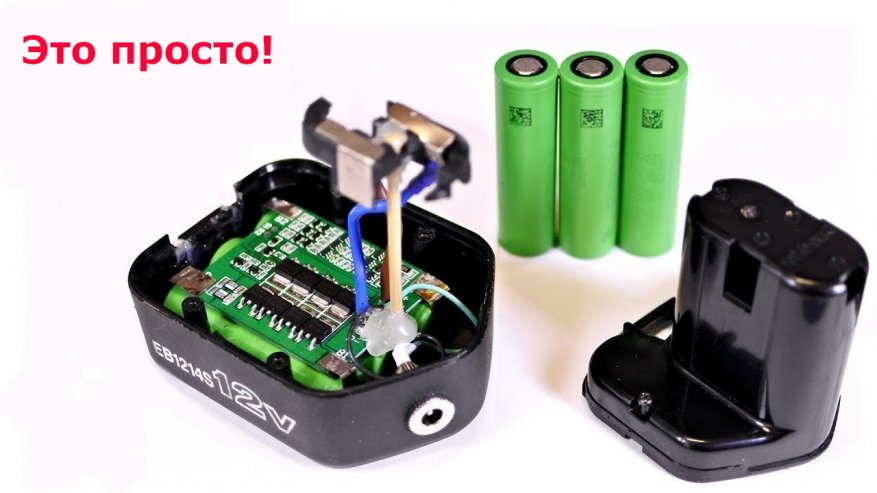
- The number of new batteries. The calculation is easy to perform. The ratio is as follows - 3 Ni-CD is equal to 1 Li-ion. The old 12-volt block is replaced with a 3-cell lithium-ion block.
When calculating the number of new sources, remember that an increased voltage (for example, instead of 3 Li-ion instead of 10 Ni-CD, take 4 lithium ones) will increase the wear of the equipment and shorten the service life. But the power will increase. Therefore, you need to weigh the pros and cons. Do not rush to install sources in the instrument. They need to be fully charged initially.
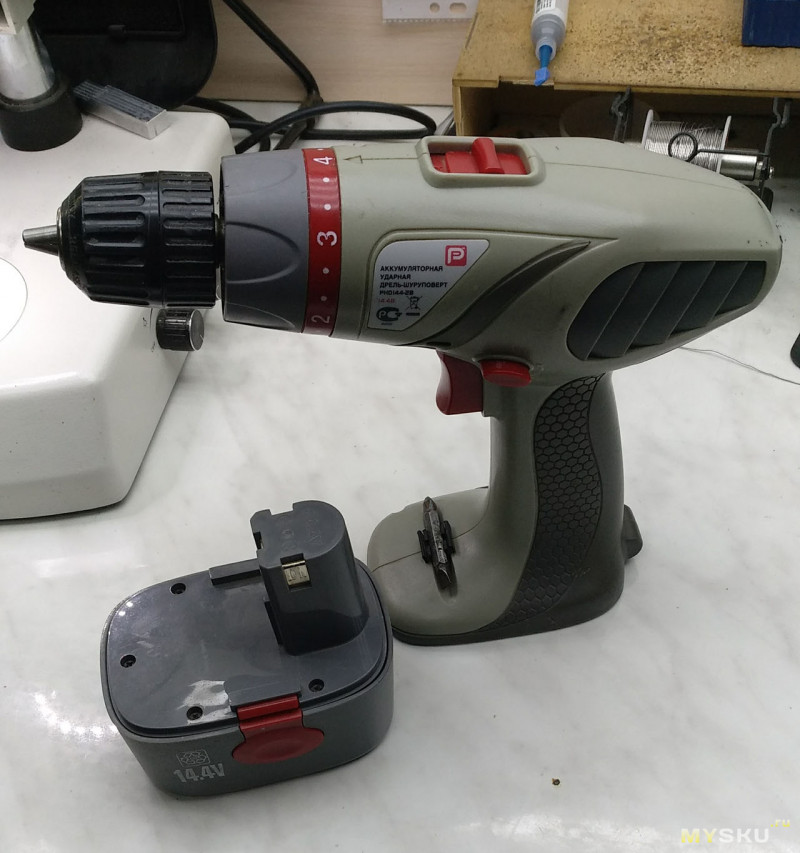
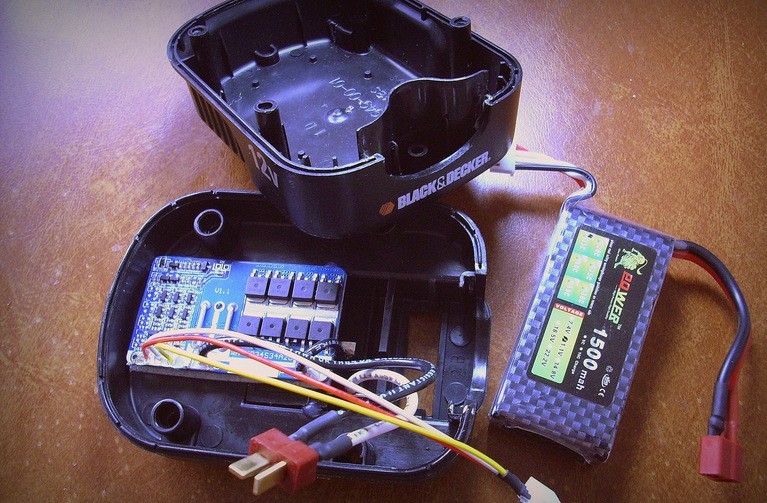
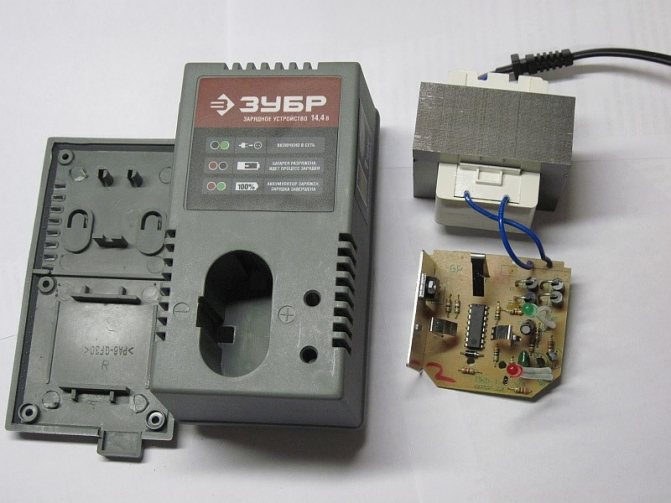
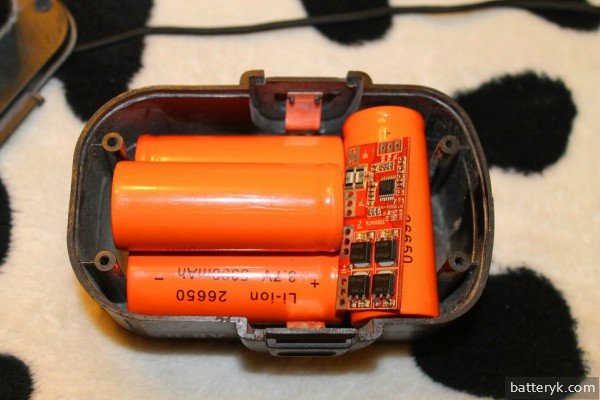
Battery case dismantling process
The body can be assembled with screws, locking mechanisms and glue. In the latter case, converting a screwdriver to lithium batteries will be significantly complicated. The glued body must be carefully disassembled at the joint seams. They need to be broken with a mallet with a plastic soft head. Do not damage parts of the box, otherwise it will be extremely problematic to assemble it back, as well as to work with the tool. Self-tapping screws and latches are easy to open.
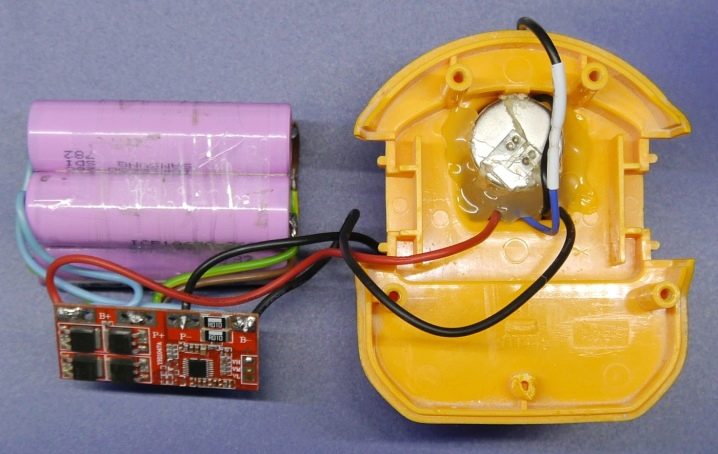
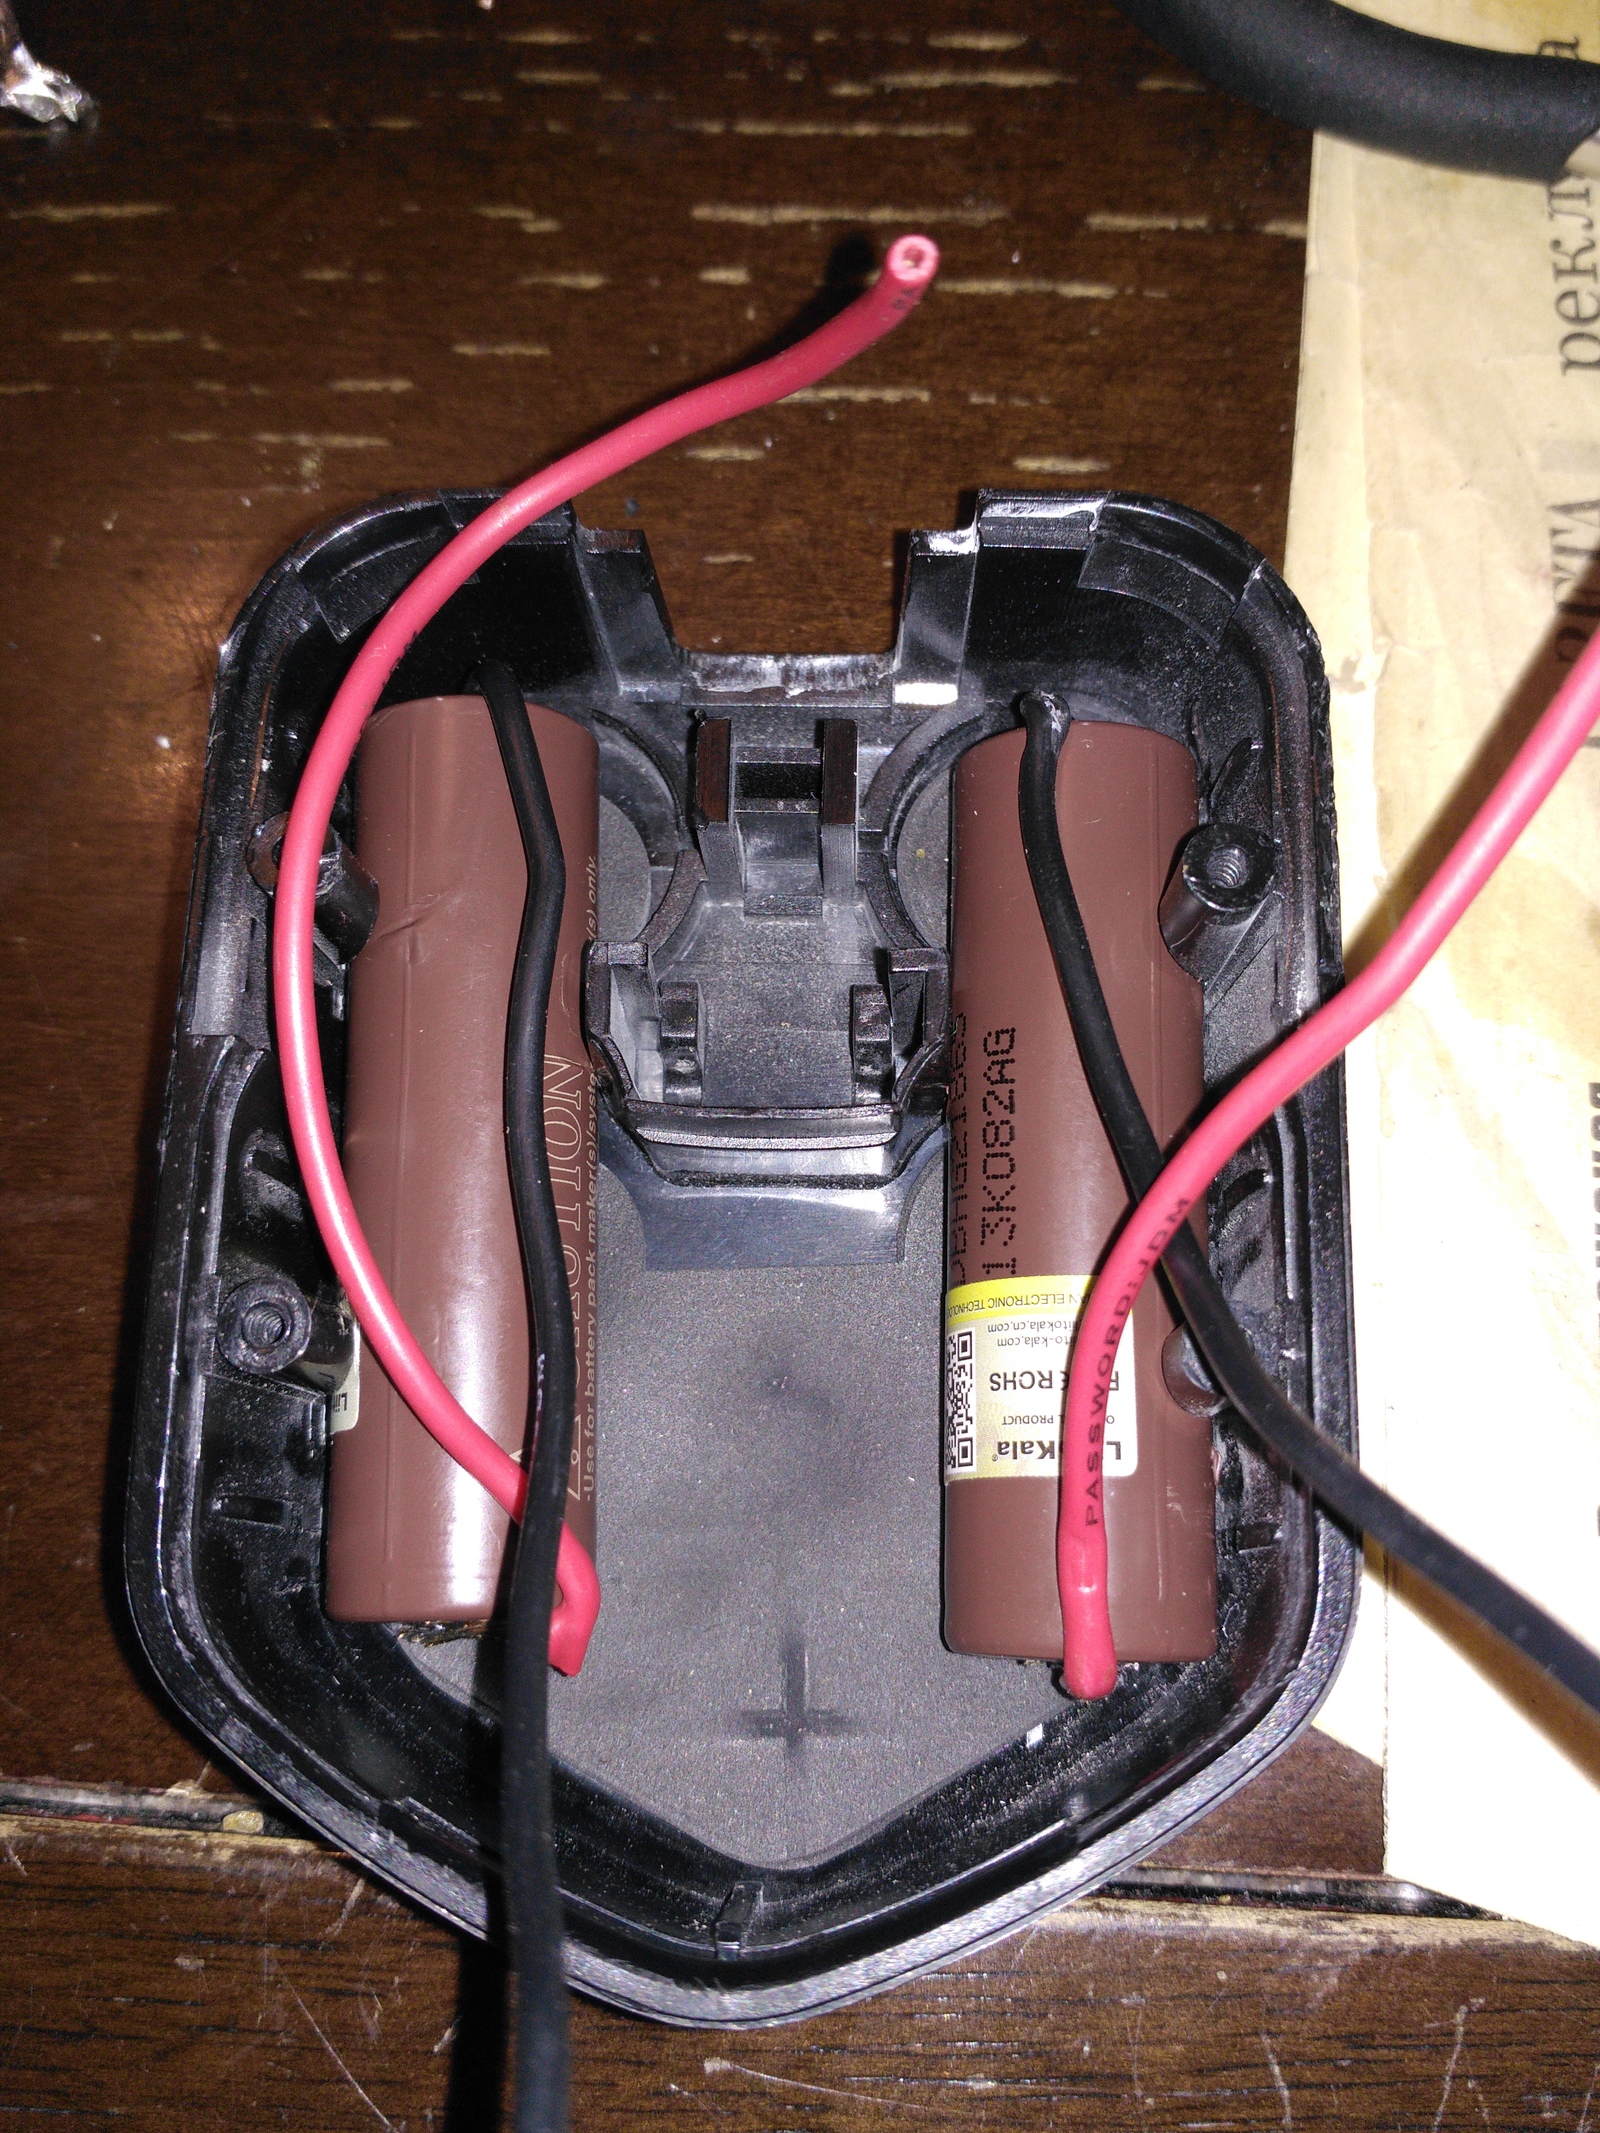
All contents must be removed from the disassembled box.For subsequent assembly, a contact plate is required (in some models this is a complete terminal assembly). It will connect to a charger, etc.
Battery Cell Connection Methods
The energy storage unit is assembled in one of three ways:
- Spot welding. If you do not have a welding machine at home, you can contact a specialist. This technique of connecting elements into a block is the most preferred.
- Soldering. A soldering iron is sure to be found in every home. But when soldering, all manipulations must be performed very quickly, since the solder cools almost instantly. Long-term heating of batteries should be avoided. High temperatures will damage the elements. If soldering skills are not available, it is better to entrust the work to a specialist.
- Cassette. Alternative, but not the most reliable way. The contacts obtained in the process will have significant transient resistance. This means that you need to be prepared for the fact that at high currents it will quickly collapse. With the help of special cassettes, the batteries are quickly connected into the unit.
In order for the voltage to be summed up, and the value of the capacitance does not change, you need to connect the elements in series.


The final stage
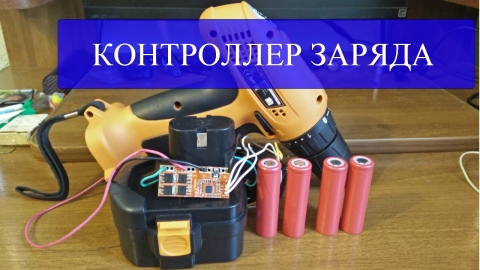
Now you need to combine all the parts into a single block. More precisely, solder the wires to the assembled block, and note to the protective board. All actions should be coordinated with the connection diagram. Assembly recommendations:
- Solder wires with a cross section of 1.5 mm2 are made to the batteries. For other purposes, you can take thinner contacts - 0.75 mm2 in cross section.
- Heat shrink tubing can be used to ensure that no parts of the block come into contact.
- Connect the assembly to the plus and minus outputs.
- Test the soldered circuit.
If everything works, the case can be assembled.
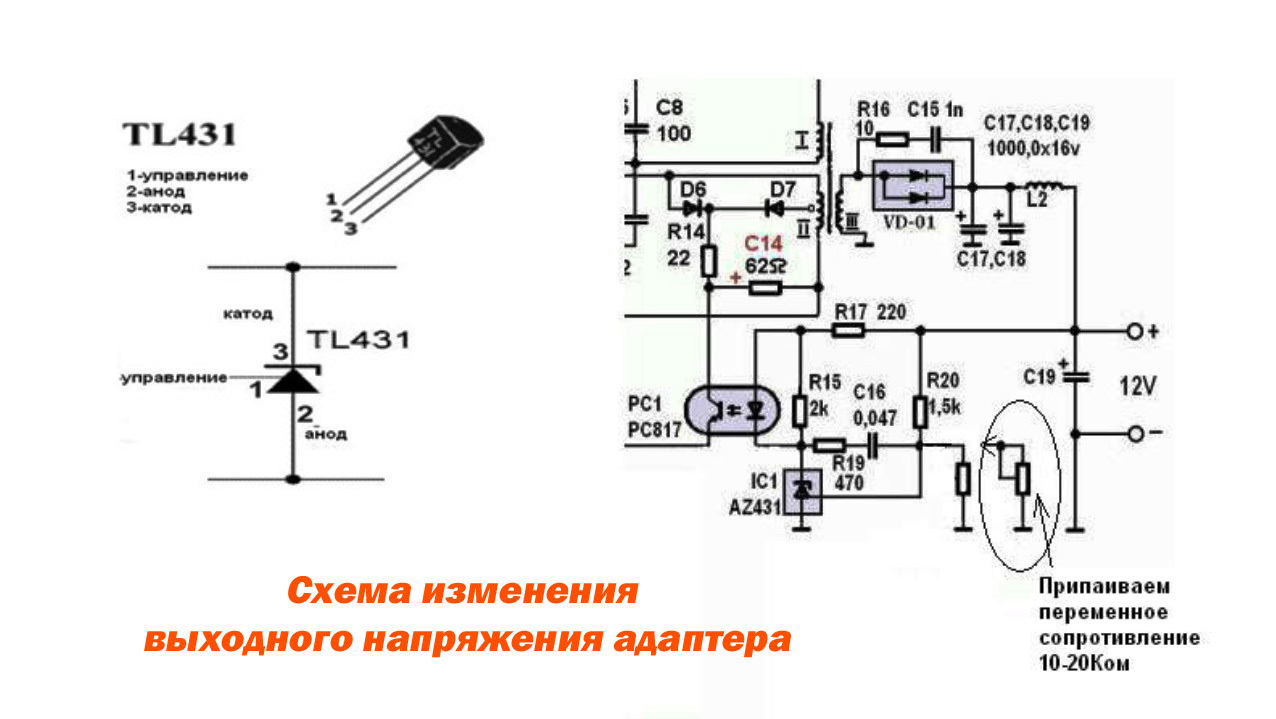
Instructions for setting up memory
- We connect to a power supply unit whose voltage is at least 1 V higher than the battery assembly can give. For example, to assemble from 6xLi-Ion, you need a power supply unit with an output of 26.2V. The PSU output current depends on the battery charging current.
- At XX, we set the desired output voltage corresponding to the maximum voltage of the battery in a charged state. In my case - 25.2 V.
- We connect the battery to the charger, in the gap between them the current meter - we set the required charge current. I set 1A for a 2800mAh battery.
- When the charging current drops to 0.1 x Charge current, turn the middle multiturner until the blue LED lights up - "charging is over".
Everything matches the clumsy description)). Works great. I will use it to charge a converted screwdriver. It reached Samara in 25 days. For those who cannot figure out how LEDs work, I found an excellent description:
The upper one is on while the converter is able to deliver the set current to the load (in the case of using it as a charger, this is the indicator of the CC phase, as soon as it goes out - the CV phase has started), the middle LED is on until the current in the load drops to 0.1 set, goes out - the charge is over.
The value 0.1 is set by default, if desired, it is corrected both by a large one (charge is faster, capacity is less) and to a smaller side (charge time increases, the battery is charged more fully) with an average potentiometer. But the charge continues after it is turned off, this is only an indicator that the battery is, in principle, charged and ready for use. The bottom LED is simply an indicator of the operation of the transducer.

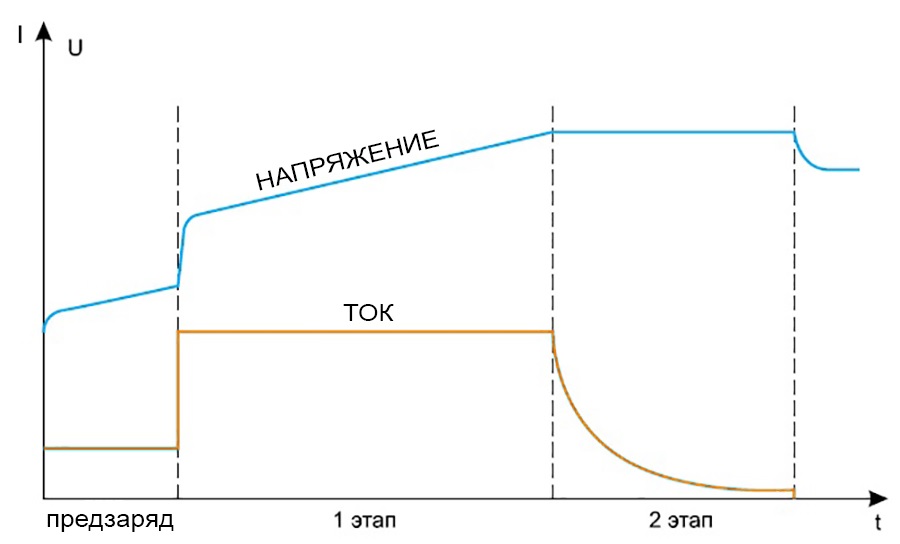

charge - this indicator is on while the current in the output circuit is higher than the set value. This value is set relative to the maximum current. When setting a large maximum current (units of amperes), it may not be possible to set the indication to a small current (units and tens of milliamperes).