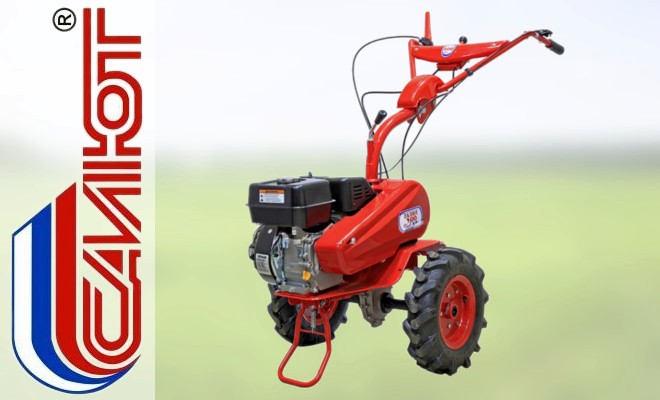
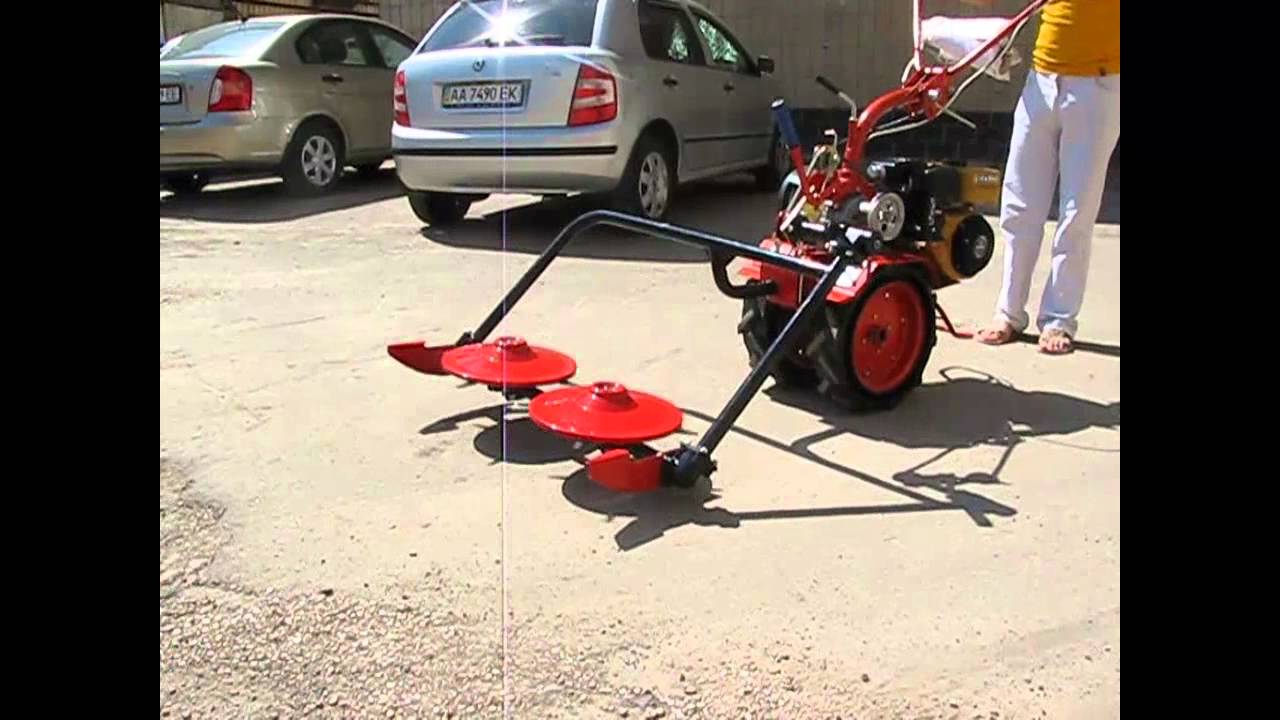
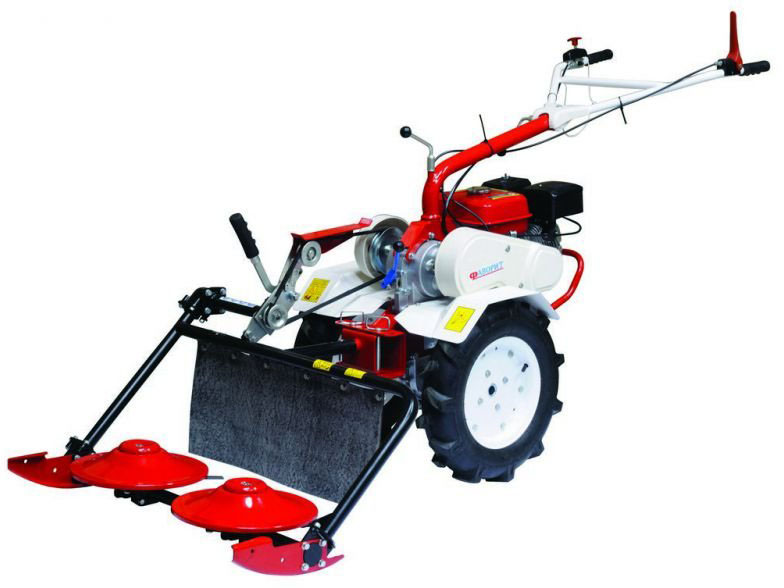
Rotary mower for motoblock Neva
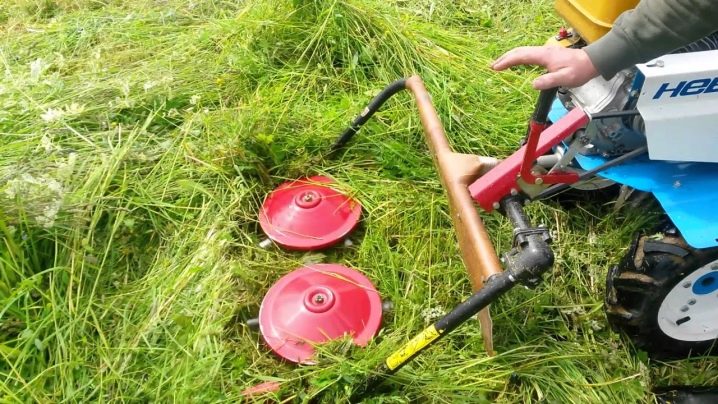
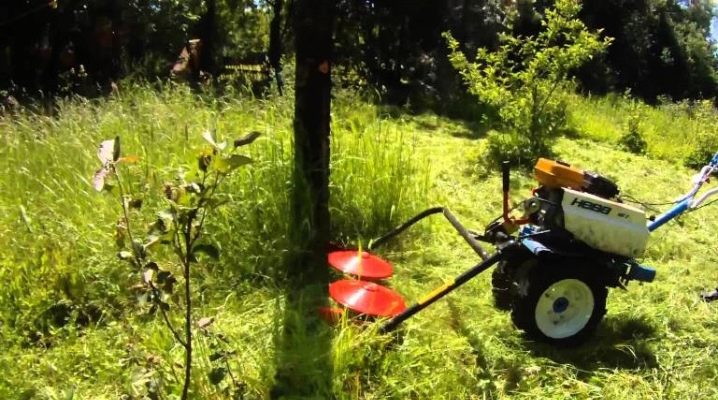
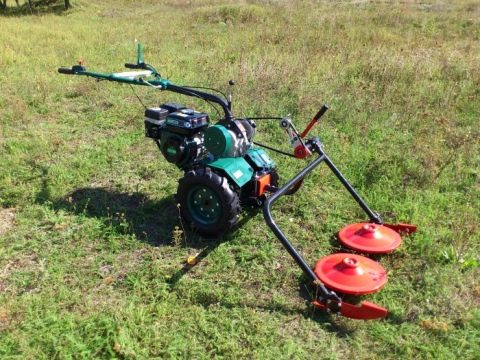
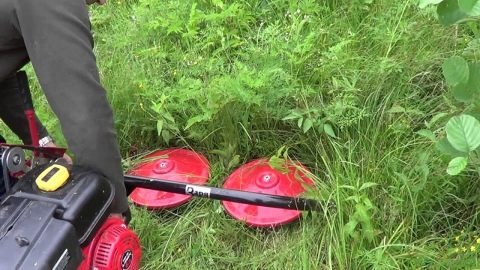
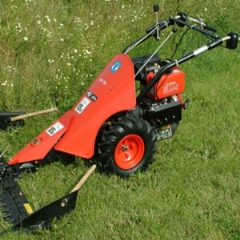
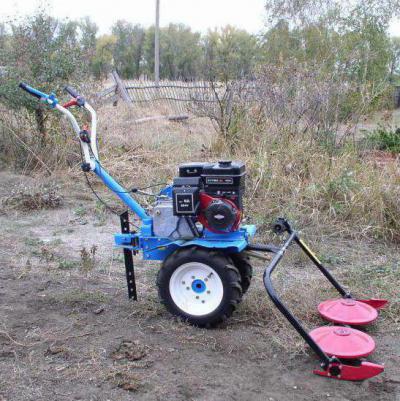
The rotary mower for the Neva walk-behind tractor is designed for mowing grass, shrubs with a stem up to 1 cm in diameter. The cut grass is located on the surface in even rows, which simplifies its collection and drying. Due to its small size and compactness, the equipment is easy to transport.
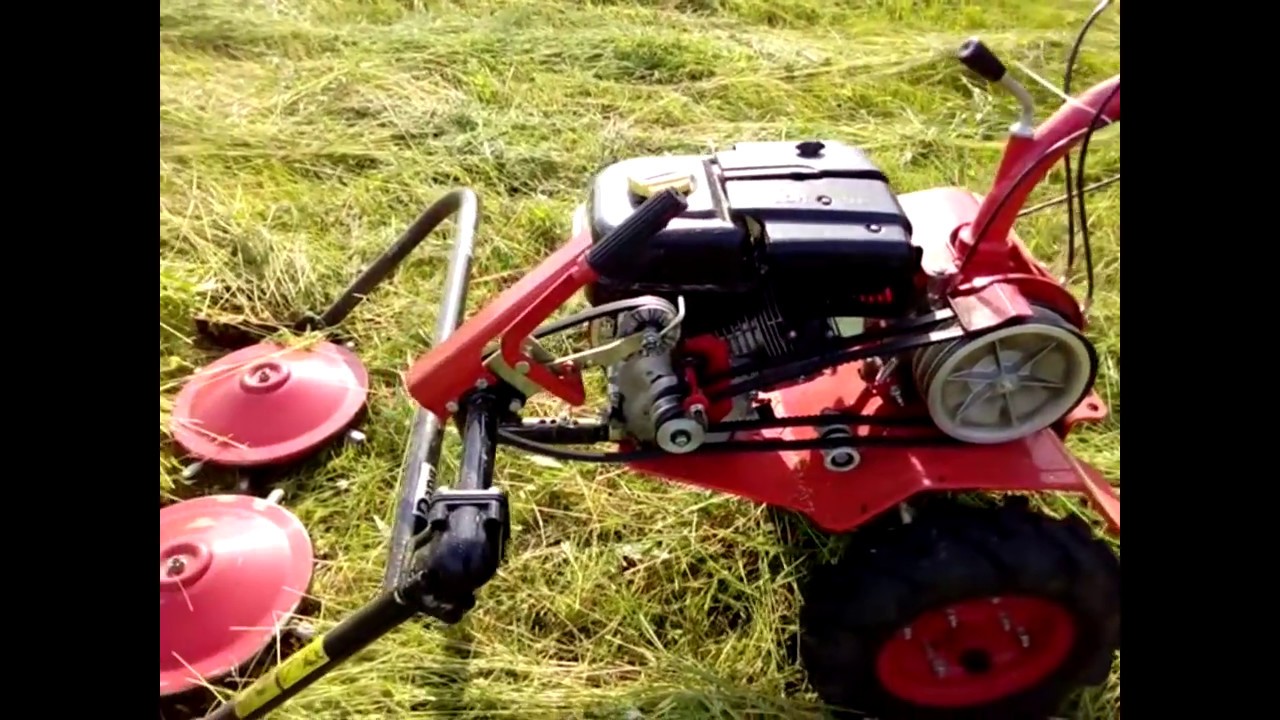
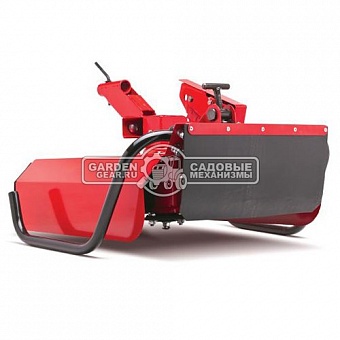
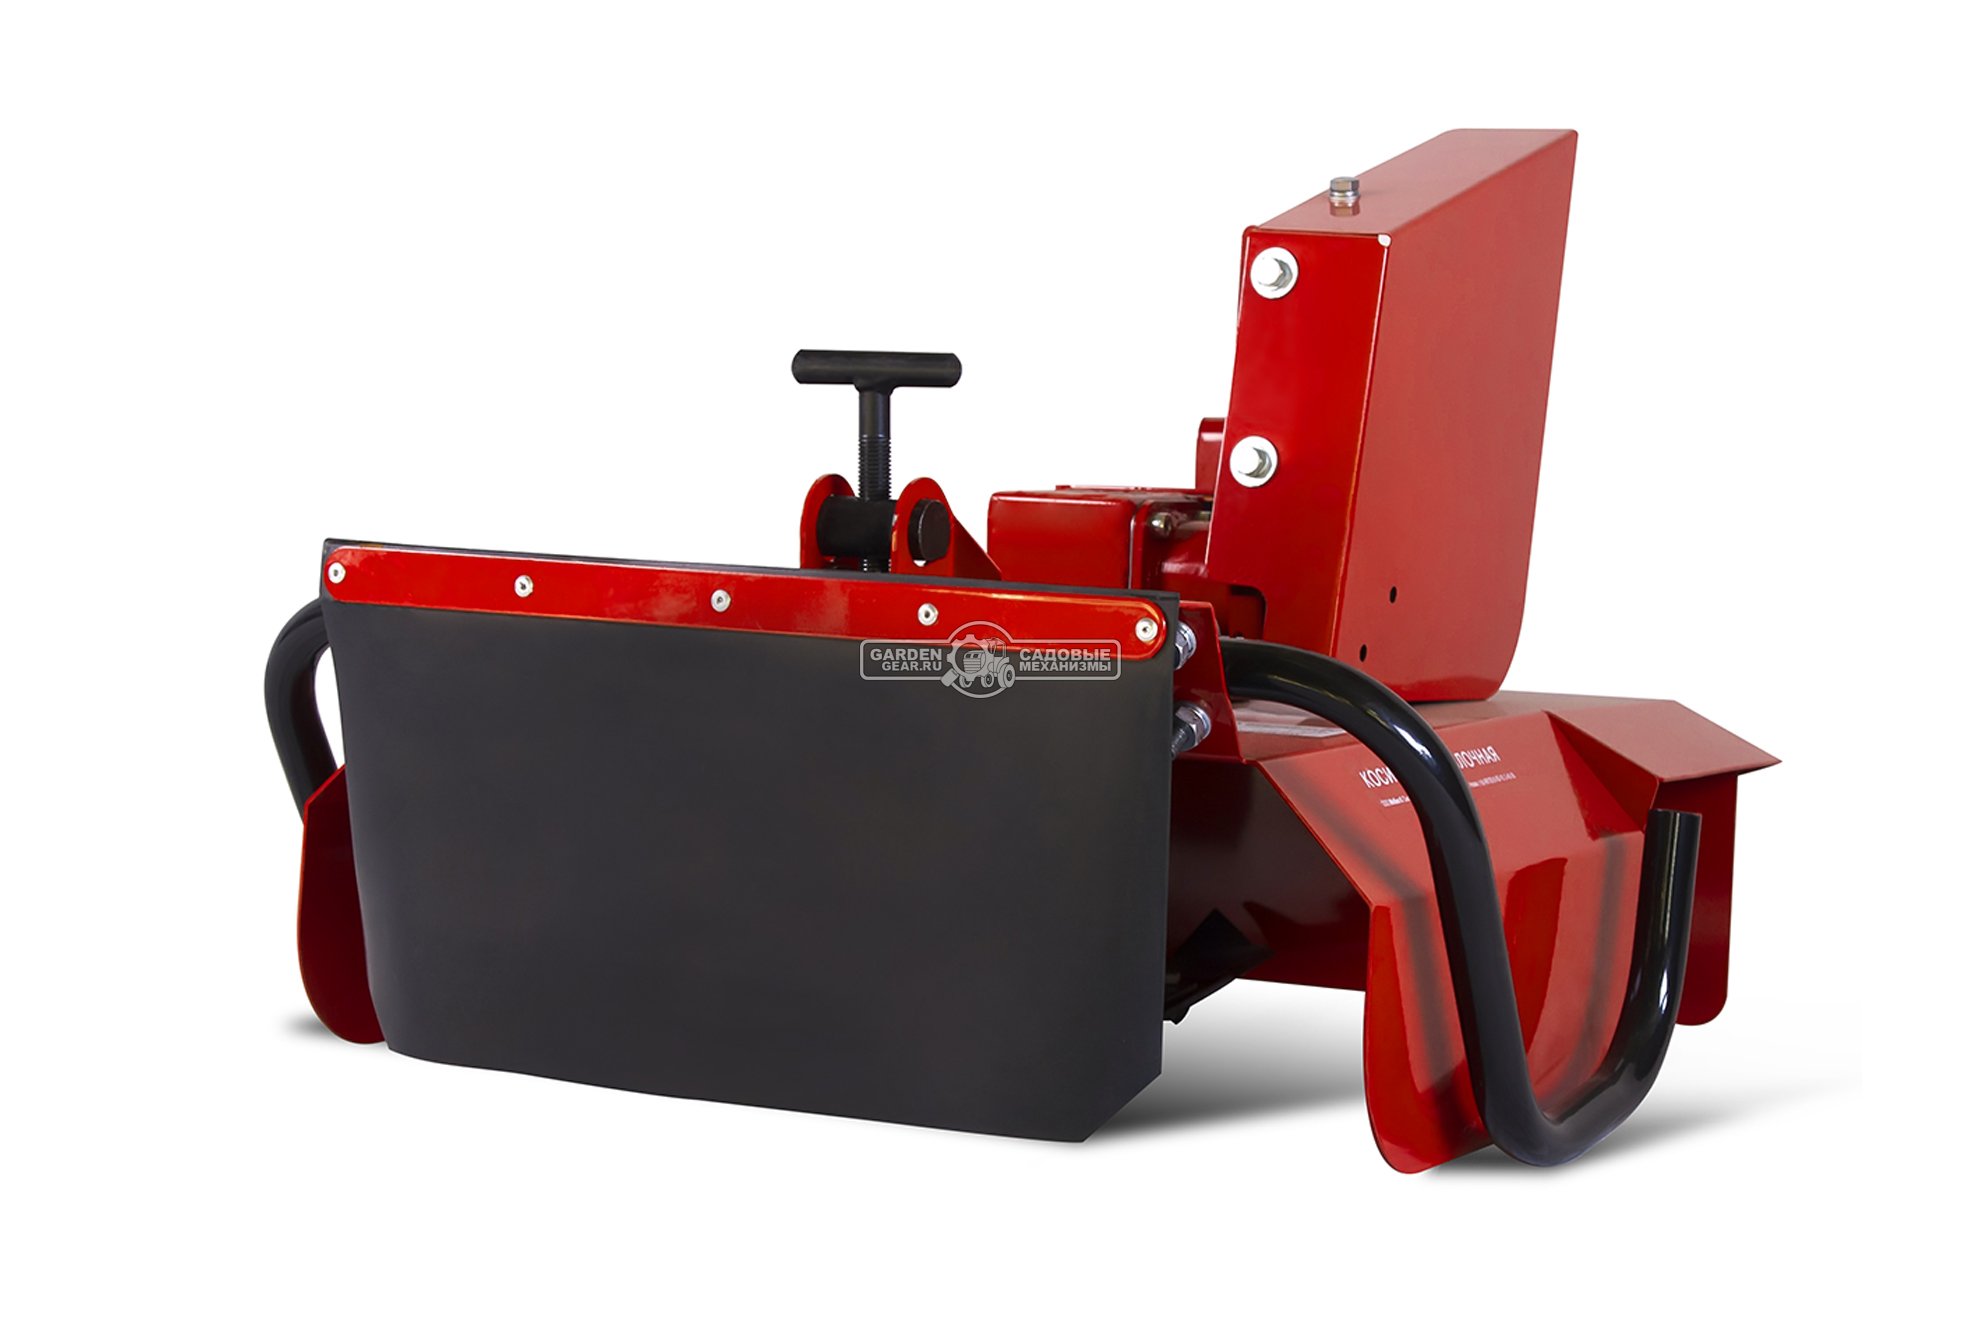
Motoblocks are also aggregated with mounted rotary mowers in front, from the drive of the aggregates through a V-belt.
The rotary mower is available in two versions:
- with 1 disc;
- with 2 discs.
Both options are suitable for Neva walk-behind tractors.
Rotary attachments are widespread among farmers, because copes with a large amount of work and perfectly tolerates difficult irregularities on the surface.
Single disc rotary mower
The rotary mower with 1 disc is represented by the KR-05 model, specially produced by the Krasny Oktyabr plant (St. Petersburg) for the Neva walk-behind tractor.
The design of the model is compact, simple, consists of 1 large disc, allowing you to maneuver and mow grass, bushes in difficult places.
Rotary mower KR-05 has the following technical characteristics:
- Travel speed - 2-4 km / h.
- Productivity - 0.15 ha / h.
- Capture width - 560 mm.
- Disk rotation speed - 2500 rpm.
- Mowing height - 1000 mm.
- Machine weight - 30 kg.
- Machine dimensions - 700x700x680 mm.
The mower is suitable for the Neva walk-behind tractor (MB-2, MB), Kadvi, Oka.
Advantages of the KR-05 model:
- compactness;
- mobility;
- ease of use;
- simplicity of design;
- high security;
- easy installation on a walk-behind tractor;
- high maneuverability;
- affordable price.
From user reviews it is clear that it is not as efficient as a 2 disc mower, but in terms of maneuverability and work in tight spaces it leads.
Double disc rotary mower
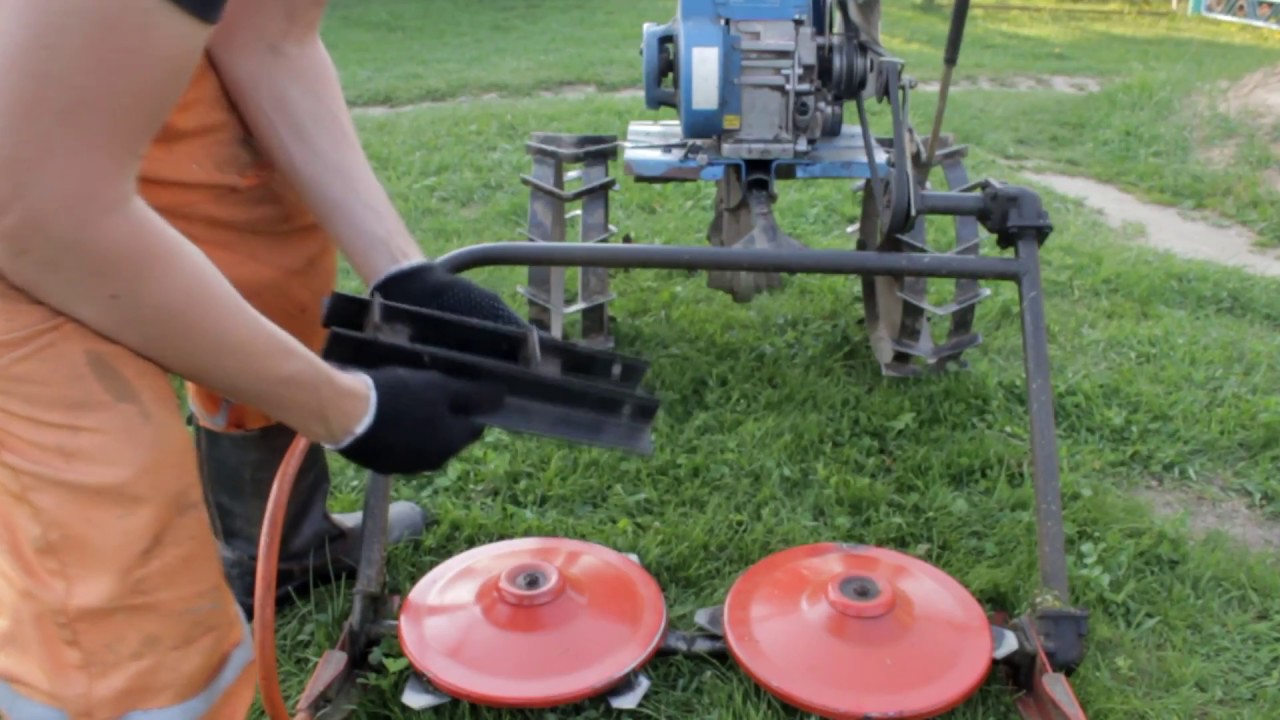
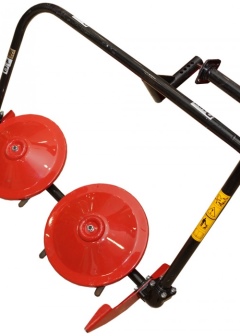
For mowing rough-stemmed, herbaceous vegetation, grain crops, small shrubs in large areas, a hinged mechanism with 2 discs is often used. It works effectively on a flat surface without obstacles: trees, holes, hills, fences. It works worse on irregularities, it is harder to operate, but farmers also use it on small plots, roadsides, slopes with a slight lateral slope and steepness.
The cut grass is evenly laid in separate rows, dried naturally and collected.
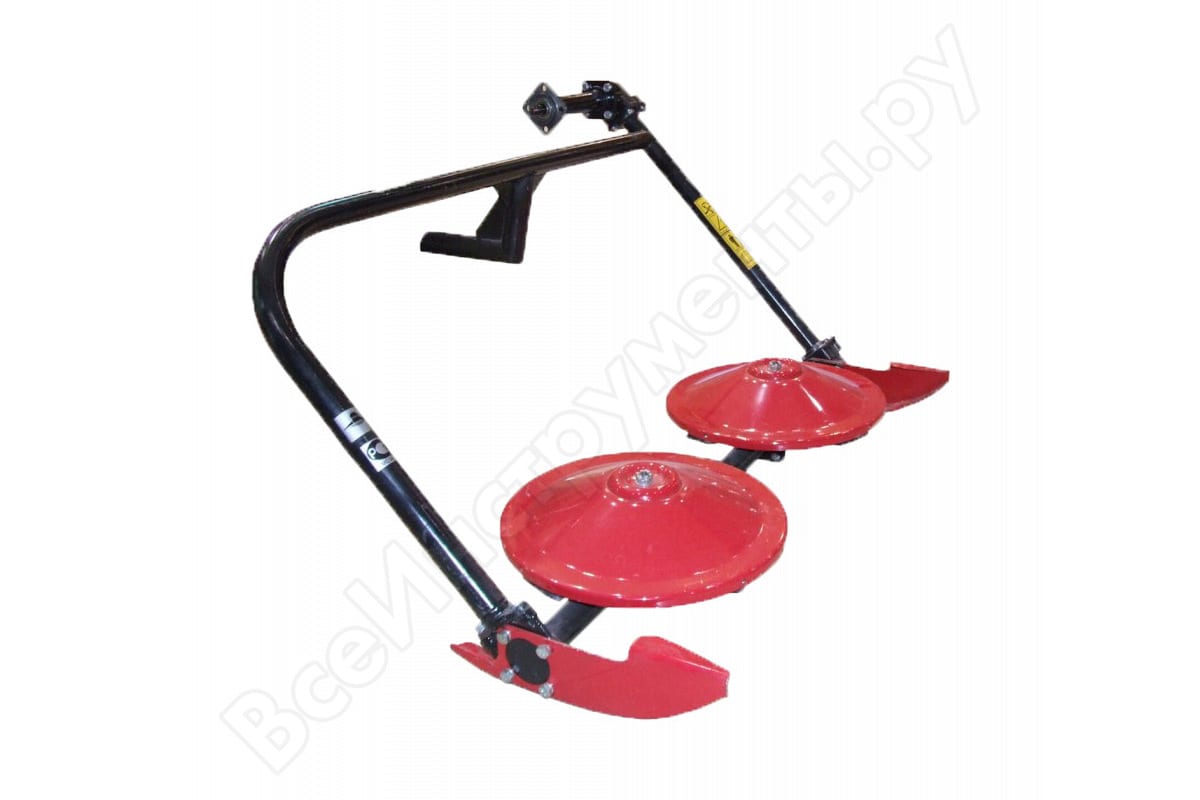
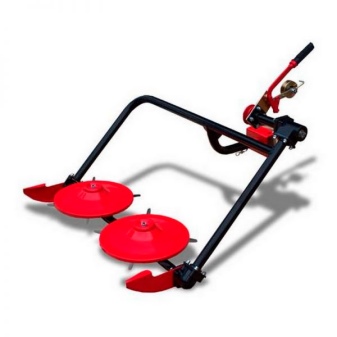
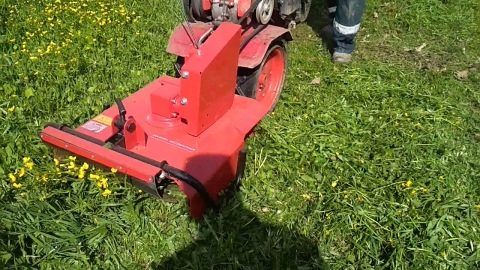
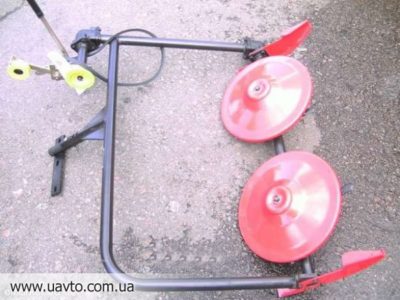
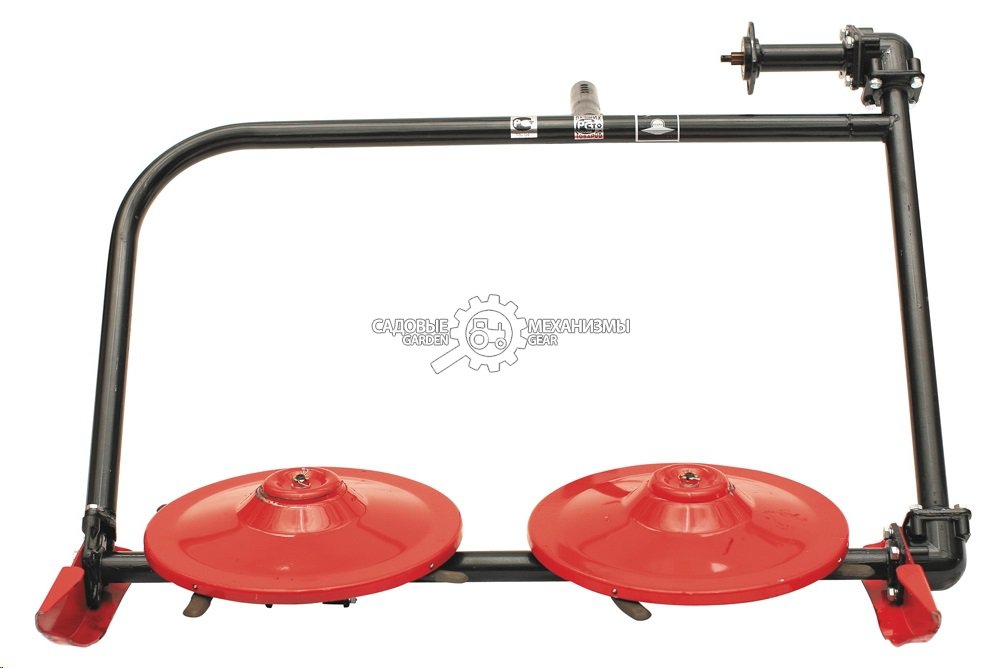
For the Neva walk-behind tractor, the Zarya rotary mower with 2 discs is used, the manufacturer of which is JSC Kaluga Engine.
The principle of operation of the mower to the Neva walk-behind tractor is simple.
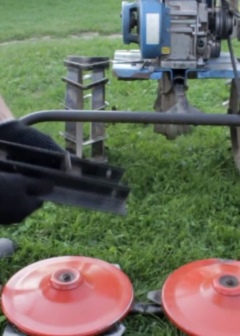
There are 4 knives on the discs, which are attached with cotter pins. When the discs rotate towards each other, a centrifugal force is created that pushes the knives out. The cutting blades work as long as the engine of the walk-behind tractor is running.
Mowing with 2 discs significantly increases the mowing area. For Zarya, it is 80 cm and is an excellent indicator.
Adjustment of the cutting height of the grass is carried out using a special slide.
Zarya for the Neva walk-behind tractor has the following characteristics:
- Machine dimensions - 810x930x780 mm.
- Weight - 33 kg.
- Processing width - 800 mm.
- The operating speed is 2.87 km / h.
- Mowing height - up to 1000 mm.
- Productivity - 0.2 ha / h.
- Rotational speed of the cutting disc - 2370-2635 rpm.
- Adjustable cutting height - 3-10 cm.
The disadvantages of the rotary mounted mezzanism Zarya are as follows:
- The need for a thorough check of the device before starting. Improper attachment of the knives can lead to increased injury.
- Constant movement control.
- The presence of restrictions on the mowed grass. It should be up to 1 m and upright.
According to user reviews, the Zarya mower is distinguished by its quality, reliability, and trouble-free operation.
What models are suitable?
The variety of models of additional equipment for motorized vehicles creates conditions for the selection of a suitable solution for each type of motoblocks. But how not to make a mistake when buying? Zarya mowers are considered the most popular in the domestic market. They are produced by a Kaluga enterprise, there are several modifications. To find out whether the Zarya mower is suitable for the Salyut-5 and Salyut-100 walk-behind tractors, you need to study the product passport. The required model will be designated KR. 05.000-04 or ZiD KR-1 (produced by the plant in Kovrov).
In addition, you should pay attention to the model KM-0.5 "terminator" with an adjustable cutting height from 5 to 100 mm, a chopper. The cut width during the work of the product reaches half a meter
The knives do not require sharpening and have a self-sharpening structure. KNS-0.8 "Strizh" belongs to the category of segment models, suitable for mowing road shoulders, maintenance of sites, formation of lawns. Its features include the lateral arrangement of the cutting element relative to the walk-behind tractor itself. The blade is protected by fingers to prevent damage.
How easy is it to mow the grass with a walk-behind tractor? Correct installation of the "Zarya" rotor scythe
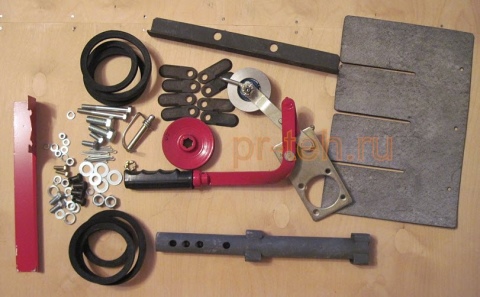
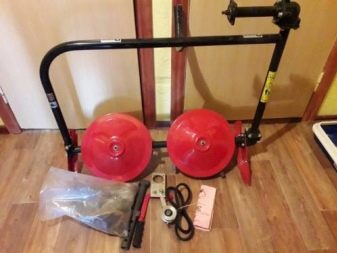
Good day, my readers, motoblockers! This article will focus on the purchase and installation of a rotary-type mower on a light Agat walk-behind tractor with a 6.5 hp engine. An interesting and one might even say - a serious unit - the attachment for your walk-behind tractor will cost a round sum. The price is around 17 thousand rubles. (plus, minus 500 rubles) in comparison with the price of a walk-behind tractor (25 - 35 thousand rubles) makes you wonder - is it worth it? To begin with, let's figure out the problem - if the mowing areas are large, there is a need for hay harvesting for pets, and most importantly, if working on a walk-behind tractor is a joy to you, then the purchase is worth it! Discussions about the advisability of harvesting hay ourselves or the benefits of buying it on the side in rolls will be left for new topics in the next article "haymaking in the village." And now to the main thing - the purchase has been made, having become the proud owner of the Zarya rotary mower. the purchase is an incomplete view (in the first photo there is a braid + a package of all sorts of little things). Just stick it in, put it on and go it won't work.
The assembly process in order is as clear and concise as possible with a photo:
First of all, we install the lever in its place - the mechanism for tensioning the scythe drive belt, securely fastening it to four bolts:
then we bait the drive pulley, tighten the nut, insert the stopper:
The braid is fully assembled, the belt tensioner mechanism is ready and has a finished look:
Next, an important point, the question is - where to attach the braid to the walk-behind tractor? The instructions describe in detail the options for possible actions for different brands of motoblocks. In our case, Agate 6.5hp. which has no fasteners in the front for additional equipment. And there is no limit to joy! The mower comes with an additional coupling - a pipe. We install it in place, having previously dismantled the footboard. Everything is simply fastened on two bolts + two nuts as in the photo:
We attach the braid to the walk-behind tractor. A very interesting and reliable stopper is included in the kit. Many holes are drilled at the attachment point, which allows you to qualitatively adjust the tension of the drive belt
By the same principle as when replacing the drive belts with a gearbox, unscrew the bracket and direct the scythe drive belt into a free stream. Here a hitch arose and the question - is it worth putting this bracket in place at all? Whatever one may say, the belt from the mower rubs and presses harder than other belts. Rubber dust is visible after the first start, as in the photo:
This bracket is designed to brake the belts at the time of idle without clutch. Those. when we are not driving, the scythe does not mow - it is disabled by a lever - the belts should not sag, dangle, twist. Experienced tractor drivers will laugh and say why it - the bracket - is generally needed))) But still, it is worth installing it in place, everything will get used to it and go as it should!
The pulley on the stitch must be in line with the pulley on the motor at the connection point. No need to get scared and put washers under the pulley on the mower if for the first time when assembling you see that there are deviations to the sides. Pulling the belt into working position with the tensioner lever, you will see that everything falls into place.
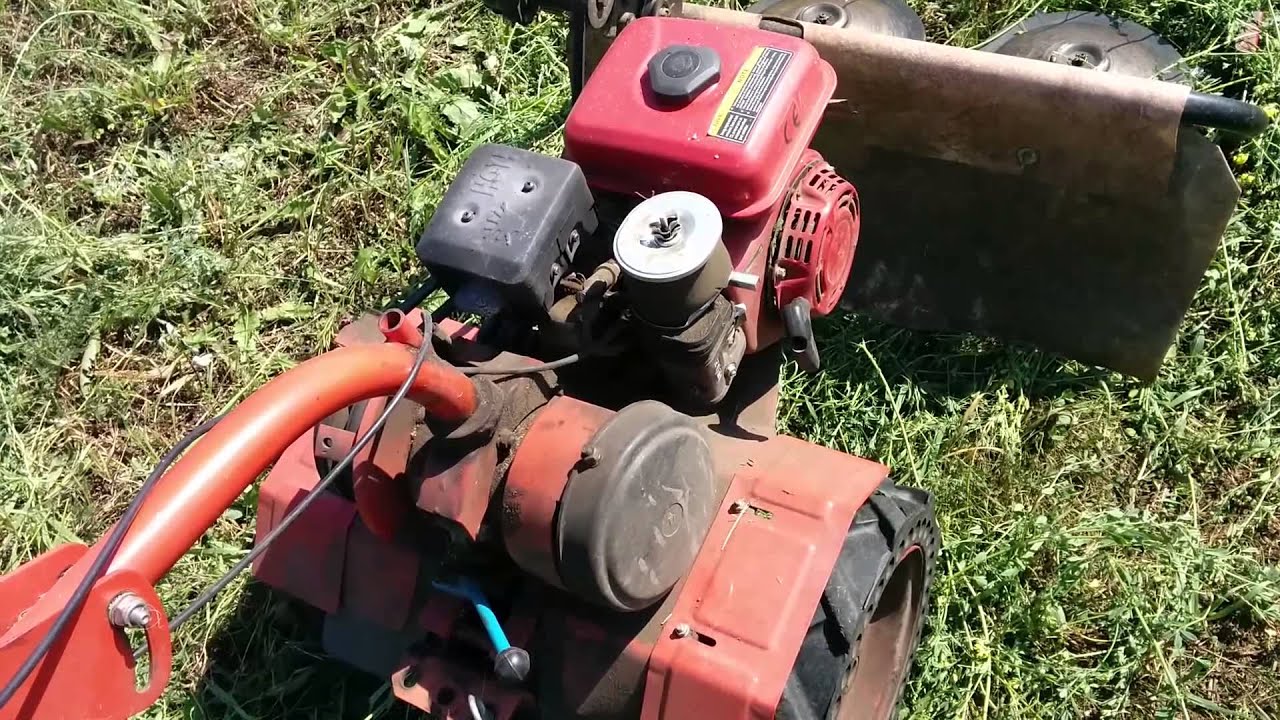
Another important point when working on mowing grass is that the mower should spin discs with knives as quickly as possible, while the walk-behind tractor should not rush and rush. Therefore, immediately when assembling and installing the belts, do not be too lazy to turn the pulley on the engine - this is easy to do by unscrewing one bolt. Why turn it over? The pulley on the engine of a walk-behind tractor of this type has four jets, which have different depths - two are deeper (from the moment of purchase of the walk-behind tractor, they are free). Turning the pulley over, the gear drive belts will lie in them, the walk-behind tractor will become quieter, while you only have to tighten the clutch cable. And the scythe drive belt will lie in the jet, which has a shallower depth and a larger circumference (the pulley jet on which the walk-behind tractor was previously driven). This will allow you to reach the maximum speed of the scythe and, as a result, improve the quality of work on mowing grass.
The Zarya rotary mower is installed and is eager to fight. Summer is a hot time, it's time to use this unit in haymaking. To facilitate work and work with joy - on a walk-behind tractor with your own hands! The pros and cons of this type of braid deserve a separate discussion, about this in our next articles on the Positive Village channel
Thank you my friends for reading to the end subscribe to the Positive Village channel.
Possible malfunctions and repairs
Despite the fact that the design of Krot cultivators is simple, violations of the requirements of the operating manual, non-observance of the maintenance schedule, as well as the use of low-quality fuel can lead to machine breakdowns.
Let's consider the main causes of malfunctions, as well as ways to eliminate them.
Engine
The first models of Mole cultivators had many complaints from the owners regarding the poor build quality of the engines. The main problems were low resource and frequent failures. Another common malfunction that every second owner faced is the deformation of the exhaust valve, followed by wear of the piston.
Manufacturers found a way out of the situation - they began to install proven imported motors on new models, which managed to prove themselves well abroad.
Ignition
The main problems with ignition include:
| Possible malfunctions | Remedies |
| There is no spark | Make sure the spark plug is in good working order. Cleaning and blowing out the electrodes. Setting the gap. If necessary, replace it with a new one. |
| Suppressive resistance problems | Check serviceability. If necessary, replace it with a new one. |
| Loose high-voltage wire connection | Reestablish normal connection. |
| Violation of the integrity of the insulation of wires, short circuit of current-carrying elements or the "START" button on the case | Restoration of isolation. Search and elimination of closures. |
| Magneto cores touching flywheel plates | Insulate the magnetic cores of the magneto. |
| Magneto is out of order | Replace magneto |
| Clogged air filter | Checking and purging the filter. Replacement if necessary. |
| Cracked fuel pipes | Restoring the tightness of the tubes. Replacement if necessary. |
Replacing the magneto in the Mole cultivator
Magneto in Mole cultivators cannot be repaired.In case of failure, you just need to install a new device. As it was written above, domestic devices have good maintainability. The procedure for replacing the magneto confirms this.
Scheme of work execution:
- Remove the starter by holding the impeller;
- We remove the magnets using a special device;
- We take out the wrong magneto and install a new one;
- We solder the button and carry out the assembly and performance check.
Carburetor
The ease of starting the engine and the stability of its operation depend on the state of the carburetor. Penetration of dust and small debris will lead to blockages, which will impede the development of rated power.
The carburetor is responsible for forming the air / fuel mixture. The unit needs periodic adjustment, in accordance with the instructions of the manufacturer. This procedure is carried out at least once a season, as a rule, before starting work. The carburetor is adjusted in idle mode.
At the beginning of the season, it is recommended to check the carburetor for condensation that may have accumulated during standstill. The node is washed with a special liquid. Carburetor cleaner can be purchased at any automotive store.
Reducer
The gearbox transmits torque from the engine to the working bodies. Checking this unit is reduced to monitoring the level of the lubricant. Running without oil will lead to rapid wear of all gearbox parts. The frequency of checks is daily, before work is performed.
Reverse
Cultivator reverse usually does not work when resetting the adjustment settings. To restore the mechanism to work, the following operations should be performed before starting the engine:
- Screw in the adjusting screw until it stops;
- Insert the bracket into the first two holes from the arm mounting axis;
- Start the engine and engage reverse gear.
If reverse does not work, remove the adjusting screw until reverse is engaged. These operations must be repeated several times.
The adjusted reverse gear engages with a characteristic click, without extraneous sounds. There are no cases of spontaneous gear shifting.
Another likely reason for the lack of reverse is the mismatch of the teeth of the gears and the cavities of the gearbox. In this case, it is necessary to move the lever to the "STOP" position and turn the engine manually using the starter.
Belt
The V-belt is responsible for the clutch operation. There is a special casing to protect against mechanical damage.
Correct adjustment affects the reliability and durability of the belt. The recommended deflection is 26 mm. During operation, the tension is adjusted using a screw located on the handle.
Features of the mower device
Spare parts for the MF-70 mower
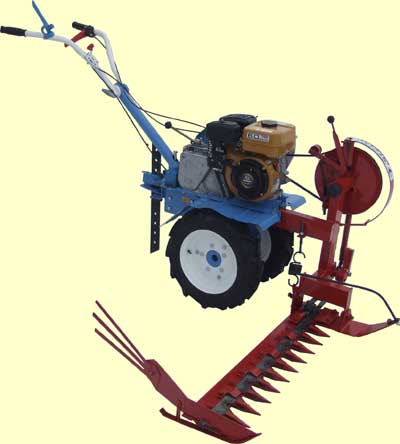
If we draw an analogy with walk-behind tractors, then the design of the mf 70 model is very interesting. In a small mower, the gearbox housing performs the bearing function. There is a gearbox at the back, and the power plant is located on the gearbox housing. On both sides of the gearbox there are wheel flanges where braking devices are mounted. The power take-off shaft is located in front of the gearbox, it is also designed for attachments.
The shaft housing houses the clutch and the shaft itself. A steering device is mounted on top of the gearbox. The clutch and gearbox controls are located on the mower steering wheel. The steering mechanism can be adjusted to different heights. Therefore, it is convenient to operate the device for an operator of any height.
The power plant used on the mf 70 is named 1z22. The power plant is single-cylinder with vertical mounting. The cylinder is two-contact.
The crankshaft transmits torque to the gears using a clutch. The gearbox has three speed modes: two forward and one reverse. The mower moves on pneumatic wheels.
Grass mowing unit
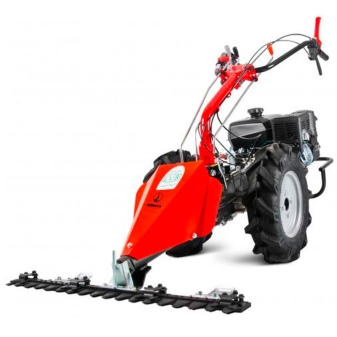
The fm 70 mower is a segment-tine model. The cutting device consists of a cutting and carrying bar with a drive mechanism. During operation, the cutting bar vibrates, and the supporting bar remains in place. Sharp fingers cut the vegetation evenly and do not damage the root of the lawn grass.
The cutting unit is located on two shoes that allow you to adjust the level of the bevel. The drive from the cutting element is located in the mower body, therefore it is reliably protected from damage.
How to connect the mower correctly?
Compared to walk-behind tractors, any beginner can connect and aggregate the mower. Detailed connection instructions are included with the new model.
The drive mechanism is put on top of the power take-off housing. The body of the working part of the mower is fixed with a special pin.
Below, under the power plant, near the mower there is a small connecting element to the trailer. Therefore, the owner will be able to attach a small cart with a carrying capacity of up to 30 kg to the assistant.
You can store the motorcycle assistant in a garage or under a shed in a dry and ventilated place.


