Varieties of rollers: which one is better to choose?
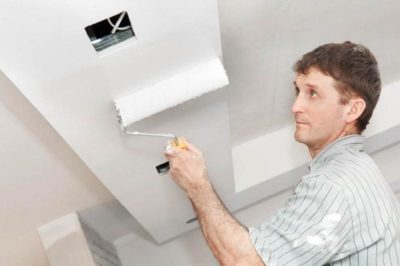
The type and quality of the tool used affect the final result no less (and sometimes even more) than the coloring composition itself. We sweep aside the brush right away - it is convenient to paint over bevels, wall joints, various recesses and niches with it, but it is not suitable for painting the ceiling. For this purpose, a roller is used, which provides a much greater coverage of the painted surface in one movement.
The main types of rollers
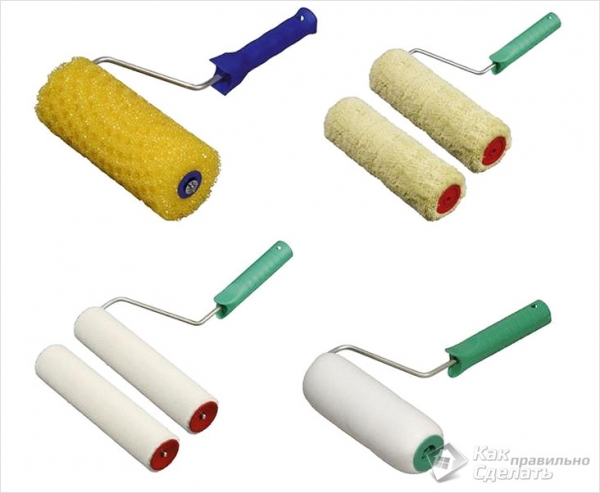
In hardware stores, you can see many different rollers, which differ in the coating material of the working surface; in particular, these are:
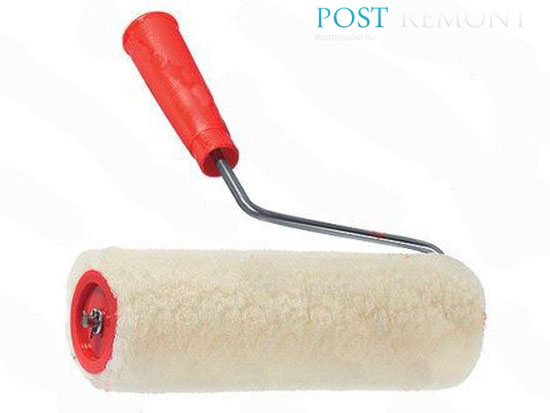
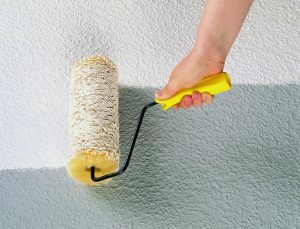
Rollers coated with natural sheepskin are one of the highest quality. They keep paint consumption to a minimum and provide an even, uniform lump-free finish. Sheepskin rollers are universal, they are suitable for paints on any basis - water-based, acrylic, oil. The only drawback of such tools is their price: rollers made of natural material are more expensive than synthetic counterparts.
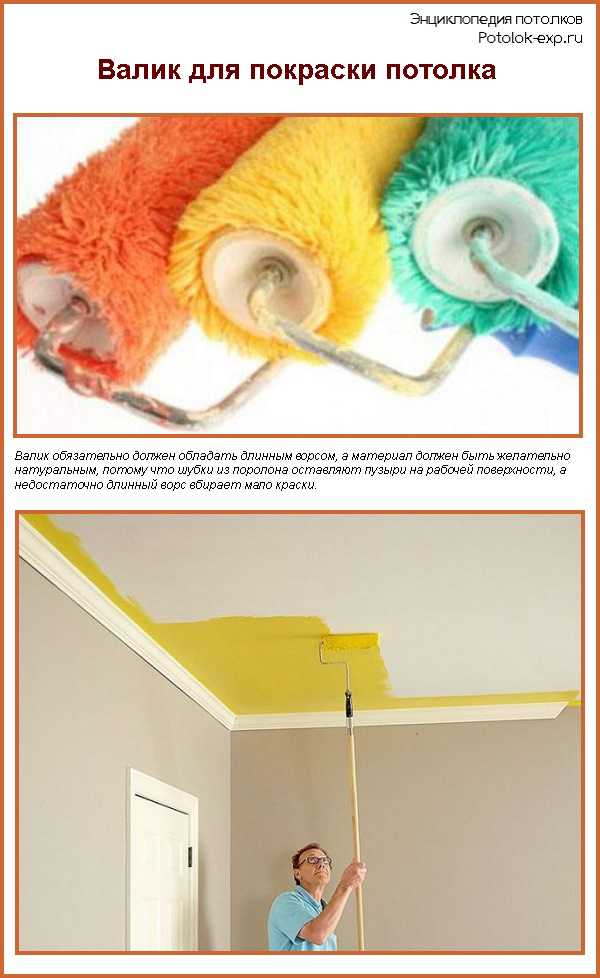
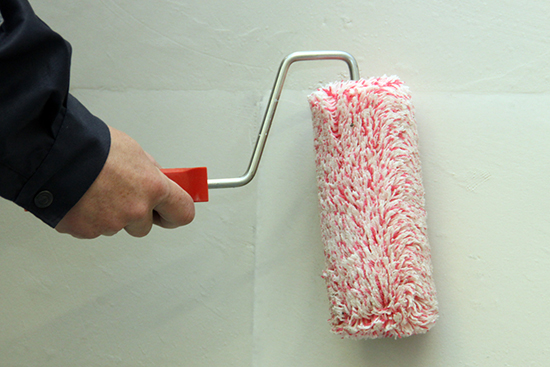
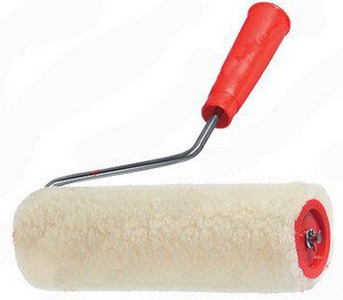
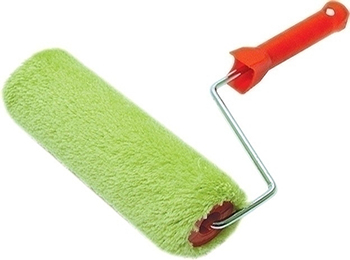
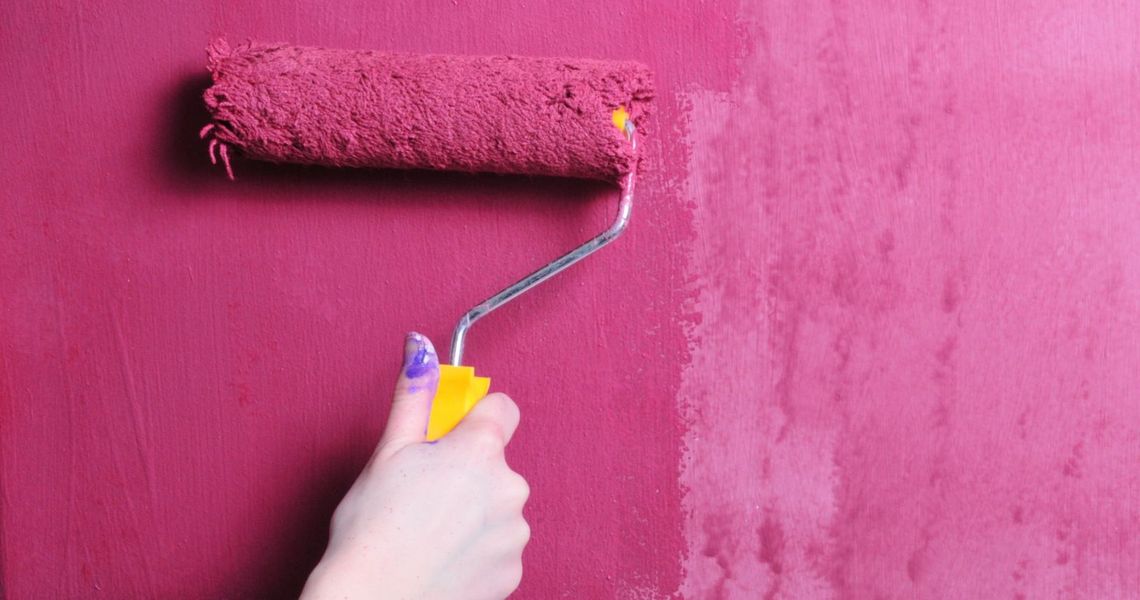
Plush and terry rollers are a more budget option. Their main drawback is low durability, but they are also inexpensive, so a damaged tool will be easy to replace. The texture of the coating depends on the length of the pile. Long-haired rollers produce a smooth, glossy finish, while short-haired instruments provide a micro-bubble texture.
Polyacrylic terry roller
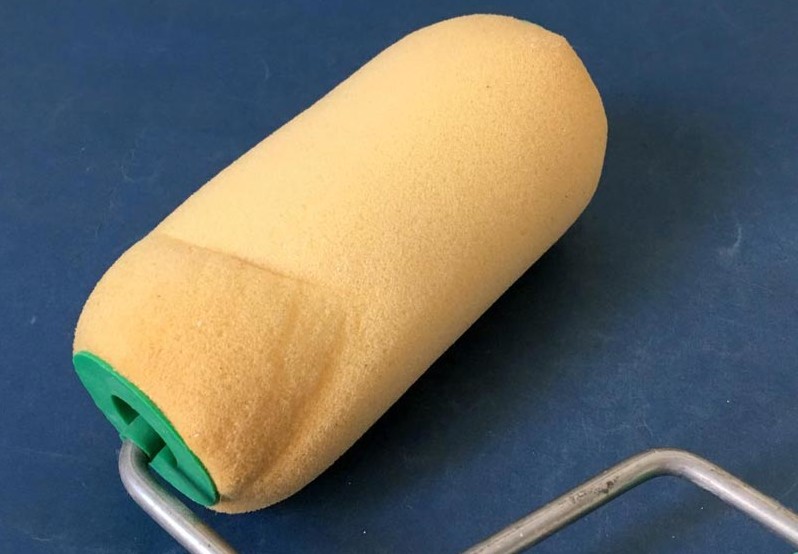
Rollers with a work surface made of foam rubber are the worst suited for painting the ceiling. They are cheaper than the others, but significantly increase the consumption of paint (it flows from the surface of the roller, staining everything around) and lead to the formation of bubbles on the freshly painted surface, which spoil the texture of the coating.
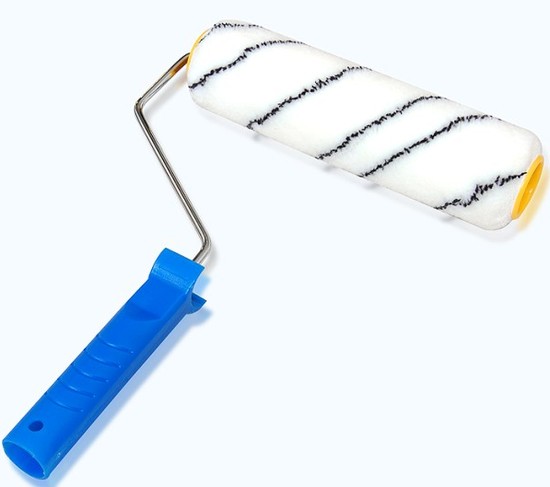
Reinforced pile rollers are considered the most durable. Due to the interweaving of synthetic fibers with metal threads, the cover of the working surface is not deformed, keeping the same length in all its sections. Another name for such rollers is "golden thread". They are even more expensive than sheepskin, but the quality justifies the investment.
There are also special rollers for embossed ceiling finishing. allowing you to leave different patterns on its surface. The working surface of such instruments is made of leather.
Embossed paint rollers
How to choose the right roller
Water-based paints differ in their composition, but the basis for all is water, which also serves as a thinner. In each case, the components provide a different viscosity (ductility) of the mixture, which affects the choice of tool.
To choose a roller for an aqueous emulsion, you need to pay attention to several basic parameters:
- Fur coat material. For these purposes, foam rubber, natural or artificial fur, acrylic, velor and other varieties can be used.
- Fixture size. There are variations in the length of the nozzle, each suitable for a specific task. The width of the pillow is also important.
- The possibility of replacing the components. The parts of the tool can be separated, which allows you to change the fur coat if it becomes unusable or another material is needed.
- Fastening. The bracket can be fixed from one or both sides, which affects the functionality of the roller.
Modern rollers are equipped with a convenient fur coat attachment system, which makes it easy to change the nozzle
Evaluation of all parameters will allow you to paint the surface with high quality and without flaws.
Material for fur coat
Paint rollers are usually divided into three main types, depending on the material:
- Plastic. These fixtures do not belong to direct application tools, they are used to give the surface a certain texture.
- Foam rubber. This option is considered one of the most popular, due to the low price and availability. With obvious advantages, it is this variety that has the most disadvantages, especially the rapid loss of its original form stands out. This tool is great for applying varnish, primer, adhesives and oil-based paints. When working with a water-based emulsion (regardless of its viscosity), many problems arise. Firstly, the foam rubber absorbs the coloring composition well. This leads to the fact that when working with the ceiling, most of the mortar falls on the floor, and when painting the walls, drips that are difficult to remove are formed. Secondly, such a roll promotes the appearance of bubbles, which impart irregularity to the surface.
Foam paint roller is one of the cheapest and requires some experience.
-
Hairy. This category includes materials whose fur coat has different lengths:
- Short pile. This is the best option for bases that have been thoroughly prepared. If the walls or ceiling have a rough structure, then the lack of paint on the instrument will have to be compensated for by frequent dipping into a container with the composition.
- Average. This size is considered universal, since in this case the paint is absorbed in the required volume and evenly distributed over the surface.
- Long. A large amount of composition and structure of the pile contribute to obtaining a thick layer and good texture of the coating.
Fur coat pile length
The disadvantage of this tool is hair loss. If the problem is permanent, then the coat needs to be replaced.
Width and size of the cylinder
The size of the working surface of the roller affects the time and characteristics of the process. The range of the cylinder width can vary from 5 to 30 cm, and the diameter - from 4 to 11 cm. The size gradation is as follows:
- Mini. The width of the tool is no more than 10 cm, and the diameter is up to 3 cm. They are used for work in hard-to-reach places, well suited for small areas.
- Average. Width - up to 15–18 cm with a diameter of up to 6 cm. The standard size that is used for work on prepared surfaces, including painting wallpaper.
- Big ones. More than 18 cm wide and over 6 cm in diameter. This is a specialized tool that requires certain skills to work with. Not suitable for low viscosity water emulsion.
Different roller widths help you to complete any task, from painting corners to façade work
There are also corner rolls, which have a small cylinder with a diameter of 5 to 12 cm.
Bracket attachment
The fixing of the bracket affects the order of work. There are two options:
Fastening on one side. This is a classic variation that allows you to change hands. Ideal for painting walls. The design can be collapsible or non-collapsible.
Tool with two-sided fixation. Allows you to quickly paint the ceiling and obtain surfaces of excellent quality
This is ensured by a uniform load, which is important when working at heights.
How to paint the ceiling with a water emulsion with your own hands
Each of the water-based paints on the can has instructions for use. The order of work is described there. Some formulations just need to be mixed well before work: undissolved polymers can settle at the bottom of the can. Some formulations require dilution. The amount of added water is also prescribed in the instructions and depends on the method of application. They dilute more under spray guns; when using a roller, thicker compositions are required.
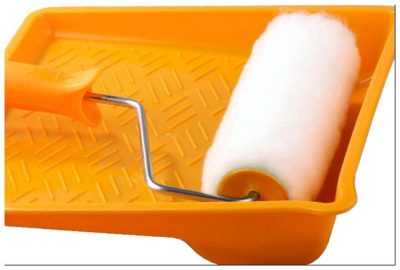
Paint tray makes work easier
When diluting a water emulsion with water, add it in small portions. Stir thoroughly and taste on the surface. If the paint lies flat, almost completely covers the base, you can paint.
It is more convenient to pour the paint into a special container with a bath and a ribbed platform. You can use a regular bowl and a clean piece of oilcloth, spread out next to it. It is not so convenient, but less expensive.
Which roller to choose
A roller for painting the ceiling with an aqueous emulsion is needed with a dense short nap. You need to examine it thoroughly. The pile should “sit” firmly and in no case should it “climb out”, even if you pull on it. Then inspect how the seam was made. In no case should he stand out. It must be hard to find. It is best if it is made obliquely.
Rollers for painting the ceiling with water-based emulsion
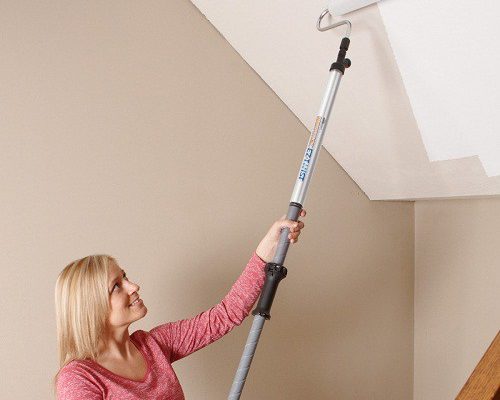
Devote maximum attention to the choice of roller: the quality of the painting - the absence of stripes on the ceiling - largely depends on how good you have chosen the tool. It is more convenient to whitewash the ceiling with a water emulsion not from a stepladder, but from the floor. To do this, the roller is placed on a long handle and fixed well.
How to paint without streaks
So that there are no stripes on the ceiling, painting the ceiling with water-based paint should be finished no later than 20 minutes. Water immediately after application begins to actively absorb / evaporate and stripes appear at the junction of the dried and "fresh" color. Therefore, it is advisable to prepare the room. It is necessary to turn off (wrap up) the heating batteries, to prevent the appearance of a draft. It is also advisable to clean the floor immediately before whitewashing, even if you work during the day, turn on the lights, this will allow you to better control the quality of the painting. Then you can get to work.
Ready-to-use water-based paint is poured into a container, a roller is dipped into it, then rolled well over the site, achieving uniform distribution over the entire surface. When the roller has a solid color, they begin to paint.
The corners are painted over with the first brush. After applying a little paint, take a small roller and roll it out well. Then they begin to paint the main surface. The first layer is applied parallel to the window, the second - perpendicularly.
You need to stand so as to look at the painted place at an angle. This will give you a good chance to see how evenly the paint is distributed, as well as the place where you have already painted and where not. Move systematically, without jumping from one piece to another.
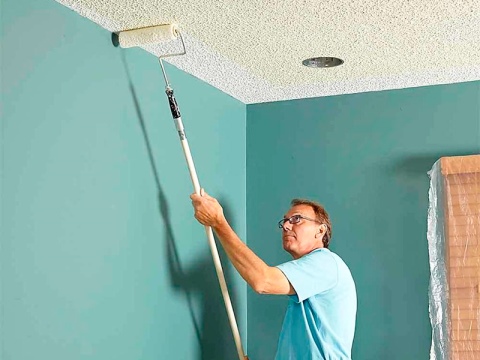
It is more convenient to paint from the floor, and for this, the roller must be attached to a long, but lightweight handle.
The width of the strip to be painted at a time is slightly larger than the width of the roller. After wetting the roller, place it approximately in the middle of the strip. Quickly roll the paint in both directions from one wall to the other. Don't waste a lot of time: you don't have much of it. On average, the water emulsion dries up in 10-20 seconds. Before that, you did not have time to apply a strip nearby - the border will be clearly visible, from which you will not get rid of. Having distributed the paint more or less evenly over the strip, dip the roller in the paint, and again roll it out from the middle of the ceiling. At the same time, enter the not already painted strip by about 10 cm. All this at a good pace without stopping and smoking breaks. The edges of the painted strip must not dry out. In general, these are all rules.
After applying the first coat of paint, some areas may be less stained. It is necessary to wait for complete drying, and paint a second time. This should already be enough to get a flat surface. If after the third layer of water-based paint you still have streaks and streaks on the ceiling, you will have to redo it. It is necessary to level the surface with sandpaper, prime and paint again.
Which color
The easiest way to achieve perfect color evenness is to use "snow white" paint.All pigments clearly highlight even small irregularities, therefore, the process of filling the ceiling should be given maximum attention or use an acrylic or silicone based water emulsion.
How to choose a roller for applying paint to the ceiling
When purchasing a roller for the ceiling, you must take into account the following rules:
For large flat ceilings, a wide tool will do.
and it is more convenient for small ones to paint surfaces of small sizes and multi-level.
Pay attention to its diameter. With an increase in the area of \ u200b \ u200bthe ceiling to be painted, a larger roller is required
But, it should be borne in mind that when painting the ceiling with a large tool, its weight increases, which becomes significant after the paint has been absorbed. If the ceiling has a large area, you can quickly get tired, which will reduce the overall speed of painting.
Tip: If you cannot do with a small roller, a nozzle extending to the handle of the tool or a special telescopic handle that makes it possible not to use a stepladder, which will facilitate the painting process, helps to facilitate the task.
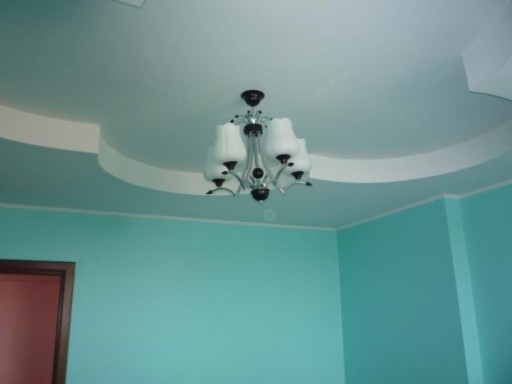
The shape of the ceiling surface plays a role. which in modern rooms can be two or more levels, and besides, sometimes with rather intricate outlines. Painting such ceilings with large rollers is almost impossible due to the large number of hard-to-reach places. In this case, you should purchase a small tool size, and use brushes to paint hard-to-reach places.
Tip: When choosing a roller for coating the ceiling with your own hands, you should take into account the type of paint used, the features of the surface for painting: its area and relief, your financial capabilities and personal preferences of the painter.
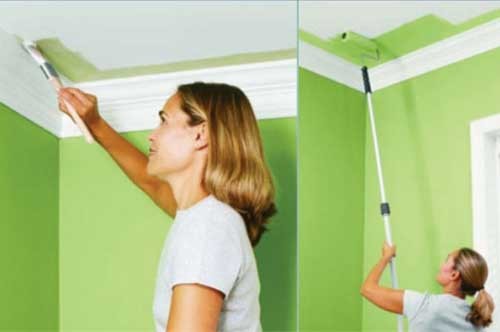
Painting the ceiling with a roller and brush
To the question of what is better to paint the ceiling with a roller or a brush, some tips will help answer:
- The larger the area, the higher the productivity of the roller. On large areas, when painting with a brush, streaks, smears, and uneven coating will be more noticeable. After spending a lot of time painting the ceiling or walls, the quality will be very low.
- When applying paint with a roller, you can practically not leave the place, performing a reciprocating movement of the tool, which is especially convenient in cramped conditions or in the presence of a large number of objects, including furniture. To work with a brush, you will need to simplify access to the work surface.
- The roller requires a special container or tray for paint, as in the photo.

Roller tray
This creates additional costs, but when working with a brush, the painter must hold several objects in his hands while painting the ceiling, which is not very convenient.
Pile practically does not fall out of the roller
This is very important when applying the thinnest layers of coating.
It is more convenient to whitewash the ceiling with lime with a large brush, and it is more difficult to work with a roller with such a solution.
A roller is often used to work with stencils, but it is impossible to draw any drawing with it. Tip: Even a high-quality and professional roller will not replace a brush in hard-to-reach places.
To paint the ceiling, you should purchase several brushes, preferably of different sizes
Tip: Even a high-quality and professional roller will not replace a brush in hard-to-reach places. To paint the ceiling, you should purchase several brushes, preferably in different sizes.
Painting the ceiling with a spray gun has its pros and cons.
When working with him, you must:
- Thoroughly protect furniture and surfaces that cannot be painted.
- The tool must be at a certain distance from the ceiling. If it is too close, paint build-up will appear, and far away, paint will fall on walls and windows.
Tip: Painting the ceiling should be started from the edges with a brush, then with a spray gun or roller.To work with a spray gun, add a solvent in a ratio of 1:10, from the required volume of paint.
How to prepare a surface for painting with a roller can be seen in detail in the video in this article.
Features of working with rollers
It is not enough to choose a suitable roller, it still needs to be handled correctly. Here are some tips to help you make your job even easier:
- a new roller must be rolled out in a tray before using it on the ceiling;
- apply layers from the window - this will hide the smallest errors;
- paint the ceiling in one go - the roller will cope with the load exactly, and the borders will not be visible on the ceiling;
- after painting the site, step aside - at a right angle you cannot see what immediately pops up under the oblique;
- each new layer is applied with a roller perpendicular to the previous one;
- ideally, each new layer is applied with different rollers - it turns out more beautiful and neat;
- if the layer of paint is already dry, irregularities can no longer be corrected.
For more details on painting with water-based paint, see another article with a video.
Secrets of perfectly even coloring from experienced painters
There are some tricks in painting the ceiling with a roller. If you do not know them, even the highest quality materials and tools will not give you the desired result. Here are the main secrets of success:
- The last layer of emulsion is placed in the direction of the window. This way, the light will fall along the stripes of paint, and the joints will become invisible.
- Have you missed an unpainted area? Do not try to paint over a single defect - you will get a speckled ceiling. It is necessary to cover the entire (!) Surface with an additional layer of emulsion.
- To spot poorly stained areas in time, look at the ceiling from different angles. It is even more convenient to have an assistant who will look at your work from the outside.
- Don't skimp on the primer. Without it, the paint will quickly be absorbed into the surface, will not adhere well and will soon simply fly around.
- Paint quickly. Applying one layer of emulsion to the ceiling in a room of 20-30 sq. m takes up to half an hour. If you try for a long time, the paint will begin to dry under your hands, stick to the pile, and everything will be ruined.
As you can see, painting the ceiling with a roller is not difficult at all. Equip yourself with a good tool, buy quality paint, use our advice, and you are guaranteed success.
VIDEO:
How to paint a ceiling with a roller
Painting is carried out in several stages:
- Surface preparation.
After you have taken out all the furniture from the room and covered the one that cannot be taken out with plastic wrap, you can start preparing the surface for painting.
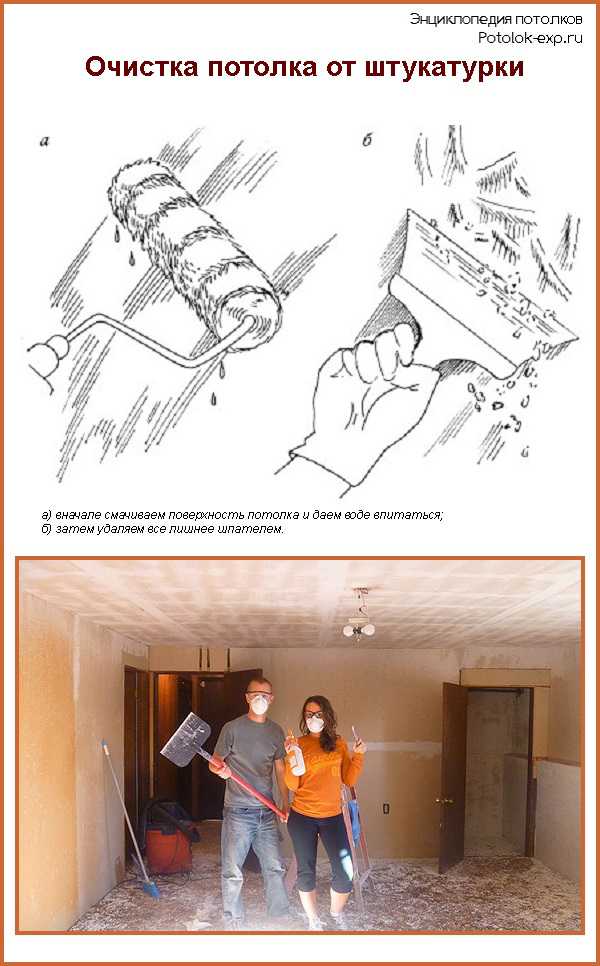
- First you need to clean it from the old whitewash.
- If there are seams on the ceiling, it is necessary to free them from the old putty with a spatula and carefully seal them with fresh compound.
- Sand the surface with sandpaper and remove all dust.
After cleaning and processing the seams, a primer mixture is applied
The primer should be applied starting from one of the corners and moving along the perimeter, proceed to the treatment of the entire surface of the ceiling, paying special attention to the corners and hard-to-reach places. This is done so that the plaster adheres tightly and does not crumble. Picture 2
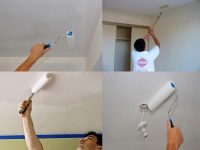
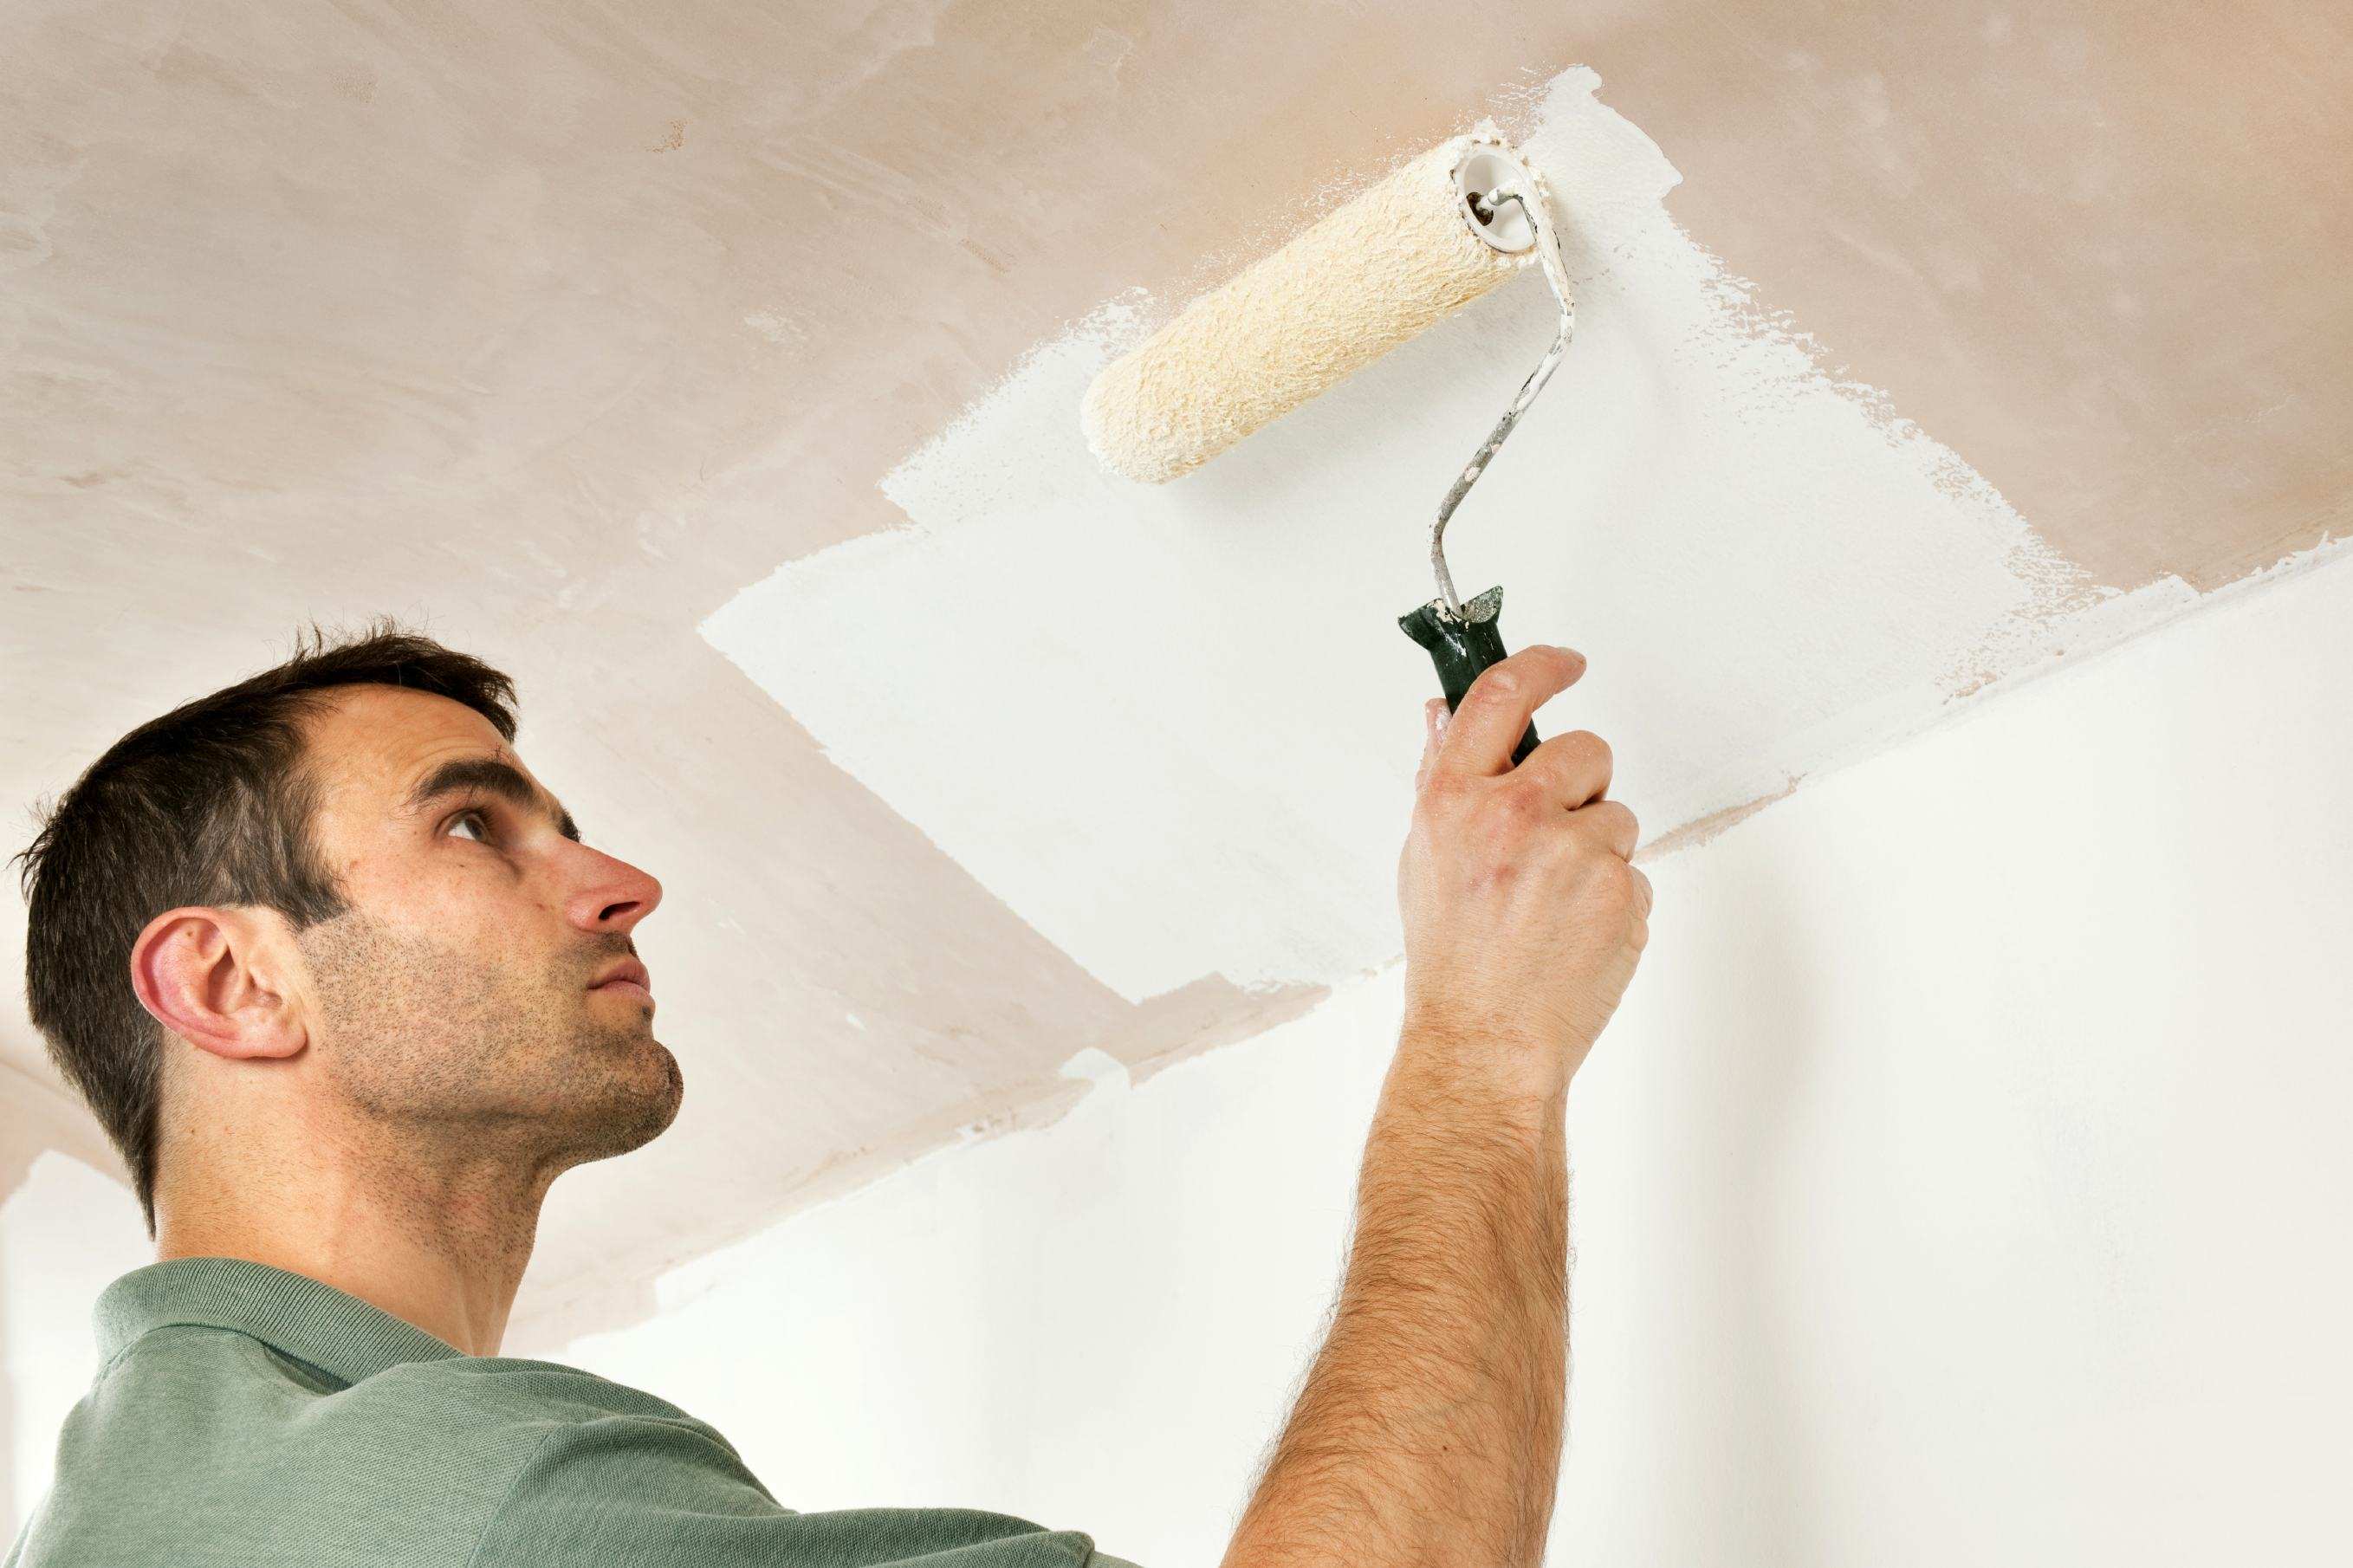
Painting the ceiling in stripes
Figure 2. Painting the ceiling in stripes.
Next, using a special compound and a spatula, it is necessary to plaster the ceiling to obtain a perfectly flat surface. After finishing the putty, you should walk with fine sandpaper over the entire surface, destroying all irregularities and defects.
- Coloring.
The choice of paint must be taken very responsibly, because the process and quality of staining, appearance, durability of the finish, as well as the serviceability of the tool will depend on this. If the paint is not thinned enough, then the roller will have to work in difficult conditions, and it will quickly deteriorate. For example, a foam covering begins to flake and tear.
The most suitable for painting the ceiling is water-based paint. It ensures the application of an even and uniform layer, dries quite quickly, is non-toxic, does not have an unpleasant odor, and is easily washed off from hands and used tools.
After completing all the preparatory work, you can directly start painting the ceiling with a roller.
- Use a brush to paint over all the corners and other hard-to-reach areas.
- Then pour paint into the tray, dip the roller and roll it on the wringing net several times.
- After the roller is saturated with paint on all sides, start painting by rolling it over the surface of the ceiling.
- Apply stripes 50 centimeters wide to ensure the paint is applied correctly and evenly.
- The new strip must necessarily fall on the previous one by at least 10 centimeters to avoid the presence of gaps.
- When painting, do not tear the roller off the surface, and as the paint is consumed, increase the pressure.
- When the roller runs out of ink, dip it back into the tray.
Figure 3. Painting the ceiling in a perpendicular way.
And so continue until the end of the painting.
After you have applied the first coat of paint, you need to wait until it is completely dry, and then apply the second coat in the same way. However, keep in mind that the joints of the first layer should never coincide with the joints of the new one.
There are two ways to paint a ceiling surface correctly:
- Stripes, from one side to the other and vice versa. This method allows you to paint the surface perfectly without leaving any gaps. Figure 2.
- First, paint the surface horizontally, and apply the second layer vertically. Figure 3.
After finishing painting work, you need to thoroughly clean the tool and send it to storage.
Otherwise, the tool will deteriorate and you will never be able to use it.
If the work was carried out using water-based paint, it is necessary to wash the tool in water and, so as not to cause its deformation, without wringing it, hang it to dry.
When varnishes or acrylic paints were used to paint the surface, a special composition will be needed. The cleaning procedure must be performed immediately after completion of work.
What roller to paint the ceiling
It is quite important to choose the right roller for painting the ceiling with water-based paint. Many people recommend testing the product before the purchase, so it is possible to prevent the purchase of a defective product. Undoubtedly, cost comes first
As a rule, budget models are not able to provide high-quality painting, in addition, the operational life will be much lower.
Undoubtedly, cost comes first. As a rule, budget models are not able to provide high-quality painting, in addition, the operational life will be much lower.
It is best to do the following:
first of all, it is recommended to squeeze the roller and check it for deformation, if the tool is deformed, then it is better not to purchase it;
it is important to understand that if there is a seam on the fur coat, then the composition will fall on the surface of poor quality, as there will be traces;
when choosing a fur coat with a long pile, you should first tug on it a little, if after these actions there is a pile in your hand, then you should think about the quality of the product.
If you adhere to these simple recommendations, you can avoid buying low quality products.
How to choose a roller for painting the ceiling by type of construction
Today on sale you can find a large number of tools designed to apply a paint and varnish composition to the surface of the ceiling. Since it is quite easy to get lost in this abundance, it is worth understanding what options exist.
If we consider the design features according to the principle of operation, then in this case it is possible to distinguish the following models:
- A familiar submersible model.
- With a piston system that supplies paint. In this case, the pen is a kind of reservoir that can hold up to 500 ml of paint and varnish composition.
- Automatic paint supply. Such devices are expensive, but the payback comes from the high level of performance.
Thanks to this variety, you can choose a tool on a budget.
What kind of roller is needed for painting a ceiling like a fur coat
If we consider the finished product by the type of coating, then it is worth highlighting the following models:
- fur is a universal option suitable for all compositions;
- foam rubber - great for painting, but a limited number of paints and varnishes;
- velor - used mainly for varnish, the tool is intended mainly for professionals;
- threads or fabric is a great option for paints of any kind;
- models with a smooth surface - as practice shows, these options are intended only for smooth surfaces that have passed a preliminary preparation process.
The best option is a fur coat.

How to choose the size of the drum on the roller for painting the ceiling
When choosing a roller for applying paint, you should pay special attention to the size of the drum. Today the drum is found in 3 variations:
- Short - dimensions vary from 8 to 10 cm, diameter is about 10-15 mm. This option is great for places that are difficult to reach and for small areas.
- Medium - 15-20 cm, diameter 20 to 90 mm. An excellent option for painting the ceiling surface.
- Long - from 25 cm, diameter more than 80 mm. These models have reinforced fasteners, high quality nozzle material.
When you need to paint a small area, the choice of model is not so fundamental.
Important! Long rollers are considered professional.

What is the best roller handle size for painting the ceiling?
When you plan to paint the surface of the ceiling, you should choose the right tool for applying paint. As practice shows, the most popular tool for carrying out these works is the roller. On the market of goods and services on sale, you can find a large number of products that differ not only in the skin, pile length, material, drum size, but also the length of the handle.
As a rule, the length of the handle starts from 70 cm.Thanks to the presence of the telescopic base, it is possible to extend the handle up to 4 m
It is important to understand that not every product can be equipped with a long handle. That is why it is recommended to first take into account at what height the work will be carried out and on this basis choose a roller of suitable dimensions for work


