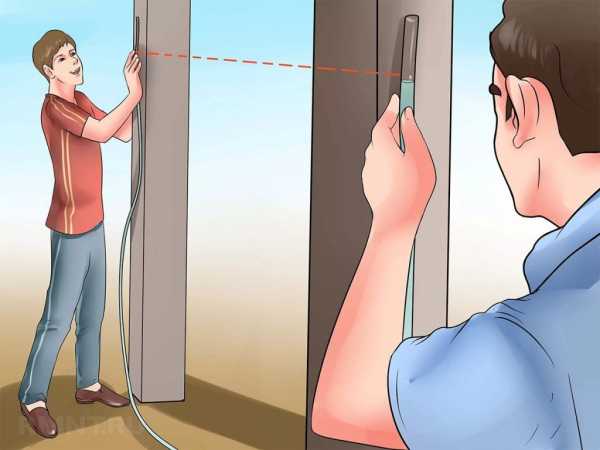
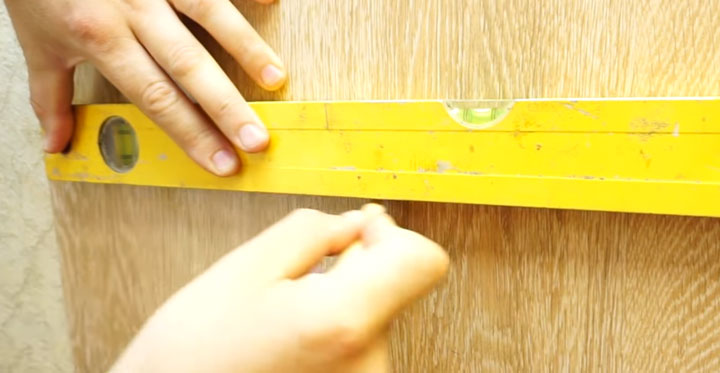
Level calibration
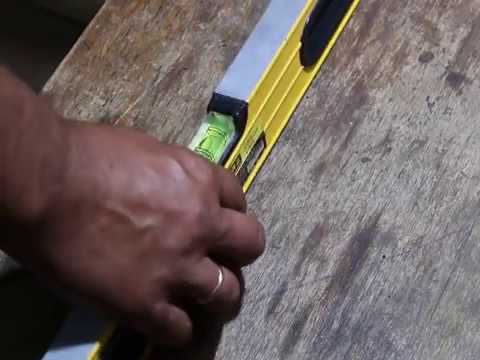
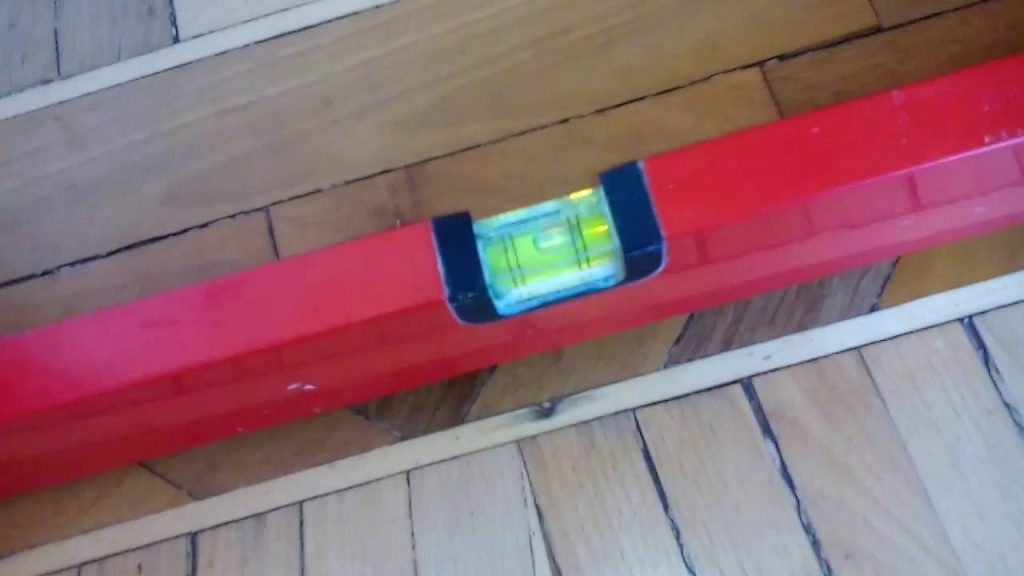
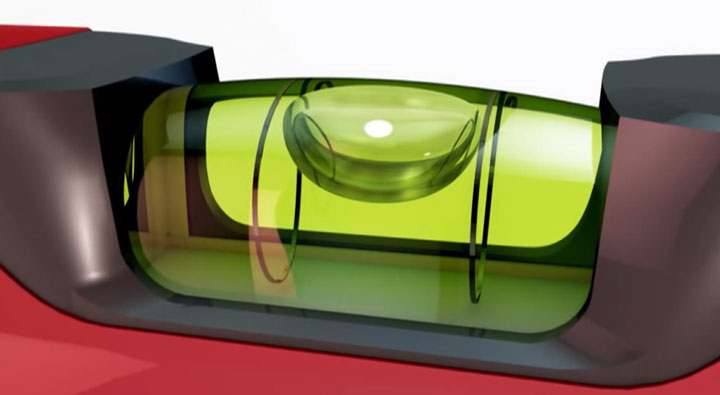
When the bulb is secured with screws, it is quite easy to calibrate:
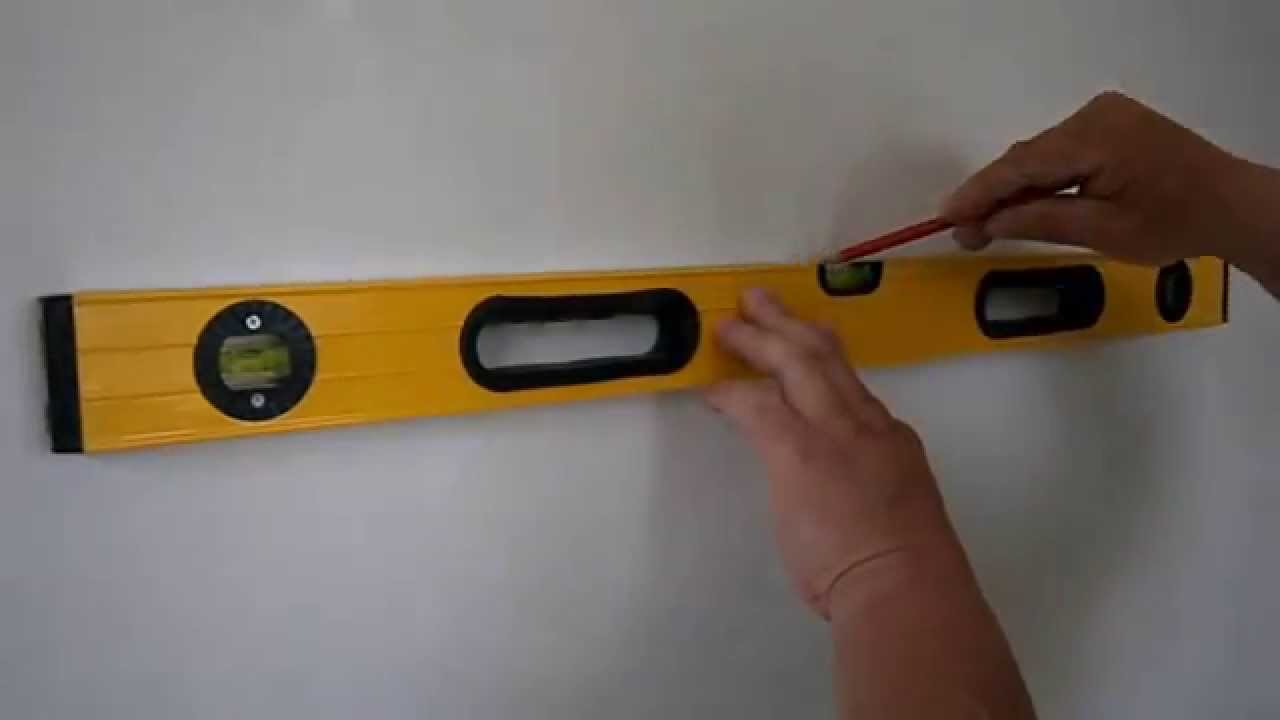
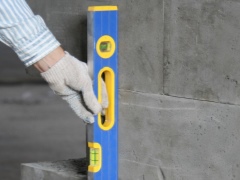
apply the rail to the wall and place the bubble strictly in the center. Mark and draw a line below.
flip the level to the other side and align with one of the ends of the segment. Again, make sure the bubble is centered. Draw the second line.
now it remains to divide the resulting angle in half and draw a line between the two third (bisector)
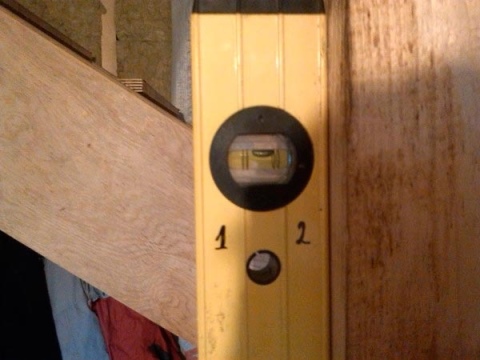
apply the rail to this line and adjust the flask with the screws until the bubble is centered
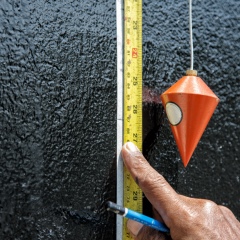
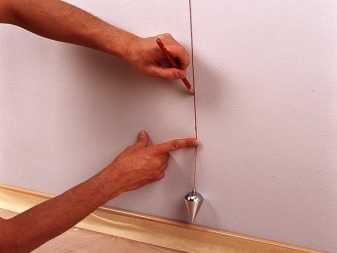
The correct vertical is plumb. Moreover, the plumb line must be of non-ferrous metal.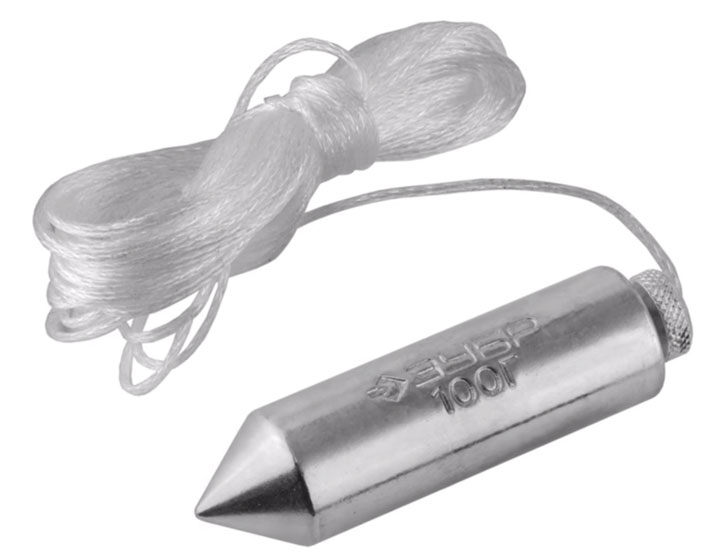
Steel with a long enough cord can be affected by magnetic fields. In addition, magnetized sawdust often adheres to the plumb line itself, and this is again an extra error and deviation.
If the flask is glued in, then you can try to adjust it by lightly tapping on the screwdriver attached to the edges of the flask.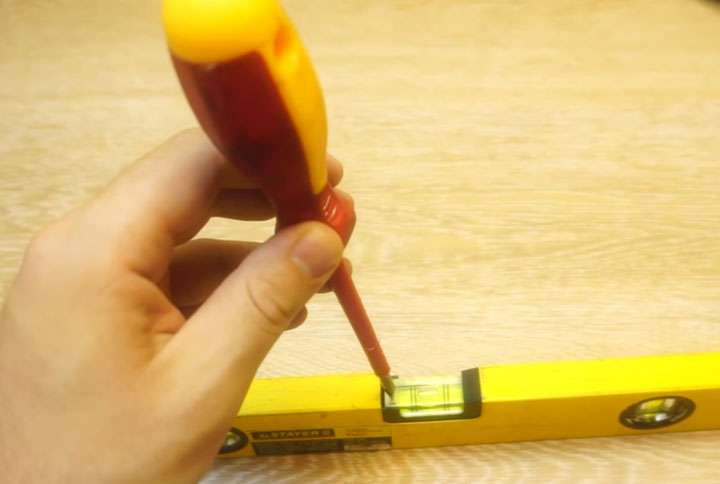
You need to hit the elevated part. True, it is problematic to achieve good accuracy in this way.
Either way, you have little to lose. After all, your level is already shamelessly lying. If this method helped, it is necessary to glue the joints of the flask with superglue.
Varieties of levels
 In order to correctly adjust the level, you first need to decide what it will be.
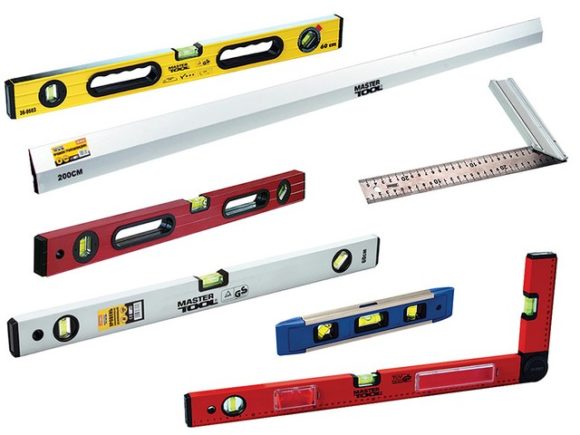
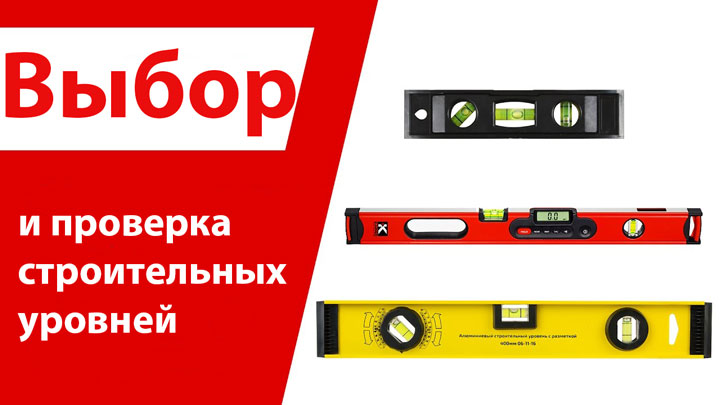
Manufacturers today offer:
- Hydro level (water) is a common type, which is 2 single flasks, connected by a hose. Its length is 5-25 m, while a scale is applied to the flasks for ease of use. This level does not need to be adjusted, it is used only for the horizontal plane. The price of the equipment is low, it is such a mechanism that is designed to install other types of equipment.
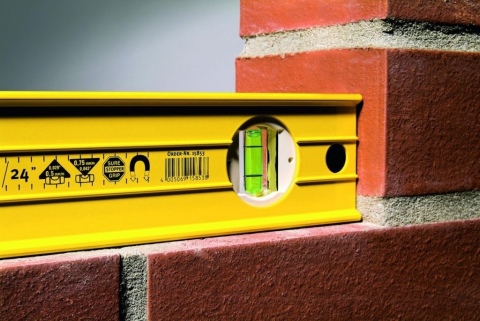
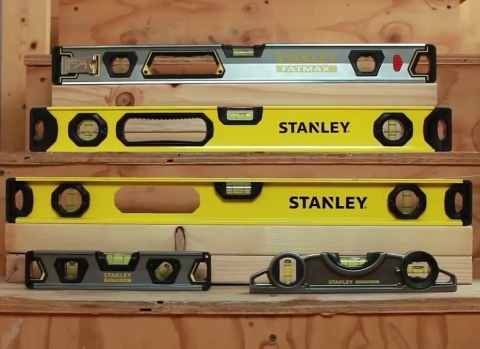
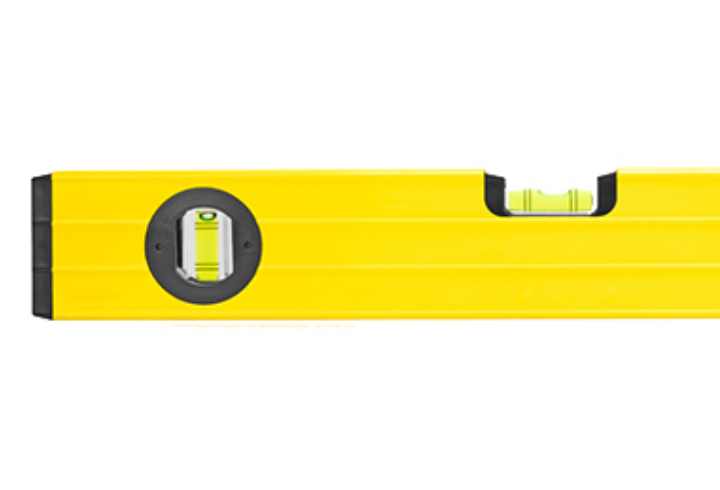
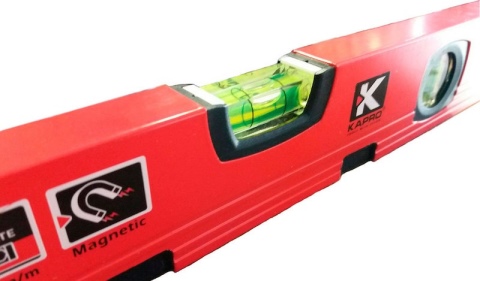
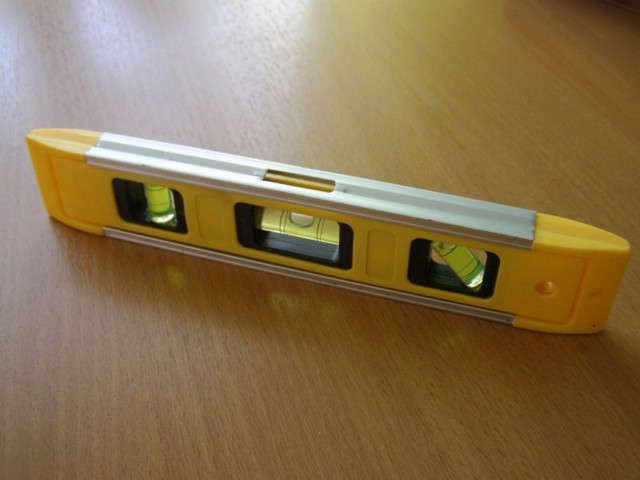
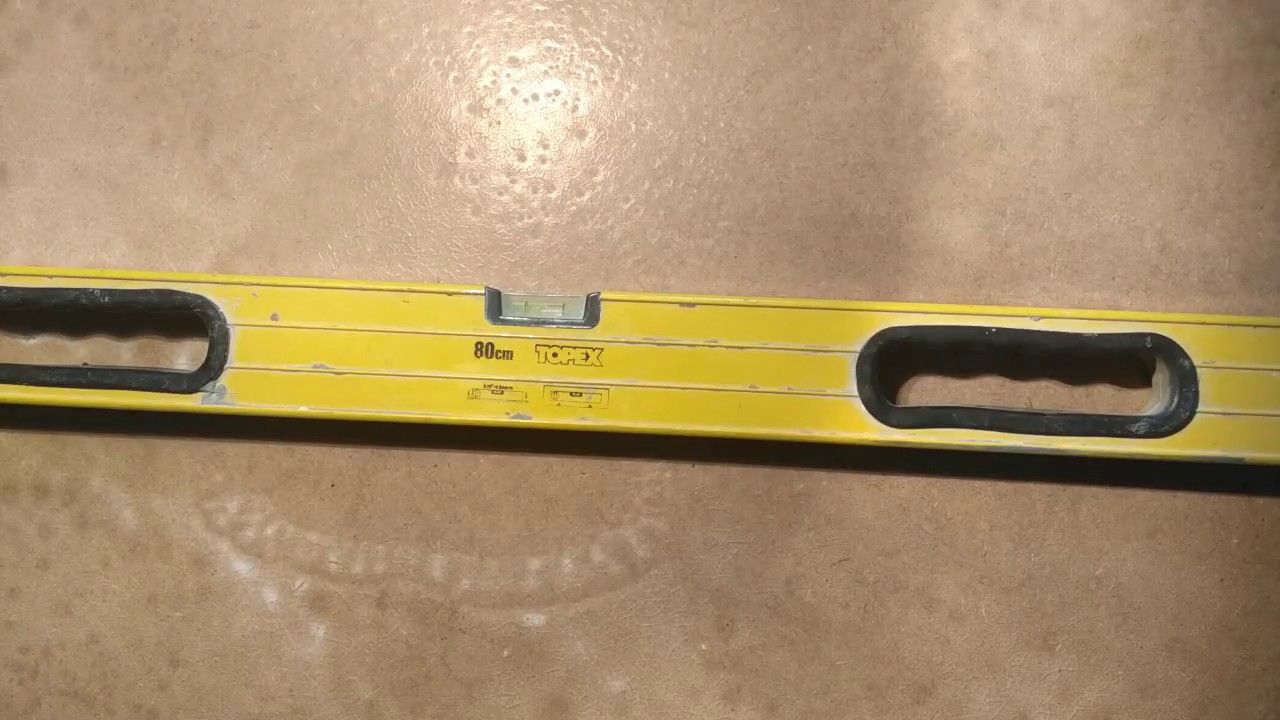
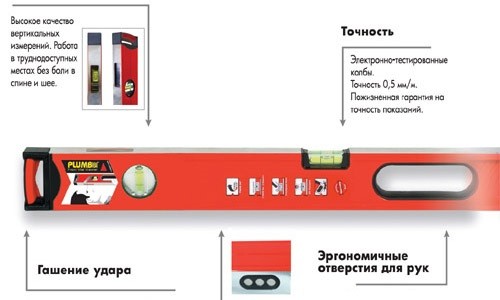
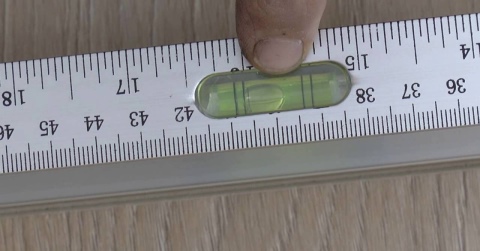
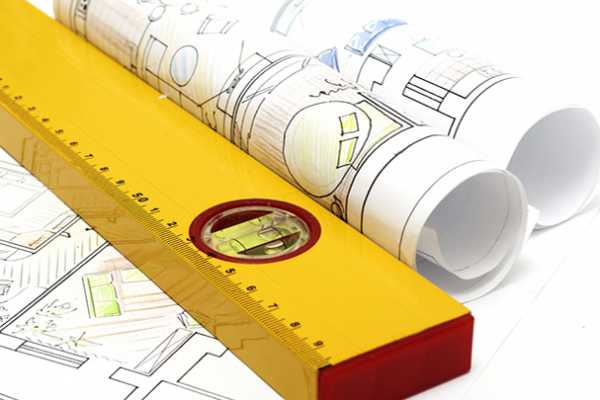
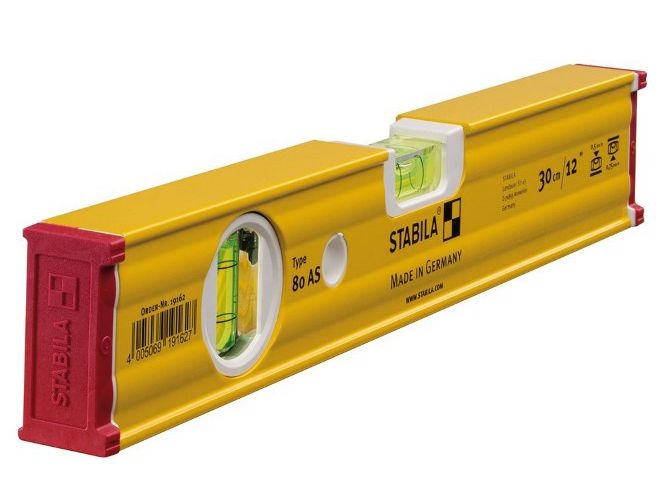
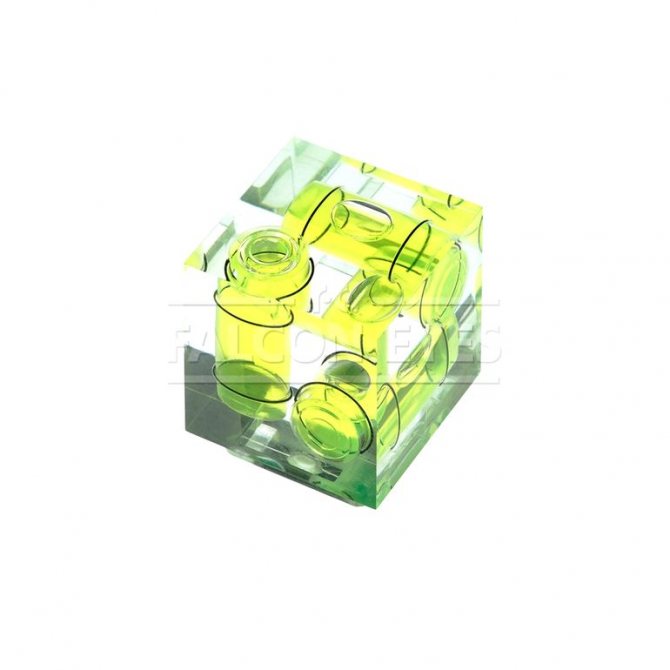
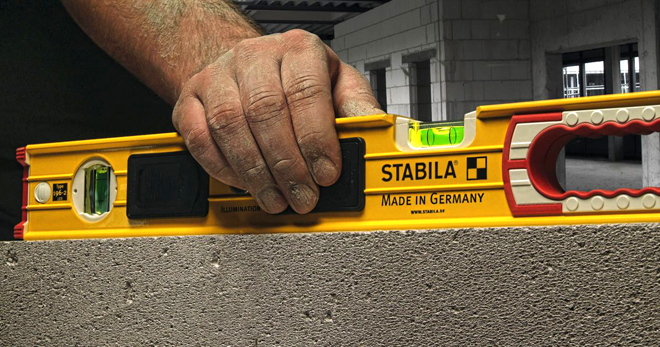
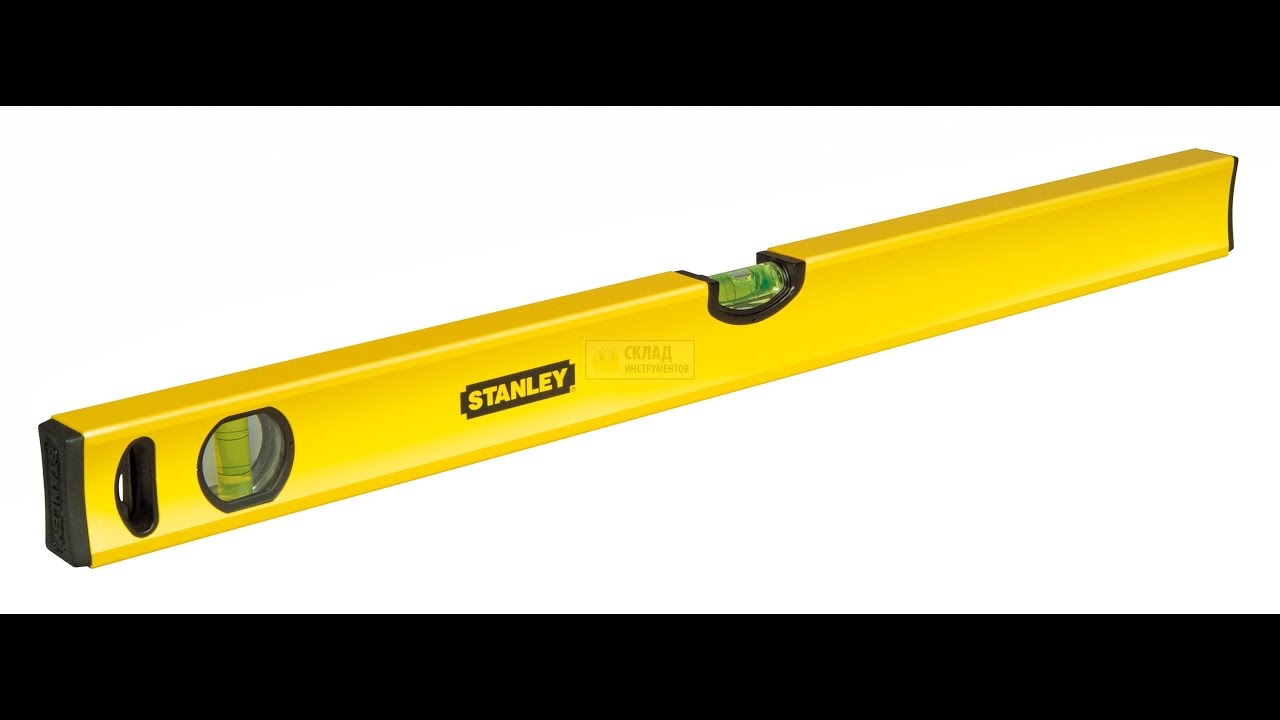
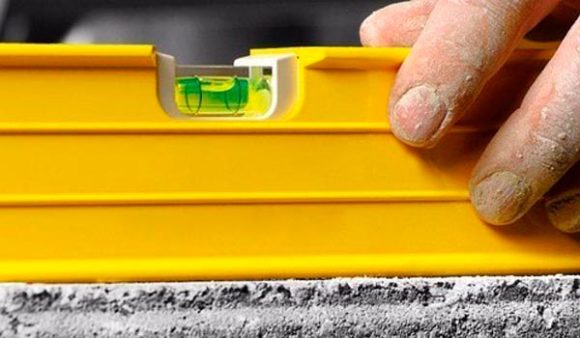
- Bubble device - makes it possible to carry out precise work. In appearance, it is a ruler of various lengths, which contains 3 flasks filled with liquid (most often alcohol). A tool is used for vertical, horizontal measurements, but it must be installed before starting work.
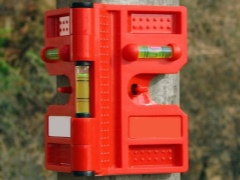
- Magnetic - is a special equipment with magnetic inserts, it guarantees a high level of convenience when working with iron surfaces.
- Pipe - has a low weight and small size. Ideal for measuring pipes, profiles and similar materials.
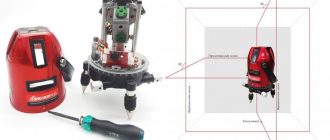
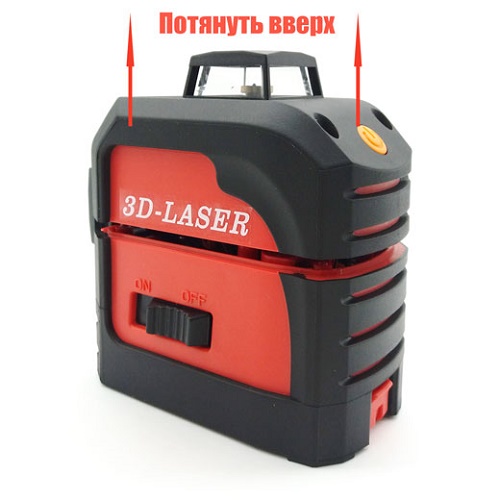
- Laser is a precise special equipment with small dimensions. The range of its beam, with the support of which the measurement is carried out, is 100 m. The system of the device can be different, most often it is inserted in a tripod, but there are also magnetic types. The modifications themselves are presented in a wide variety, it is possible to choose directly the type that is needed.
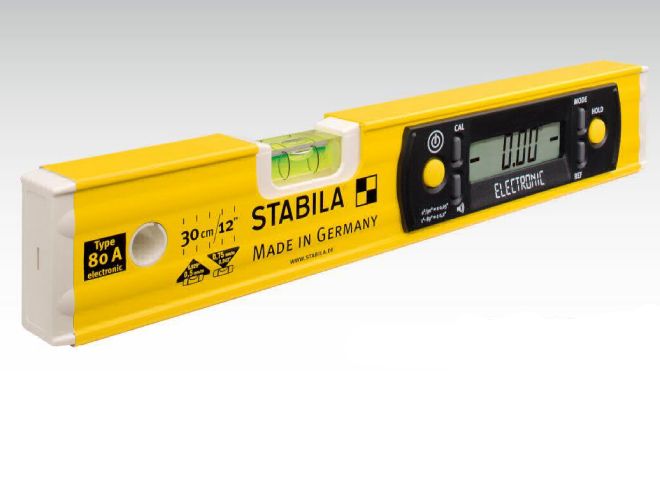
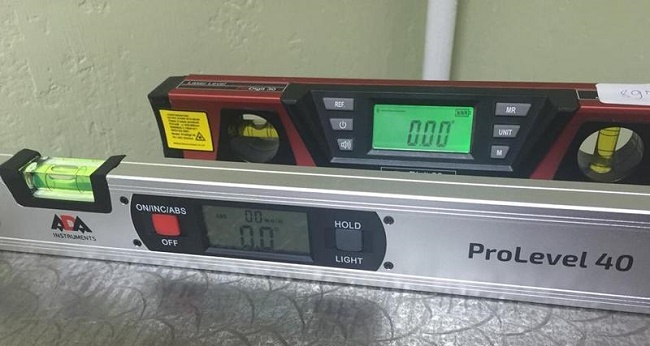
- The electronic laser mechanism is a digital special equipment, special instructions are used for its adjustment. The price of the equipment is higher, but the quality is also excellent.
Frame
When choosing a level, first of all, you should pay attention to its body. It must have thick walls (at least 1.5-2mm thick), or be cast
In the presence of inserts at the ends, it is difficult to determine the thickness of the metal "by eye". Therefore, focus more on weight. Thin-walled very light and literally pressed through with your fingers.
Even T-strips are not always more rigid than rectangular profiles. Much depends on the manufacturer.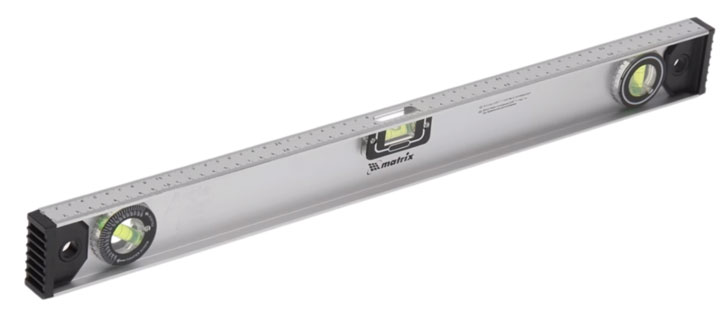
A defect in the form of a bending profile can appear if you do not carry it in a separate case, but in a simple bag with the rest of the tool.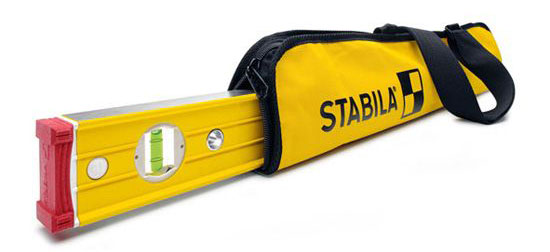
It is very good if there are shockproof rubberized inserts along the edges. It is rubber, not plastic. When dropped, the plastic just breaks off.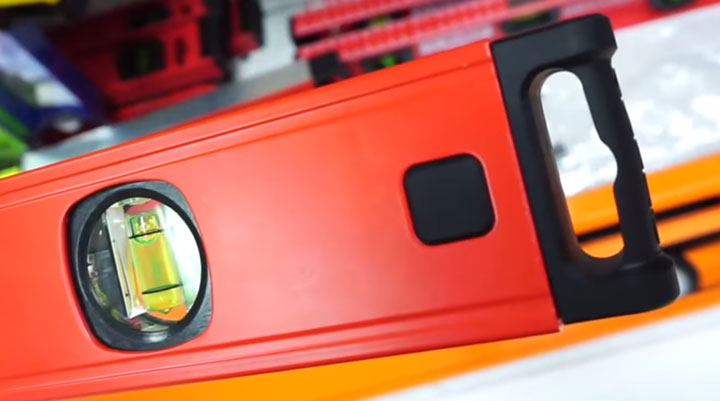
For household needs, the most optimal building level length is 60cm.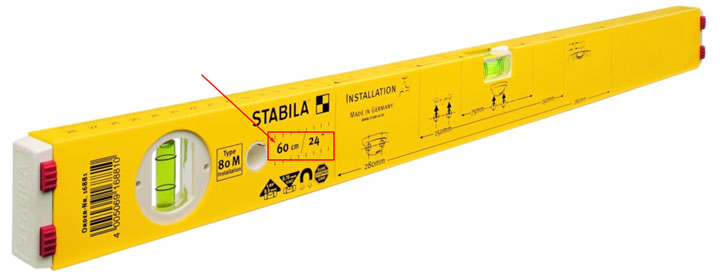
Sometimes it is very useful if the level has magnetic inserts.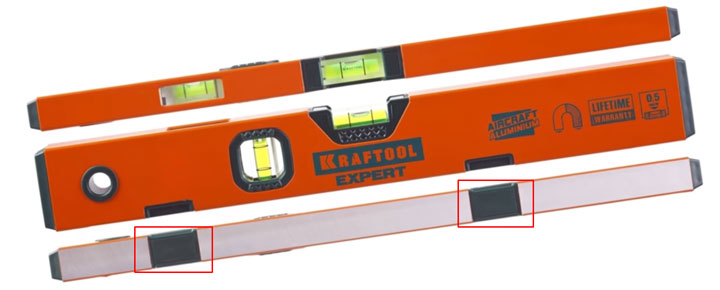
And if there are also holes for the dimensions of the block of 220V sockets, then this greatly facilitates the work of an electrician.
Of course, you can have several instruments of different lengths. One is small for the installation of a block of outlets, the other is larger for large switchboards, boxes and cable ducts.
How to use a laser level at home, expert advice
Laser levels have long been popular with professional builders. Due to the gradually decreasing prices for these useful devices, home craftsmen have also begun to use them. However, it is difficult for a builder without experience to master this rather complex tool. We will help you understand the variety of models and the rules of use and adjustment.
- Aligning the walls,
- Floor screed production,
- Wallpaper pasting,
- Laying tiles,
- Installation of door frames and window frames.
All this can be done using bubble and laser levels, but with a laser device, these works are performed faster and more accurately. A line drawn by a laser can be of any length, does not require a stepladder or an assistant for marking, instantly reaches the ceilings of any height. It is worth turning on the power, and the coordinate lines will instantly appear throughout the entire area of the room.
Most laser levels can draw several intersecting lines at the same time, with the angle chosen by the user.
Varieties of laser levels
By installation method:
Of course, you have to pay for the convenience. Therefore, the level with automatic adjustment is more expensive.
Beam-forming:
In addition to the highest level of accuracy and convenience compared to mechanical devices - laser levels allow you to perform work that is not possible with mechanical devices.
By the method of placement at the place of work:
How to check the laser level for accuracy
The laser level should be checked every 2-3 months of use. You can entrust this procedure to the service center by giving a certain amount of money. However, for home use, you can easily assess the accuracy of the device yourself.
This requires a free room with a flat floor, and the distance between the walls is about 20 meters.
Place the tool near the first wall, align it horizontally and make a mark on the wall
We turn it 180 degrees, make a mark on the opposite wall
Then, without changing the height of the tripod, we transfer it to the opposite wall and set it opposite the mark
Expand 180 degrees. The marks on the first wall must match. If not, it is necessary to make the adjustment according to the instructions for setting up the device.
Check vertical alignment in a similar way.
The measurement error increases with the distance from the device to the measurement surface. Discrepancies of 1-2 mm at a distance of 10 m can grow up to 1-2 cm at a distance of 100 m. If you do not work with such areas of premises, there is no need to spend money on a professional device.
Preparing the laser level for work
Before using the device, the following preparatory steps should be taken:
- Check the charging of the rechargeable batteries or batteries in the instrument. It will be a shame if they are discharged at a crucial moment,
- Remove all foreign objects in the path of the laser beam. A stepladder installed at a distance of 1 meter from the level will give a shadow up to 2 meters wide on the opposite wall,
- The surface on which the device will be installed must be flat,
- Take care of the protection of the eyes and warn about the laser measurements, colleagues at the construction site,
- If the level line covers the entire perimeter, the device should stand in the center of the room.
Solving problems with daylight and sunlight
Sooner or later, each user of the laser level needs to carry out markings on the street, this can be any construction on a personal plot, in the landscape design of a land plot or during the construction of a garage.
And at the "X" hour you turn on the device on the street in the daytime, and with annoyance you find that the beam is completely invisible already at 5 meters, and it does not matter at all whether it is expensive or cheap laser levels. Yes, alas, sunlight is the most destructive for a laser of this class, but there are several ways out of this situation, see them below .. In this case, a laser beam receiver will undoubtedly help you! Most laser levels have a key that switches the device into a special pulsating mode, in which the lines start to burn an order of magnitude dimmer
It is this function that allows you to work with a laser level outdoors in any degree of illumination.
In this case, the laser beam receiver will undoubtedly help you! Most laser levels have a key that switches the device into a special pulsating mode, in which the lines start to burn an order of magnitude dimmer. It is this function that allows you to work with a laser level outdoors in any degree of illumination.
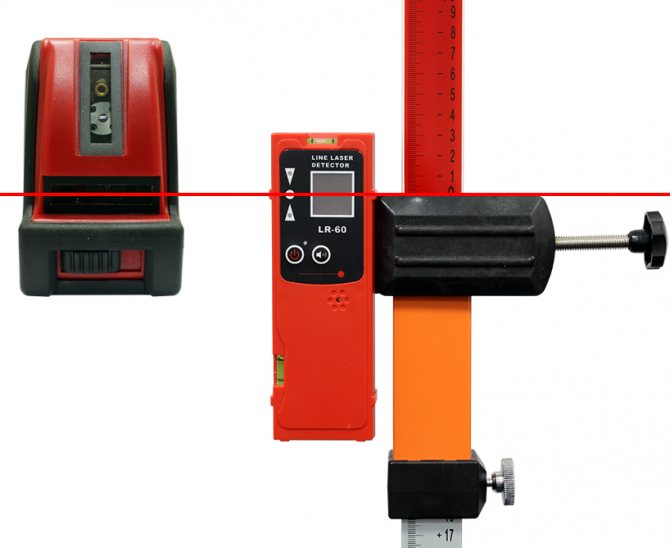
The laser receiver is a separate small device, they come in different sizes, designs, with and without an LCD display. Laser receivers are practically not supplied with laser levels, and are purchased separately.
Receivers come with almost every rotary laser level, these are levels designed to work over long distances up to 1000 meters!
The laser receiver has a special built-in photocell that catches the laser beam and shows its location with a visual and audible signal, at a time when the beam is not visible to the human eye.
The range of operation with the receiver is different for each laser level (with this function), but the minimum starts from 30 meters! See technical data in instrument overviews.
But est and other ways in addition to the detector itself, which will allow you to work on the street with a laser level during the day. Not all methods can be called a full-fledged alternative to the receiver, but there is one really very similar and affordable option. Let's take a closer look at each of the methods.
1. Method
This is to use something with a reflective surface, a simple metal ruler is best. If you turn it at a certain angle, then the laser line will be clearly visible.
2. Second option suitable only for those who have devices with additional laser points, for example, like an inexpensive Chinese level (in the photo there is a point of this particular model). The fact is that the concentration of the beam at a point is much higher than in a line, so the laser point is clearly visible on the street during the day at a distance of up to 15 meters in one direction.
3. Method suitable for everyone, with any level model. As you probably already guessed, these are markings in the dark, and the darker this time, the further the laser beam will be visible.
Therefore, if you are thinking or are going to purchase a laser level, I recommend that you immediately determine for yourself before buying whether you need to perform any work outdoors in daylight, based on this, consider the level with or without the function of "working with the receiver".
4. The most interesting method determining the location of the laser beam at long distances.Moreover, the marking can be done at a much greater distance than with the receiver, if there is such a mode in your level.
Yes, it should be noted that this method works with absolutely every laser plane builder, it does not matter whether it has a mode of operation with a receiver or not!
So, to make markings on the street, for example, at 100 meters, we need a simple cell phone with a front camera, which today almost everyone has.
Next, to detect the laser line, turn on the front camera of the phone and start scanning the area where the line is supposed to pass. If the laser beam hits the front camera accurately, a bright dot will be visible on the phone screen, which will fade out when the phone is slightly moved up or down.
At that moment, when on the screen the glow of the point is the brightest, we make a mark exactly opposite the camera's eye.
Thus, you get a marking with a minimum error, with the same principle of operation as a laser receiver.
For a better understanding of the method, we recommend watching the following videos:
Preparing the laser level for work
Before directly switching on the LED that creates a laser beam, the device must be prepared for use. Preparation consists in installing the device on a tripod or simply on a flat surface. Many models are designed in such a way that their working position can only be adjusted on a tripod - there are bubble levels for initial alignment and all pivot levers for fixing the beam in the desired position. Rotary instruments are equipped with additional types of mounting to a wall or ceiling. This is due to the fact that their use often requires installation in a suspended state, for example, when installing a large suspended ceiling.
Before switching on the laser level, it must be installed on a stationary tripod.
The main task when performing the installation is to give a stable position to the laser level. Its fluctuations or falls during operation are unacceptable, therefore the tripod is located at the required level with the maximum leg opening, then the attachment point is leveled and only after that the level itself is fixed.
Construction lasers are usually powered by replaceable batteries or rechargeable batteries
Units with a pendulum alignment device are designed so that the pendulum locking mechanism is only released when the power is turned on. For additional control of the vertical position, many models provide an audible signal that stops as soon as the device is in the desired state.
Electronic equalization also occurs after power-on. It is necessary to give a certain time for the sensors to self-align. The level support consists of 3 legs, by adjusting the length of which the servomotors bring the instrument to a horizontal position. The laser beam turns on only after the hum of the motors stops. The same thing happens with the rotary level, fixed on the wall or ceiling, only instead of the horizontal position of the supporting legs, the verticality of the LED rotation axis is adjusted.
What do you need to know to conduct a good level accuracy check?
The main functions of the household laser level.
When considering a laser level that is manually aligned based on the bubble level, there is a risk of inaccurate measurement and verification. To check the horizontal plane, you need the laser level itself, installed on a special tripod with a height adjuster lever
To check the accuracy, the apparatus is placed close to the walls to be marked.
The level works in two planes. One is horizontal and is denoted by the letter X, and the other (vertical) by Y.Instrument manufacturers often mark these letters at the top of the meter body. In the absence of designations and the need to first check the device, the letters on the case should be noted yourself.
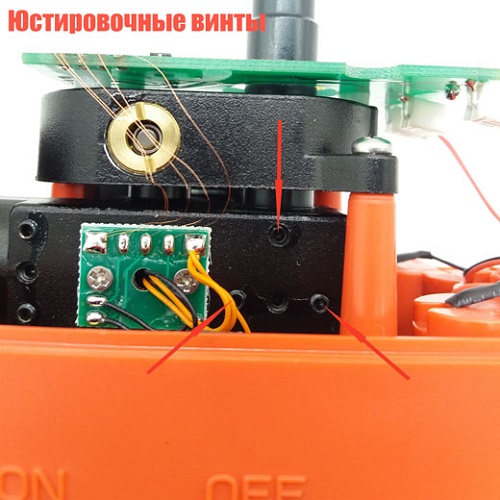
The horizontal plane must pass at the top of the level, it is designated respectively by the letters X and Y. These two axes are marked accordingly on the top of the device cover. Each beam must have a verified axis. It is calibrated if necessary using the instructions or contact a service center for measuring instruments.
Checking the inclination of the entire plane of the laser level relative to the horizon
For those who have just started using a laser level or just intend to purchase it, we recommend that you familiarize yourself with what, in principle, the error occurs at laser levels.
We install the laser level exactly in the middle between two walls, which are approximately 5 meters apart. Turn on the laser level and mark on the wall the point indicated by the laser cross. Rotate the laser plane 180 degrees and mark a point on the opposite wall, place a point at the intersection of the vertical and horizontal planes.
Then we transfer the laser level to one of the walls and set it at a distance of 0.6 - 0.7 meters from the wall, and make the same marks on the walls by analogy, as described above.
We measure the distance between points a1 and a2, as well as between currents b1 and b2. Subtract the obtained distance from the other (a1 and a2) - (b1 and b2) compare the obtained value with the declared accuracy, if the obtained value does not exceed the declared accuracy in the instructions, then your laser level shows the horizontal plane correctly.
Example: When checking the accuracy with a laser plane builder, the distance between the points was: (a1 and a2) = 4 mm, and (b1 and b2) = 6 mm. Thus, the obtained error of the laser level is: (b1 and b2) - (a1 and a2) = 6 - 4 = 2 mm. We compare the obtained error with the error declared by the manufacturer.
This applies to laser levels that do not have a 360 degree horizon.
To check the horizontal plane for levels with conical prisms, such as Hilda 3D, or levels with cylindrical prisms, but also having a 360-degree horizon, such as ADA 6D Servoliner, the easiest way is to drive all sides of the horizontal plane through a point at a distance of 5 - 10 meters. Here you should also remember how the error is correctly calculated.
How to make a columnar foundation with your own hands quickly and easily
Casting concrete pillar structures will require a long and rather messy work with cement mixing, installation and strengthening of pillar formwork, leveling and cleaning of working surfaces. You can go a simpler way and buy ready-made blocks 40 cm long and 20x20 cm cross-section. The best fit is a structural D1200 foam concrete block or heavy claydite concrete brands.
For heavier versions of the house, granite blocks can be made. To do this, the blocks are cast on a manual machine for pressing a cinder block filled with heavy rock. Such a block will be able to withstand a load of 300-400 kg, which corresponds to the weight of the walls of a log house. If you have experience with your own hands with laying stone on cement mortar, then you can build 6-8 columnar supports in half a work shift.
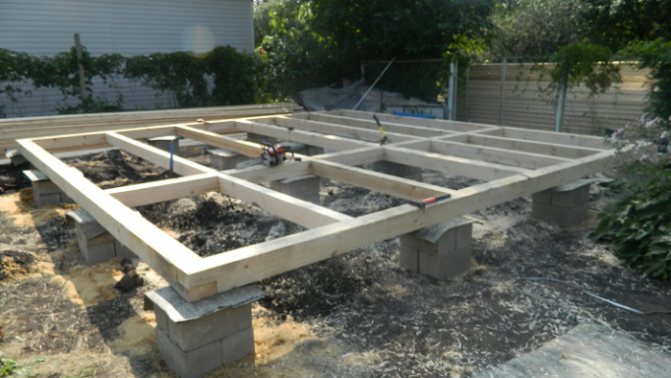
In addition to standard rectangular blocks, hollow massive blocks in the form of a truncated pyramid with a reinforcing frame are cast on the machine. A pin or threaded rod is placed in the upper base of the pyramidal columnar support, allowing the installed posts to be tied with a wooden beam or steel profile. It is enough to tamp and fill the horizontal platform in order to install a ready-made foundation field of columnar supports along the stretched cords.
Adjustment, tuning, repair of the building level. How do I adjust it?
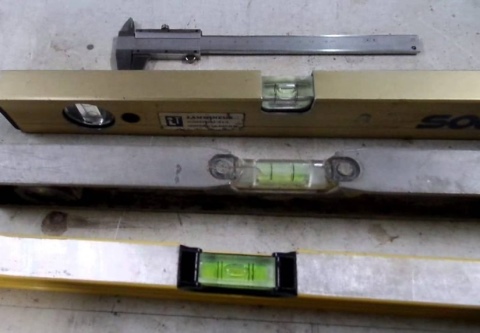
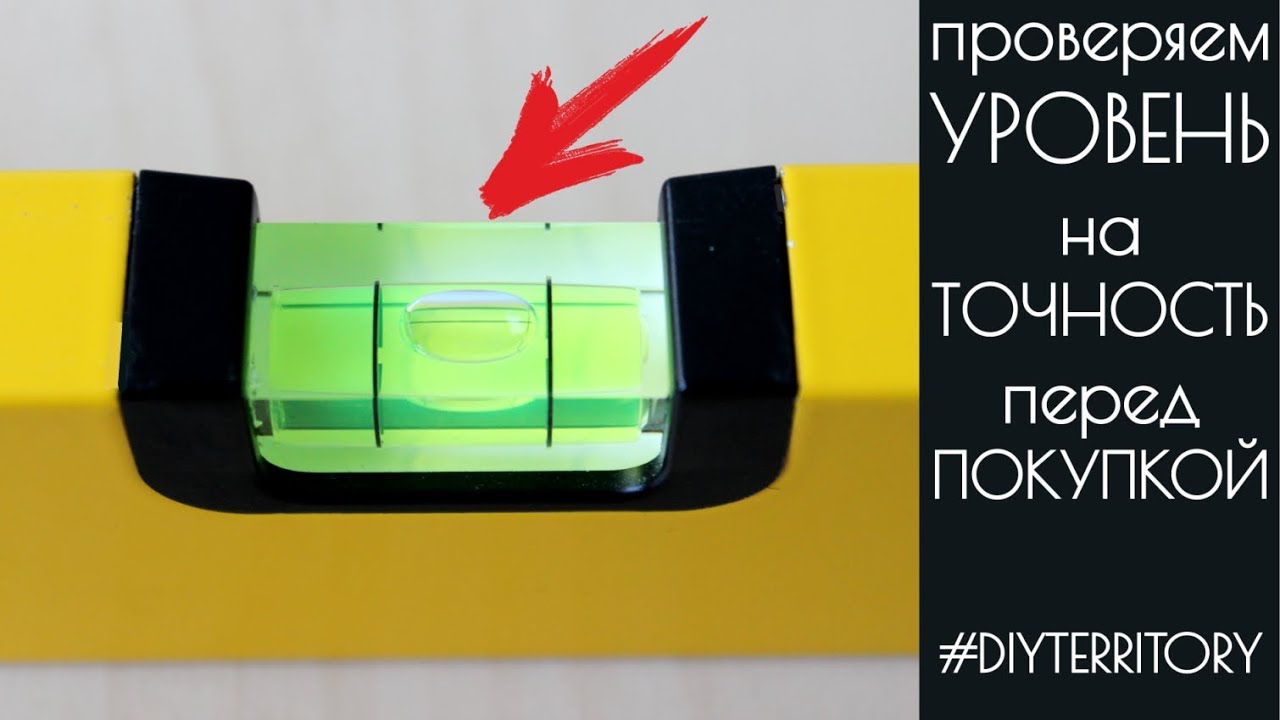
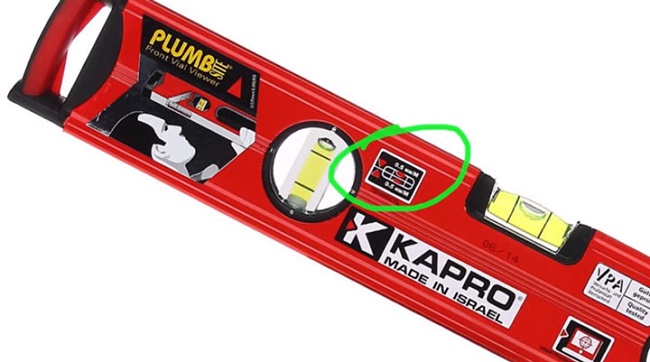
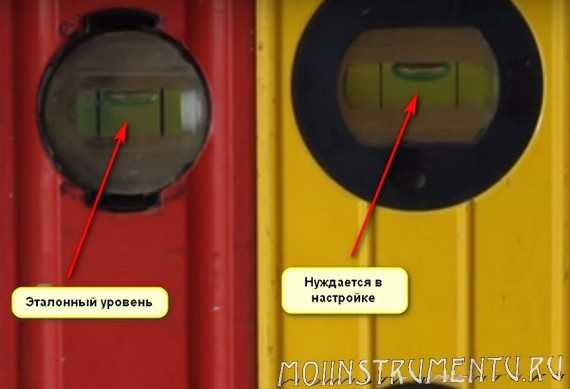
There are levels in which the possibility of adjustment is provided. The sensitive element (flask with liquid) in such levels is fixed with a bolt. If the bolt is loosened, then the sensor can be turned, thereby adjusting the level. Customization is usually done in one of two ways. Either we simply move the flask with our hands (such an adjustment is less accurate), or an adjusting bolt is provided, by turning which, we adjust the position of the flask (more precise adjustment is possible). Not all hydraulic levels are adjustable. There are those in which the flask is glued. If such a tool is defective, it must be thrown away.
It is not a problem to adjust the level if you have a strictly horizontal surface. But a vicious circle ensues. To repair a building level, a horizontal surface is needed, and to find a horizontal surface, a serviceable level is needed. Let's get a horizontal surface using a broken spirit level.
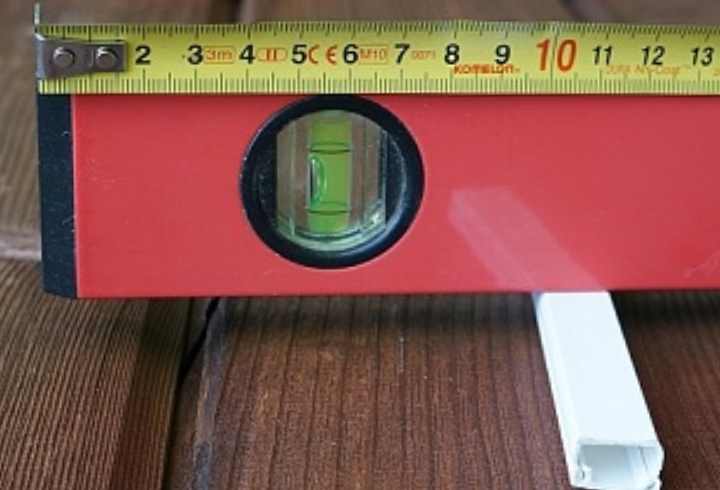
Let's cut a stack of small pieces of paper, like a newspaper. Let's find a stable (stationary) approximately horizontal surface. Let's put our faulty level on it. Put several pieces of paper under one end of the level so that it shows horizontality. Let's remember how much paper was put in this (first) time. Turn the level horizontally so that its right end is now on the left, and the left end is on the right. If the level is serviceable, then it will continue to show horizontality, since the serviceable level shows the horizon, and the horizon is one, which is from right to left, which is from left to right. If the level needs adjustment, then as a result of turning the air bubble in the flask will shift, the level will show that it is no longer horizontal.
Put a few more pieces of paper under one of the ends of the level so that it again begins to show horizontal. You may need to put the paper under the same end as the last time, perhaps under the other end. In this case, we count each enclosed piece. Now let's remove exactly half of the pieces of paper that were placed in the second stage. If there were an odd number, then round off. Congratulations, we've got the true horizon.
But the level shows deviation. We release the fixing screw, turn the flask so that it shows horizontal position, tighten the fixing screw. Configuration completed successfully.
The vertical flask is adjusted in exactly the same way. But to do it, you need an assistant, since it is performed on an approximately vertical wall. And on such a wall, pieces of paper and a level by themselves will not hold. The assistant will have to hold them.
From a mathematical point of view, the proposed method is not entirely accurate, but for construction purposes the error is acceptable.
(read more ...) :: (at the beginning of the article)
| 1 | 2 | 3 |
:: Search
Unfortunately, errors are periodically encountered in articles, they are corrected, articles are supplemented, developed, new ones are being prepared. Subscribe to the news to keep up to date.
If something is not clear, be sure to ask! Ask a question. Discussion of the article.
More articles
Do-it-yourself built-in wardrobe. Instruction. Scheme. Drawing….
Built-in wardrobe - we design and install. How to do it yourself, with your own hand ...
Examples of adhesives. Poxipol, liquid nails, universal superglue. Armir ...
Typical gluing errors. Correct technology. Additional techniques - armir ...
Lighting LED lamps 220 volts. Features, impact on sp ...
The use of LED lighting lamps in everyday life. Properties, features. Review….
Knitting. Tsar's crown. Drawings. Patterns ...
How to knit the following patterns: Royal crown. Detailed instructions with explanations ...
Warming to keep it warm ...
Warming, typical mistakes, how to do it right ...
How to install a coal boiler? Choosing a place, location? ...
Tips for choosing a location, installing a coal boiler, connecting a chimney ...
The barrel is steel, iron, metal. For sale. We buy, we buy, etc.
Iron barrel - choice, protection against rust, corrosion. How to buy and extend the term ...
Knitting. Air rhombuses. Drawings. Patterns ...
How to knit the following patterns: Air rhombuses. Detailed instructions with explanations ...
How to use the level

The rules for working with a spirit level differ depending on the type of work and the work plane:
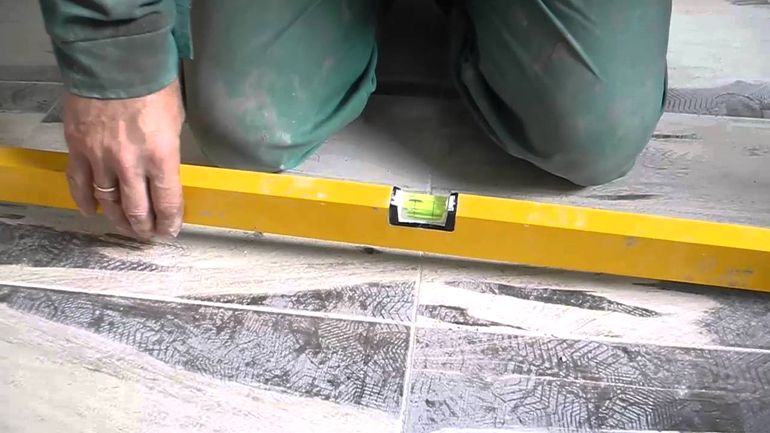
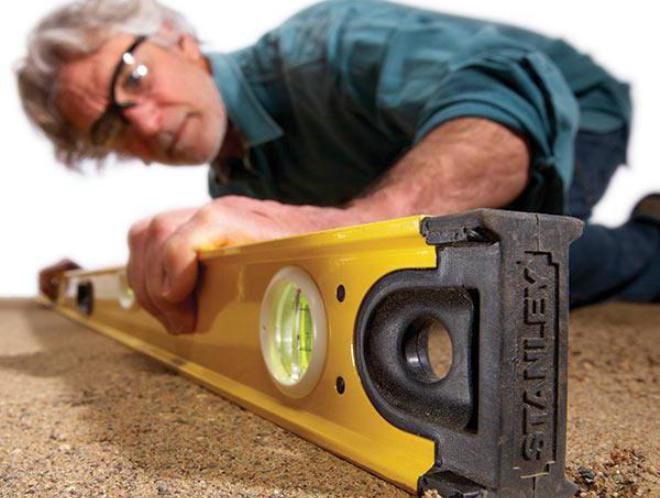
- To work in a horizontal plane (for example, installing a window sill), they are guided by the container in the long side of the level. In this case, the instrument is applied to the surface while lying down and one of the edges of the frame is slightly lowered so that the bubble moves to the center of the flask;
You may be interested in this: How to make a wooden fence with your own hands
When working in the vertical plane, readings are taken from the peephole in the narrow edge of the device. This is especially true, for example, when monitoring the quality of wall finishes. In this case, the device is applied with the container facing up. If the air in the flask moves away from the wall, then there is a bulge below.
If the bubble deviates towards the wall, then you will need to add a little mortar at the bottom;
If there is a need for angular measurements, it is recommended to pay attention to electronic levels with an angle meter and a magnetic system, because bubble can only measure deviation from an angle of 45 degrees
The evaluation of the slope of the surface is carried out according to the same principle as the vertical one.
The building level is an indispensable and indispensable tool at any construction site or repair. The stability of the new house, the evenness of the walls, the installation of windows, doors, etc. depend on its accuracy. Therefore, you should carefully approach the issue of choosing a level and take into account the type of work in which it will be used, conditions of use (outdoors or indoors), illumination, etc. If you have a custom spirit level, do not forget to calibrate it before starting work.

