How to remove, change a jammed disc from a grinder?
How to remove a disc from a grinder - an angle grinder (hereinafter LBM), popularly referred to as a grinder, is probably the most demanded inventory that is present in the arsenal of almost every master, regardless of his qualifications.
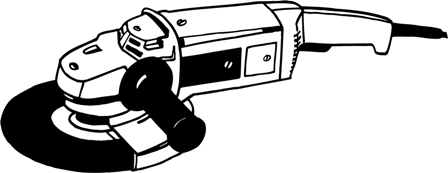
This tool is actively used in abrasive processing: cutting, grinding, cleaning workpieces from stone, metal and many others. It is widely used in such areas as: construction, woodworking and other similar types of work. Like any other tool, grinders are also subdivided into several classes.
This refers to the following: household, semi-professional and pro-class instrument. This classification is determined by the power resource of the tool, its performance, the presence of certain additional options, material and build quality, etc.
Consumables for angle grinders, in addition to various types of cleaning brushes, are cut-off wheels and a variety of grinding discs. Types of grinder accessories: how to make the right choice?
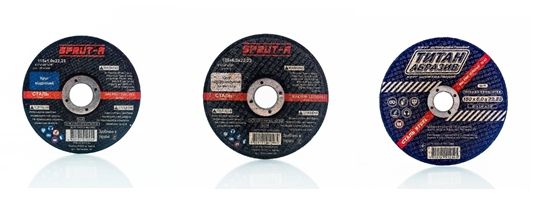
How does the cutting process take place?
For a good cut, it is necessary that the edges of the blade rotate at the required speed during movement. The circle will cut poorly if the speed is less than the specified one. All discs are designed for certain revolutions, if they are exceeded, then there will be a danger, which consists in increased vibration. The circle can simply fly apart.
The speed of the grinders with different diameters is also different. For grinders with a smaller diameter, rotation will occur at a higher speed.
The dependence of the speed of rotation on the diameter of the wheel is given in the table.

| P / p No. | Disc diameter | Rpm |
| 1 | Small diameter - 115 or 125 mm. | 10000-11000 |
| 2 | The average diameter is 150 or 180 mm. | 8500 |
| 3 | Large diameter - 230 mm. | up to 6650 |
This frequency was not chosen by chance. Laboratory studies show that the linear speed of the edge of the circle should be less than 80 m / s. Otherwise, the disc may fall apart, leading to serious consequences. It is necessary to closely monitor the rotational speed of the grinder and the disc placed on it.
But since the rotational speed for circles 115 and 125 is the same, then a smaller disc with 115 diameter can be put on a grinder with a landing diameter of 125. On a grinder with a diameter of 180, you can put a wheel of 150 diameter.
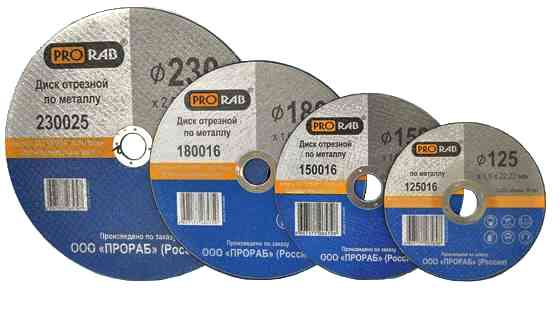
Based on the foregoing, it is impossible to put on the small grinder the cut-off circles from the large grinder, although the casing will not be removed, but since the rotational speed of the large circle is less, and the grinder itself is larger, the disc will be destroyed.
Types of discs for grinders: how to choose the right one
The industry manufactures grinders and discs for them in standard sizes: 115, 125, 150, 180 and 230 mm. Angle grinder from 180 mm is used for cutting stone. The most common size of machines for home and summer cottages is 125 mm; most discs and nozzles are produced for them.
We offer to divide discs according to their purpose: cutting, grinding, sharpening and roughing. Let's consider each type in detail.
Cut-off
Cutting through the metal
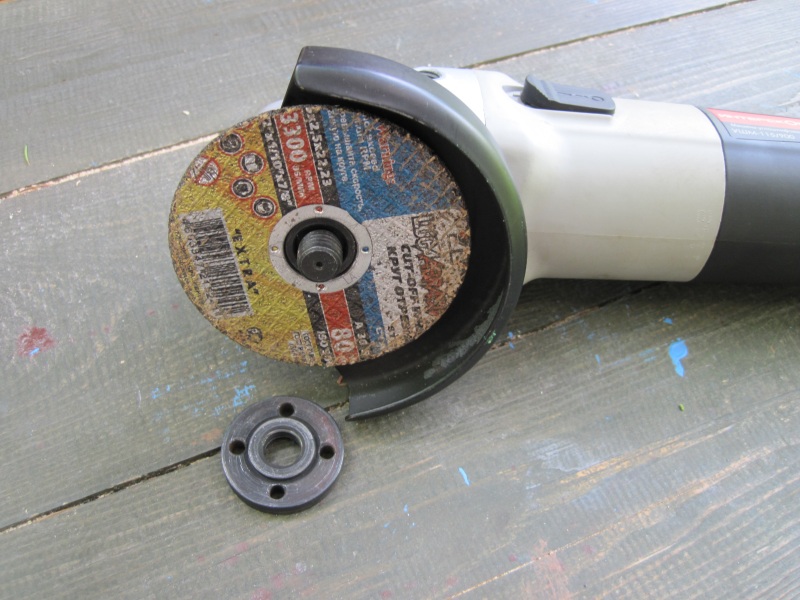
 Inexpensive disk on steel of the Luga plant
Cutting materials is the most common task in the repair and construction site, a simple abrasive wheel for metal will easily cut steel bar, roofing iron or plastic. These wheels are made of corundum (crystalline alumina) or electrocorundum (synthetic corundum).
Sawing stone
 The budget disc on stone is produced by the Luga plant
For cutting stone, we recommend taking a special disc - they use a different abrasive - silicon carbide. It will cope with white sand-lime bricks and slate.But red brick, tiles and even more concrete - they will not succumb to it - you need to take a diamond disc.
Dissolving the tree
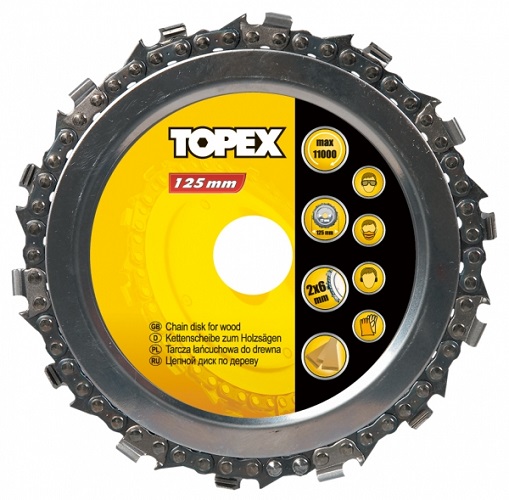
 These are also available for the grinder
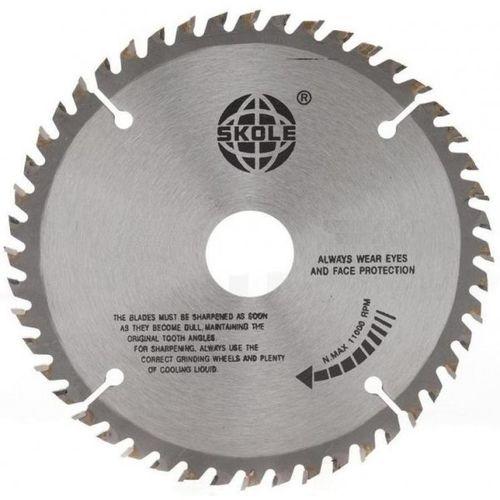
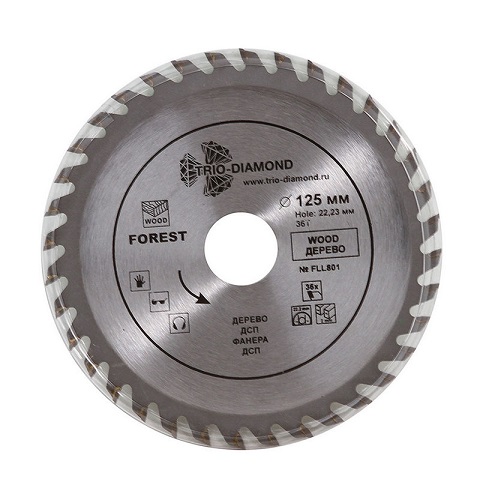
Blades that cut wood are very similar to a circular saw blade. Actually, this is the disc for the circular, only the bore diameter of 22.2 mm is suitable for the grinder's spindle.
Diamond
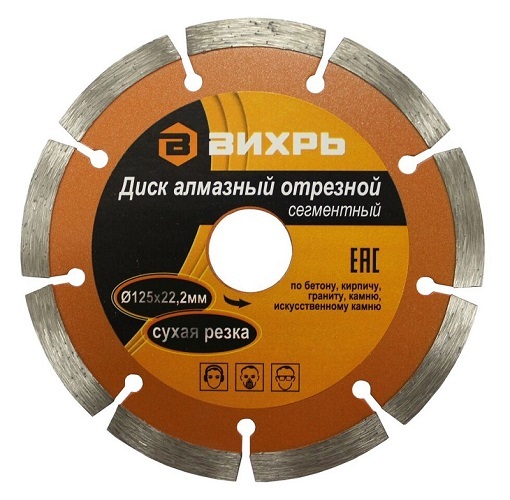
As you know, diamond is a very hard mineral, so diamond discs can easily cope with red brick, porcelain stoneware, tiles. The main material that is cut with diamond discs is concrete.
Diamonds must be handled with care - the disc does not cut steel, it must not be overheated. After two minutes of cutting concrete, the disc will be very hot - pause
Cooling slots are made around the circumference of the dry cutting blade.
They produce discs for wet cutting of ceramic tiles and porcelain stoneware. Water cools the disc and washes away hazardous dust.
How to choose the thickness of the cutting discs
Every craftsman knows that the thinner the instrument, the better. Less material goes into the shavings, it is easier to cut, the cut comes out cleaner.
Discs for 115 and 125 mm grinders are produced with a thickness of 1.0–2.5 mm. Discs 150 and 200 mm - 1.8–4.0 mm thick. The pressed corundum powder is reinforced with a synthetic mesh.
The recommended cutting disc thickness is 1.6 mm.
Grinding
The next most important work that the craftsmen entrust to the grinder is grinding and polishing. Similar processing is applied to metal, wood, plastic and other materials.
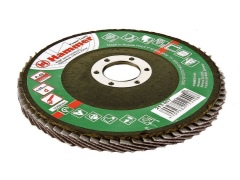
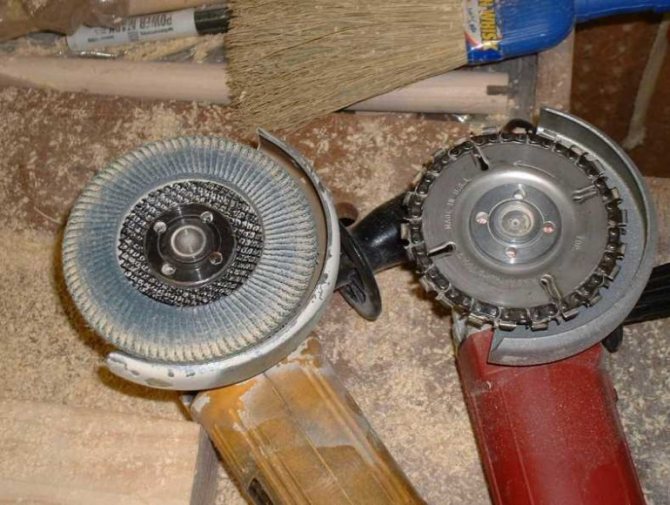
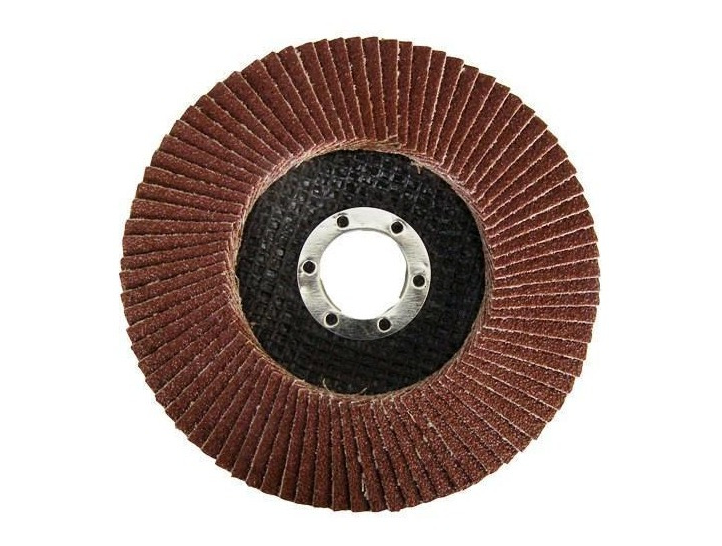 Petal wheel for wood: dozens of emery petals quickly cut chips
The choice of grinding discs is very wide. If you are restoring a sideboard, a petal circle will work for removing layers of shellac. It covers large surfaces and cuts a lot of material in one pass.
 The sanding attachment is a plastic circle to which sandpaper is attached with Velcro
Another nozzle is screwed onto the grinder spindle. Sandpaper is attached to it with Velcro. For coarse cutting - P60 or P80, for finer - P120 or P180. As the grain size decreases, grinding smoothly turns into polishing.
 Polishing disc made of alpaca wool
Specially for polishing, there are nozzles in the form of pillows, felt or cloth discs. Before work, a polishing paste is applied to them, for example, GOI.
Grinding wheels
In general, there are special machines for sharpening tools - sharpeners. Nevertheless, the rotating disc of the grinder is able to correct a blunt ax or cleaver, knife or scythe. Taking into account the wishes of the masters, the industry produces 115 and 125 mm grinding wheels for grinders.
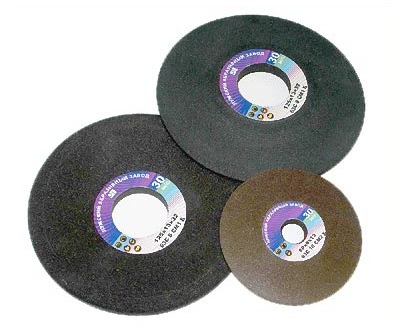 Sharpening discs turn the grinder into a sharpener
Discs are made of coarse abrasive compressed into a thick plate (over 5 mm) with a bulge in the center. If you install such a disc on a spindle, the flange is hidden in the recess and does not protrude above the plane of the disc. Coarse grinding wheels are also used for cleaning welded seams.
Roughing brushes and discs
Craftsmen renovating houses in the middle of the last century are faced with removing oil paint from the walls. For such work, wire brushes are suitable.
 No paint can resist such a steel cup
A corset is a cup, around the circumference of which there are steel or brass braids. They differ in wire thickness and stiffness - for rough and fine roughing. The brush is screwed onto the spindle using the M14 thread.
 Sanding disc on stone cuts old cement evenly
After removing the oil paint, the curved concrete wall must be sanded. Only a Bulgarian can cope with such a task. The working surface of the diamond roughing disc is perpendicular to the axis of rotation. Synthetic diamonds cut and smooth concrete like sandpaper a tree.
How to put the disc on the grinder correctly?
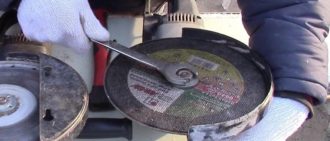
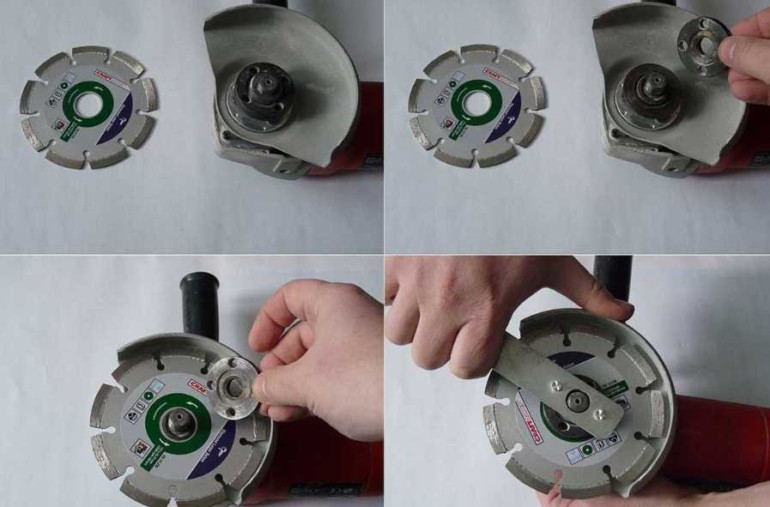
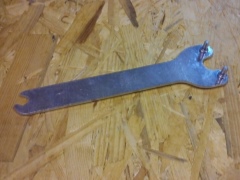
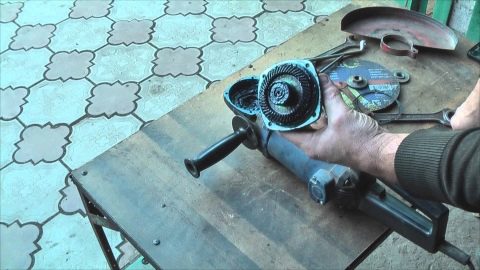
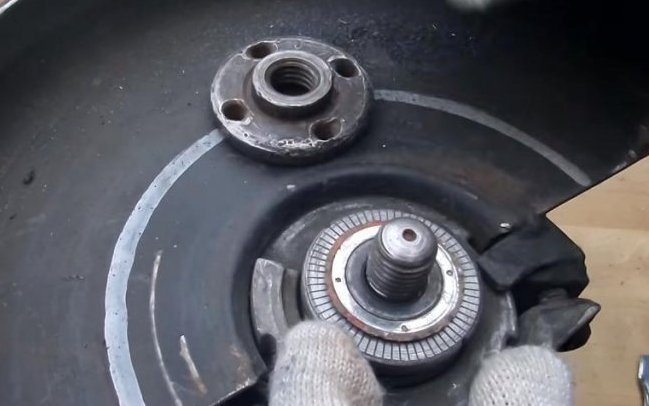
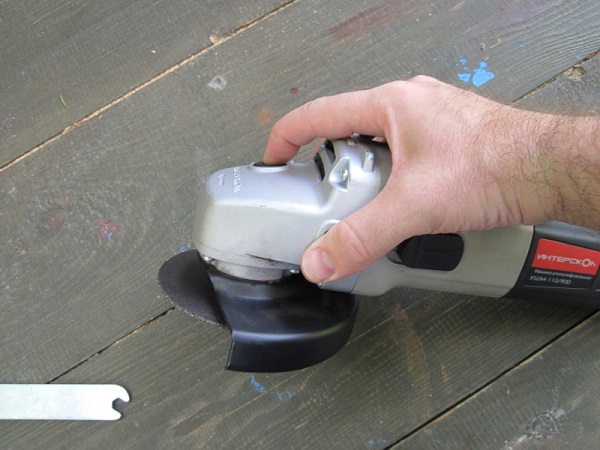
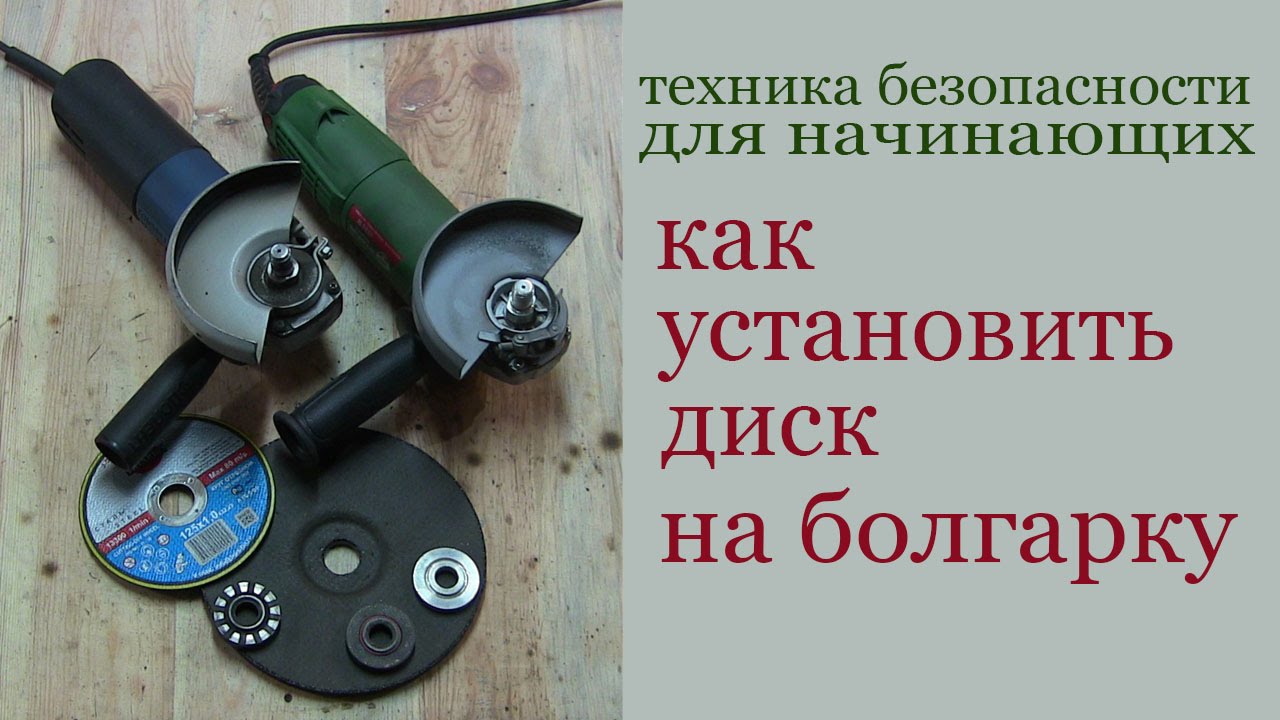
To put it correctly, first it should be noted that the disc is installed on the grinder spindle using a special clamping flange with M14 thread.Let's take a closer look at how to remove a disc from a grinder. In order to unscrew the disc from the grinder, you first need to dismantle the flange. Especially for such purposes, manufacturers complete the grinders with a special open-end wrench. It has a specific shape. The pins located on the horns of this key are inserted into specially provided holes on the flange.
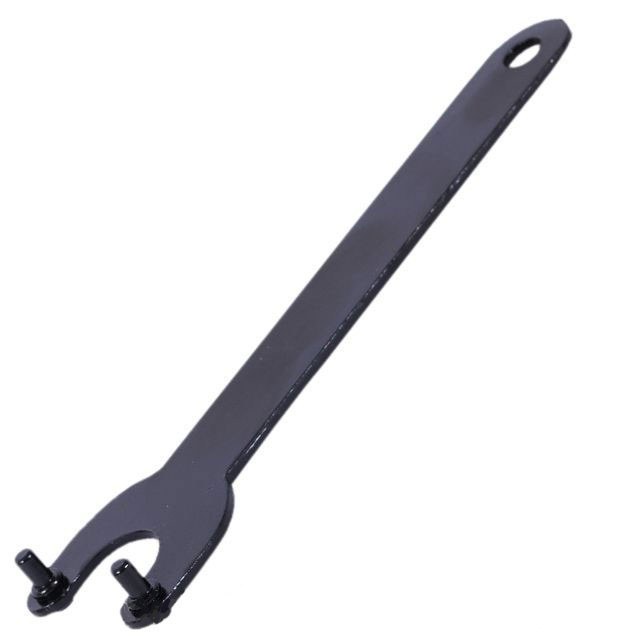
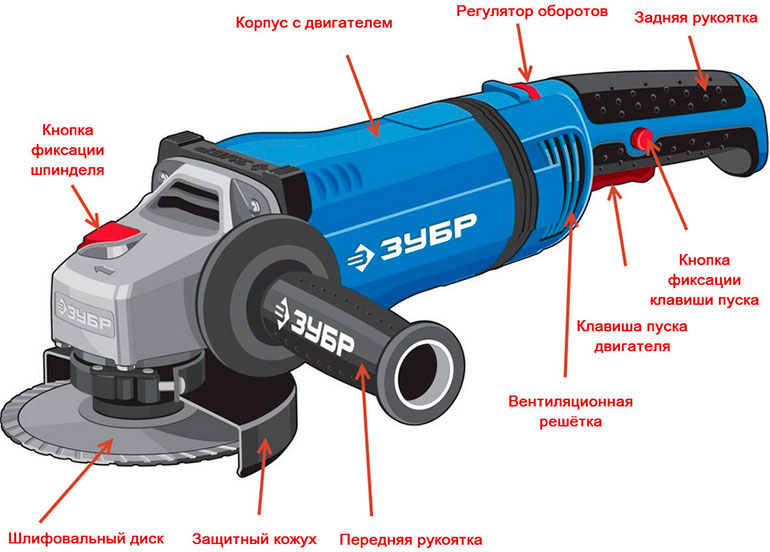
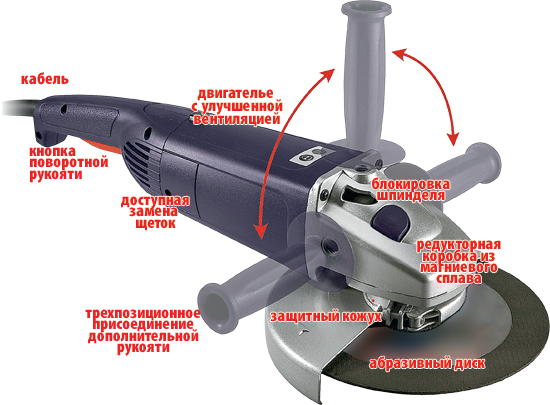
To unscrew the flange, we fix the spindle. To do this, we clamp the latch, which is usually a button on the top of the case. When pressed, the cotter pin is placed in the hole of the driven disc of the gearbox, and this in turn prevents it from rotating. Next, we insert the pins of the key into the specially provided holes on the flange, pressing the lock, you must simultaneously turn it counterclockwise and move the flange from its place. If the manipulations were successful and the flange gave in, you can unscrew it by hand and put it aside.
Now let's dismantle the disk. Often, in the process of intensive work with the tool, a kind of plaque from small particles of metal and abrasive material forms on the inside of the protective casing. For optimal, stable and durable operation of the grinder, remove the lower part of the flange and clean the casing with a steel brush.
How to install correctly?
Installing a disk on an UMSH is not so difficult. You can change it simply by following the instructions, although there are some nuances here.
First of all, you need to install the disc in the correct direction.
This is especially important if it is detachable. Usually the side of the disc with the label on which the marking is indicated and, accordingly, the scope of its application, is slightly different from the opposite side.
It may not appear immediately, but with prolonged intensive work, the difference will not only be noticeable - it will be obvious.
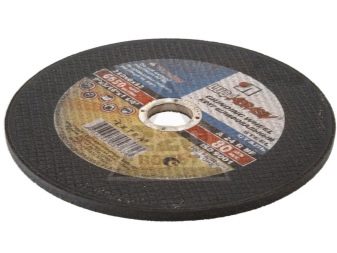
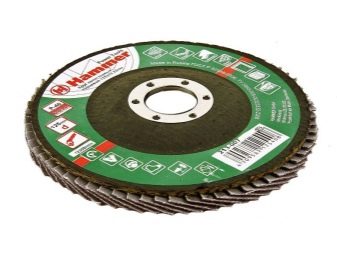
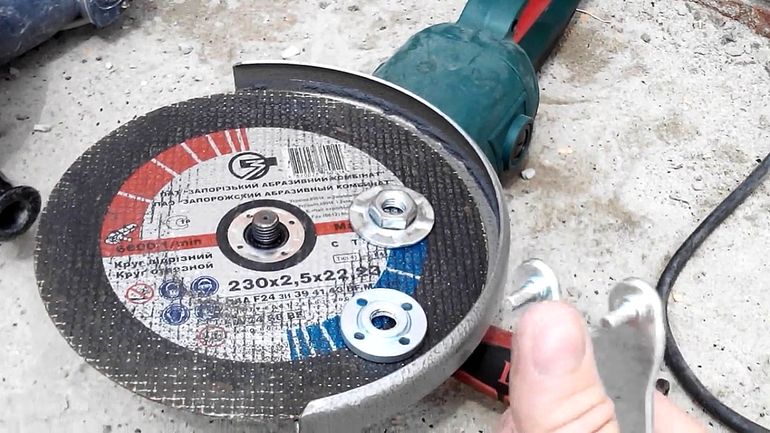
On the side on which the label is glued, a wide pressure washer is placed, and the movable nut acts on it when tightening (installing the disc). The nut slides on the polished surface of the washer, without it it will become more difficult to tighten or unscrew, since the abrasive will firmly hold the nut and more effort will be required
This is especially important if a quick replacement of the disc is required or if it breaks down (jamming)
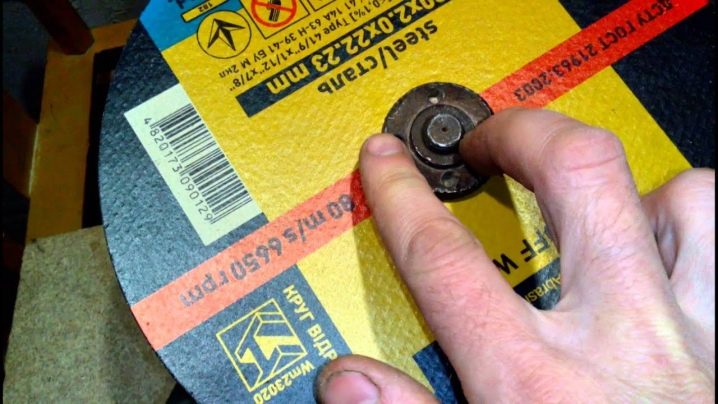
With circular saws or other products that have teeth or a significant difference in two sides, there is usually no problem how to set. For example, a grinding disc cannot be fixed on the contrary: it will simply be impossible for them to work.
Discs for stone, including diamond ones, have a special rotation indicator in the form of an arrow: when installing them, you need to fasten them taking into account where the rod will rotate.
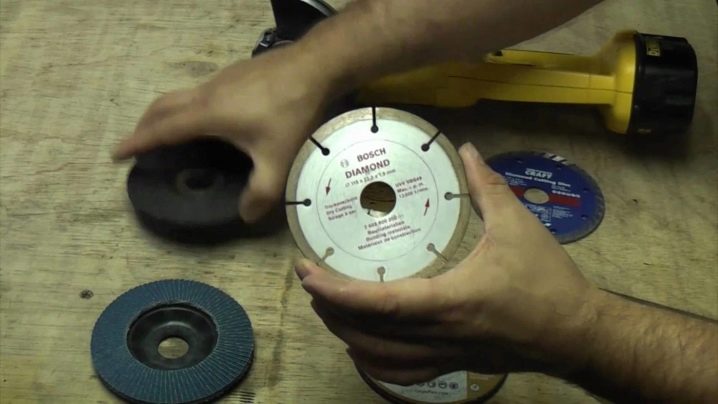
It is also important to consider the size of the disk when installing. In no case should you neglect safety and remove the protective cover - it is better to choose a disc of the appropriate diameter
Sometimes on a "grinder" of smaller dimensions they put a worn-out disc from a large unit. However, a worn disc, as a rule, cuts worse, the working surface is limited to about half the radius of the disc, the structure is slightly different. The disc burns faster and does less work. This operation can be justified if the diameter of the stem is the same. But you won't be able to change it back.

Debris must not fall under the disc during installation. Of course, the clamping nut may well squeeze small objects, something will press into the surface of the circle. But an imperceptible skew will cause a displacement of the plane of rotation and, as a result, a strong vibration of the entire mechanism, it can cause the destruction of the disc and, of course, one should not hope for an accurate cut in this case.
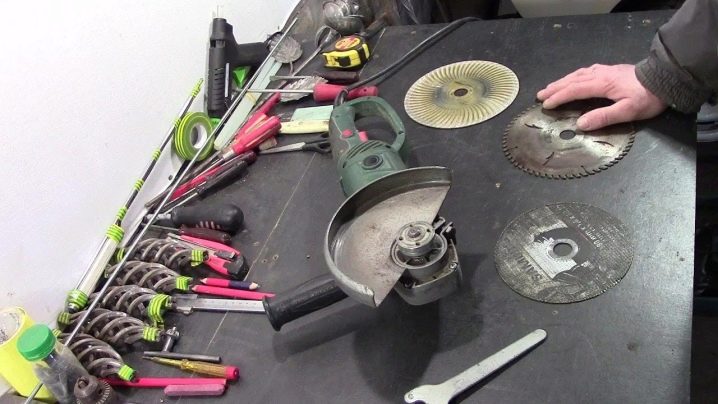
The clamping nut must be unscrewed with the wrench supplied with the tool. To prevent the stem from spinning, it must be locked by pressing a special button. It is necessary to unscrew the nut while holding the button down.
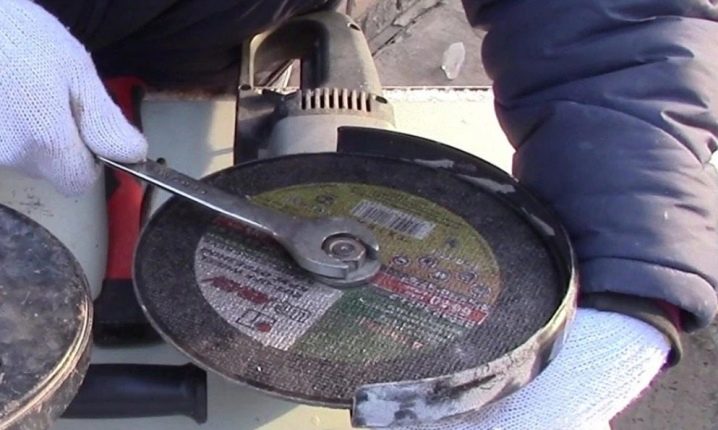
After twisting the nut, a disc is put on the released stem, with the front side out, and you need to make sure that it is installed exactly in the seat.
The kit for the new "grinder" always includes a certain amount of cardboard spacers - when installing the disc, they must be laid so that they are between the disc and the clamping elements. These gaskets will help unscrew a broken or jammed disc.
Further, the nut is manually tightened up to the stop and tightened with a special wrench. That's it, the grinder is ready to go.

How to change a disc: step by step instructions
- Disconnect the grinder from the electrical network and seize the rotation shaft with the disc with a special button.
- Unscrew the lock nut with a special double-lug wrench. If the nut is tightened as a result of the disc jamming, then you can: try to unscrew it with a gas wrench, heat it with a cutter and cool it sharply (it will help 100%, but you need to be very careful), cut out the remains of the disc with a metal hacksaw. Quick-release nuts are a rather complex device that can be unscrewed and twisted by hand using a folding handle.
- Remove the old disc.
- Place the new disc on the seating flange.
- Screw in the lock nut and tighten it with a wrench.
- The replacement is complete.
What way out of the problem is offered by experts and amateurs + (Video)
- Install a newspaper gasket under the nut;
- Install a gasket from a plastic bottle under the nut;
- Replace the nut with a different design.
What is a newspaper strip. This is a paper washer by nut size... It is put on the installed disk, and a nut is screwed on top. This piece of paper was a stumbling block, because the safety inspectorate has always broadcast about the harmfulness of such a decision.
The representatives of the safety authorities treat the installation of gaskets made of any other materials in the same way:
- Cardboard;
- Paronite;
- Gaskets from various plastics;
- Rubber gaskets of various thicknesses.
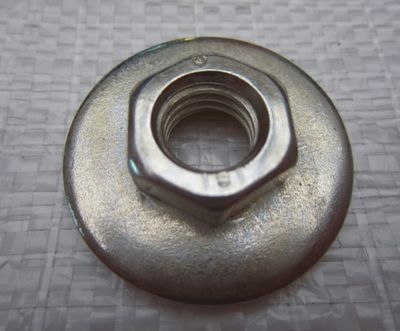
But there is a solution that does not contradict the safety requirements, and allows you to install and remove the disk normally. This is a special nut that consists of two elements - a nut and a pressure washer. The use of such a nut does not require any shims, because the disc does not jam with it.
If there is no special key at hand, then the craftsmen offer to do without the key. This does not mean that you can do without a key at all, but use a "gas key" or other device. To do this, you need to tighten the retainer, tighten the nut with a gas wrench and unscrew it. This way you can replace a jammed disc, but this is a very inconvenient operation for one person.
There are also suggestions to clamp the disc with your hand and unscrew it like that. Maybe, but it is unlikely that it will be possible to replace broken disks. It is better to use keys that are designed for removing and installing disks.
Some foreign firms, manufacturers of power tools, such as Bosh, produce grinders with easily removable nuts. They securely fix the disc on the tool shaft and can be easily and quickly removed to replace the disc.
How to remove a burnt disc from a grinder + (Video)
The use of new nuts solves the problem of removing the disc, but what to do with an already eaten disc? Even if the disc was installed correctly, it is not always possible to remove it. Practice suggests different ways to solve the problem. You can clamp the retainer and hit through the extension on the holes of the nut in the direction of untwisting. This option is possible only if the retainer is in good working order. But the retainer may not withstand such a solution to the problem and break.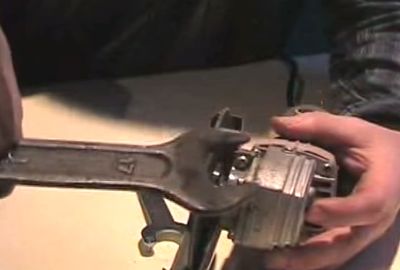
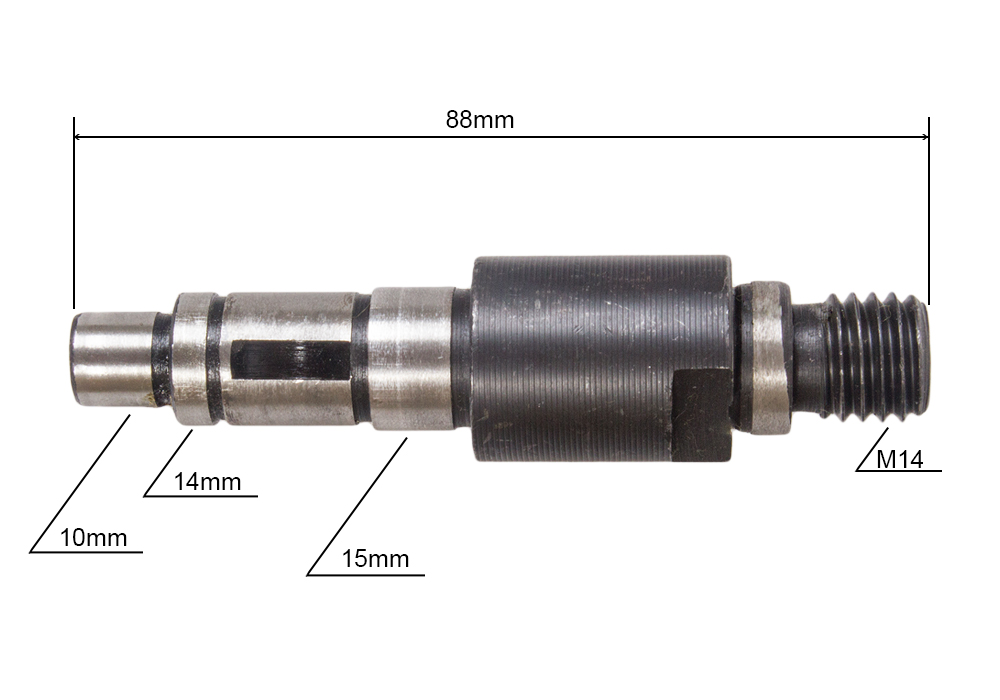
The second method is more logical. Under the clamping nut and the lower support washer there is a gearbox shaft with turned chamfers. The lower support washer is put on them. A standard wrench cannot be installed there - it is very narrow. But you can take a regular open-end wrench on "17" and grind it on both sides.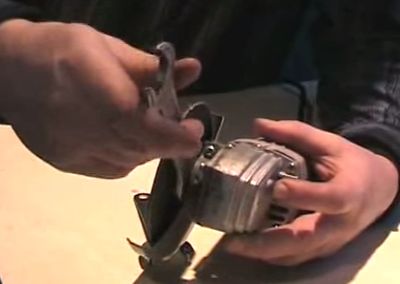
The turned key will go into the gap, set on the shaft chamfers and fix it.Now any nut will be unscrewed with any key, and the disc or its remnants will be removed from the grinder.
How to remove it?
Discs, especially those designed for cutting, burn out quickly and must be replaced.
It would be useful to remind once again about the need to disconnect the "grinder" from the network. The work is to be done with fast rotating parts and it is better to protect yourself.
If you need to replace a worn out disk, you need to perform a number of simple operations.
- The disc is secured to the stem stem with a threaded nut. In the set of any angle grinder there is a special key, on the arms of which pins are fixed, which cling to the holes of the flange.
- The spindle is fixed with a special button, the cotter pin of which, when pressed, enters the hole of the gearbox, thus fixing it. Having pressed the button with your right hand, at the same time with your left hand you need to unscrew the fastening nut with a wrench. If the nut has moved from its place, unscrew it by hand. That's it, now the disc can be removed.

There are times when the key, for some reason, was not at hand. What to do? The easiest way out is to stop working. But, as they say, this is not our method. It is also possible to unscrew the clamping nut of the "grinder" without a key. Often a pipe (gas) wrench is used for this. On such a key there is a device that spreads it. It is necessary to tighten the nut and, fixing the gearbox of the "grinder" with a button, move it from its place. Then it can be unscrewed by hand.

- The nut has holes for fixing it with pins on the key horns; you can unscrew it by tapping with a hammer on a chisel or a bar that is pressed into the hole.
- It is sometimes possible to push the nut off by simply tapping its edge with a hammer in the direction of twisting. However, in this case, damage to the flange may occur, especially the holes for the pins of the key; in the future, it may be impossible to apply the key to such a nut.
- A very good result is obtained when using a nail to make a key. It is better to choose a large nail, from 100 mm. Using a hammer and pliers, the nail is U-shaped. With a hacksaw or chisel, the point and head of the nail are cut off. With such an improvised wrench, you can try to knock off the nut. You can bend the ends of such a key, then it will turn into a kind of open-end key, but this will require a lot of labor. You can also insert a gate, such as a hammer or other nail, into the arc formed by a bent nail.
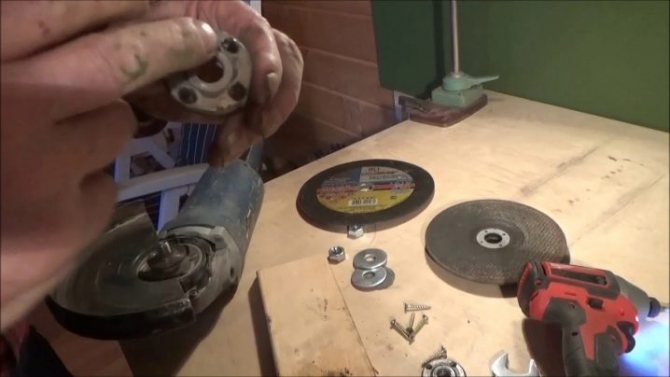
Grinder discs differ in the following main features:
- Outside diameter;
- Disc thickness;
- The material from which the disc itself is made;
- The characteristic of the maximum rotation speed;
- And, of course, the area of the proposed work.
For the best understanding, let's look at the main types of grinder discs and give a definition of their application:
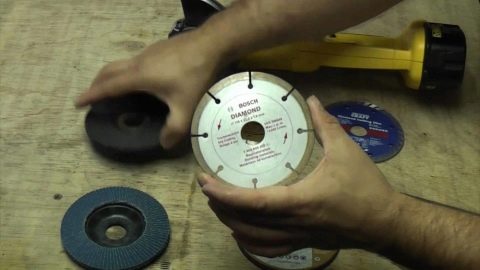
- Cut-off wheels. These are the most widely used grinder consumables. Their main purpose is to work with metal, stone and wood. A variety of cutting wheels for the grinder are diamond discs. This is a heavy-duty equipment for processing high-strength materials such as reinforced concrete, tiles, porcelain stoneware, marble.
- Grinding and roughing discs. As the name implies, this type of disc is used for grinding various materials, for example, polishing products made of stone, or for removing (roughing) the top layer, for example, removing a layer of rust or old paint coating.

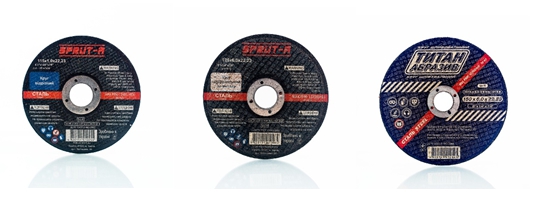
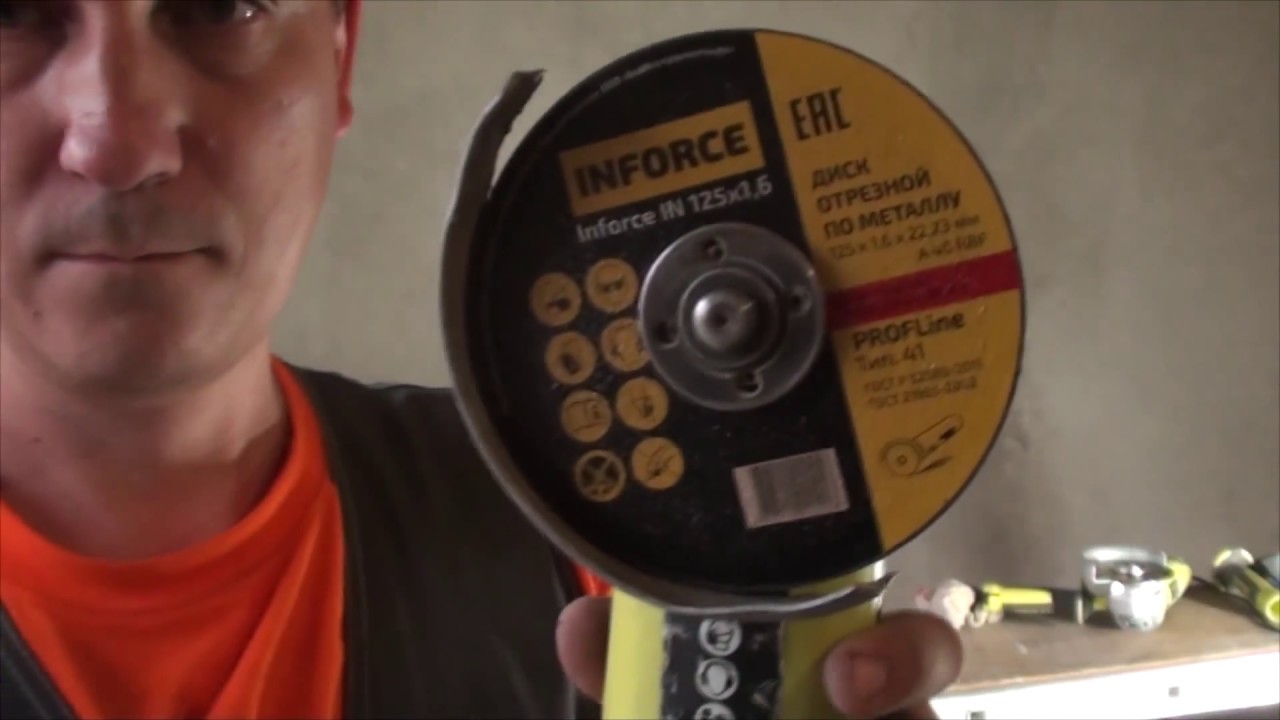
Cut-off wheel 115 x 1.6 x 22.23 Titanium Abrasive
How to unscrew the nut of the grinder disk (angle grinder) if it is bitten
So, if there is no way with the key, even if you insert it and hit it slightly with a hammer, then we begin to use something more serious.
The first thing to try, but again without fanaticism, is to take a rod, insert it into the holes on the nut and, using a hammer, move the nut in the direction of its untwisting. The main thing here is not to break the button and not to rip the holes, as here
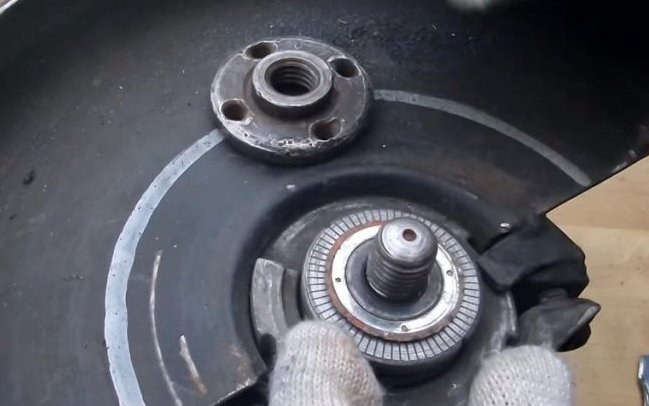
The second thing that many advise is to warm the nut.We warm up the nut. As a result, it is slightly, but physically still obliged to expand. Resizing may or may not help ...
The third method is the most effective, and oddly enough, one of the safest for the grinder itself. We take and break off the edges of the disc along the nut.
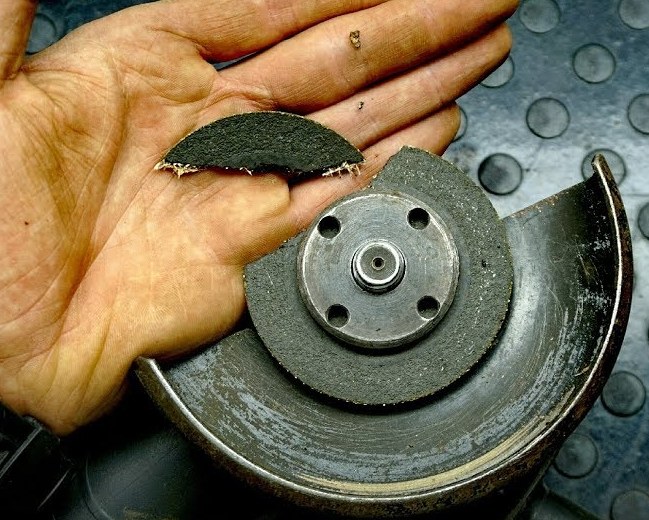
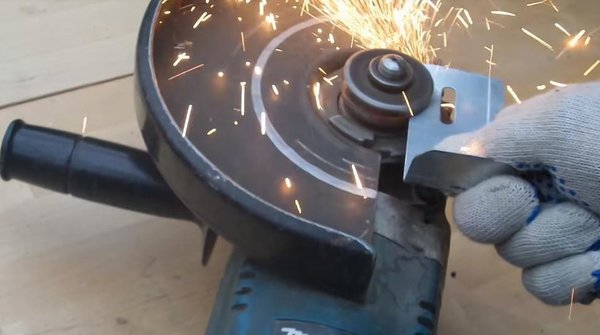
Next, we use a thin metal plate or another disc (thinner), and maybe a second grinder with a disc. In this case, the broken disc must be turned either with a plate or a disc. We try to sharpen the disc so as not to damage the nuts holding this disc, because they will still be useful to us. So we sharpen the whole broken circle until we grind it off and the nut is unscrewed.

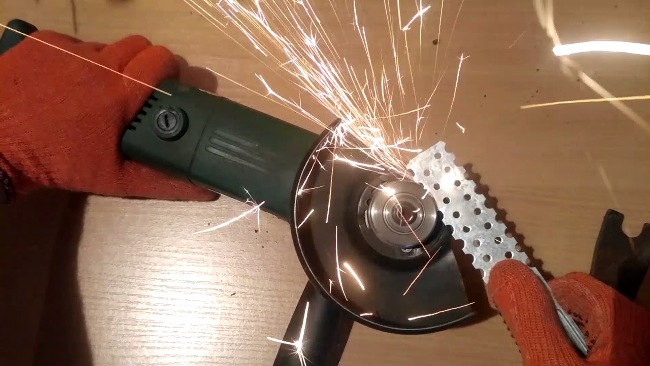
This business is 4-5 minutes, no more.
If you will be using a second disc or metal plate, it is best to insert them in a vise to hold them. Since it is dangerous to hold such objects with your hands. This is the most effective method!
Which side is suitable for installation
In order to determine which side to install the disc, it is necessary to take into account several main factors.
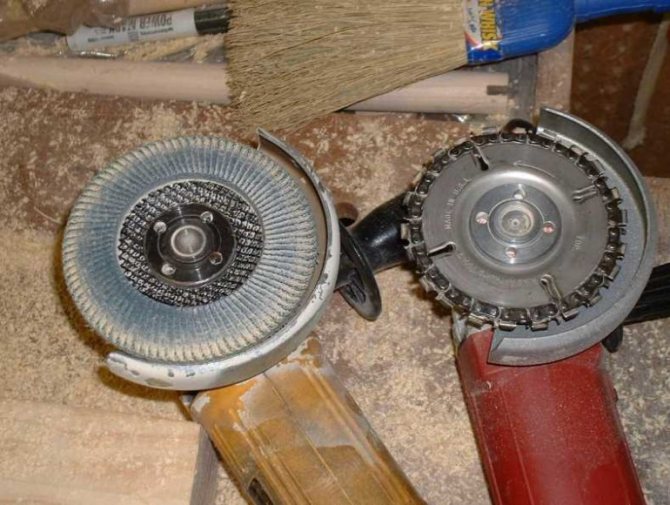
In particular:
You can pay attention to the label. If the grinder works on its own, namely, turns away from the manager, then in this case the disc must be installed with the label inward. It turns in the opposite direction, which means that the label must be installed outward.
Can be placed without paying attention to the label
But then you can expect the most unpredictable results, for example, the usual breakdown of the disc and grinder. At the same time, experts say that such negligence can lead to the fact that the grinder will simply jam and there is no need to talk about safety in this case.
In order to determine in which direction the grinder should turn, here you need to refer to the safety information. In particular, the concrete must be cut on itself.
In this case, sparks will fly from the side, namely from the manager. In general, it is not safe to cut materials in the direction away from you, since in case of jamming, the grinder with the disc will fly towards the one who controls it. This must be taken into account.
Today, after another dispute - which side to put the disc on the "grinder" - I decided to speak on this topic in writing, even so, in my opinion, this question is quite interesting. And besides, in the future, rather than once again breeding demagoguery, it is better to just throw a link to this entry. I work in a workshop (mainly a power tool) and I see that grinders with "jammed" discs are often worn. It sometimes jams so much that you have to disassemble the gearbox and, holding the driven gear in a vice, unscrew the nut with a healthy gas wrench. It is interesting that the nuts stick only on typewriters with the disk installed on the right, that is, “sparkling” from the typewriter. If we take into account that under NORMAL load the moment on the spindle is small, then such a bad self-tightening should not occur, but it happens, why? - Due to shock loads, which are generally common when the disc is installed on the right. Why this happens is easier to explain with this example (too lazy to draw) - we start the motorcycle, and, holding it behind the steering wheel, we try to arrange the slip of the driving (rear) wheel. So the most complete analogy with a sharp angle grinder with a disc "away from you" will be if we hold the steering wheel while standing in front of the motorcycle. Try it, you will definitely like it. If you like to cut "from yourself" you will definitely like it. There is an important caveat - the higher the support and the shorter the base, the more interesting the effect. And yet, the center of mass of the angle grinder and the hands that hold it is above the cutting plane (more precisely, the force vector), this is what leads to strong jerks, and as a result, often to breakdowns and injuries. like a dangerous ride with slipping on the verge of "getting up on the goat."
How do I change a disk if it is jammed?
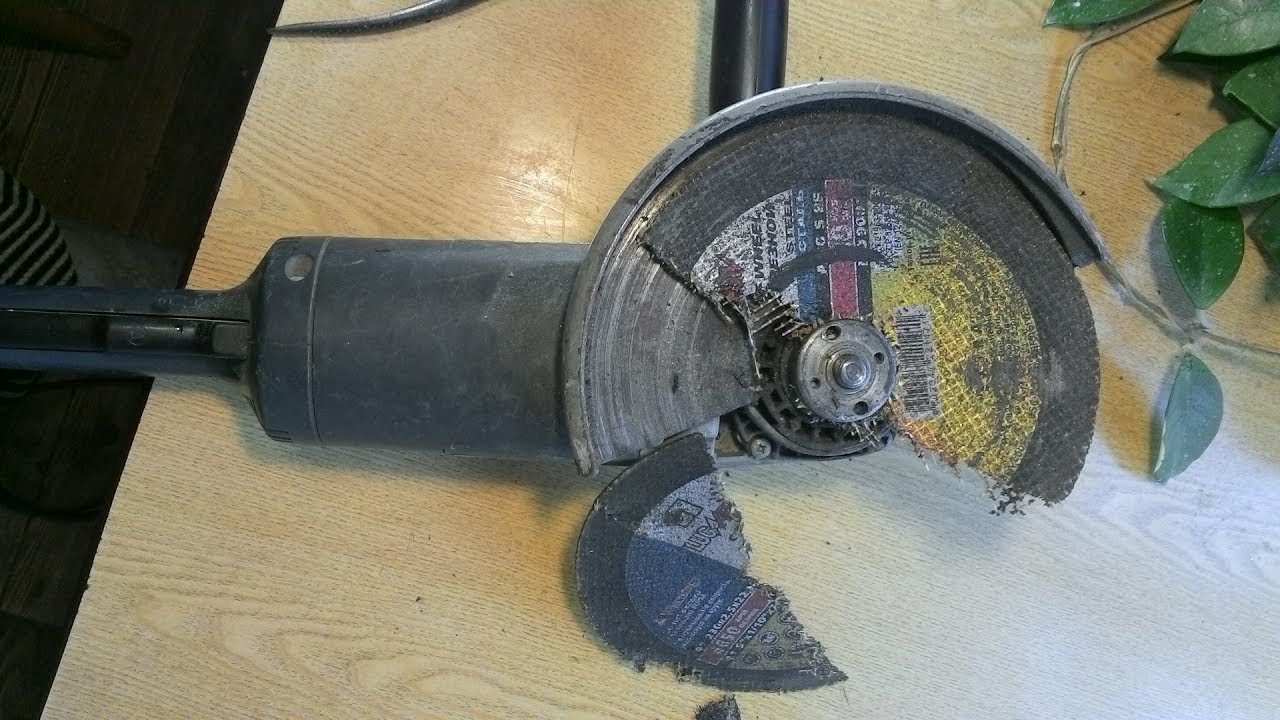
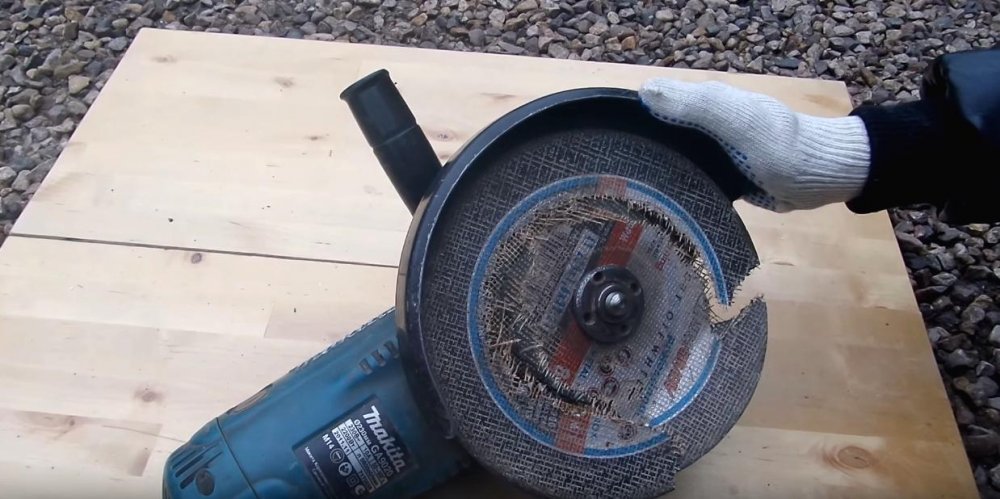
What to do if the circle on the grinder is stuck? This can happen, for example, when, as a result of work, pieces of the workpiece being cut sharply clamp the rotating disc.This often leads to its destruction.
It can be very difficult to unscrew the nut tightened as a result of rotation, if the circle is bitten.
- One of these methods would be to use two gas keys at once. In this case, the remains of the disc must be broken with pliers. With one key, you need to clamp the part of the stem located under the disc, and with the other, unscrew the flange.
- Sometimes, in order to gain access to the gas wrench to the rod of the "grinder", it is necessary to disassemble the gearbox.
- There are reviews of penetrating lubricant: a nut treated with such a composition should turn in a few minutes.
- There are also more exotic methods. For example, heating a jammed nut with a gas burner. The heated nut will be easier to turn as a result of expansion.
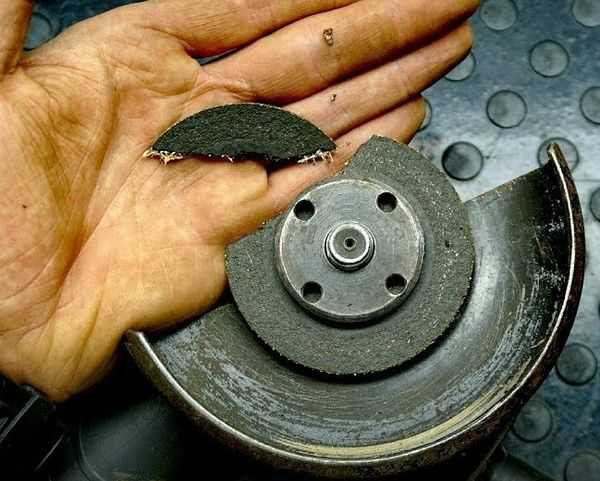
- Sometimes, in order to avoid undue impact on the parts of the "grinder", it is better to crumble the remains of the disc completely, remove the protective cover and cut out all the remnants of the circle between the pressure devices with a hacksaw.
Which way should the sparks fly from the grinder
Also a controversial issue that worries many. In fact, there are no ordinary rules on this matter, and you can cut with a grinder both on your own and on yourself. The only thing I want to say is that in the process of cutting metal with a grinder away from you, it is very, very difficult to hold the tool in your hands when it gets jammed.
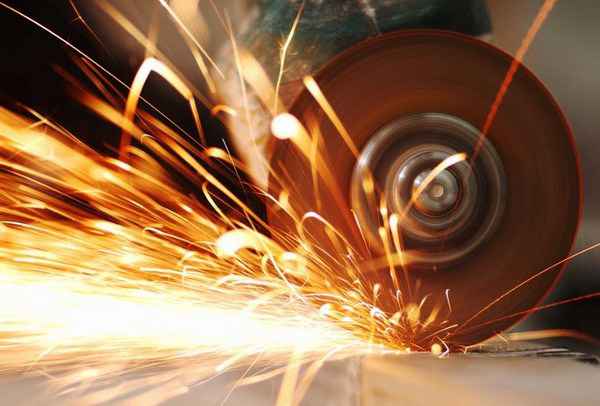
Therefore, I cut only on myself, so that the sparks flew at my feet. There is nothing wrong with that, and it doesn’t happen, the pants don’t burn, and the legs are still intact. But I have full control of the tool, hold it with my left hand by the side handle, and slowly press down as I cut it. At any time, I'm ready to release the power button with my right hand, but if it's serious, then quickly take the grinder aside.

By the way, when working with a grinder, many beginners make one gross mistake, which, in my opinion, is a mistake. They put so much pressure on the blade during cutting that the grinder's engine cannot cope with the increased load. As a result, the armature winding burns out, and the grinder has to be scrapped, since it is easier to buy a new one than to change the engine in it.
The main question: How to choose the right disc for a grinder?
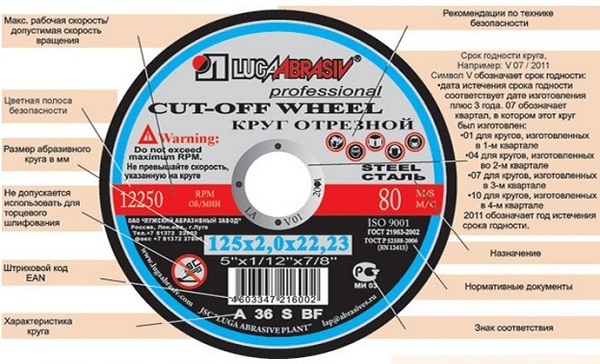
When choosing equipment for angle grinders, first of all, you should decide on the type of proposed work. The choice of the type of disc will depend on this. We also want to mention that when choosing a consumable, be sure to take into account the power characteristics of each specific model. Examine the labeling. Often, it is printed on the disc itself and includes a set of symbols by which you can determine the relevance of a given flow * od to perform the intended work.
Also, focus your attention on such a parameter as the diameter of the disc. In no case should it exceed the size of the protective cover on the particular tool model.
The size range of discs is usually represented by the following diameters: 115, 125, 150, 180 and 230 mm. The most common diameters are 125 mm. and 230 mm. They are optimal for most types of work and the capabilities of the tool itself.
As for the thickness of discs for metal, stone, it often varies from 1 to 3.0 mm. cutting discs). According to the reviews of many masters, it can be concluded that the thinner the disc, the more convenient it is to work with it. This, of course, is so, but do not forget that when working with a disc of small thickness, its fragility and the risk of failure of the entire tool increase.
Among the grinding discs based on bakelite, the most popular discs with a thickness of 6.00 mm. This parameter depends on the total diameter of the disc. The relationship is as follows: the larger the diameter of the disc, the greater its thickness and vice versa.
How to change a disc on a grinder without a key?
Method 1. Use a gas wrench
Grasp the nut with an adjustable pipe wrench and loosen it carefully, without applying great force. Disadvantage: you can crush the nut, break the rotation lock
Method 2. Make a homemade key for the grinder. To do this, you need a long nail (at least 100 mm).It is necessary to cut off the cap, the point and give the nail a U-shape. It should be bent in such a way that the “tool” stands fall into the holes of the flange. If the nut is tightened tightly, insert any metal bar between the posts of the nail and, grasping it with both hands, rotate the structure in the direction of the circle's movement. At this time, you need to press and hold the spindle lock button. The method is safe, but it takes time and additional tools - a hacksaw, a vice, a hammer.
Method 3. Tapping with a chisel. Before changing the disc, you can treat the spindle shaft with WD-40 fluid and wait at least 15 minutes. Then put the tip of a thin chisel at an angle to the hole of the flange nut and gently tap it over the entire surface of the hole with a metal hammer. Sooner or later, thanks to gentle tapping, the nut will slip off, and it will be possible to unscrew it manually. The disadvantage of this method is that you can damage the holes and spoil the flange.
Method 4. Heat the nut. If it is difficult to unscrew the nut of the angle grinder by hand, you can heat it up a little with a gas burner or autogenous gun. Unscrew the flange with gloves so as not to burn yourself. This is the most risky of the proposed methods. It is possible to overheat the bearings and oil in the angle grinder gearbox.
Finally, I would like to mention a few important points regarding replacing a disc on a grinder.
- On the angle grinder, you need to install circles of a suitable size. It is necessary to strictly observe safety precautions and in no case remove the protective cover in order to install a disc of a larger diameter. When choosing a disc, you need to take into account the model of the power tool, its power, spindle rotation speed.
- Due to the disc rotating at high speed, work hardening forms on the protective casing of the angle grinder. Therefore, when changing a disc, remove and clean the casing.
- In some models of grinders, washers are provided so that the disc does not get stuck between the flanges. At least the support flange can be fitted with a rubber washer. Instead of factory fasteners, you can cut cardboard, rubber or plastic spacers. You need to use 2 spacers: between the support flange and the disc, between the disc and the nut.
- Do not forget: if the circle rotates clockwise, then the nut is also unscrewed clockwise and tightened counterclockwise.
- If you do not want to buy a new key, install a Bosch quick-locking nut on the grinder - you can easily unscrew it by hand.
The main thing is that when changing a disc on a grinder, do not violate safety precautions and perform all manipulations with the tool turned off from the network.
conclusions
LBM is a simple and useful tool for home or professional use. The most common problem while working with it is biting the nut that holds the disc. This can be dealt with by mechanical action on the mechanism (blows to the mount, using a lever and grinding the disc), and by chemical methods - treating the thread with oil or rust solvent.
This simple operation sometimes baffles even experienced locksmiths or grinder users. The reason is that the disc is fixed with a special nut. The nut has 2 or 4 holes, into which a special key is inserted. This key was always included with the purchase of a grinder. Perhaps it is now included in the kits.

According to the instructions for the grinder, you must press the lock, which is located on the back of the gearbox. When the shaft is fixed, unscrew the nut with a special wrench and change the disc. But it is difficult to unscrew the nut if it is not clamped. And it clamps it with such a nut almost always. Attempting to unscrew the disc will break the retainer behind the gearbox.

