Types of punchers
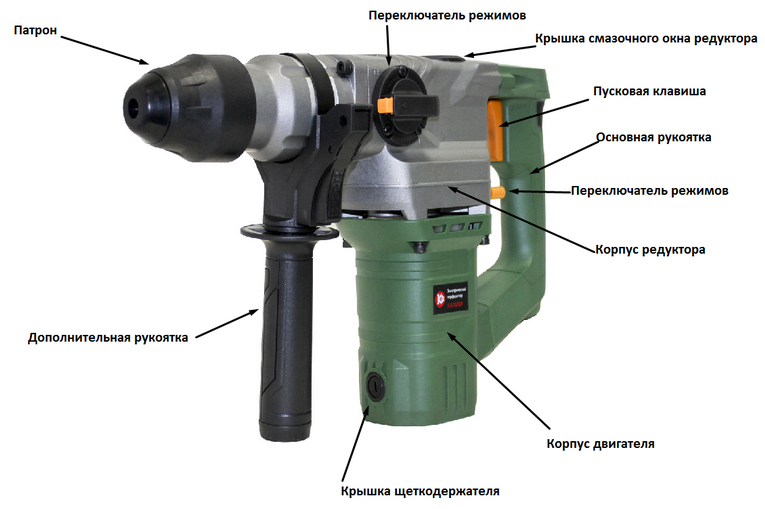
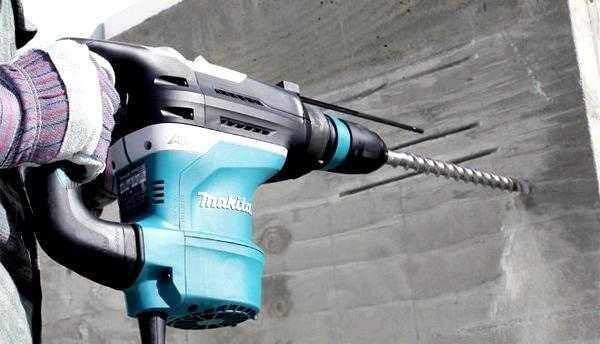
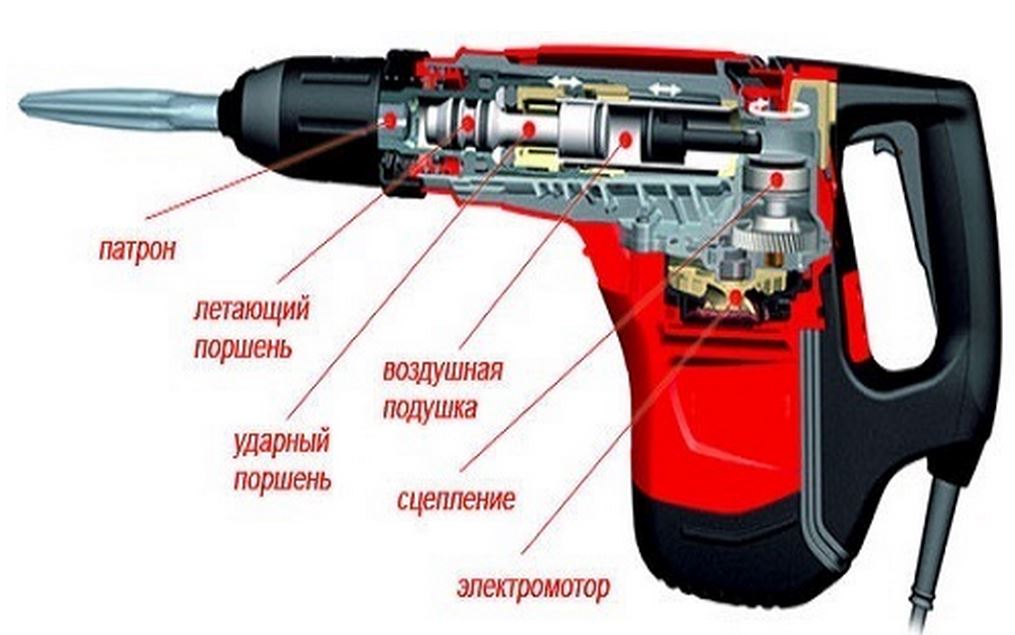
Rock drills have several classifications. This is due to the different fields of application of the tool.
The number of modes can be from one to three:
-
drilling. The hammer drill works in drill mode;
-
hammer drilling. You can make holes in brick and concrete;
-
a jackhammer, that is, a blow without drilling.
Rotary hammer drive types:
-
electric. Mains connection or battery operation;
-
pneumatic. Such drills are used where the presence of electricity is dangerous for a fire or explosion. And in the conditions of a large amount of water, where a short circuit can occur, for example, when eliminating an accident;
-
petrol. The tool is used in the repair and construction of roads, the mining industry. Mainly as a jackhammer.
Weight classification:
-
lungs. 2-4 kg. Power 400-700 W. Used in everyday life;
-
average. About 5 kg. Power 700-1200 watts. Professional;
- heavy. More than 5 kg. Over 1200 watts. In construction.
Types of cartridges used in rock drills:
-
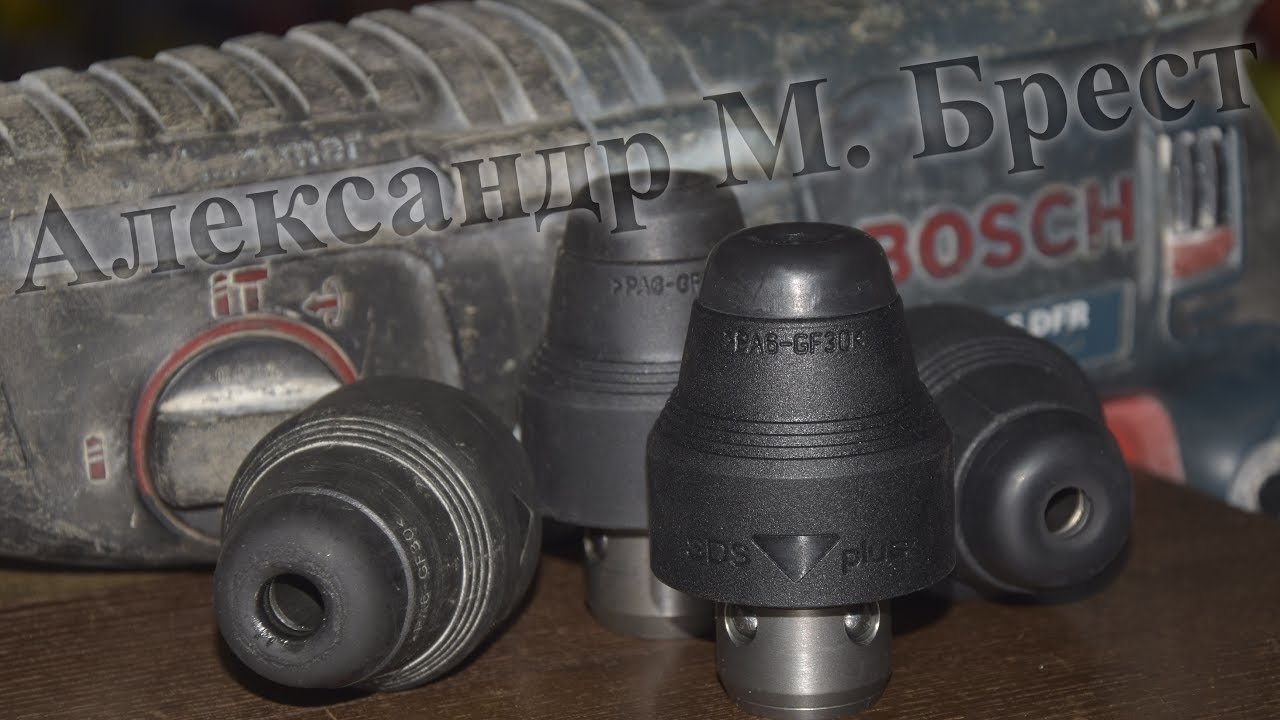
SDS + fits on light and medium rock drills for drills up to 20 mm;
-
SDS max is used for drills over 20 mm, therefore it is installed on heavy rock drills with high power.
Classification by engine location:
-
simple or horizontal engine. Such perforators are lighter and lighter in size;
-
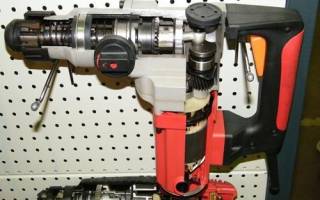
barrel or vertical engine. More powerful rock drills.
Dismantling the SDS Chuck
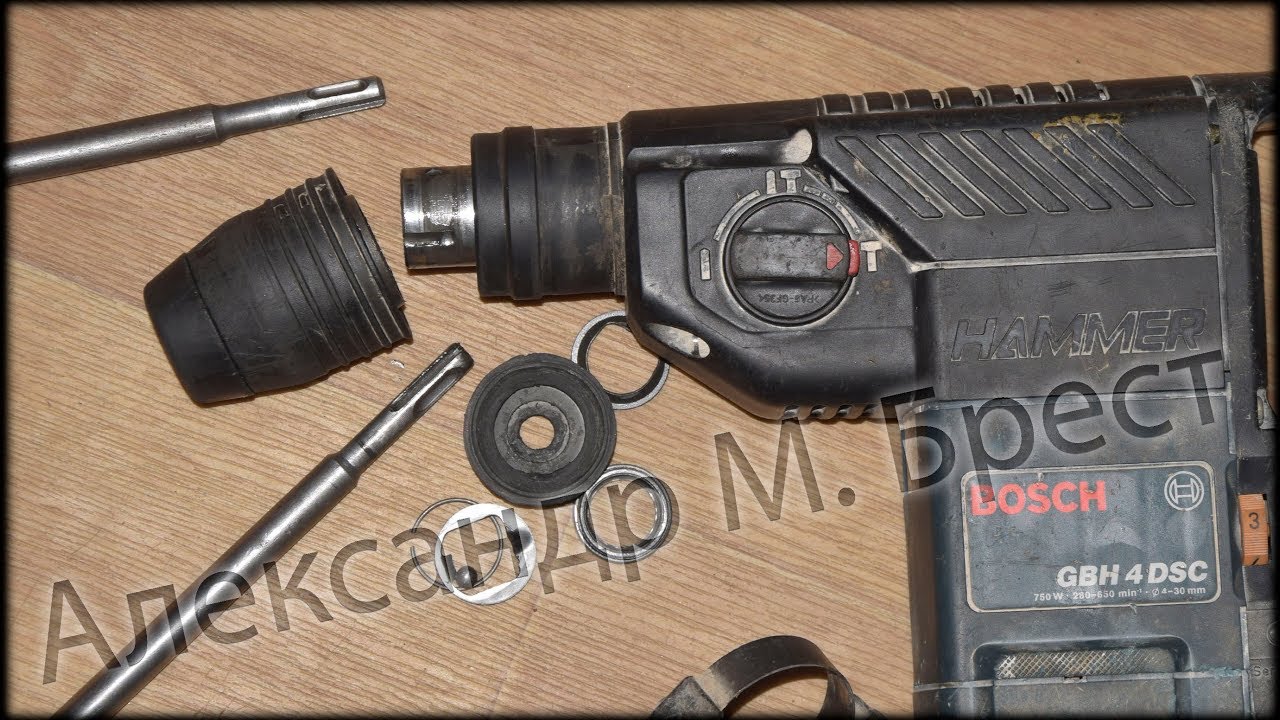
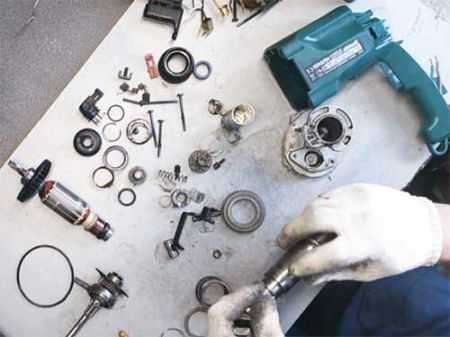
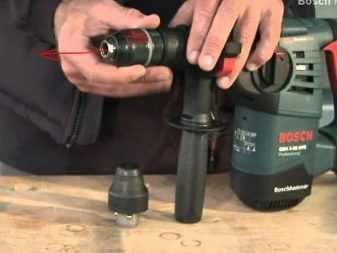
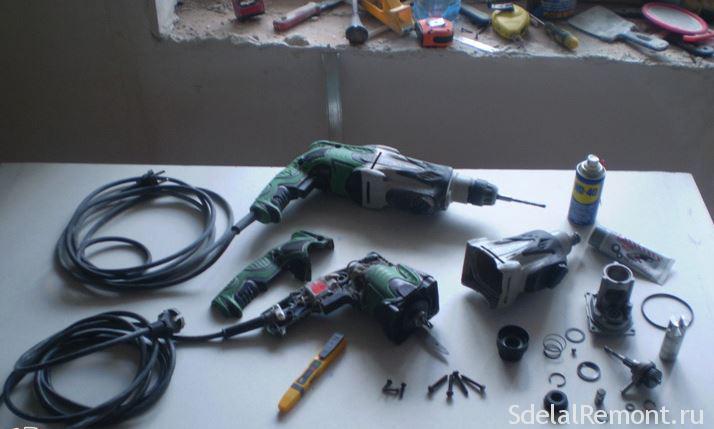
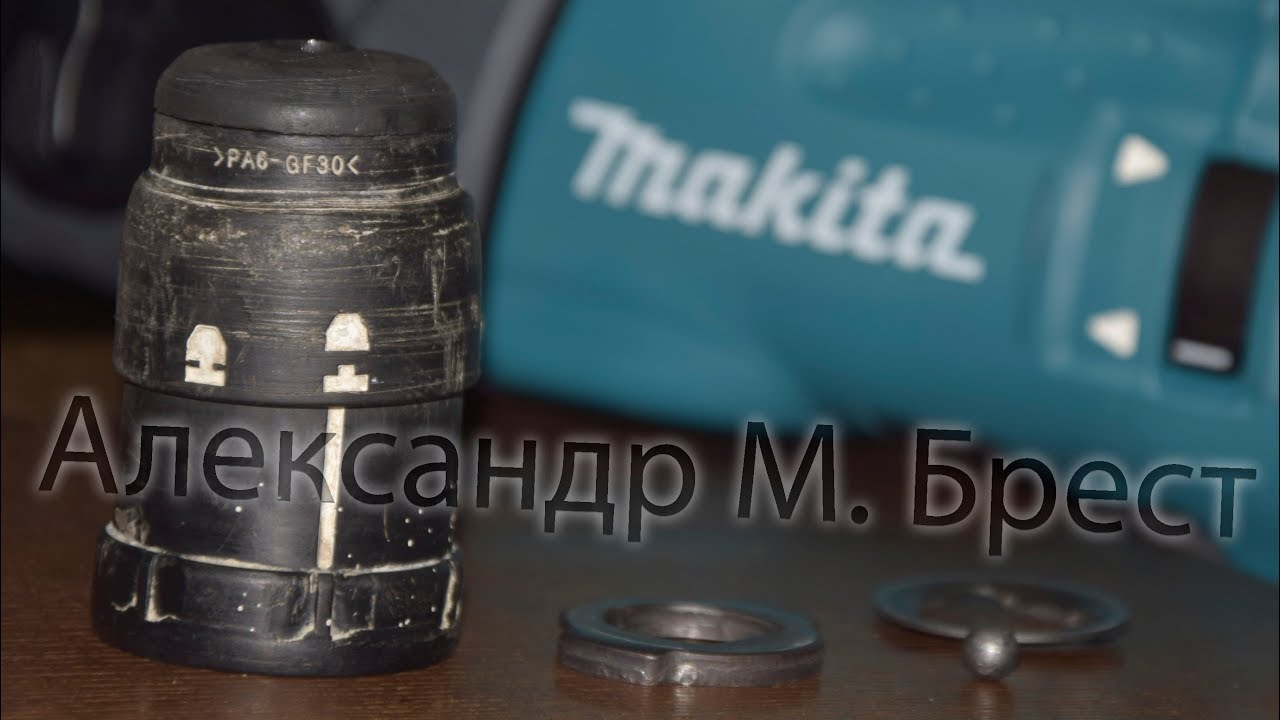
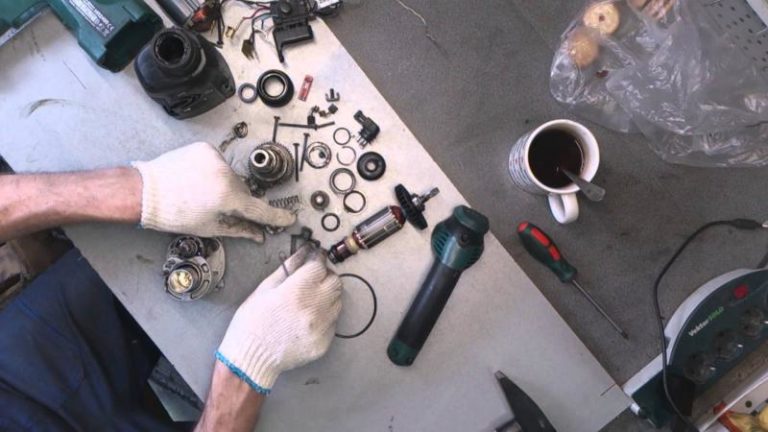
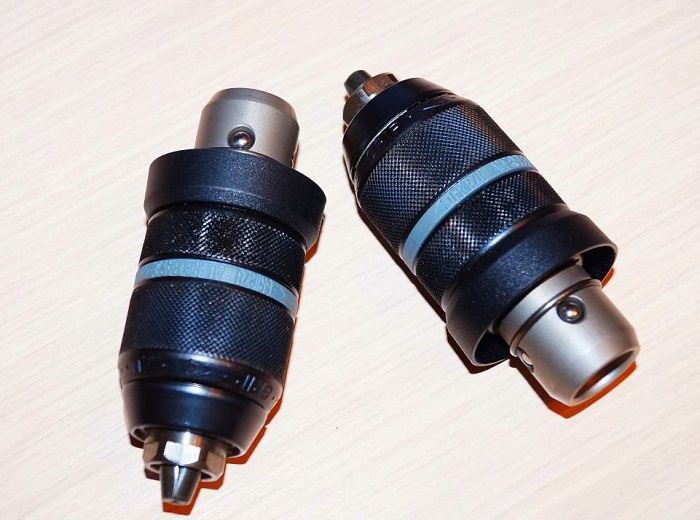
To assess the condition of the punch cartridge, this unit must be disassembled. Disassembly begins by removing the front rubber boot. It is not fastened with anything, it is enough to pry it with a screwdriver.
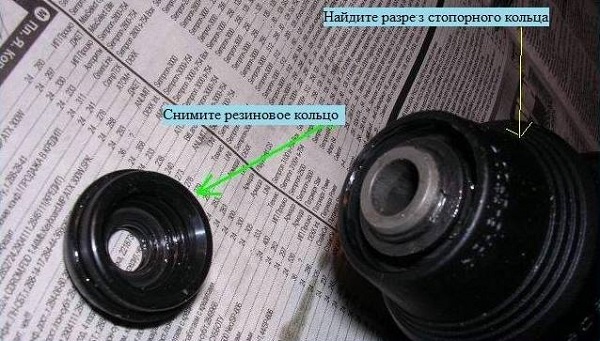
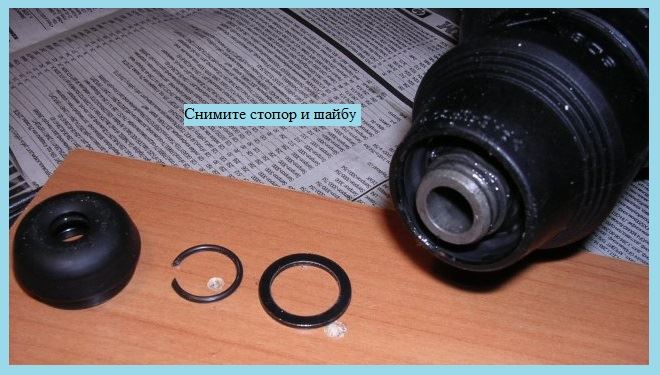
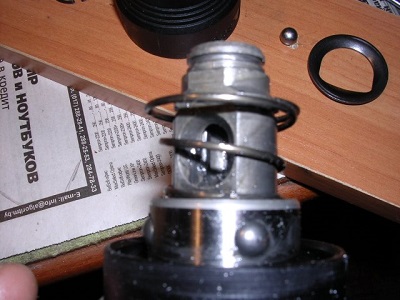
Next, remove the retaining ring and washer. This releases the spring.

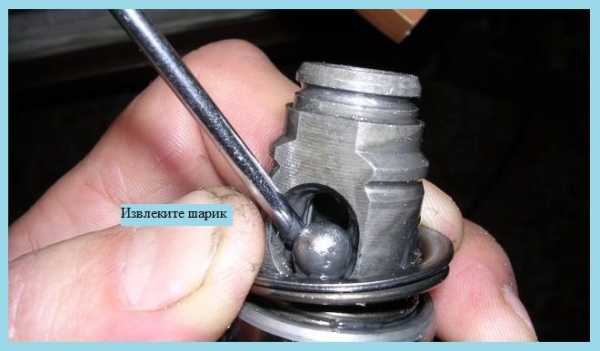
When removing the spring, you must be careful: there are locking balls under it, they easily slip out and can be lost. After removing the spring, the rear boot can be removed
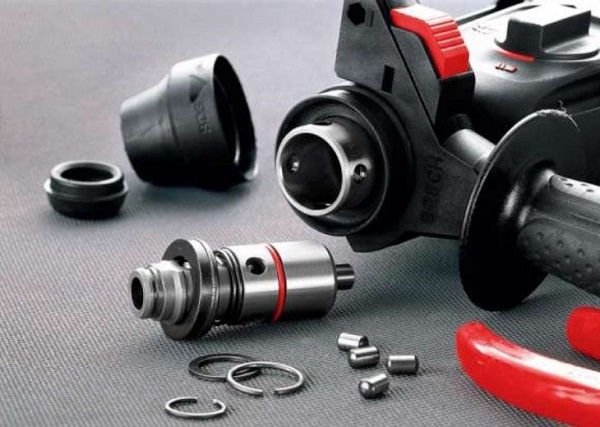
The cylinder is secured by four inserts, simultaneously passing through the walls of the perforator barrel. The inserts enter the walls flush, there is nothing to grab them. It is best to use a small magnet or a magnetized screwdriver to remove the inserts. The released cartridge is removed by slightly twisting it from side to side. After an inspection, they make a conclusion: replacement of the entire cartridge or only some parts is required. The assembly is carried out upside-down.
Typical tool breakdowns
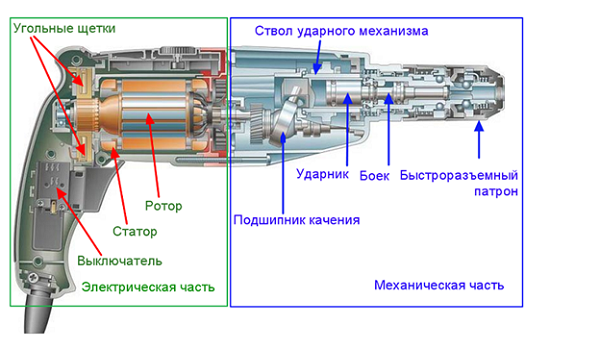
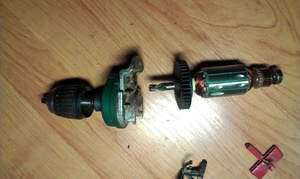 Knowing the device of the electric drill, it is easy to determine the reason why one or another of its functions does not work. It should be noted that damage to the power tool can be avoided if preventive maintenance is periodically carried out related to changing the lubricant of mechanical parts.
After completing the drilling work, it is necessary to remove dust from the tool, especially from its ventilation holes. The nature of faults is divided into electrical or mechanical nature of occurrence.
Electrical damage
This type of breakdown occurs due to exceeding the permissible load on the device and violations in its operation. They are manifested in the failure of the tool to turn on, in the failure of the reverse or the speed regulator. Most often, to restore functionality, you will need to disassemble the start button and clean all the places associated with the electrical contact.
The appearance of a burning smell indicates the occurrence of an overload in the operation of the electric motor. In this case, the condition of the brushes and windings is first checked, the places where the power cable are connected are examined for no burning.Combustion is associated with the ingress of dust, as a result of which the transition resistance increases, which leads to heating. Electrical faults are easily calculated using a multimeter and visual inspection.
Mechanical breakdowns
Mechanical faults are more difficult to identify. Such breakdowns are usually accompanied by the appearance of extraneous sounds, and it will not be possible to eliminate them without disassembling the instrument. In case of poor fixation of the drill in the chuck, it will need to be replaced, since the wear of the gear connection cannot be restored on its own.
The occurrence of a wedge during operation is associated with damage to the gearbox or bearing. If you disassemble the device, then the damaged unit will be visible immediately. Wear of gears or splines will indicate the need to replace them. The bearings are checked by rocking them on the shaft. If the movement is not smooth or extraneous sounds are heard, then the bearing is replaced. After it is possible to find the faulty unit and repair it, before assembling the device back, it is necessary to clean the gearbox from the old grease and apply a new one. Then the device will be able to serve for more than one year.
Views
As mentioned above, the Russian company offers a fairly wide range of drills.
Your attention may be drawn to a low-speed drill with a speed of 650 rpm or tools with a high torque. Choose between electric and pneumatic drill that suits you
It is possible to buy slow-moving tools or those designed for simpler and more standard work.
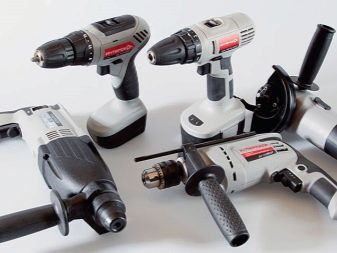
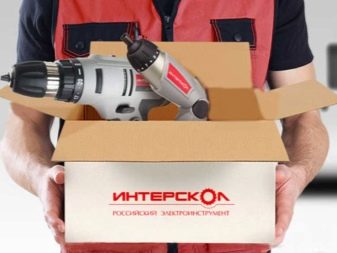
Let's take a look at the Interskol range of products using some products as an example.
Shock
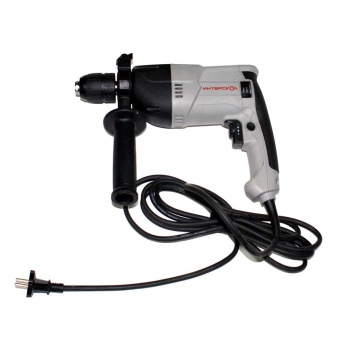
The most popular among impact drills are almost all offered models, because each of them has its own characteristics, and the buyer chooses a product based on his own needs.
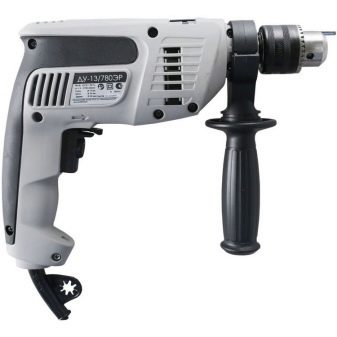
The DU-13 / 780ER model is one of the best. Its power reaches 780 W, which is enough for large-scale construction work.
Convenience lies in the presence of an additional handle, which is important when working with very hard surfaces. The diameter of a suitable drill reaches 13 millimeters and the rotational speed is 2700 rpm
Weighing 2.2 kilograms, it is comfortable enough for long-term work.
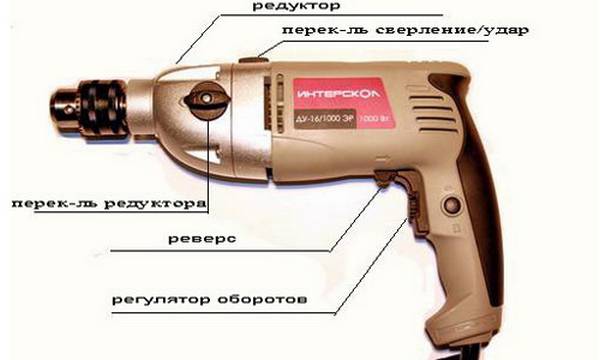
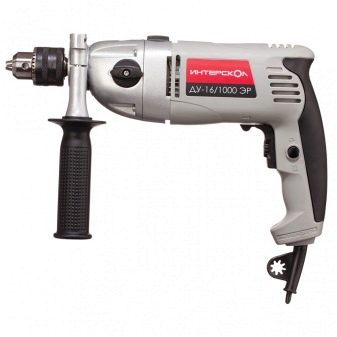
But the model DU-16 / 1000ER can be produced with the mark "Professional", since its power reaches 1000 W, and the drilling diameter reaches 16 millimeters. The main advantages: metal gearbox housing, which ensures safety, the additional handle is held on an aluminum mount, the presence of a speed switch, as well as a fairly smooth speed control, which, of course, is convenient when working.
Unstressed
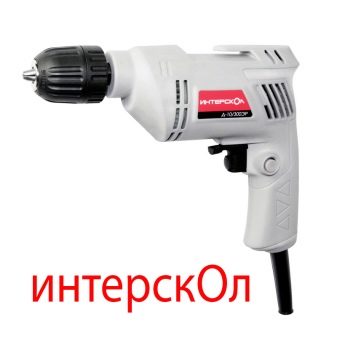
In the category of "hammerless drills", the D-10 / 300ER model is the most profitable in terms of price - its price on the official website does not reach 1.5 thousand rubles a little. It is adapted for working with small-diameter drills, suitable for working with thermoplastic materials, and its small volume and low weight affect the result of the process only from the positive side.
Its price is 5 thousand rubles, however, the quality of this drill can be considered the best. Undoubtedly, this is the most powerful engine that provides high performance of the tool for a rather long period. The metal gearbox housing made of light alloy allows it to work in rather difficult conditions. The 16mm key chuck is ideal for large tooling.
Rechargeable
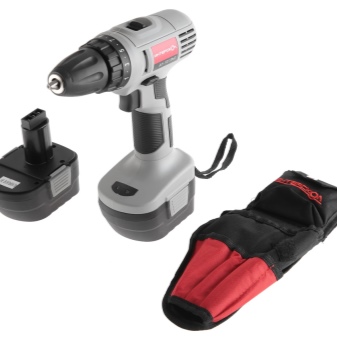
The DAU-10 / 18L2 cordless percussion drill is perfect for many types of construction work. The impact mode ensures a successful drilling process on hard surfaces, the Li-ion battery allows the drill to remain charged for a long time, the model has a high energy consumption, and there is also an LED-backlit of the working area, which is very convenient.The price, in comparison with electric tools, is quite high and reaches 6,290 rubles, but it is fully justified.
Manufacturers have provided for a cheaper option from the same category, for example, the DA-10 / 12M2 cordless drill / screwdriver (2 acc.). There is also a good case with the optimal position of the tool, and a charger with a convenient charging indicator, and a backlight that is directed exactly where you need it.

Drill mixer
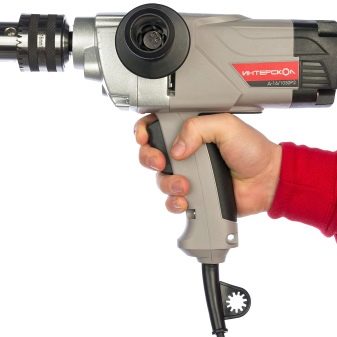
The D-16 / 850ER model is probably the most popular in this category. It has a powerful electric motor, which provides a long-lasting process, the metal body will help the drill to stay in good condition for a long time.
The price starts from 4 thousand rubles, but the quality will certainly please you.

Dismantling the key cartridge
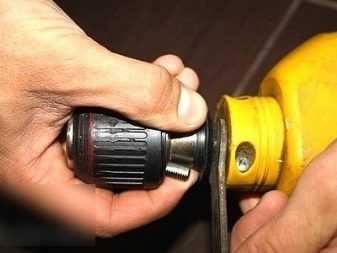
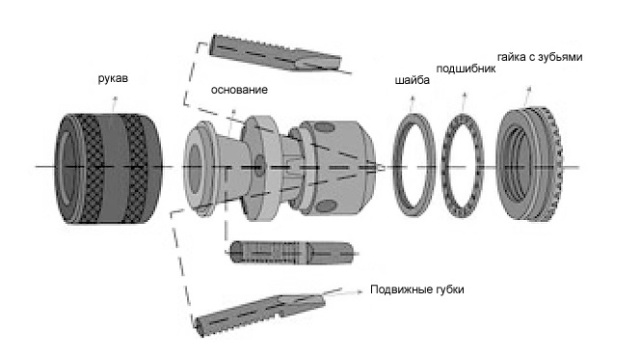
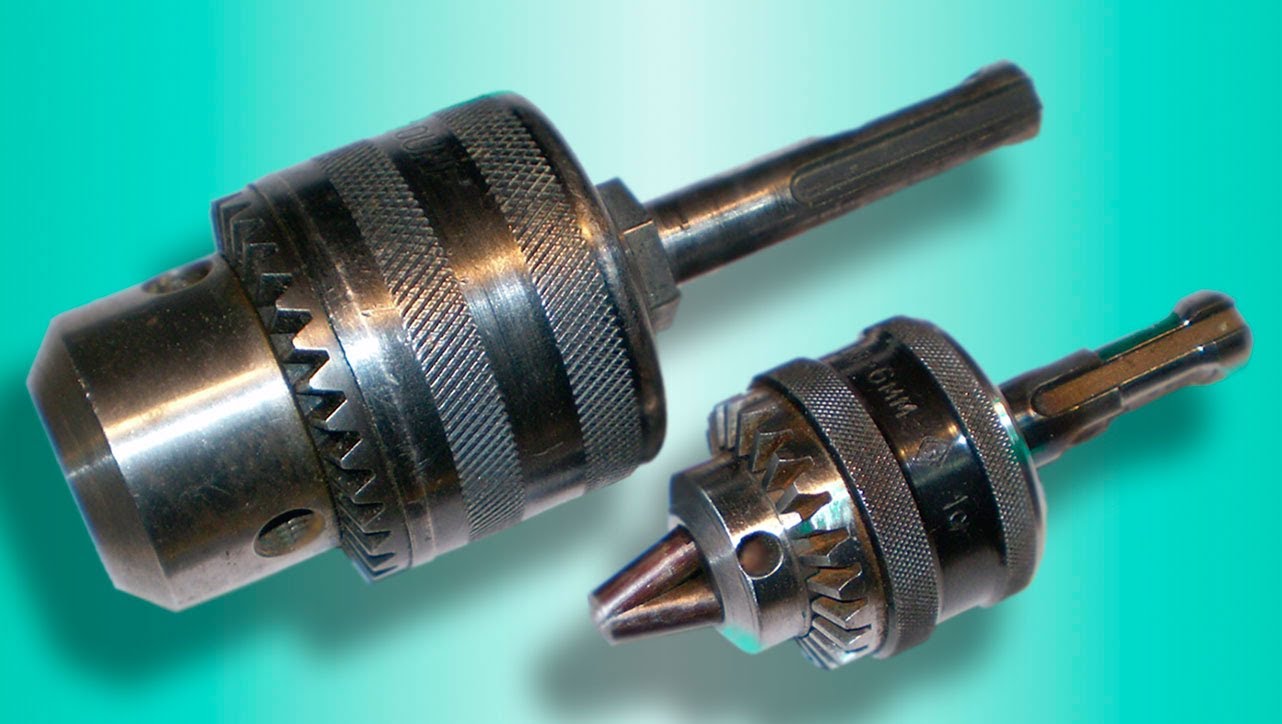
The key chuck can be disassembled in two ways: using a hammer drill and using a hammer.
Perforating method
In order to disassemble the cartridge in the easiest, perforating, way, you must perform the following steps:
1. Spread the cams until they are completely hidden in the body.
2. Fasten a metal blunt insert of such a diameter in the hammer drill so that it fits freely into the threaded spindle hole of the chuck.
3. Support the cartridge on a massive surface, having previously substituted a shock-absorbing gasket (for example, in the form of a rubber plate several centimeters thick). As a stop, you can use a thick metal plate held by your free hand, table, workbench, floor.
4. Start the hammer drill, and after two to three seconds the sleeve (shirt, adjusting sleeve) will be knocked off the chuck.
5. The cams can now be removed from the housing.
Attention! When performing this operation, it is necessary to make the appropriate marks on the body and on the cams so that during assembly they fall into place. Otherwise, the fixed drill will not be centered.
The disadvantage of this method: when the clip is knocked down, some parts may fly apart (for example, a ring with teeth; it usually consists of two halves), and an inexperienced user will add the hassle of collecting all the components together.
Having disassembled the cartridge, it is possible to clean it from dust, rust and dirt, as well as lubricate the parts.
The assembly of the cartridge is carried out in the following sequence:
1. Extend the cams manually to maximum.
2. Place the two halves of the toothed ring in the corresponding groove in the body.
3. Holding the ring with your fingers, it is necessary to hide the cams inward, rotating the chuck body.
4. Put on the sleeve (shirt, adjusting sleeve) until it stops. This cannot be done completely. Must be pressed in with a hammer.
5. To do this, install the cartridge vertically on a special washer so that the sleeve (shirt, adjusting sleeve) rests against it, and the body can freely pass into the hole. Instead of a washer, you can use a bench vise with jaws diluted to the required size or a pipe cut of a suitable diameter.
6. Put a gasket in the form of a thick plate made of soft metal (aluminum or copper alloy) on the chuck from above, and press the body into the sleeve (jacket, adjusting sleeve) with hammer blows. That's all. The chuck can be attached to the spindle and operated.
With a hammer
This disassembly method is very similar to the previous one, but not all users have a hammer drill, so you can use a hammer instead:
1. First, you need to "hide" the cams inward, spreading them to the required position.
2. Place the chuck vertically on the divorced locksmith's vice until the body can pass between the jaws, and the sleeve (shirt, adjusting sleeve) rests against them.
3. Quickly warm up the sleeve (shirt, adjusting sleeve) with a construction hairdryer. Instead of a hair dryer, you can use a blowtorch.
4.Place the shock absorber in the form of a soft metal plate (aluminum or copper alloy) on top of the cartridge.
5. Knock the body out of the sleeve (shirt, adjusting sleeve) with a hammer blow.
6. After that, clean and lubricate the parts and assemble in the order indicated in the perforating method. In this case, you can reheat the sleeve (shirt, adjusting sleeve) using a hot air gun or blowtorch.
The disadvantage of this method is the increased "invasiveness" of parts.
Also, it is advisable to use heating only in case of emergency, when it is impossible to knock down the sleeve (shirt, adjusting sleeve) without this. After all, exposure to high temperatures can lead to a change in the structure of the metal, which will make the parts soft.
Daily care and storage of the rotary hammer
For the tool to work for a long time and correctly, you need to follow simple rules.
- Before starting work, carry out a quick inspection of the technical condition of the tool. Never ignore the symptom, if any.
- At the end of the work, clean the hammer of dust and debris. It is advisable to blow a stream of air out of the vacuum cleaner.
- When transporting in cold weather, allow the device at least 20 minutes to “acclimate” it before starting work. The fat should thaw and become elastic.
- Operate in accordance with the operating rules described in the technical description of the tool.
Store the hammer in a dry and warm place. For long-term storage, it is recommended to pack in a plastic bag and cardboard box. Do not allow moisture to enter electrical parts, including condensation, from the air.
To realize is to arm. Knowing the intricacies of the perforating mechanism, you can repair the tool yourself and as soon as possible. However, if you look under the punch cover in time, clean and lubricate the mechanisms, you may not have to resort to repairs. Regular maintenance of your device will help extend its life.
For professionals, replacing or repairing the punching chuck is easy. But what about those who are not involved in construction and repair at a professional level? Since every person has carried out a seeder at least once in their life, they should be aware of the process of removing and replacing the cartridge.
Replacing and disassembling the drill chuck
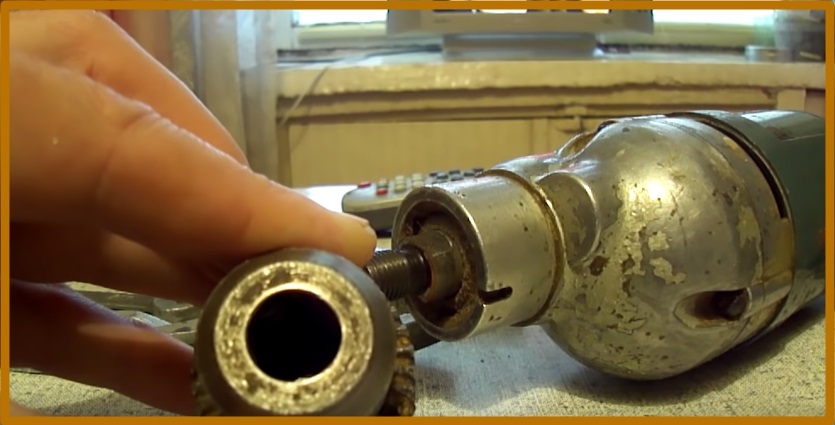
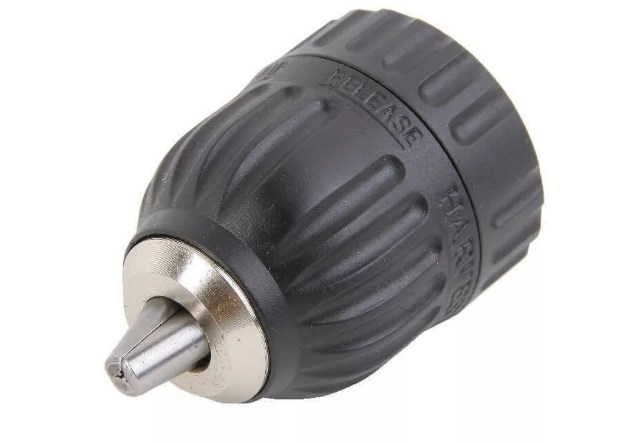
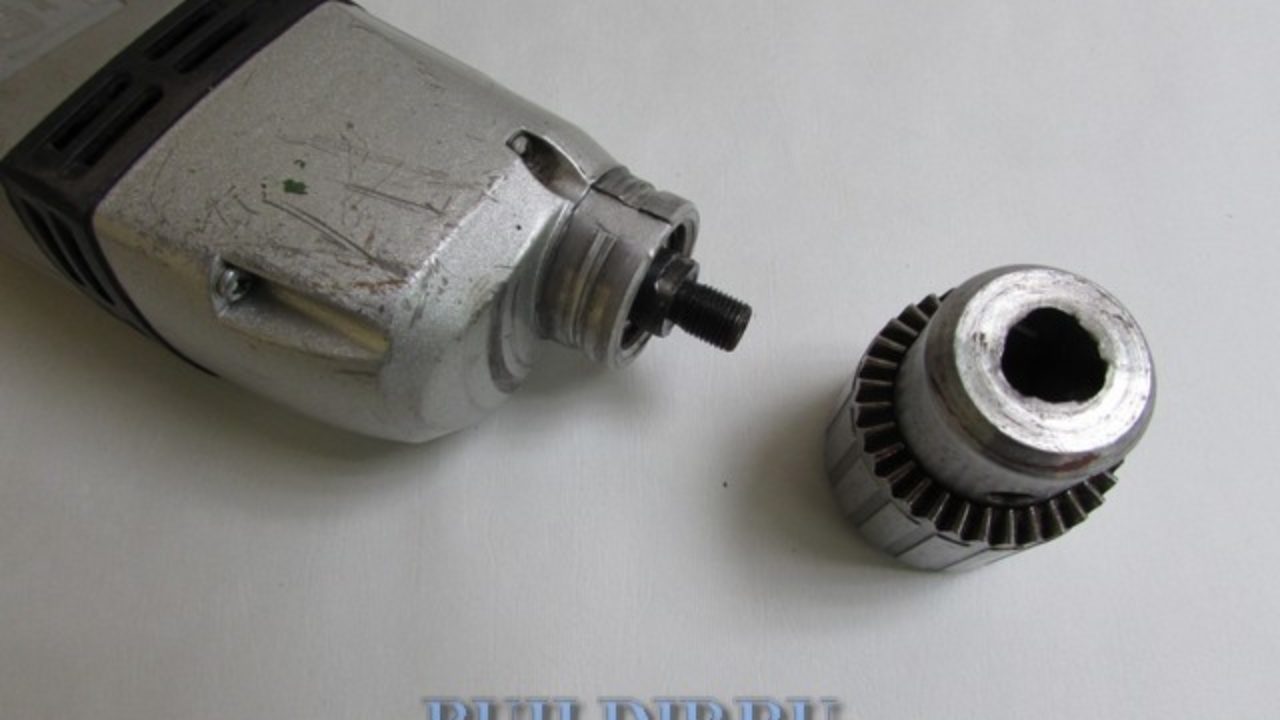
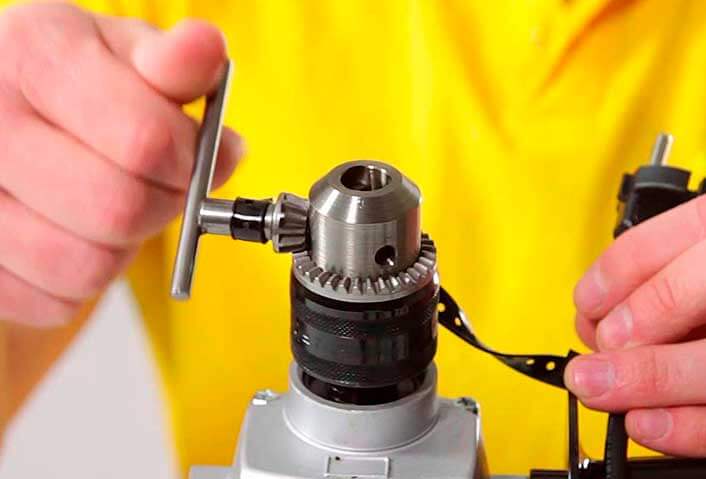
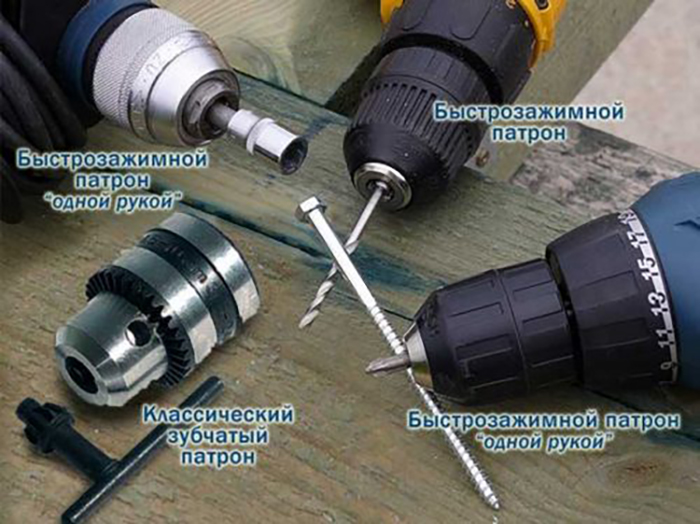
There is nothing complicated in the question of how to replace a worn out chuck with a drill. To do this, it is enough to purchase an appropriate clamping device, remove the old one from the drill and install a new one on it. It should be borne in mind that both conventional and mini-drills can be fitted with cartridges of two types:
- with a conical connection;
- threaded.
Chucks, for installation on a drill of which a thread is used, are removed and fixed according to the above scheme
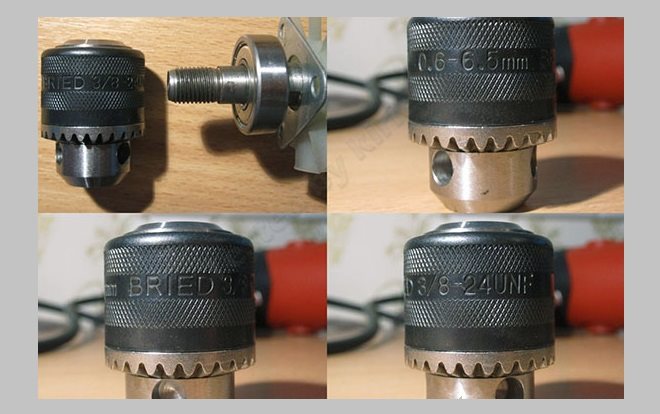
When replacing such a device, it is not enough to know that it is threaded; it is also important to take into account the markings that are mandatory on it. Such chucks can be marked as follows:
Thread Chuck Marking
The interval 1.5-13, present in the designation data, indicates the minimum and maximum diameters of the cutting tool to be installed. The rules for replacing the chuck on a drill suggest that the new clamping device must be marked completely identical to the designation of the old one.
With the question of how to replace a cone chuck with a drill, everything is somewhat simpler. Various markings can also be applied to devices of this type, namely:
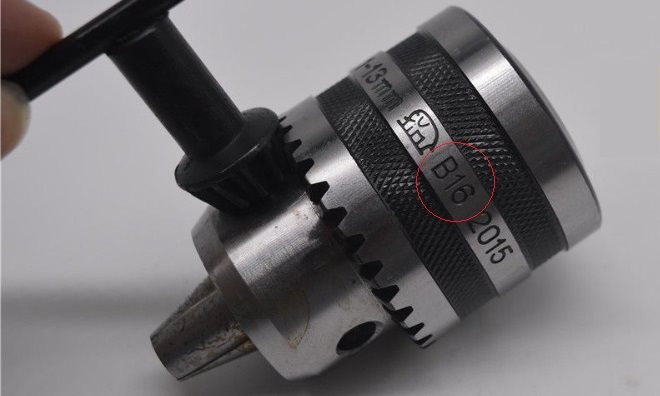
Chuck Marking with Morse Taper
To replace a chuck of this type with a drill, you just need to select a clamping device with the appropriate marking and insert its seat into the tapered hole of the drilling equipment.It is quite simple to navigate in such a marking: the letter "B" means that this is a cone-type cartridge, and the number indicates the diameter of the lower part of the bore.
Removing the cone chuck from the drill is as easy as installing it. In order to perform such a procedure, you just need to knock out the clamping device from the drill bore, for which a conventional hammer is used. You can also get acquainted with the details of installing and removing the cone chuck of an electric drill by watching the corresponding video.
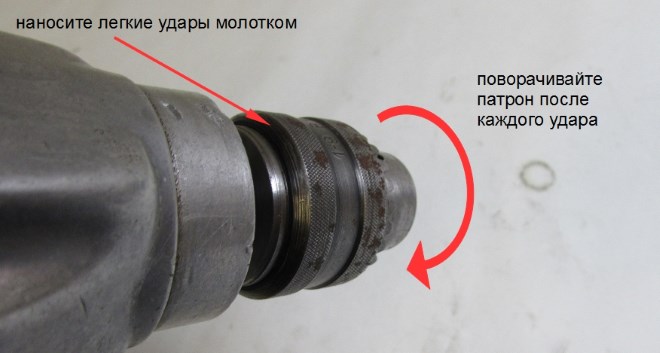
On Soviet drills, the cartridge with a cone mount simply knocked out, the design of the gearbox allowed such rudeness. To remove the cartridge of modern models, you need to use pullers or special tools
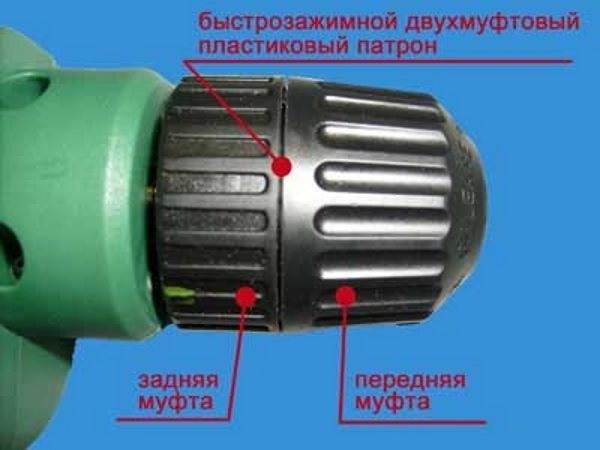
How to disassemble a screwdriver or drill chuck? This procedure must be periodically performed for maintenance of the device (cleaning and lubrication of all its internal elements), as well as minor repairs. This significantly extends the service life of the chuck.
When disassembling a cartridge, you should consider what type it belongs to. Focusing on the instructions or video, it is necessary to perform all the steps for disassembling such a device as carefully as possible so as not to damage its constituent elements. After all the maintenance or repair procedures for the drill chuck have been completed, reassemble it in reverse order.
If the structural elements are badly worn out and it is not possible to restore them, it is better to replace the entire mechanism, which will be much cheaper than repairing it.
Cartridge
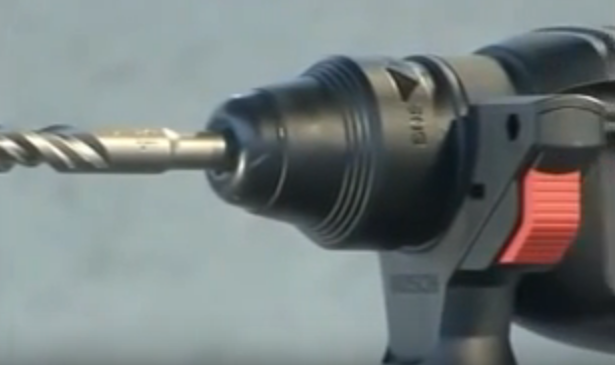
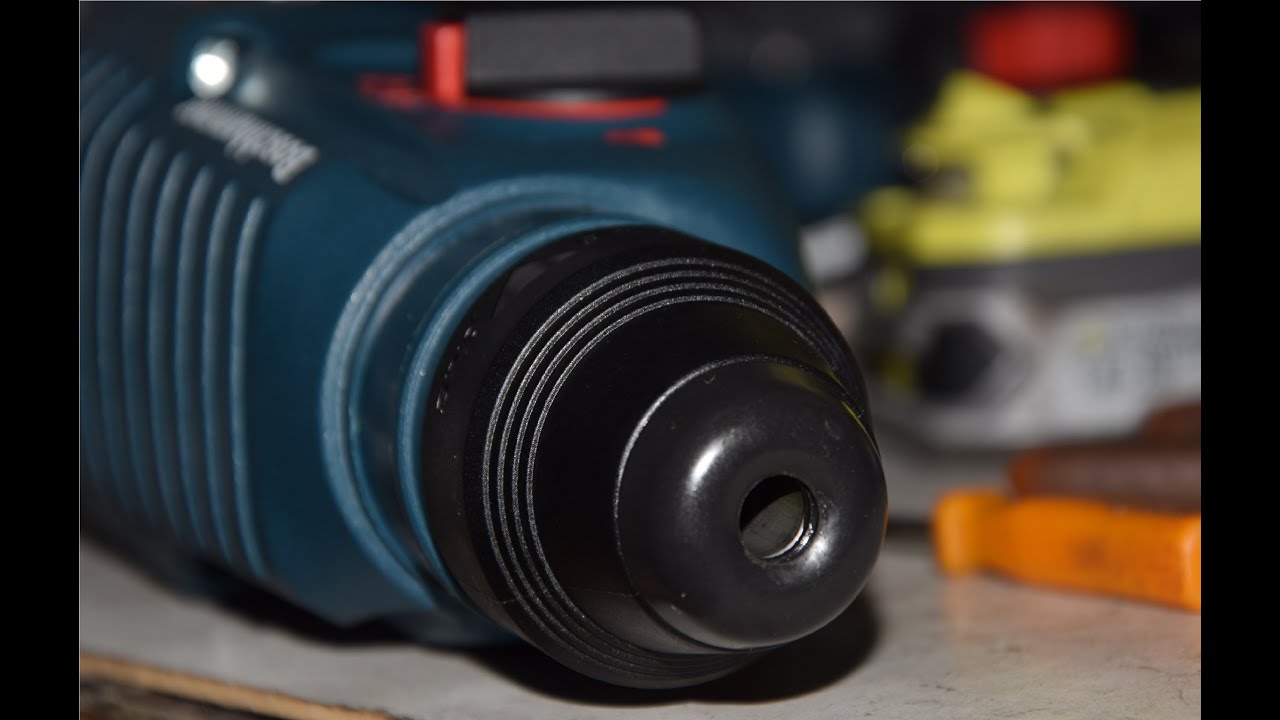
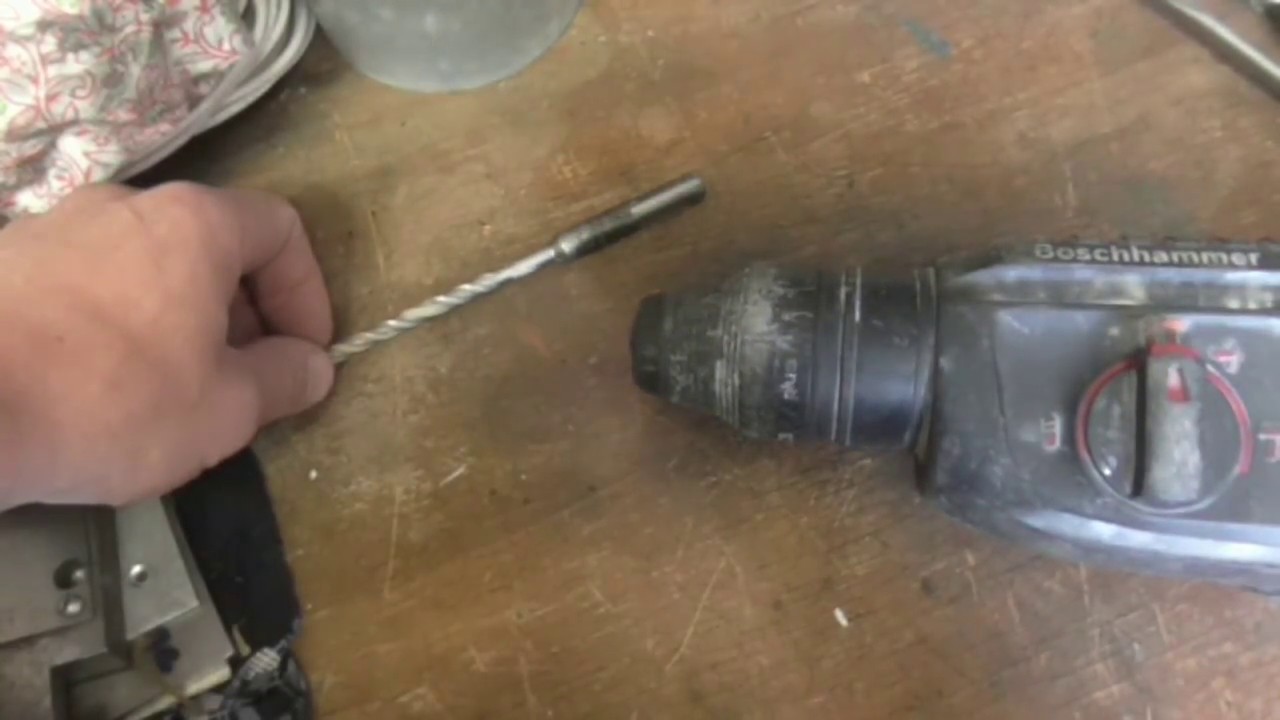
All electric rock drills are equipped with simple and reliable SDS chucks. Their prototype was designed by engineers from the West German firm Bosch. Therefore, the abbreviation in the name is derived from the German words: Steck, Dreh, Sitzt. Which in this case mean - "insert", "turn", "sits". Five modifications of this design are currently being produced:
- SDS. For bits with a Ø 10 mm shank with 2 longitudinal grooves to secure against twisting. Shank insertion depth - 40 mm. This design works well with SDS-plus shanks.
- SDS-plus. The leader in frequency of use among hammer drill chucks. Designed for bits with Ø 10 mm shank, which has four slots (two long ones to prevent twisting and two short ones to secure them against falling out). The insertion depth is 40 mm. This type is used on light rock drills. It can work with attachments Ø 4–32 mm, lengths from 11 cm to 1 m.
- SDS-top. A rare species. Fits on medium rock drills. The nozzle for it has a Ø 14 mm shank equipped with two long and two short grooves. The depth of alignment is 70 mm, with a drill diameter not exceeding 32 mm.
- SDS-max. It is found on punchers only slightly less often than the leader. Designed for drills larger than 2 cm in diameter. Used primarily with heavy rock drills. The shank for it Ø 18 mm is inserted 9 cm, has three long and two short grooves.
- SDS-quick. This type is for a quarter-inch hex shank instead of a slotted shank. It can even hold drills and bits. Until 2009 inclusively installed exclusively on Bosch Uneo. Boers do not make it thicker than 1 cm.
- SDS-hex. Only lances and chisels have shanks for working with it. And they only complete jackhammers.
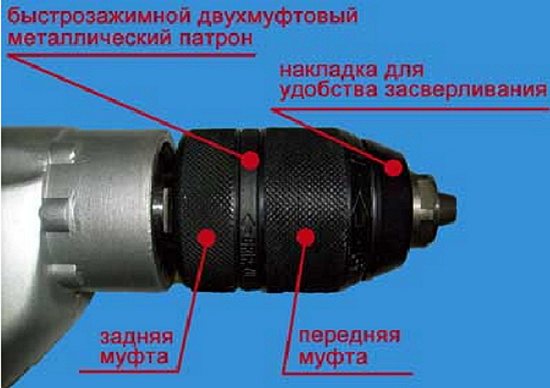
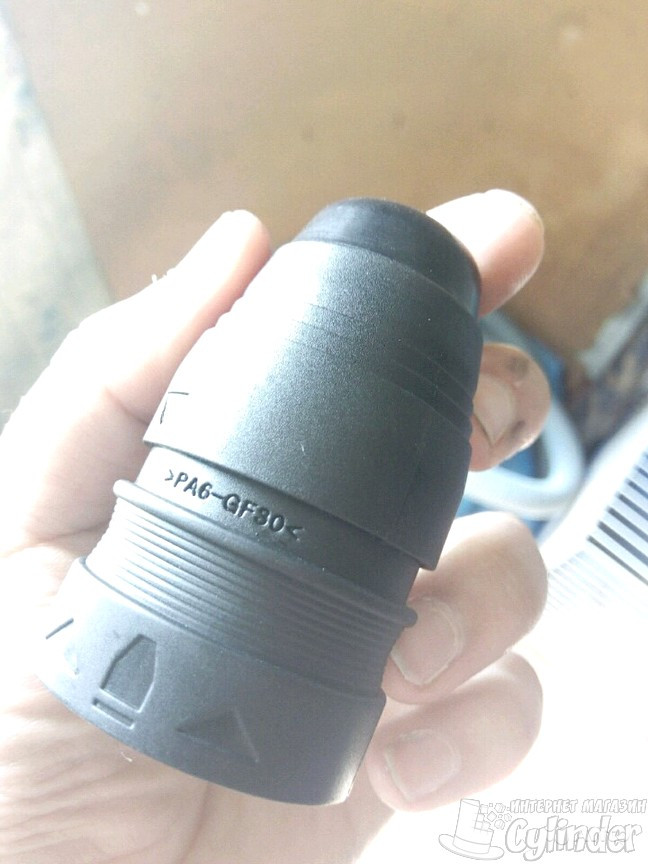
The designs of hammer drill cartridges and electric drills have nothing in common. The drill chuck grips the drill with movable jaws. In the hammer drill, the drill is fixed against turning by guides entering the grooves of the shank. The latches of the spring-loaded balls do not allow it to fall out. To fix the drill, you need to insert the shank into the hole of the chuck. And by pressing on the nozzle, insert it inside until it clicks. To remove the drill, pull the plastic skirt towards you.

