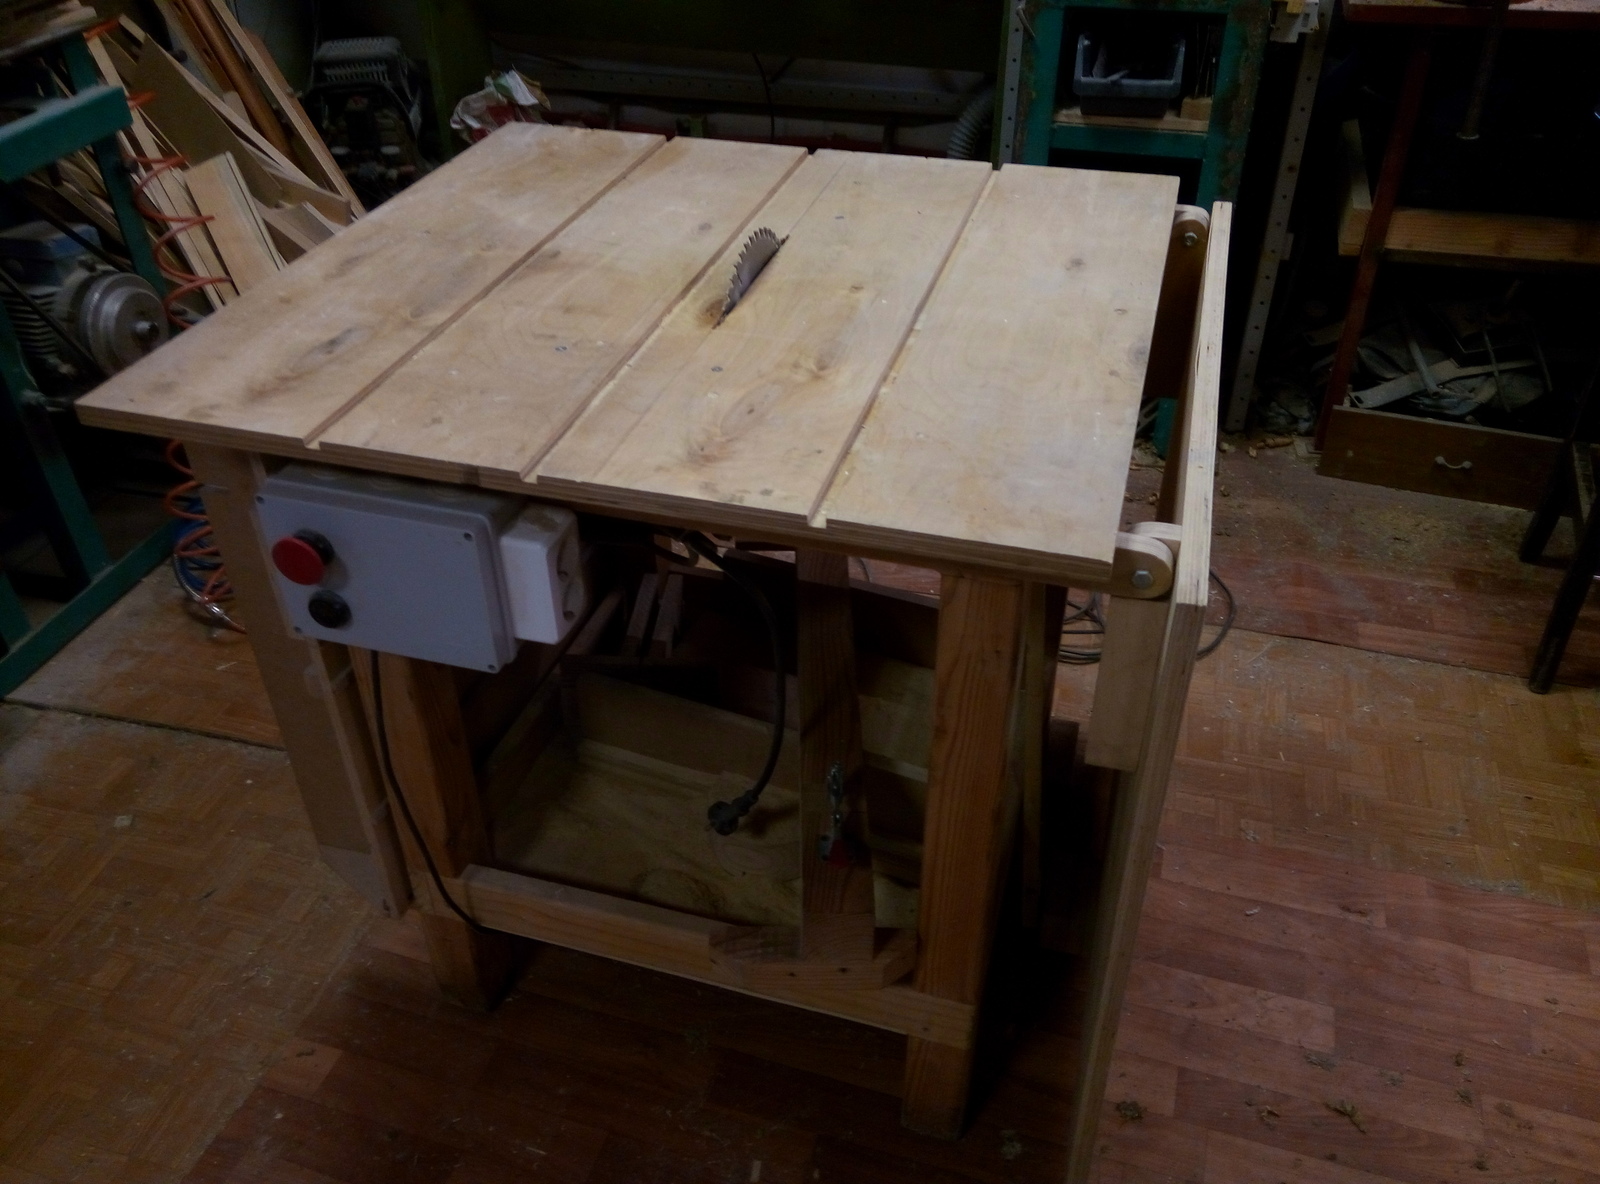
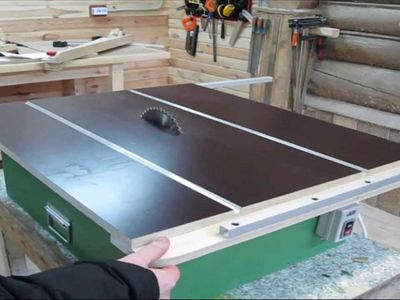
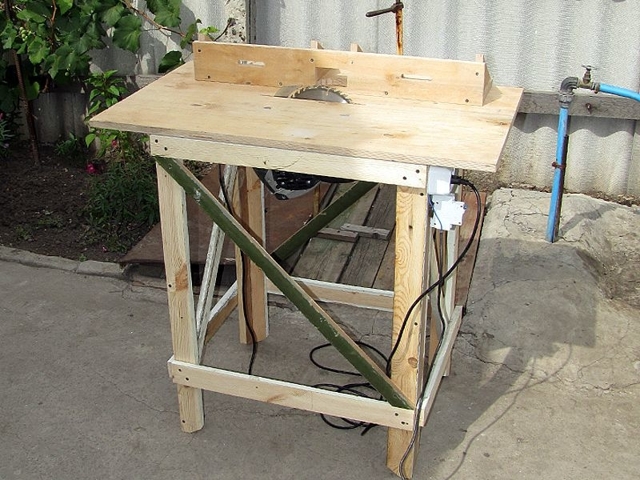
Hand circular table
There are many designs of self-made sawing tables for hand circulars, but most of them are the fruits of creativity and / or self-expression. However, they are quite workable. However, the optimal options for those who need not to do and show, but to work on it, are seen quite clearly.
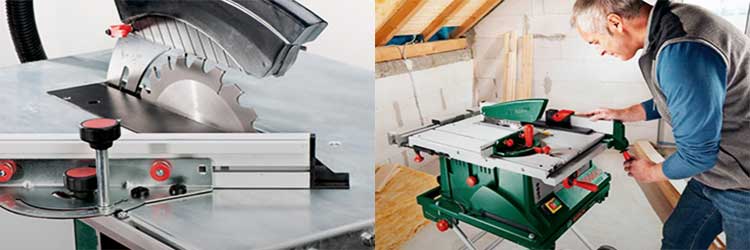
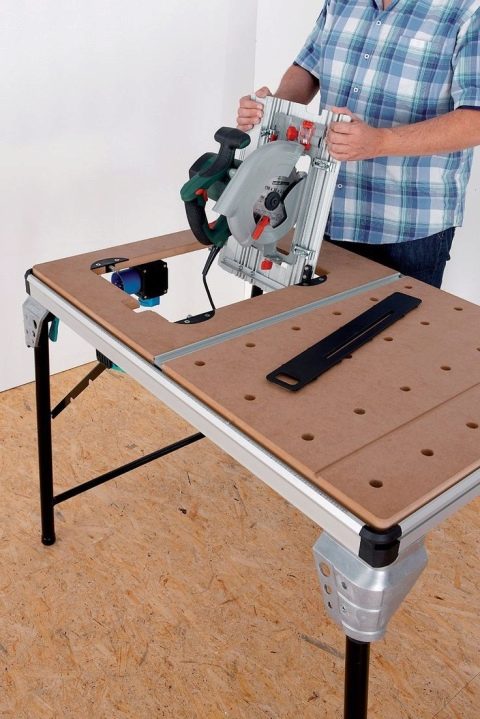
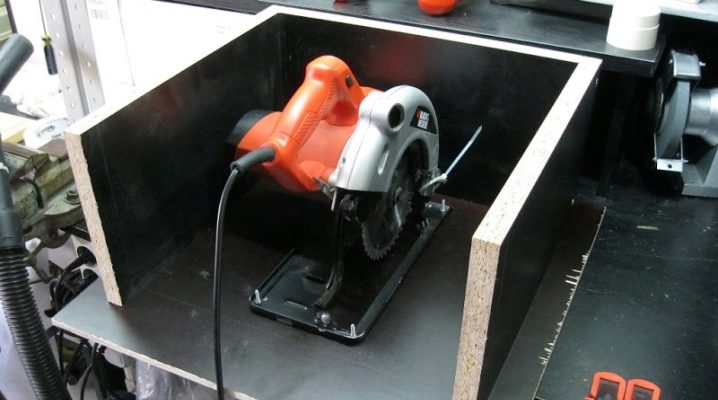
This is a folding saw table for a hand-held circular saw (left in fig.). Table top - laminated plywood from 12 mm; drawers with a height of 400 mm - furniture laminated chipboard 16-24 mm. It is undesirable to make tsars made of boards, the required table rigidity will not work. Countertop overhangs - 30-60 mm.

Circular saw blade saw table design
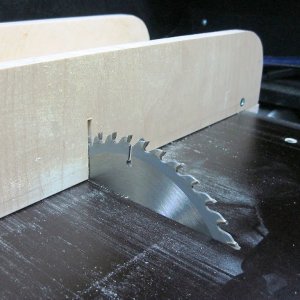
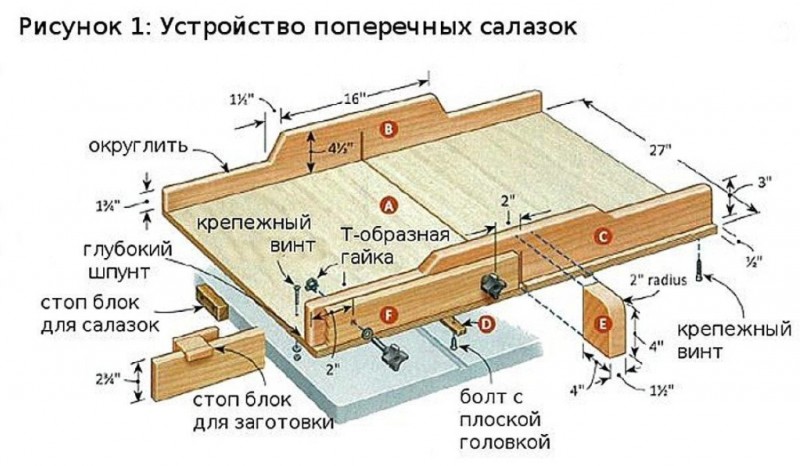
The design of the circular table top is shown on the right in Fig. Through grooves for the saw blade exit (one groove is possible) are cut out with a width of 6-10 mm. In this case, special accuracy is not required, because the stop (see below) is set for cutting along the saw blade. The dimensions of the table top can be changed as desired (up to approx. 900x1200 mm from 16 mm plywood). Fixation in working position (node C in the figure) - with M8 screws with wing nuts. Rotation unit (pos. B) - a piece of pipe (plastic can be used). Its attachment to the table top is possible with countersunk screws through the through holes.
Instead of loops - L-shaped pieces of the D8 rod; small play in the pipe does not affect the sawing quality. Each "loop" is additionally bent in a vertical plane at an angle of 30-45 degrees. Threads are cut on long sticks "G", and they are fastened in the tsar by pairs of nuts with split washers. It is better to mark the fastening holes in the tsar in place by inserting the “hinges” into the pipe and placing the tabletop on the base.
Emphasis
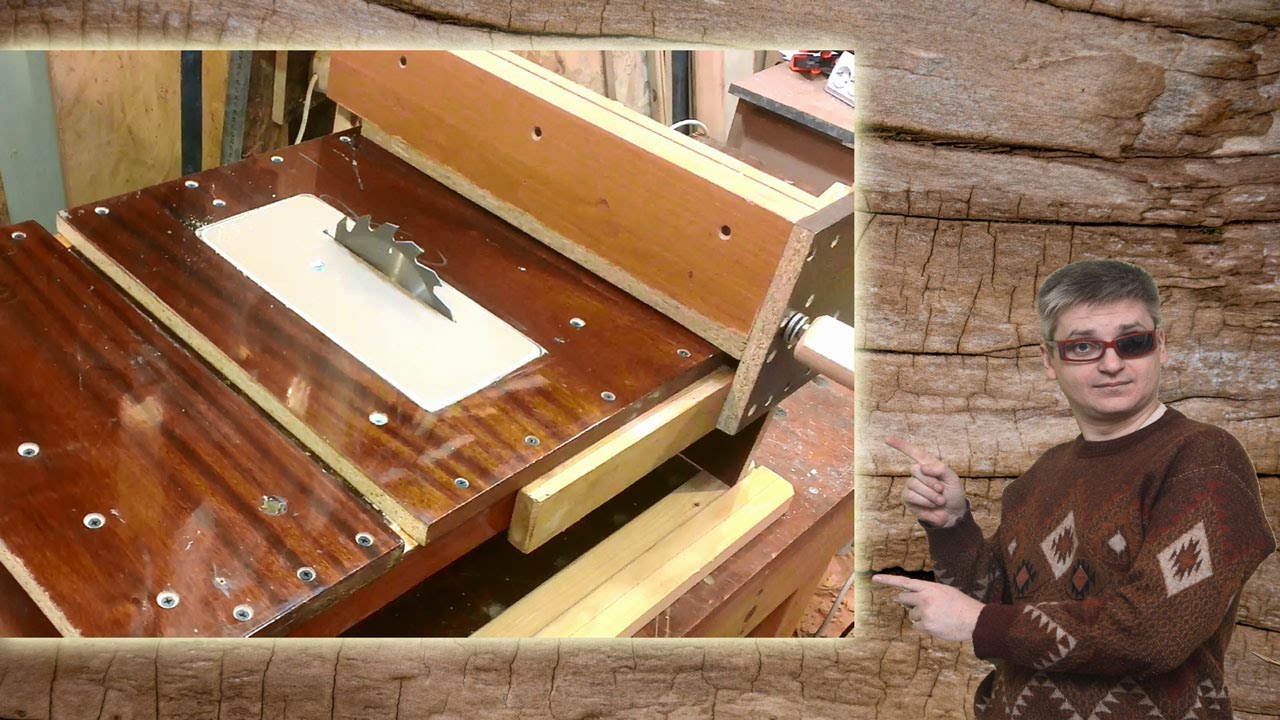
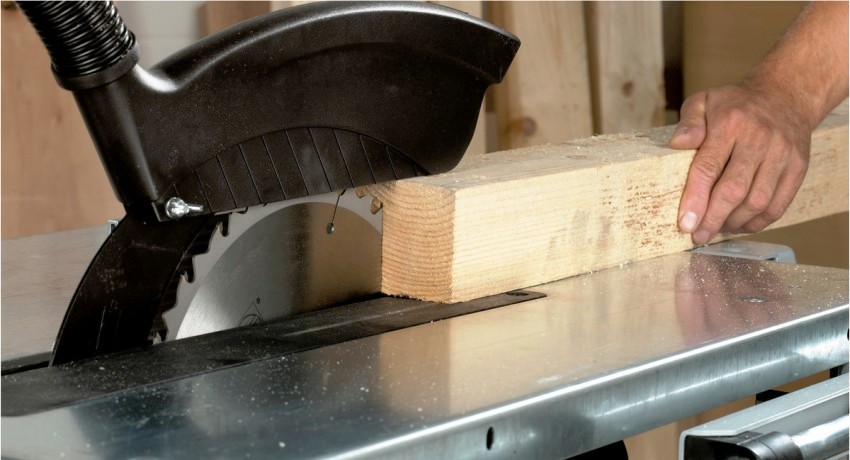
Make a massive sliding stop for the workpiece, as in pos. 3b in the large Fig. at the beginning, not necessary. It is better to make it (stop) from a piece of steel corner from 40x40, cutting off the vertical shelf as shown here in fig. (back view).

The design of a sliding stop made of steel angle for a homemade circular table
Such an emphasis is attached to the tabletop with clamps, and it is necessary to verify its parallelism to the saw blade in any case; this is done with a plumbing square with millimeter divisions.
Tool holder

Fastening the hand circular in the sawing table in the clamps
The circular is attached to the underside of the table top with the disk up. If the tool is not guaranteed, and the loss of the cutting depth is insignificant, 4 holes D8 are drilled in the saw shoe, and it is fastened with through-head screws. It is highly desirable to put 1-2 mm rubber (for example, from a car camera) between the shoe and the table top, the cut quality will noticeably improve due to the damping of tool vibrations. If the loss of cutting depth must be minimized, a through cutout is made in the tabletop for the tool shoe, the saw is attached to a steel sheet 3-6 mm thick, and it is attached to a rectangular hole on the front (working) surface of the tabletop (see the figure on the left) ... But the hole will have to be selected with a hand router for wood, the chisel will not work exactly flush.
If the tool is under warranty or rental, the loss of cutting depth is inevitable, because the saw shoe cannot be made full of holes. In such a case, a variant of fastening the saw in the clamps is known (see next figure). It is not suitable for regular work in large volumes, but it can be done quickly and it will be possible to cut it for a day or two.

Mounting the hand-held circular saw in the saw table with minimal loss of cutting depth
foldable in a suitcase for field work:
Step by step assembly
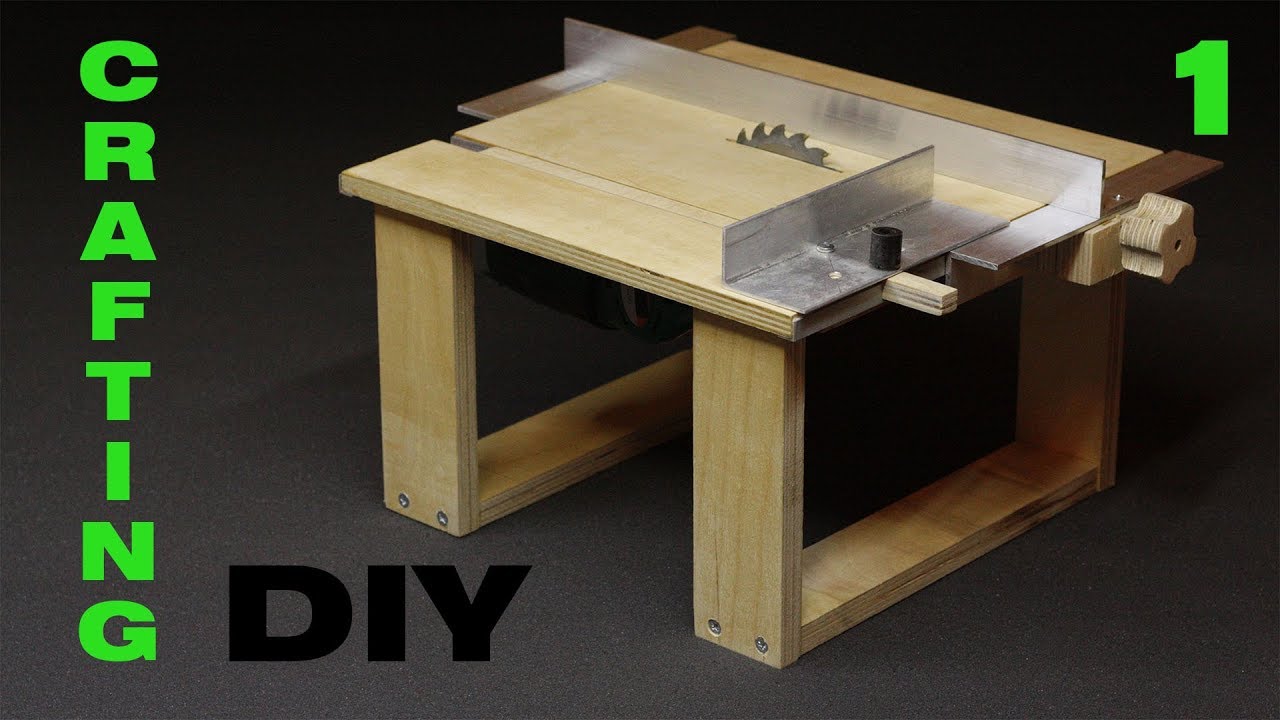
You can make a stationary circular saw with your own hands from a grinder and a hand cutter without making any changes to the design of the working tool. The base is made of sawn timber, which makes it possible to significantly simplify manufacturing, eliminating the need to use complex welding equipment. Step-by-step instruction:
- The base is made of a bar with dimensions of 40 by 40 millimeters and plywood sheets.
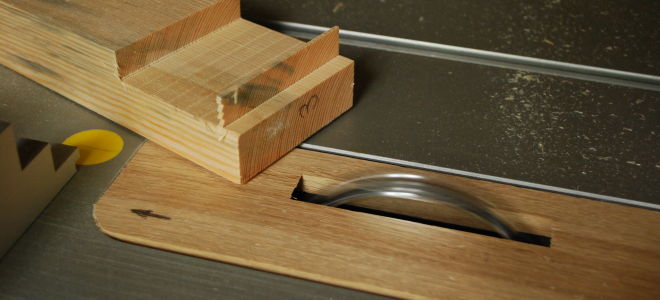
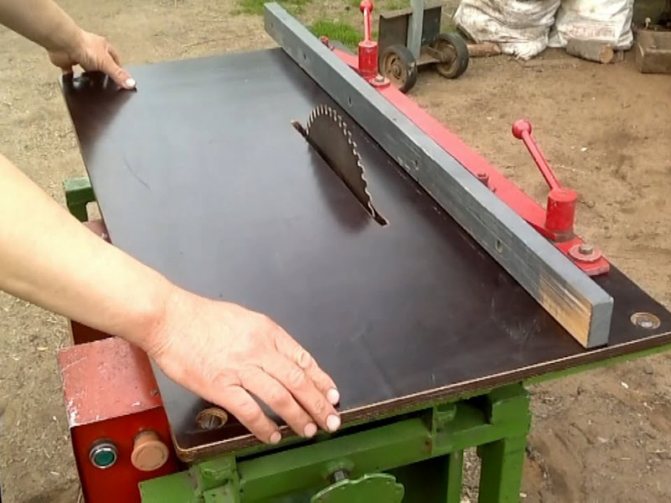
- The table top is made of lacquered or laminated plywood. A cut is made in the center of the tabletop, into which the cutting disc will enter.
- From below, using bolts or other fasteners, fix the circular saw.
- A switch is installed that allows you to turn on the saw without raising the tabletop. You can also make a circular without a switch, for which the working saw is switched to the "On" mode, and in the future it will only be necessary to apply voltage to the tool.
- From furniture guides, you can make a movable stop, which is attached with corners to the wall of the circular opposite from the switch. The presence of such an emphasis makes it possible to significantly simplify the sawing of wood.
- The longitudinal stop is made from a metal corner, and its movement is carried out by loosening the bolts. The fixing bolts are located in small parallel cuts in the table top.
- It remains to carry out a test run of the tool and, if necessary, make adjustments.
This option for making a circular saw will be an excellent choice if you need a tool for cutting boards up to 3 centimeters thick. If you need to make a powerful and multifunctional device for the home, then electric motors with a power of 5 kW or more are used, which allow you to process and saw boards 5-8 centimeters thick.
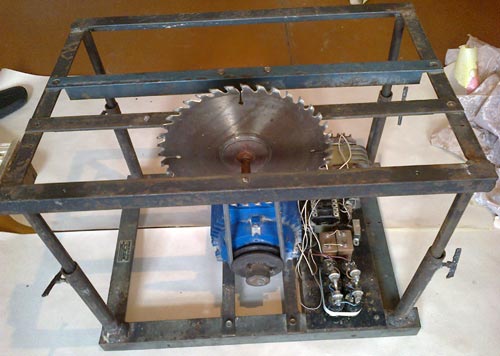
Some craftsmen make more complex tools, involving the use of powerful electric motors, V-belt transmission and larger diameter saw blades. If you have any difficulties on the network, you can find thematic videos that talk about how to make a circular with your own hands.
Originally posted 2018-04-18 12:27:28.
Step-by-step instruction
The process of making a circular from a grinder with your own hands includes a number of stages:
- first of all, you need to make a base table;
- install the grinder itself and the disc;
- attach the stop bar;
- supply electricity;
- conduct a test run.
We will tell you how to convert a grinder into a miniature circular. With its help, you can saw bars, small boards, slats used for repairs or in private households.


The table looks like a workbench, the base of which is most often made of lumber.
- First, they take sheets of chipboard and hammer out a miniature table from them, the legs of which are made at such a height that a grinder is placed under the bed. Attach them to the stiffening ribs. Those, in turn, are made of small boards and fixed along the edge of the tabletop at a distance of 7-10 cm from its bottom side using self-tapping screws.
- The upper work surface should preferably be made of laminated plywood. When the tabletop (bed) is ready, it is turned upside down and marked for the installation of a grinder and a saw blade. An element from a grinder is taken as a basis, measurements are made on it for a slot for a new disc. At its ends, the extreme boundaries of the future hole (slots) are marked with a pencil. Then take a drill and drill the formed points.


- After that, using a ruler, connect the edges of the holes formed, drawing two parallel lines along their width. Part of the countertop inside such lines is cut out with a grinder. The disc slot is ready.
- Then you should purchase a new disc from the store. The best option would be to buy a sample for woodworking with a size of 125 mm with carbide teeth - there can be 24, 36, 48 of them.
- A bar is screwed under the working surface of the table, to which the grinder is attached using clamps. It can be fixed with self-made clamps and tightening nuts. At the same time, the disk itself is installed in the table (in the cut hole). It should be positioned so that most of it is on the surface. It is advisable to mount the protective visor.It is sold in any hardware store, so you can easily buy such an item. They usually attach it to the hinges, making it possible to recline the visor.


- A stop bar is made from a metal corner or from a plastic trim of an old plinth. You can fix it on plywood or chipboard. In length, this bar should be the same as the working surface of the table. Screw the bar (stop) at a distance of at least 2 cm from the saw blade teeth. At the ends of the rail, two holes are made and fixation is carried out in the table using bolts or ordinary self-tapping screws.
- The board or block to be cut must fit completely on the table top, since the lumber is subject to vibration when the blade moves at high speed. It is impossible to keep the lumber in weight - there is a possibility of serious injury.
- At the next stage of work, an electrical outlet is fastened from the inside of the mini-table, through which a wire is passed and then the switch is installed. Usually, its fixation is carried out from the outside of one of the stiffening ribs. The wire from the switch is directed to the power source - thus the electricity is supplied to the circular.
This concludes the work.


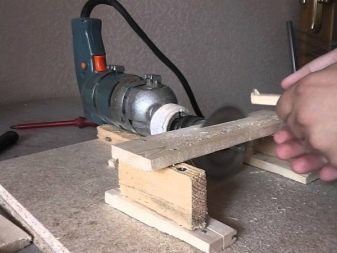
Craftsmen, in order not to make a table for a circular, use a vice as a supporting frame. At the very beginning, a clamp is made grinders with a disc on edge of an ordinary table, removing the protection and unscrewing the grinder handle. Then they take plywood or chipboard to form a frame in which a hole is made for a disk. They fix it by drilling a hole, a bolt is inserted into it. It should line up with the hole on the grinder where the handle is attached. The bolt is tightened to the stop using a wrench.
A stop bar or limiter is made from scrap materials. They fasten it with bolts at the ends of the bed using ordinary self-tapping screws. Under the weight, the grinder can lean forward and hook the tabletop itself with the disc. In this case, a handle is needed. It can be unscrewed from the old seaming key and screwed into the grinder, making a support for the engine.
Such a miniature home-made design works clearly, cutting the slats and beams produces efficiently.

Homemade gadgets
A circular saw is not so difficult to make, problems can arise when fitting the knots. Choosing the right elements to make them work flawlessly is an important task. The shaft must have self-aligning bearings if the unit is used daily. The bearings themselves are best fitted with two rows of balls, which will be adjusted using a clamping nut.
The working surface must have a "grid" -marking. Without this coordinate system, precise woodworking is quite difficult. The protective cover must not be neglected - during operation it reliably protects the device from mechanical damage... A circular saw, when working with various materials, works in different modes, so it is advisable to have a device that controls a similar process. Several grooves should be made on the shaft so that it is possible to rearrange the pulleys, thus changing the speed.
When you have to saw bars or make several cuts from different directions, you need a stop that has the "P" configuration. At its base is a board 30 mm thick. Sidewalls 12 mm thick are screwed to the base. Thus, the stop is installed on a bar, the size of which from the cutting point corresponds to the size to the cutting disc. From two sides, it is pressed against the timber with clamps. If the timber is too massive, then rearrange it and make another cut.
There is also an edge stop that is in demand. To do it, it takes a lot of time and a good qualification of the master. Be sure to make a schematic drawing before starting work. This emphasis is made of plywood (20 mm), and the thrust bar is also made from this material.Manufacturing phases:
- longitudinal grooves for dowels are cut;
- the keys are mounted on a thrust bar;
- another groove is cut between the grooves made to secure the stop bar;
- another hole is made at the base, its size corresponds to the circular saw cutter;
The sidewalls are mounted, and there must be latches in order to securely fix it. To place an emphasis on the workpiece, the bar moves in the grooves and is fixed through the slot with clamps. It is best to immediately attach a ruler or tape measure to the bed - this greatly facilitates the work. The pusher is convenient for working with small workpieces - it allows you to clamp the part from both sides, which ensures precision in work
It is also important to do:
- elevator;
- riving knife;
- lifting mechanism.
Capacitors are calculated according to the following scheme: per 1000 watts, there are 100 μF for a working type capacitor. The capacity of the starting capacitor must be ordered twice as large. It should be remembered that the SB trigger is a device that automatically returns to its original position. This is very convenient, because literally in a few seconds after the start, you can start a workflow.


