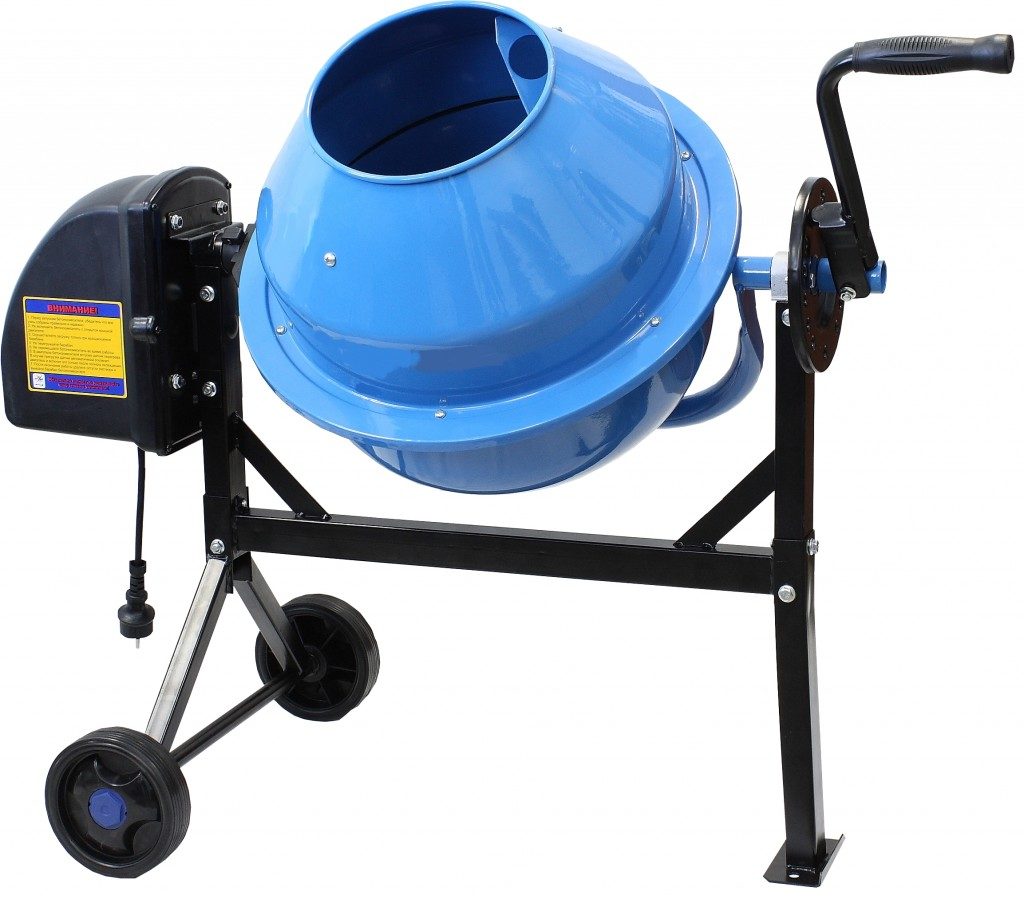
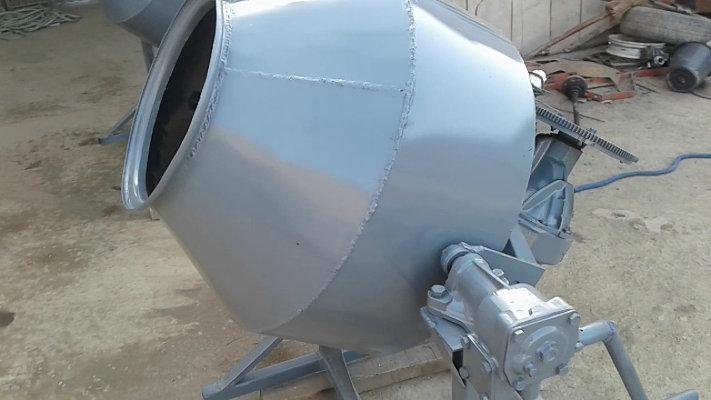
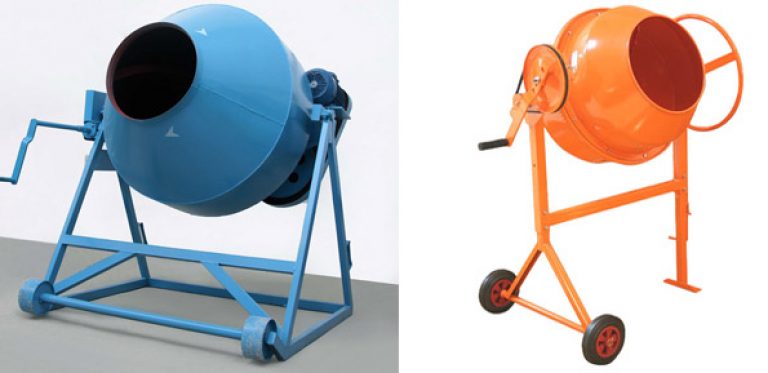
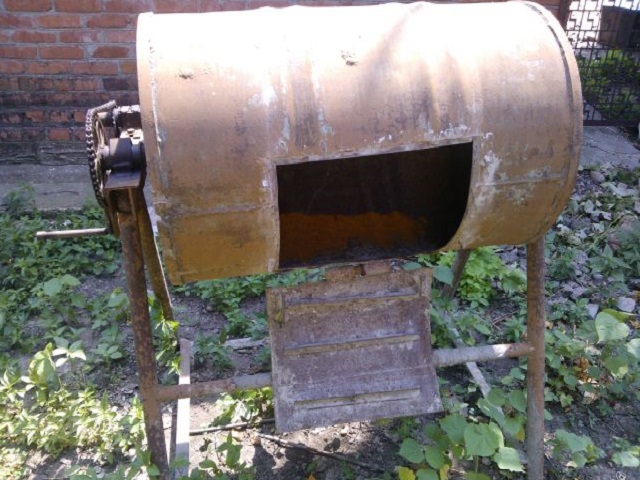
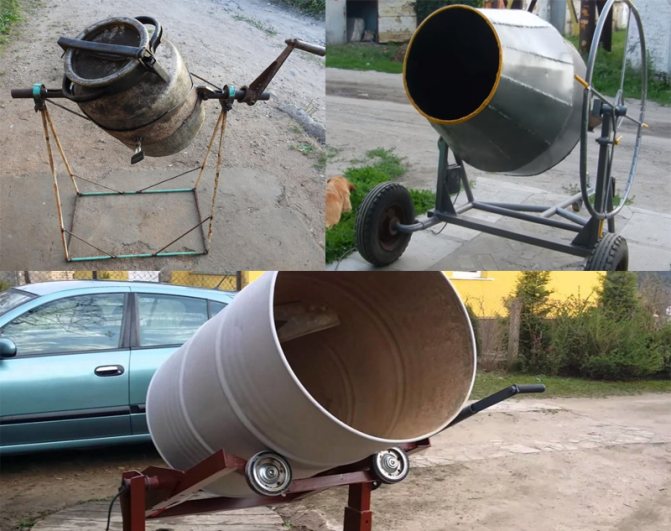
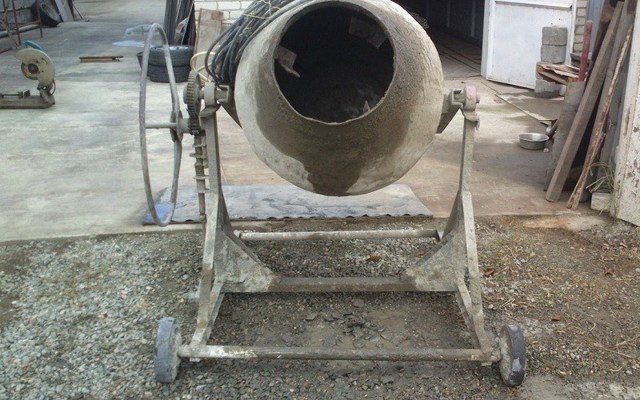
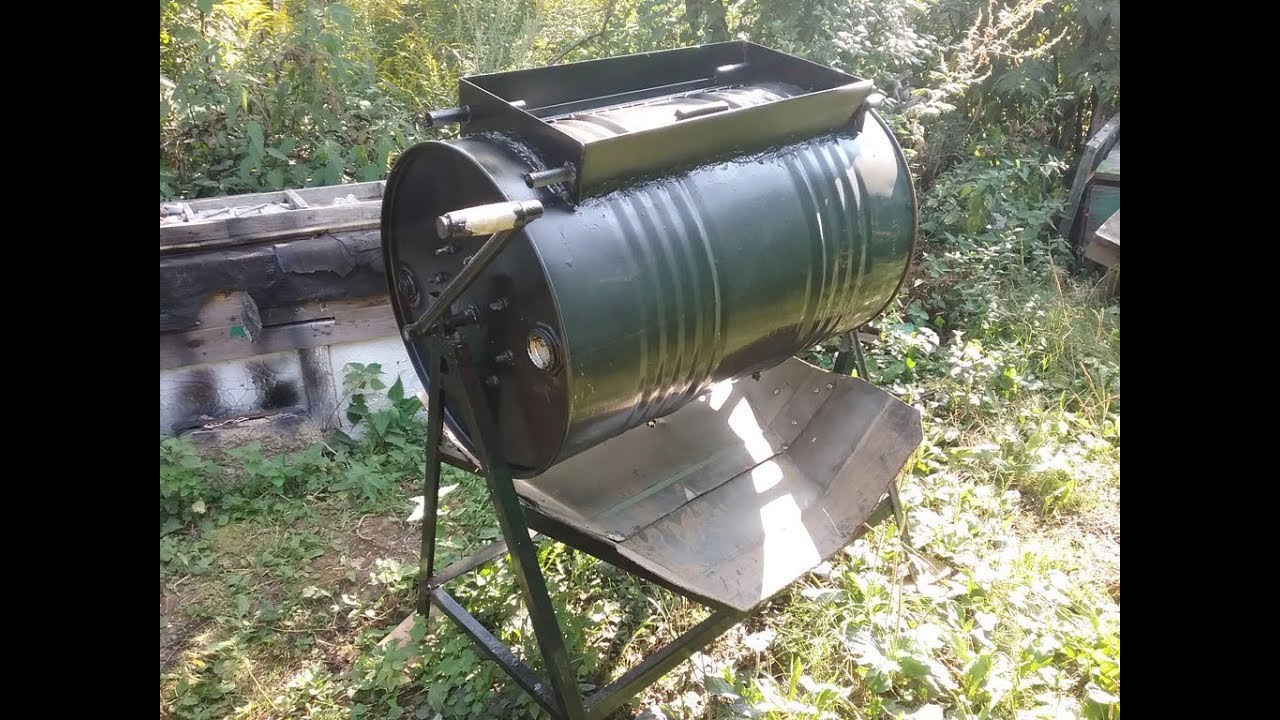
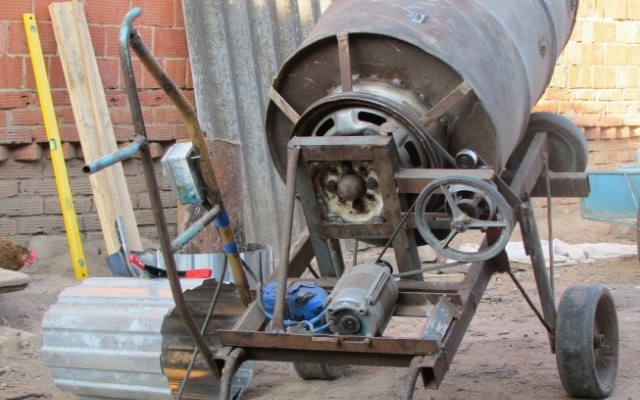
Concrete mixer from a barrel: advantages
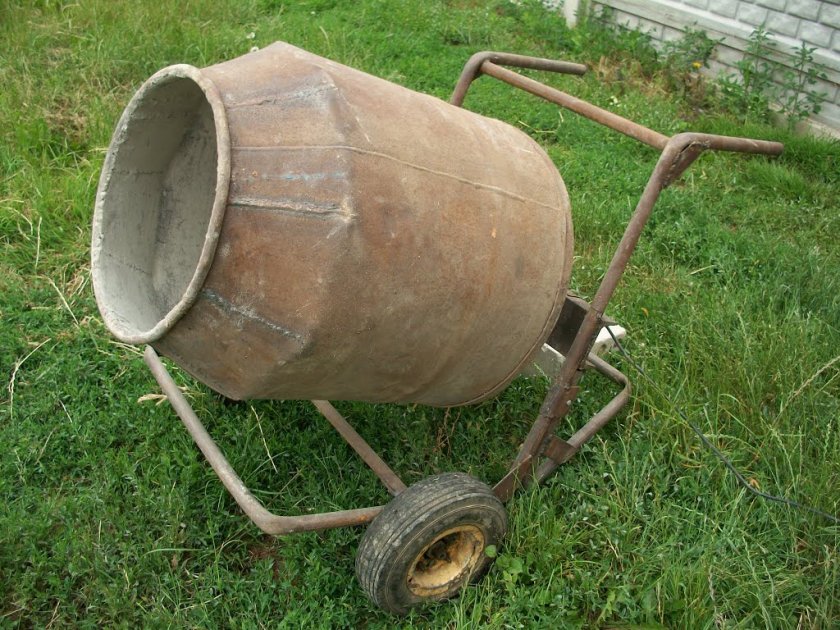
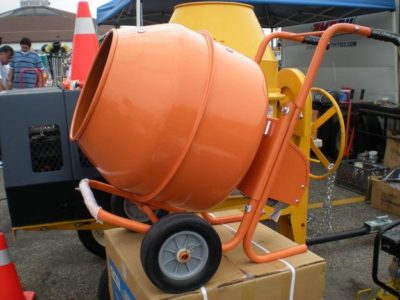
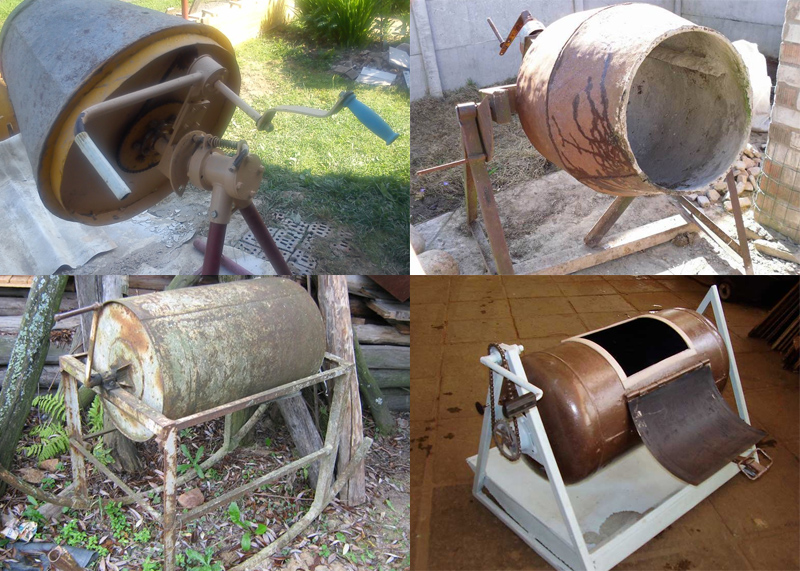
A self-assembled concrete mixer can save time and make hard work easier. A homemade concrete mixer is designed for mixing cement and sand with water to obtain concrete, which cannot be dispensed with during any construction work, especially when building a house, a concrete porch, arranging paths, etc.
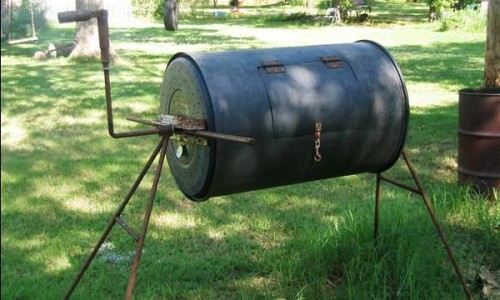
For the manufacture of a concrete mixer, it is recommended to use a 200 liter barrel.
Of course, you can make concrete by hand, armed with a trough and a shovel. But why put so much effort when you can use special equipment for this. Purchase a concrete mixer, if you don't plan taking construction contracts does not make sense. It is much more economical to make it yourself.
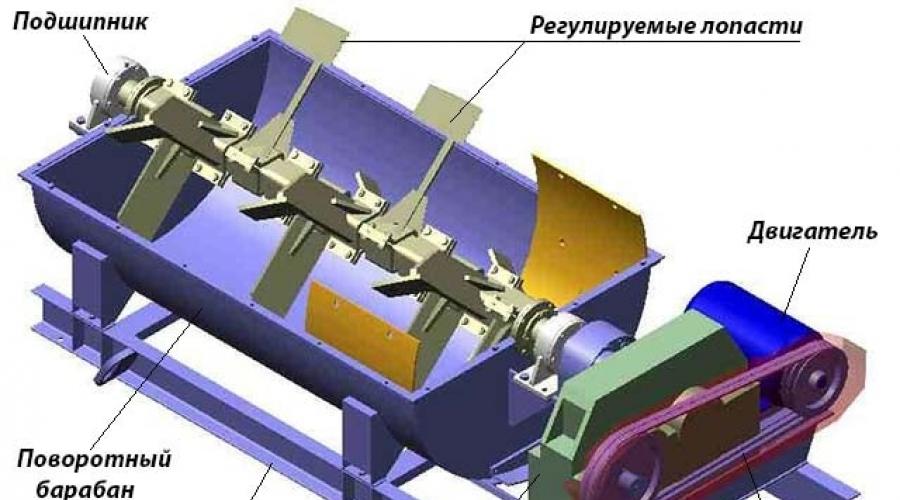
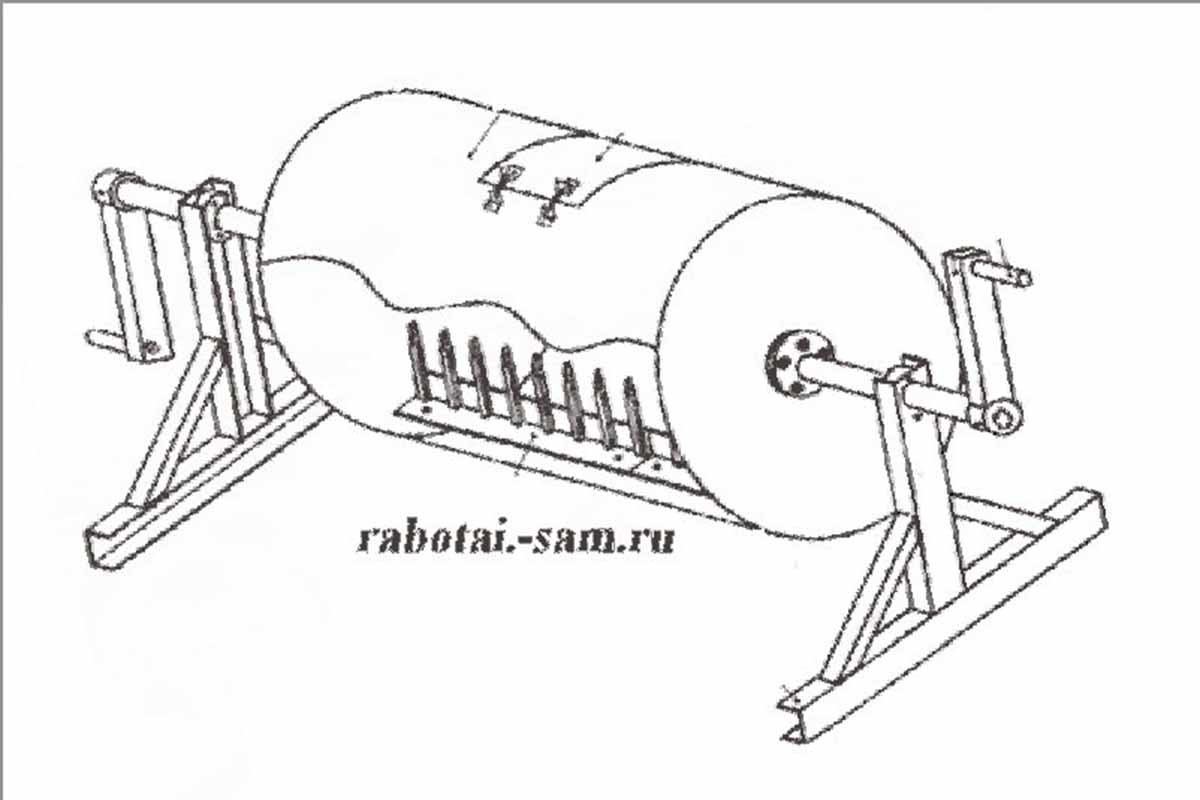
Concrete mixer device diagram.
The device that you get as a result is simple and reliable to use. All that is required of you is to pour the components into the drum in certain proportions and add water.
A big advantage in making your own concrete mixer will be a significant savings in money on the purchase of a factory model. The only drawback here will be the lack of experience in the manufacture of such mechanisms, especially if your education is not technical. But if you are persistent and love tinkering, then you will definitely do it. Moreover, all the necessary details can be found on the farm. Look in your garage or shed.
To make a concrete mixer yourself, you will need: a container (old barrel) in which the mortar will be mixed, an axis of rotation, an electric motor (if you do not want to rotate the drum with your hands) and a frame for the base on which all this needs to be fixed.
How to make a concrete mixer - key stages of work
Diy concrete mixer diagram: 1 - barrel; 2 - blades; 3 - handle for overturning the bunker; 4 - frame; 5 - electric motor; 6 - worm gear; 7 - suspension loop of the electric motor platform; 8 - limiter.
A concrete mixer from a barrel is made as follows.
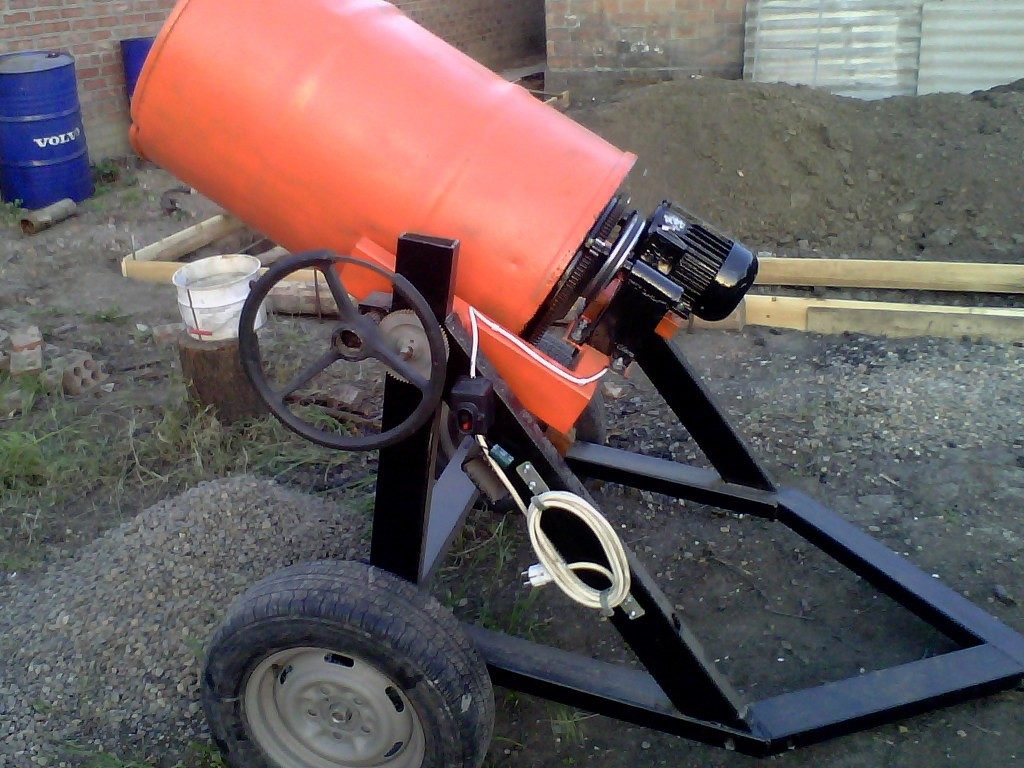
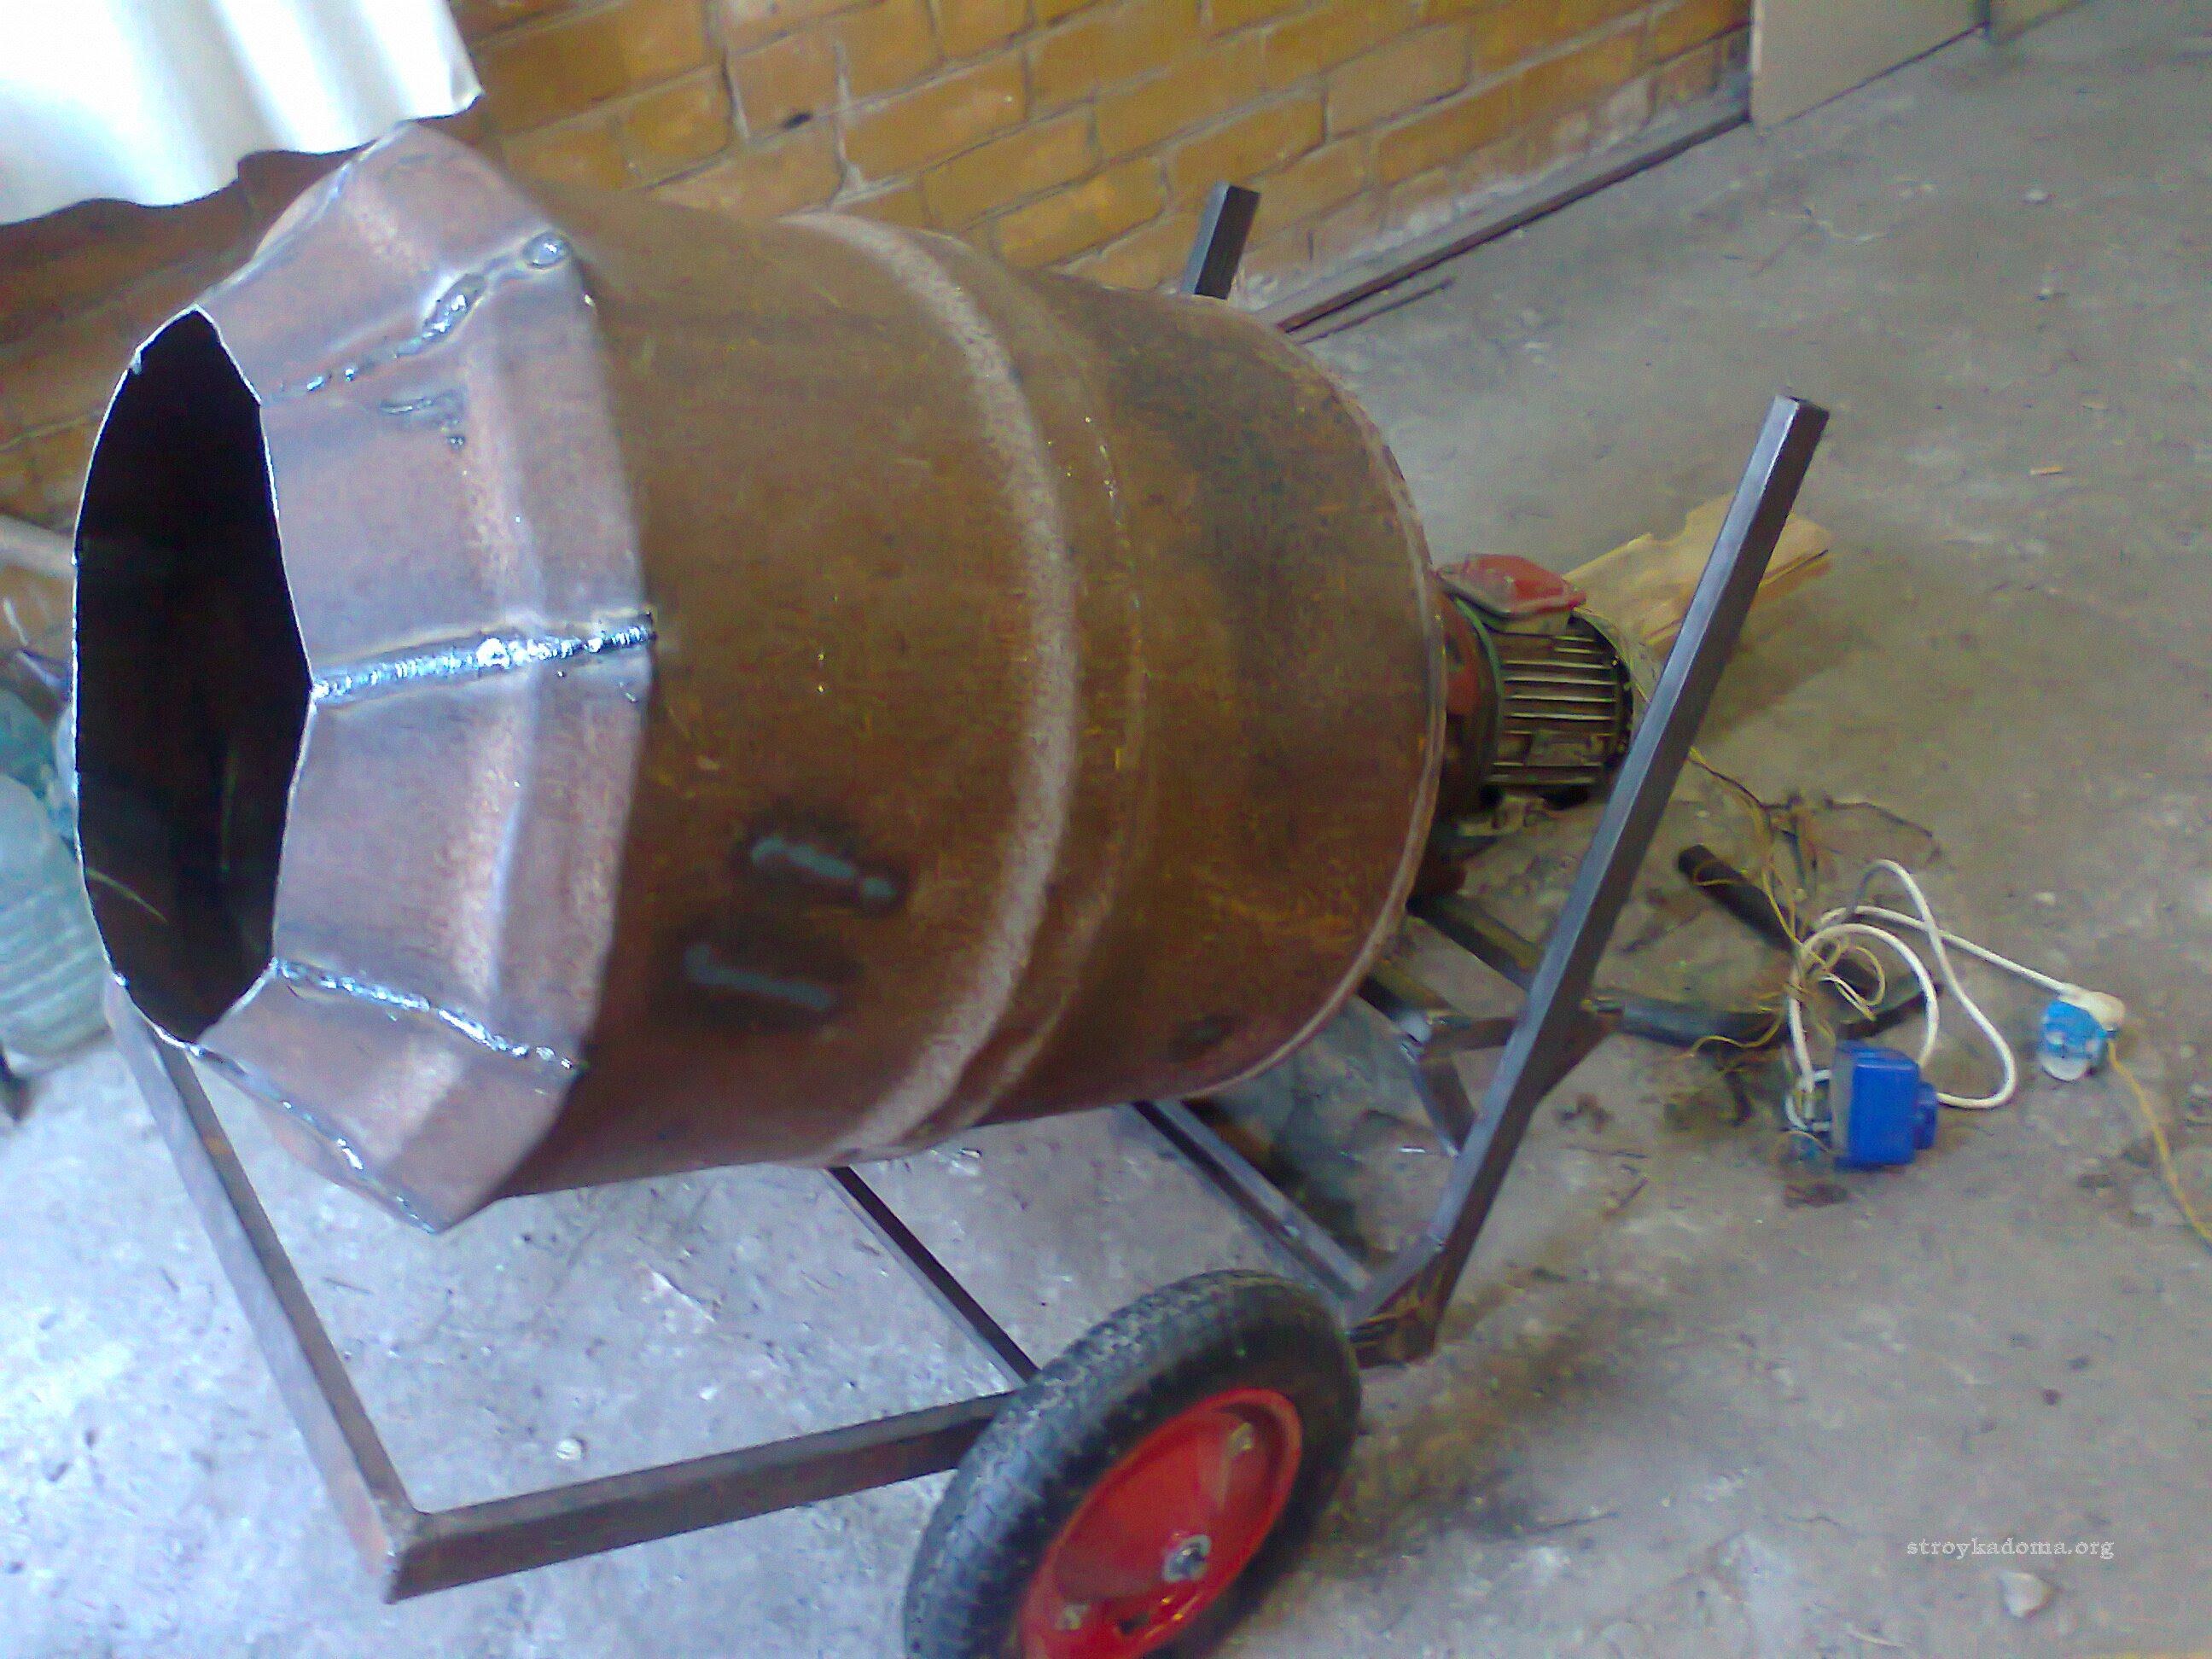
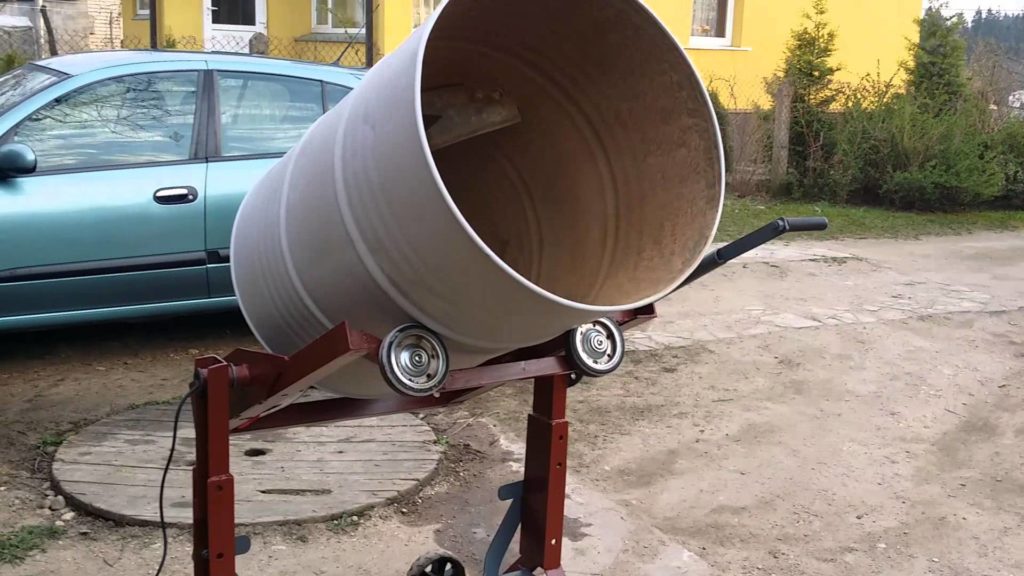
Assembling the frame of the future unit. It should be durable, since it will have to withstand enormous loads. A 130 mm steel corner is well suited as a base. If you do not have the skills to work with a welding machine, then you need to prepare the bolts for assembling the frame. The best option is bolts with a diameter of 27 mm. The inclination of the barrel to the base should be at an angle of 35 °. If a suitable motor is not found, then the drive can be made manually. Of course, you have to put in some effort, but it's still better than stirring concrete in a trough with a shovel.
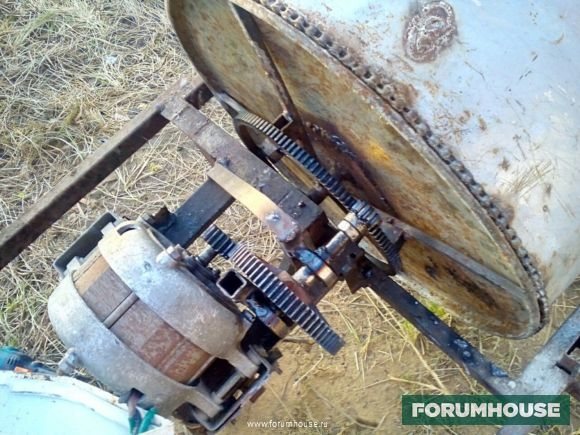
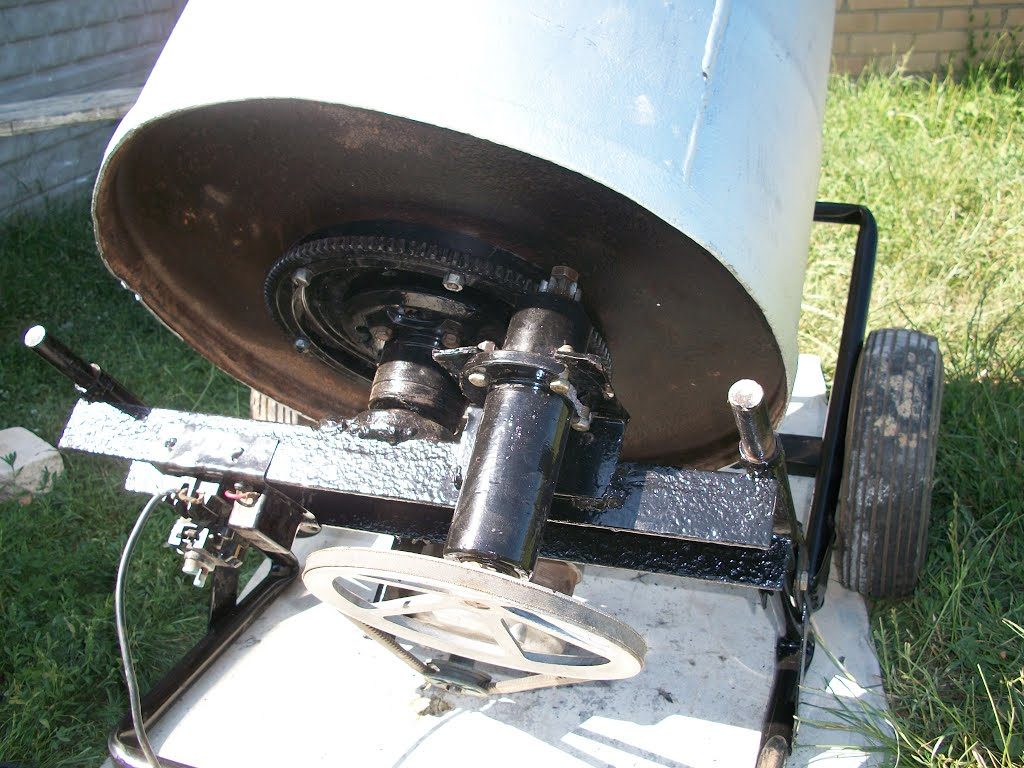
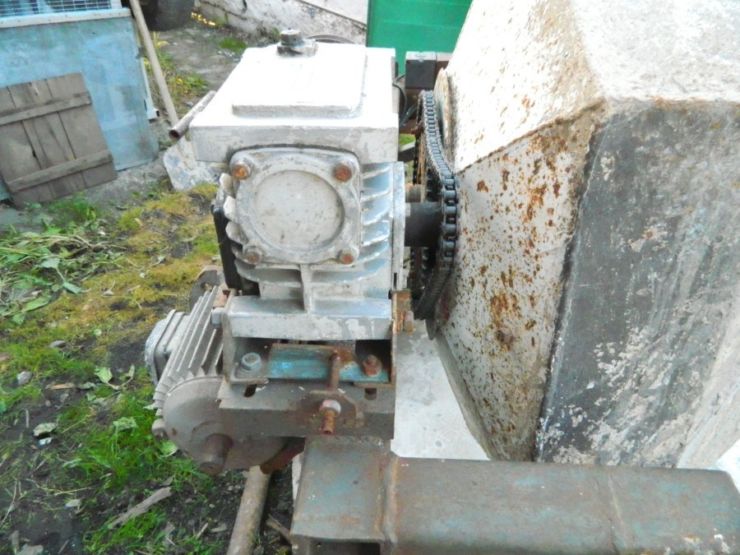
Before placing the barrel on the gearbox, a toothed ring (steel disc with teeth) must be attached to its bottom, preferably from the Volga engine. As practice has shown, it is best suited for this purpose: it is made of hardened metal and has teeth on the outside.
The easiest way to attach the crown is by welding. But if the concrete mixer is assembled without the use of a welding machine, the crown must be bolted to the bottom of the barrel. To do this, turn the barrel upside down and attach the crown to the bottom. With a core (rod with a sharpened end) make marks on the bottom of the barrel: insert the core with a sharp end into the hole of the crown and hit it with a blunt hammer. After that, remove the crown and using a drill strictly according to the marks made with the core, drill the holes. Then put the crown back on the bottom of the barrel so that the holes match. Insert the bolts and use the wrenches to tighten the nuts on them.
Place the gearbox on the frame.Do the same as with the crown. With a core, mark the place for the holes on the frame, drill the holes, bolt the gearbox to the frame, and install the barrel itself on it, not forgetting to first install the blades in it in order to mix the concrete with high quality. It is not difficult to make them. You can simply use the bolts inside the barrel along the length to fix 3 corners at a distance equal to each other. Replace the small gear pulley with a suitable gear. She will set a heavy container with concrete in motion. You can take a small gear from the starter bendix of the same “Volga”.
The most important part of a concrete mixer is the engine. It must be firmly attached to the bracket on the frame.
Tipping a concrete barrel requires a steering wheel, not just a handle. To make it, you can take a piece of pipe (sleeve) and twist the rods radially into it. Then put on the additional gearbox and fix. But if such a design causes difficulties, then you can simply take the ready-made solution from the container with a shovel. Just before that, do not forget to turn it off and wait for it to completely stop.
The advantages of a homemade design
 Working with a homemade concrete mixer
The decision to make a concrete mixer with your own hands has undeniable advantages.
These include:
- The self-made design can have a user-friendly configuration.
- The price of the product is much less, which ensures the use of available materials.
- Problems with maintenance and repair of the unit are eliminated.
- And finally, a do-it-yourself manual concrete mixer from a barrel is a source of pride in front of friends and family.
Preparation for manufacturing
Before making a concrete mixer from a barrel, you need to purchase an approximate list of materials and tools:
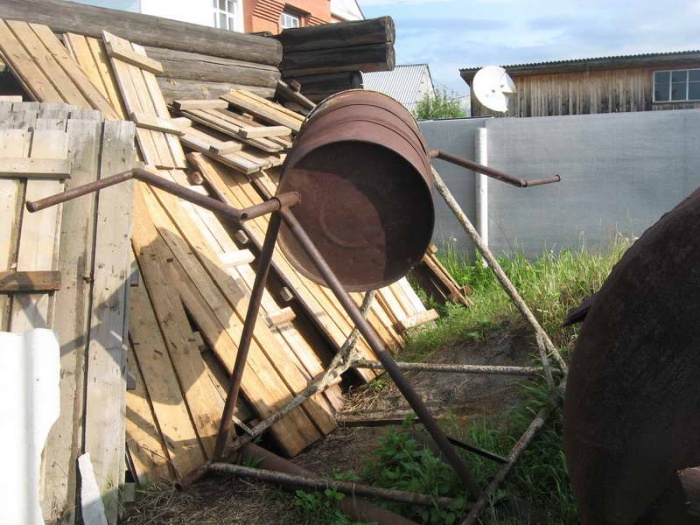
A metal barrel for 100-200 liters. This can be a container for storing grain or other animal feed, a barrel for transporting petroleum products or chemicals.
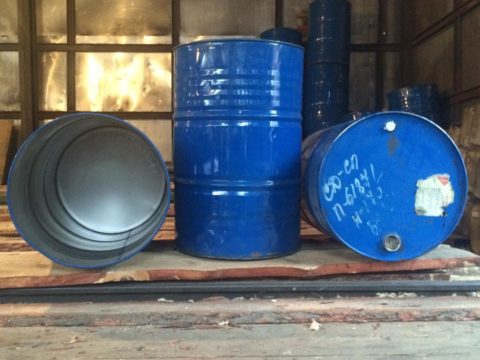 Concrete mixer barrels
- A pipe with a wall of great thickness, with an inner diameter of 32 mm - 2 pieces 20 cm long, for the manufacture of bushings for the shaft.
- A rod with a diameter of 30 mm, for the manufacture of the axis.
 Round timber for axle
Channel No. 6:
- 2 segments, one meter long, for supporting elements;
- 2 x 50 cm, for frame struts, to give it rigidity.
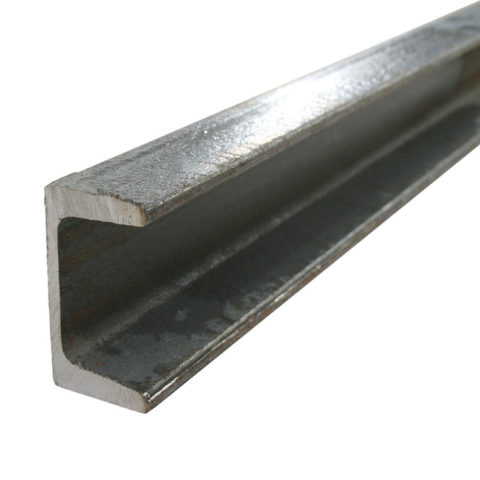 Profile channel
- Any car steering wheel.
- Door hinges.
 Hinges on the manhole cover
- Welding machine.
- A hacksaw for metal.
- Bulgarian.
In order for a concrete mixer from a 200 liter barrel to be assembled easily and quickly, it is necessary to prepare a comfortable place for assembling the structure. It should be borne in mind that working with metal is noise and dirt.
For work:
It is best to prepare a garage or open space.
 Construction site
- Place all the necessary tools at hand.
- Prepare drawings of a concrete mixer from a barrel. These can be sketches, sketches, or a well-designed project.
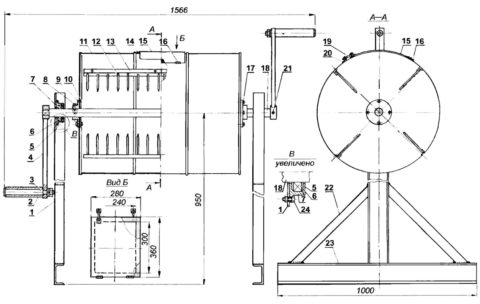 Concrete mixer from a barrel - DIY construction drawing
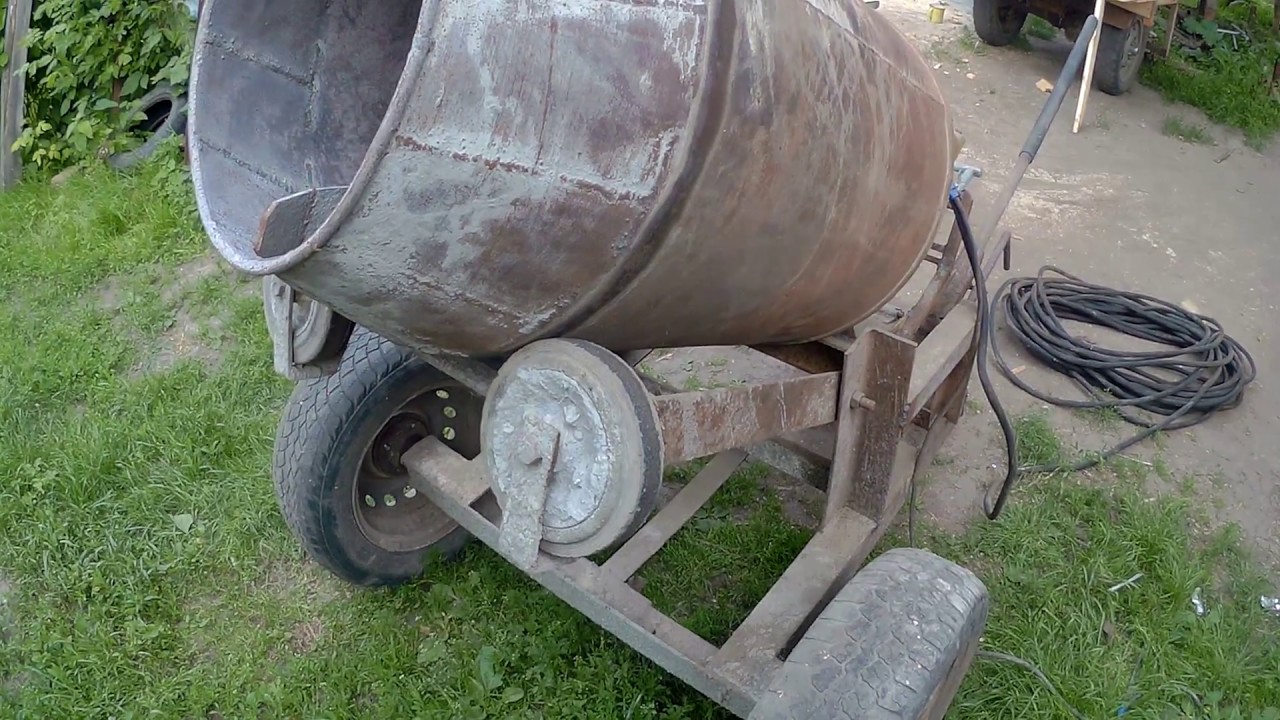
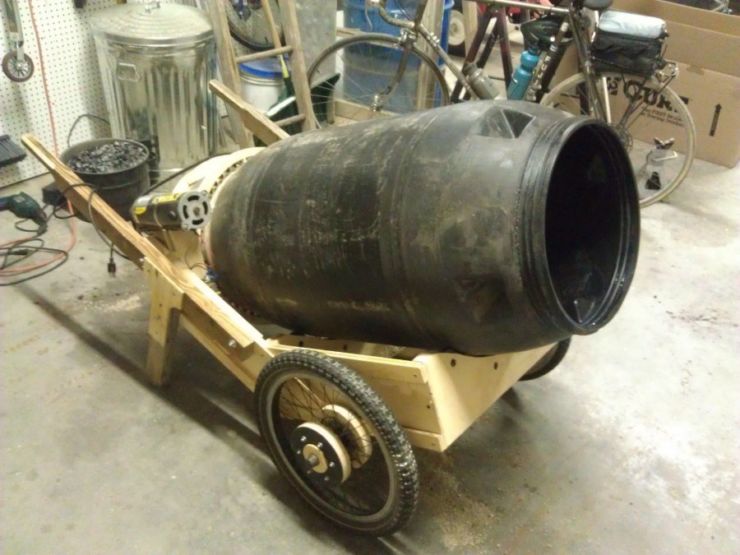
A homemade concrete mixer can be mobile. For this, when designing, you need to think about which wheels to install to move the product around your site.
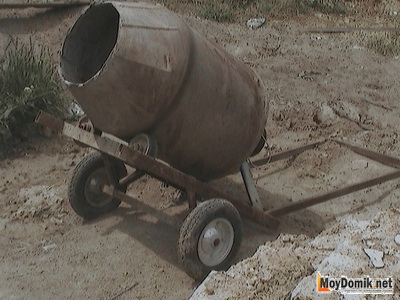
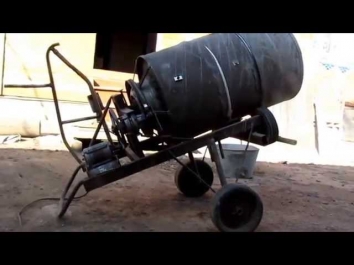 Mobile construction
If it is an electric concrete mixer from a 200 liter barrel, the drawings should provide for a more reliable chassis and their attachment to the frame: the vibration from a running engine is very large. After preparing materials and choosing a workplace, you can start assembling the structure.
Tips & Tricks
In order for a home-made concrete mixer from a barrel to be reliable and durable, you should follow some recommendations during its manufacture:
During the assembly process, all joints of the structure should be checked for strength.
In the absence of a welding machine, the elements can be connected to each other with bolts, it is not inferior in reliability to the welded version
But at the same time it is necessary to use washers to ensure the sealing of the attachment points of the parts.
The tightness of the barrel for mixing the solution must be carefully checked.
If a concrete mixer with an electric drive is assembled from a barrel, special attention must be paid to its fastening.
The tilt angle of the bucket is in working order, it is recommended to maintain 35 ° to the ground surface.
All moving parts of the structure, including its pivot mechanism, must be well lubricated. This will extend the life of the product and ensure trouble-free operation.
Manual concrete mixer manufacturing technology
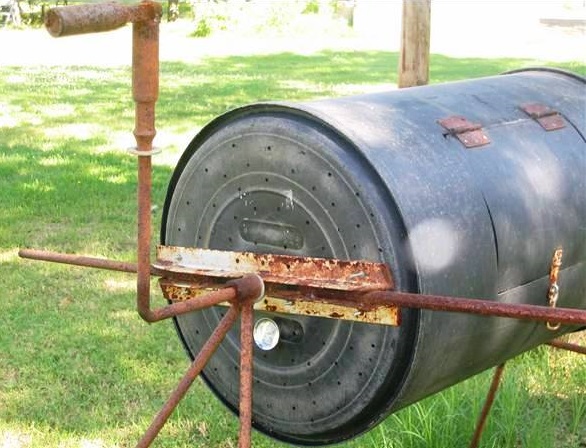
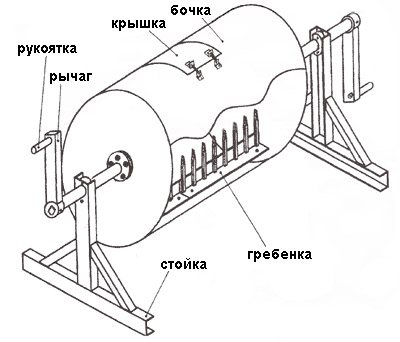
A diagram of the simplest design of a concrete mixer from a barrel is shown in the figure.
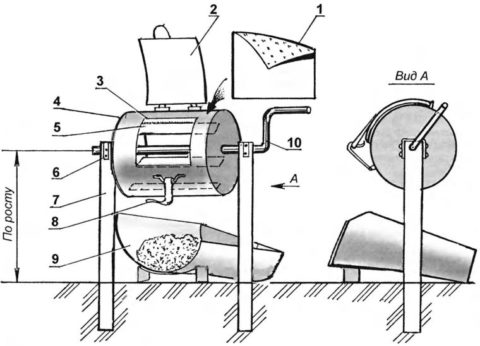 Assembly drawing of the product from the barrel
In the drawing, the main nodes:
- Pos. 4 - drum or barrel.
- Pos. 5 - blades.
- Pos. 7 - support.
- Pos. 9 - container for the solution.
- Pos. 10 - handle.
Assembly instructions:
- The tightness of the connection of the bottom of the product with the side surfaces is checked. If holes are found, they should be welded with a welding machine.
- You can reinforce the bottom by additionally welding a metal sheet.
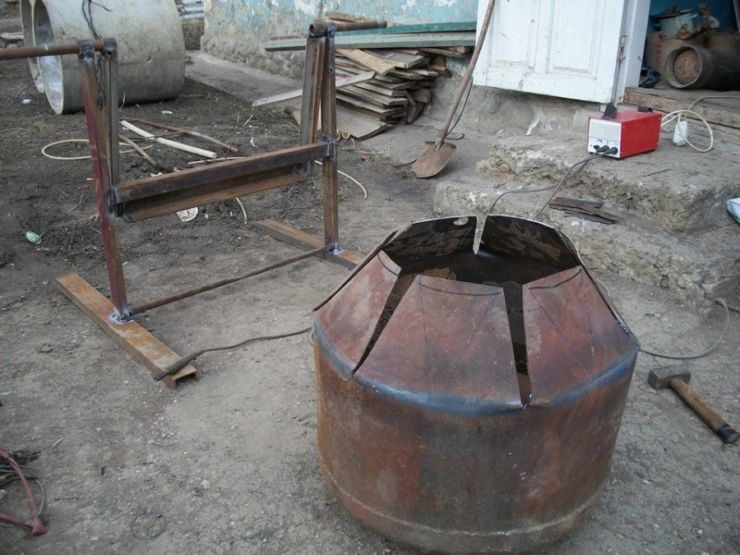
- Two holes are made in the center of the top and bottom of the tub.
- A Ø30 mm metal axle is threaded through the barrel and carefully welded so that the container is firmly attached to the shaft.
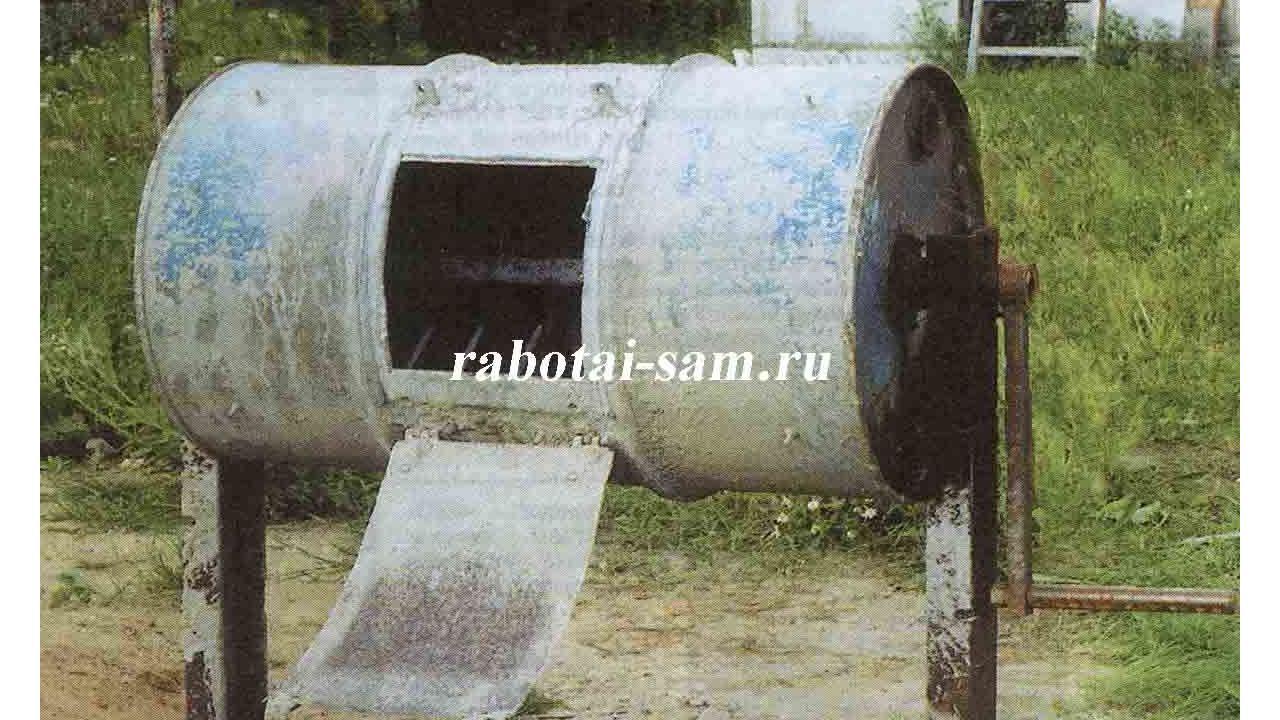
- In the center of the side surface of the bucket, a hole with dimensions of 90x30 centimeters is cut through which the components of the solution will be poured, and after the completion of the work, the finished mixture is poured into the substituted container. Too small a hatch will make it difficult to fill in building materials, a large one will reduce the strength of the structure.
- Several blades are made from a square and welded firmly inside the container - one side to the axis, the other to the side of the barrel. Usually 5 blades are enough, distributed evenly along the entire length of the structure.
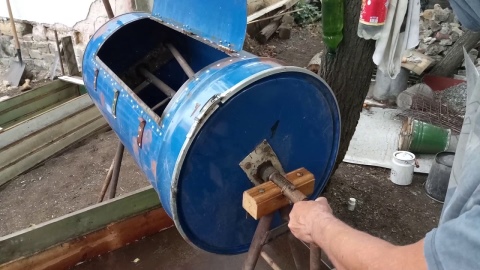
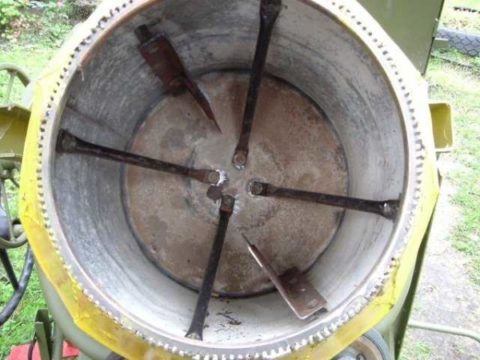 Installing blades in a barrel
The cover is installed. It is mounted on door hinges welded to the barrel or in any other way: put a latch, latch - or simply slide to any side. The main purpose of the element when the concrete mixer is running is to prevent the mortar from falling out.
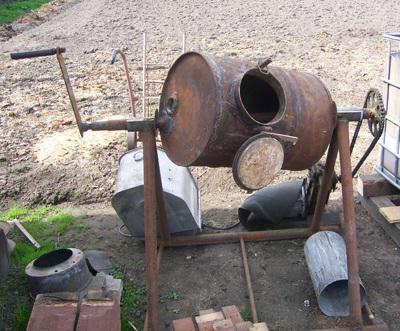
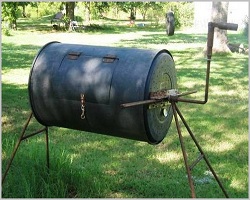
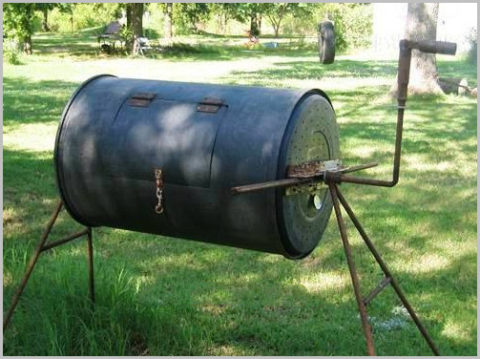 Manual concrete mixer from a barrel
Next, the barrel must be installed on a support, approximately 1 meter high.
For this:
- The frame is welded. A base 50 cm long is welded to a channel 1 meter long. Two such units are made.
- Bushings are welded on the other end of long channels.
- The axle is inserted into the bushings, the washers are welded with a large thickness, which will play the role of retaining rings, which will prevent the shaft from moving during the preparation of concrete.
- A steering wheel or other type of handle is attached to rotate the drum.
Electric concrete mixer
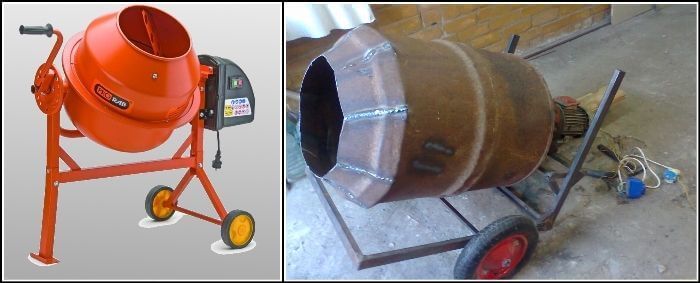
 Drive for homemade concrete mixer
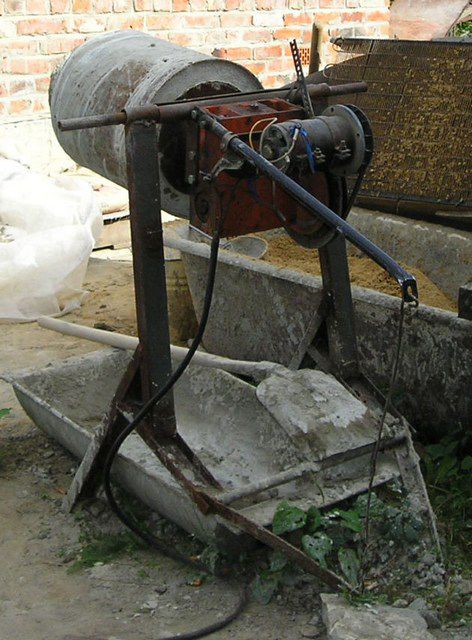
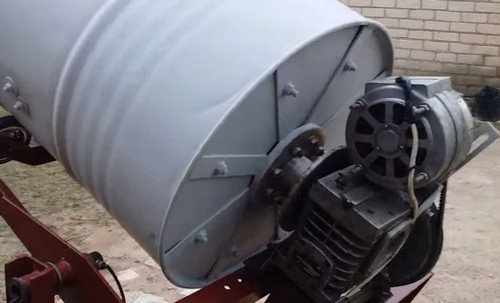
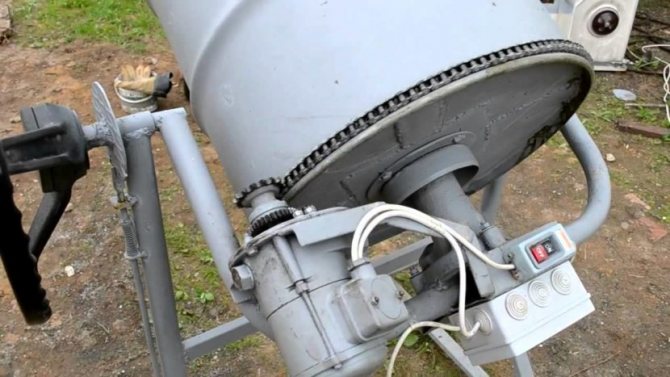
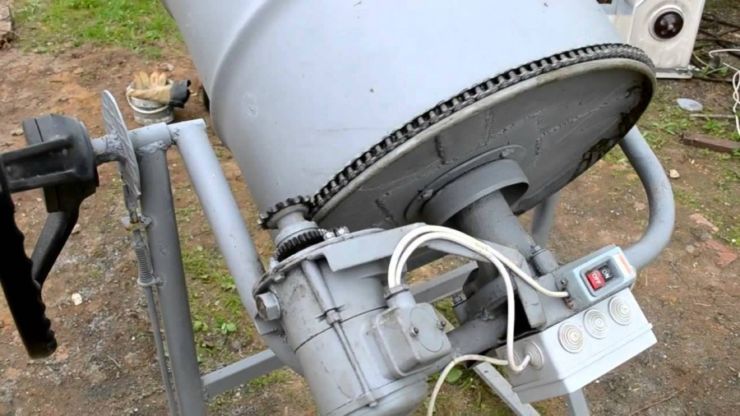
For the manufacture of a structure with an electric drive, it is additionally necessary to purchase and install a low-power motor. For a barrel of 200 liters, 1 kW is enough.
Wherein:
- A small sprocket is installed on the motor axis.
- A larger diameter sprocket is welded onto the pipe axis to reduce the number of revolutions of the structure.
- The elements are connected by a chain drive.
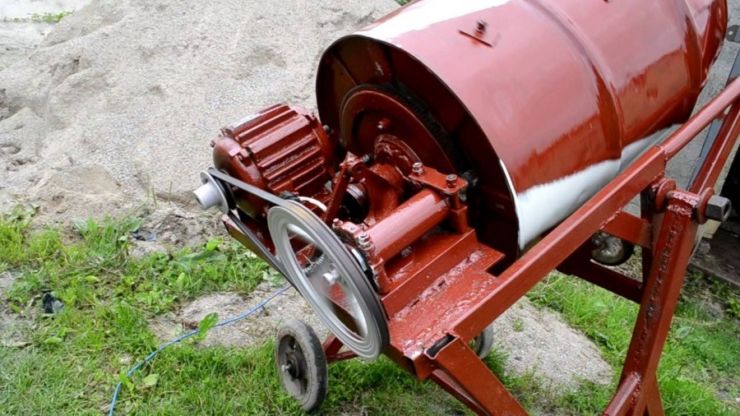
- If desired, the transmission of rotation from the engine to the drum can be carried out by a belt drive, as in the photo above.
To learn more about how to make a concrete mixer out of a barrel, you should watch the video in this article.
Operation tricks
Despite the fact that the home-made design does the same job as the factory version, it is operated a little differently to obtain maximum comfort.
Here are some helpful tips to make it easy and comfortable to use your DIY fixture:
- Periodically, units in which friction of the mating surfaces occurs must be lubricated with grease. These are bushings, wheel axles, if any. This will facilitate the solution preparation process and reduce the abrasion of the surfaces of the parts.
- If you want to make the structure mobile, the wheels can be used from a construction wheelbarrow or even a washing machine.
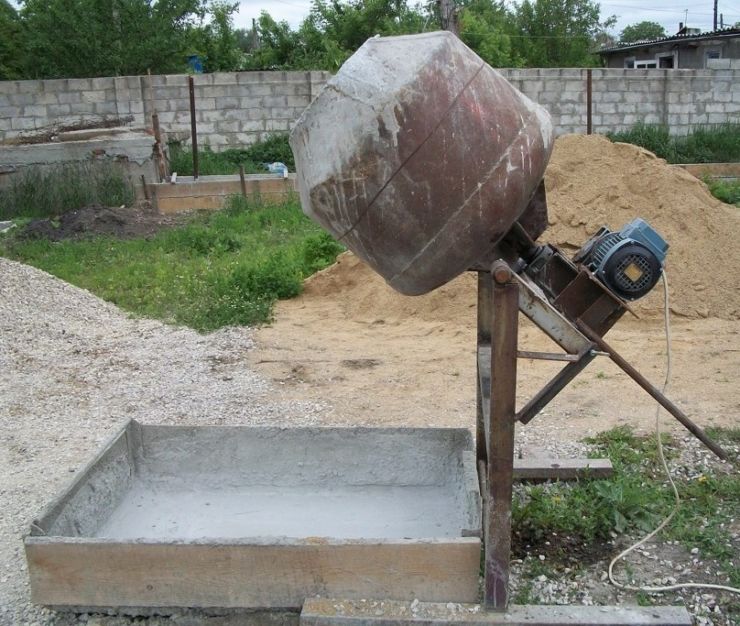
- The increase in the angle of inclination of the bucket makes it easier to work with the equipment. The largest tilt angle can be 45 °. As it increases, the mixing of the components will be worse.
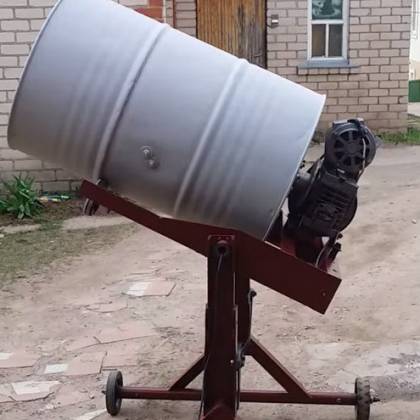 Inclined concrete mixer design
- If it is necessary to install a drive, the motor can be used from the washing machine. At the same time, take the gear ratio on the sprockets 1: 8.
- The washing machine handwheel can be installed in place of the steering wheel.
- For long-term storage, it is better to grease the barrel with used oil.
This is a short description of how a concrete mixer is made from a barrel - a video lesson will help solve all the issues that have arisen on the manufacture, use and storage of a product made by yourself.
Forced Concrete Mixer Assembly Instructions
The difference from the previous scheme is the presence of blades welded onto the working shaft, ensuring uniform mixing of components with any density. An old washing machine is used for work, the main steps include:
- Preparation of a frame made of thick timber or metal. In the first case, a system of grooves or self-tapping screws are used to connect individual elements, in the second they form a rigid frame using a welding machine. At this stage, the location of the rotary mechanism is also provided to facilitate the process of unloading the solution.
- Removing the motor from the washing machine and replacing it with a shaft.
- Cutting the blades from a thick sheet of steel and screwing them to the axle with bolts. The thicker the metal, the better, due to the high degree of wear, the recommended minimum is 3 mm.
- Sealing the tank drain.
- Fixing the container to a rigid base.
- Connecting an electric motor, the best option would be a gear drive.
- Installation of the protective cover.
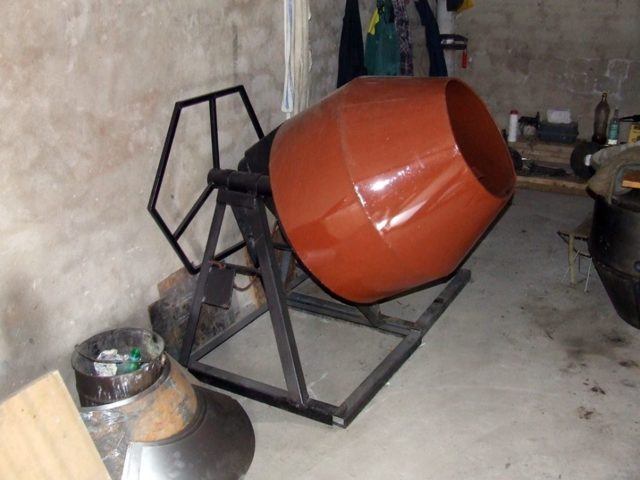
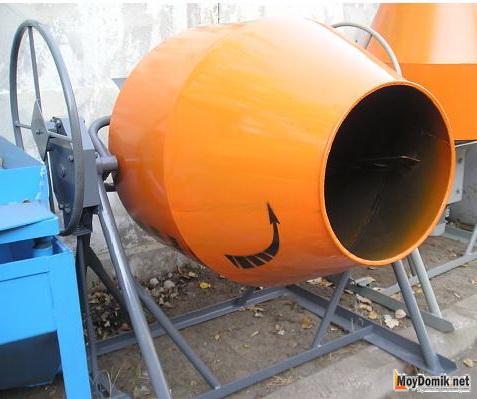
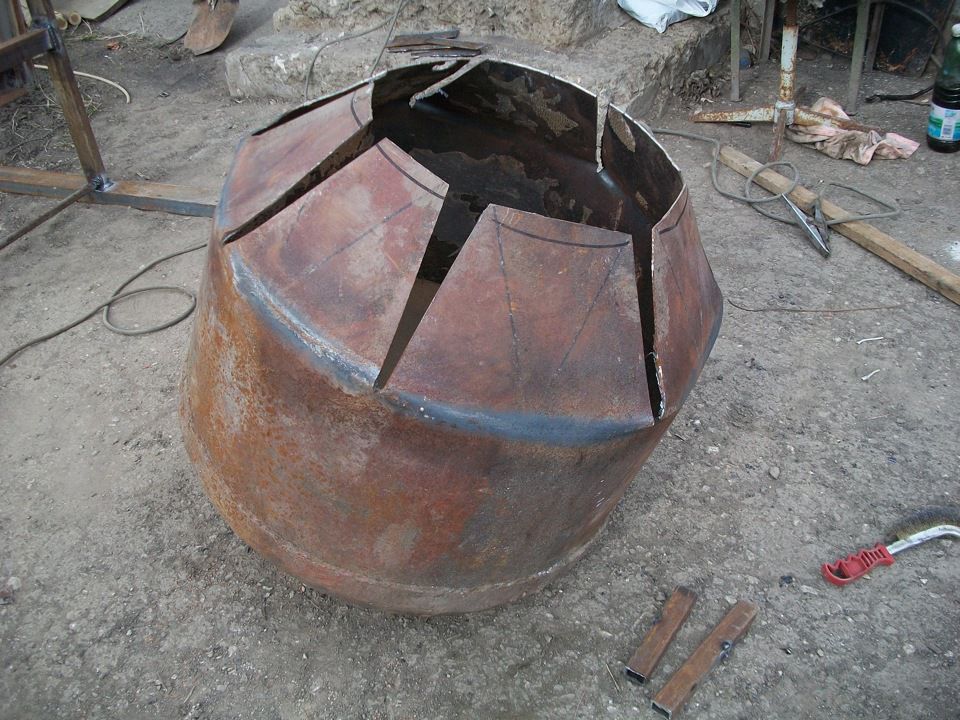
Professional home-made concrete mixers are assembled according to ready-made drawings, their distinctive feature is the shape of the working container in the form of a pear (with tapering edges). It can be made independently from a simple barrel, but the best indicators of the quality of solutions and the strength and reliability of the unit itself are achieved when cutting out cone-shaped elements from a solid sheet of metal and welding them together. At least two symmetrical blades are welded inside, the shaft is fastened to the bearings first, and only then the motor and gearbox are installed.
Nuances of assembly technology, tips and tricks
The main problems are associated with the organization of the correct transmission of torque to the shaft and ensuring convenient unloading, tightness and stability. When planning frequent use, preference is given to models that turn in different directions with a mechanism for fixing the working container in a certain position (limiters of rotary gears). To simplify the mixing process and ensure the safe and long-term operation of a homemade concrete mixer, it is advised:
1. Observe the alignment and symmetry when placing the blades or teeth inside the barrel or welded bucket. Their shift relative to the center of gravity or to each other leads to poor-quality mixing of the solution, the occurrence of lateral beating, additional loads on the walls of the bowl and rapid failure.
2. Remove rust from metal parts and treat them with anti-corrosion primers. At the end of the assembly, the mixer is painted again.
3. Install additional stiffeners to improve the stability of both stationary and movable units. In the second case, wheels from an old wheelbarrow are welded to the bottom of the base.
4. Make two handles when assembling the manual concrete mixer. This will allow you to rotate it from any convenient side yourself or use the forces of two people.
5. Monitor the condition of the pulleys and similar elements that connect the gearbox to the motor.They should not be very loose or tensioned, the belt, chain or gear transmission is fixed on the same plane with the crown fixed to the main working shaft.
6. Connect the power cable to the motor through a starter with a button.
7. Use homogeneous types of metal.
8. Provide for protection of the engine from splashes of mortar, such a casing is easiest to build from coarse-perforated sheet metal or steel.
9. Do periodic inspection and tightening of the concrete mixer bolt connections.
Are you planning a construction site? Then you need a cement mixer. But where can I get it? It is expensive to buy, the more you may need it only once.
A homemade concrete mixer from a washing machine can be a solution. If you have an old washing machine with a working motor, then you can make your own equipment for household needs.
How fast should the concrete be stirred?
We will not consider in detail the process of mixing concrete - this is a topic for a separate article. We only note the fact that the torsional moment plays an important role.
That is why the reducer of a "washing machine" is better than a regular motor from a scooter or car. It can withstand almost any load and can operate at low speeds. 25 complete cycles (revolutions) per minute is sufficient.
To provide this amount, the gearbox can have a different scheme. The simplest, most typical option is when the gearbox is made of a belt and a pulley. A do-it-yourself concrete mixer with a motor from a moped is distinguished by its mobility. The gearbox is convenient and compact; no electricity is needed to operate. Even if you have a large territory, the made device moves through it without unnecessary worries and hassles.
The gearbox in this case must be chain, otherwise the structure will function poorly.
How to make a cheap sifter for sand and gravel from a concrete mixer
сhichicUser of FORUMHOUSE
I have little space on the site, therefore, when importing sand and gravel, they were piled up in one heap. For several years they have mixed. I didn't want to sift this volume by hand. So I made a sifter out of a concrete mixer.
We will tell you how to make this device necessary for the household:
- Take two strips of galvanized metal 100 and 200 mm wide.
- Bend a strip 100 mm wide and tighten with bolts around the neck of the concrete mixer.
- Bend a strip 200 mm wide into a ring, and fix the ends with rivets.
- Cut the mesh with a mesh of 6 mm to the diameter of the ring with an overlap. Bend the ends and fasten with rivets to the ring through a metal tape.
It turned out to be a large sieve. For the convenience of work, screw the handles to the sieve. Insert the sieve into the concrete mixer with the mesh down.
Turn on the concrete mixer and sift the bulk materials. Then you stop the concrete mixer and only then take out the sieve!
Sifted sand and stone dust remain in the "pear".
Finished products.
сhichicUser of FORUMHOUSE
I liked the homemade product. I plan to buy a mesh with a mesh of 4 mm and 8 mm and make two more sieves for different jobs.
The user recommends:
Do not sift the bulk until the mixer is fully loaded. It is enough to sift 8 shovels and immediately pour the contents of the concrete mixer into a bag. If you fill the entire "pear" with sand, it will be compressed at the bottom into a dense mass. It is inconvenient to pack it in bags.
If during operation it is necessary to stop the concrete mixer filled with concrete and then turn it on again, then turn the "pear" so that its mouth is directed upwards. Only then start the concrete mixer and turn the "pear" at the desired angle for normal mixing of the mixture. This will reduce the stress on the motor and drive and they will last longer.
Another design of a sifter for bulk building materials from Vitek.
Concrete mixer from a barrel
The device of any such concrete mixer is not too complicated, and therefore it is also realistic to implement it from the available materials.
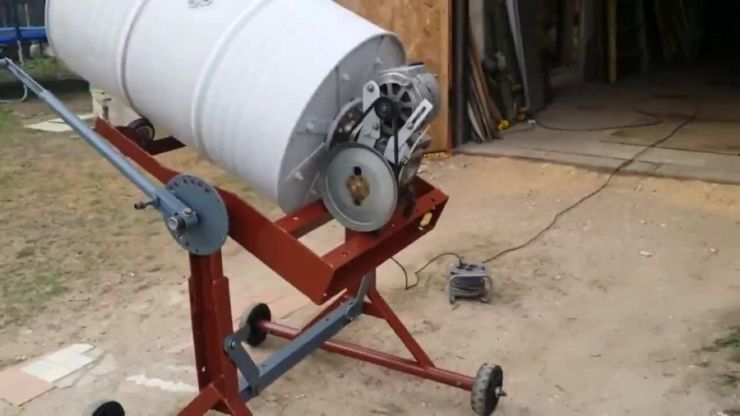
In this design, the movement is realized obliquely, the solution goes from one edge of the container to the other. There are 2 variants of execution: a manual concrete mixer and a concrete mixer with an electric drive. Let's talk about the first, but the second does not differ much from it, it is only necessary to install an engine, sprockets, a chain.

Typically, the filling connector is located at the bottom. This is a cut off part (about a third), connected to the bottom with hinges, secured with sealing rubber around the perimeter and locked with 2 locks.
To load the barrel, it is turned with the hatch upward. For unloading, they are lowered down. You do not need to wield a shovel or trowel, the solution will go down into the container by itself.
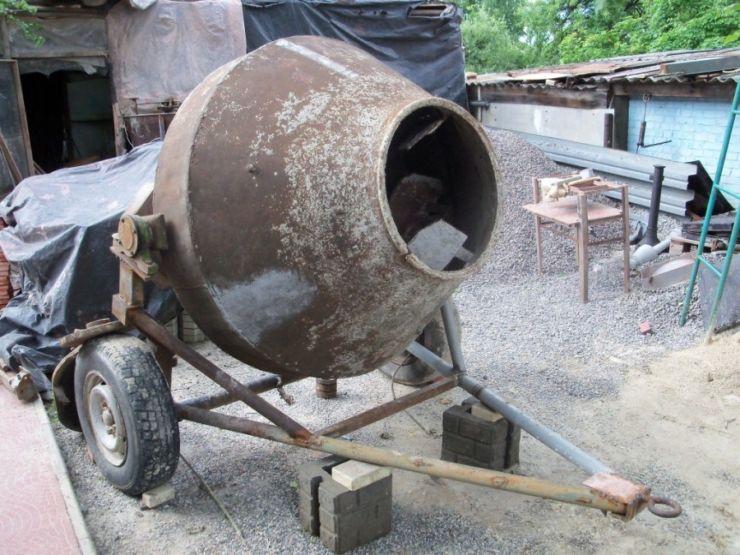
Concrete mixer from a washing machine

But in this version there is a fat minus, the essence of which is that the solution will need to be raked out with a trowel. To avoid such inconveniences, it is better to do everything yourself, by installing the engine and the tank on the frame of your own work.
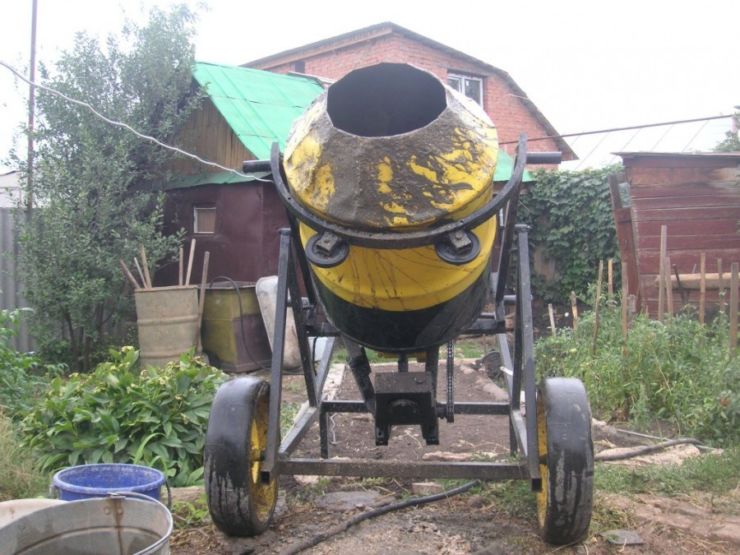
Consider a swing frame. This design has a number of positive features:
- it is easy to clean it from the solution
- it is designed for heavy loads
- it is quite mobile, it is easy to move it.
Making a "swing" will not be difficult:
We connect by welding 2 triangles from a corner of 50 × 50 millimeters. The base is made of 2 segments 0.6 meters high, the sides are made of 4 segments of 0.8 meters each. We place them opposite each other, weld two corners of 0.5 meters to the sides. The robust 2-triangle construction is ready.
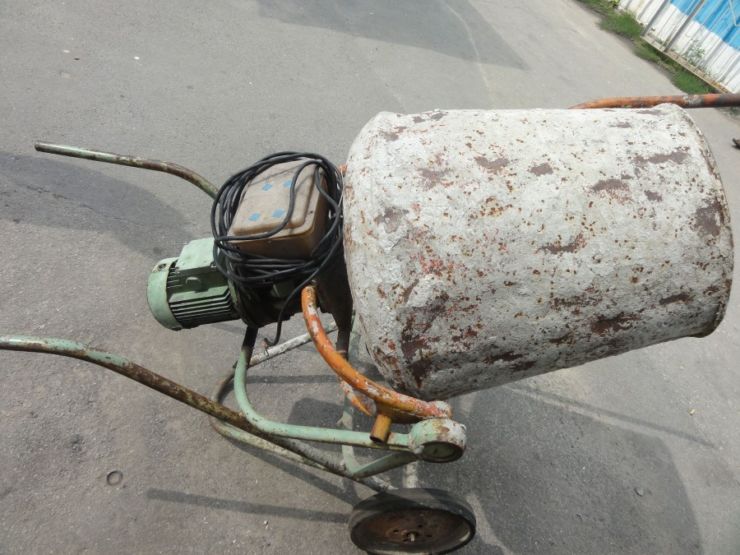
We cook 2 nuts on the top of the triangles (pieces of pipes can be used) so that the shaft, with a diameter of about 25 millimeters, can be turned without difficulty. For locking, we do welding on the edges of the shaft. It will allow him to get nowhere from the hole.
We take 2 corners of 1.4 meters and 3 corners of 0.4 meters. Using welding, we make a ladder, placing the middle corner in the center. With a middle corner, we strongly cook it to the shaft. Swing with movable ends is ready.
We dismantle the activator. We cut steel strips 50 × 4 millimeters so that 2 pieces of 0.9 meters in length come out. In them, in the middle, we make holes for the size of the thread of the axis. You need to think about the axis in advance, we install a pulley mount at the end, the other end should be threaded, look out five centimeters from the bottom.
To shape the plates into blades, bend them slightly. We mount them on an axis at an angle of 90 degrees, fix them with a nut and weld them.
We test the blades. They must pass without difficulty, do not touch the tank. We place the engine opposite the swing. To fix it with standard studs, we make holes in the corners of the ladder. To protect the engine from water, we cut in a rubber casing.
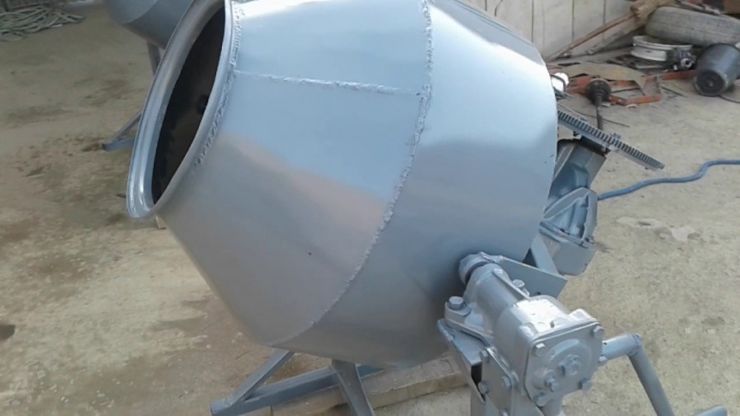
We connect the engine to the network to test the concrete mixer. The release from the solution occurs through lifting the swing over the side with the motor. If you want the tank to be at a certain angle, then a T-shape crutch is placed at the bottom of it.
All is ready. Now you know how to make a concrete mixer with your own hands.
Operating tips
Functionally, "small forms" of concrete mixers are no different from serious industrial models. But in order for the operation of home-made devices to be productive and convenient, a number of rules must be observed
In addition, special attention should be paid to meeting safety requirements.
Rules for working on a manual concrete mixer:
Before work, it is necessary to check the insulation of cables and contacts
Pay attention to the presence of grounding.
Since the mixer vibrates, the screw connections must be tightened before use. If the device is mobile, then it is necessary to place stops under the wheels.
The operating unit must always be within sight
No strangers, especially children, should be allowed to approach him.
It is strictly forbidden to check the quality of the mixture while the engine is running.A stick or shovel placed in the drum at this time may break and cause serious injury to the worker.
If the barrel is not used for a long time, it is recommended to grease it with an old solution. Then it will last much longer.
Thus, you can make several options for do-it-yourself concrete mixers.
It is important to comply with the necessary safety rules, and then the workflow will bring great results.
How concrete mixers work
Since we're talking about mixing methods, it doesn't hurt to figure out how a concrete mixer generally works. And for a complete understanding of what follows, it will also be useful.
There are mainly four methods of mixing cement-sand mortar:
- gravitational;
- forced mechanical;
- forced vibrating;
- combined gravitational-mechanical.
During gravitational mixing, the container with the components of the solution is rolled over, the solution flops onto itself and is mixed at the same time. You cannot knead a large volume like that, the quality of the finished concrete comes out only satisfactory, therefore this method is not used in industry. But for yourself, you can quickly and easily make a pretty decent gravity concrete mixer, see below.
During vibration mixing, the bucket remains stationary, and the mixer-kneader excites compression waves in the mass of the initial mixture, which mix and compact the solution very well. The disadvantage of this method is high energy consumption: a stirrer-vibrator drive of 1.3 kW is required for 20 liters of solution. But the quality of concrete is exceptional, so vibro-mixing is used for especially critical structures: dams of hydroelectric power plants, etc. In this case, for the sake of saving energy, the pre-mixed mortar is poured into the formwork and is already "brought" in place with vibrators. But a small vibrating mixer can be made by yourself, further it will be said about this.
Conclusion
The advantage of a home-made concrete mixer is that if you need to partially drain the concrete, you just need to grab the opposite end of the "swing" on which it is located washing engine machine, and raise it to the desired level. The concrete mixer will lower and the concrete will flow to the right place.
The disadvantage of the entire construction of the concrete mixer is that in order to give the barrel the required angle, a special supporting element made in a T-shape will have to be placed under it. However, a self-made concrete mixer from an old washing machine, turns out to be quite a working unit.
In addition, from a used washing machine, you can also design:
- lawn mower,
- grass cutter,
- electric bike,
- honey extractor,
- Potter's wheel,
- wood splitter,
- milling cutter,
- irrigation pump,
- lathe,
- juicer,

smokehouse,

brazier,

grain crusher,
feathering machine,
wind generator,

emery,
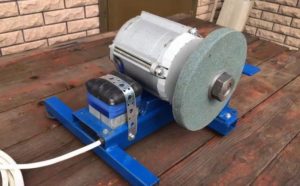
grinder,
wax refinery
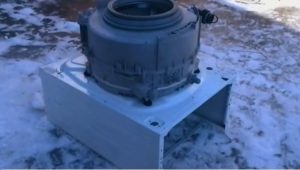
- circular
- and much more.

