Master's advice
If the thickness of the plywood is different from the standard. Have you had to cut plywood pieces to the specified dimensions, and then find that they cannot be assembled correctly? The reason for this is the discrepancy between the actual thickness of the plywood and the standard, which usually specifies the nominal thickness, so you have to change the dimensions of some parts so that there are no problems during assembly. Follow our advice to help you identify significant parts and determine their exact dimensions ■ Never cut all the plywood parts of a project beforehand, as some dimensions may need to be changed. ■ Carefully review all drawings, diagrams and drawings to determine the parts for which size adjustment may be required
First of all, pay attention to the parts that are installed between other parts, such as shelves, partitions and drawers, as well as those whose length or width depend on the dimensions of previously assembled parts of the project. Circle, underline, or highlight the dimensions that need clarification, as we did in the pictures and the List of Materials, to serve as a reminder before assembling. ■ Saw only those parts for which the length and width are accurately specified. After assembling them, specify the dependent dimensions of the remaining parts (it is better to first carry out a trial assembly without glue)
After assembling them, specify the dependent dimensions of the remaining parts (it is better to first carry out a trial assembly without glue).
4. To determine the width of the large D-dividers, measure from the front of the A-pillar to the fold of the C-pillar. Saw out partitions of this width and file them to a length of 572 mm. Then cut out shelf E with the same width and length of 864 mm. (Before that, measure the distance between the sides to determine the length of the shelf.) Now install the shelf (photo B).
Using the large dividers D as spacers to install shelf E, drive the screws through the side panels B into the ends of the shelf.
Using spacers, align the large dividers D in the body and secure with screws by screwing them through the bottom C and shelf E.
5. From the plywood scraps, cut four spacers 51 × 305 mm in size to fit the large partitions D in the body (Fig. 1). Fasten the partition with screws (photo C). Then, also using the spacers, install the second bulkhead.
Quick tip! Be sure to use spacers - they guarantee the neat placement of the partitions, and the drawers will slide out easily without getting stuck.
Measure the distance from the top of panel B to shelf E to find out the exact width of the small partition F.
6. Determine the length of the small partition F (photo D). Saw the partition to the required length, and its width should be the same as for the large partitions D. Place the partition in the middle of shelf E and secure it with screws from the bottom.
7. Place the bottom cover C on the housing and align it. Drill the holes for the screws above the middle of the edges of the A / B side panels and the small partition F. Install the screws. Then align the second cover C at the top and screw it to the bottom. (Drill screw holes along the front and rear edges of the cover at a slight angle.)
Quick tip! Do not stick the top cover to the bottom to easily replace it if damaged. And if you screw in the screws from below, then on top there will be a smooth working surface without traces of fasteners.
8. From 6mm birch plywood, saw out the back wall G, adjusting its dimensions to the distance between the side folds.Although the dimensions should be as specified, check with a tape measure. After sawing out the back wall, set it aside.
Types of organizers for tools
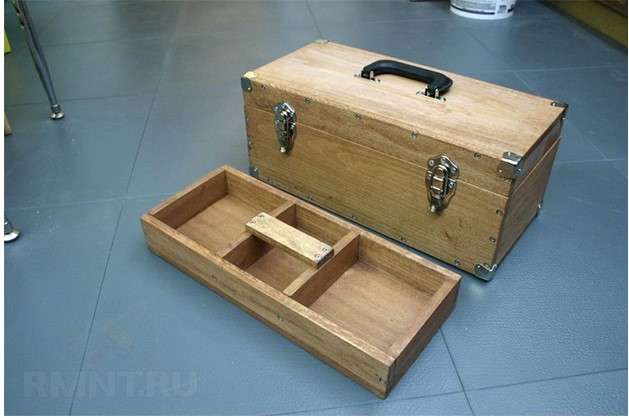
Tool boxes differ in the material of manufacture and the type of stored items. According to the material used, they can be:
- wooden. Wood is an affordable and easy-to-work material. For the manufacture of boxing, a board or durable multilayer plywood with a thickness of 10, 16 or 18 mm is used. The complexity of the design depends on the wishes and skills of the master;
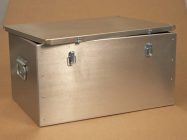
- metal. Steel or iron structures are quite heavy, but they have strength and durability. Lighter boxes are made of aluminum;
- plastic. These boxes are lightweight, durable, comfortable and modern in design.
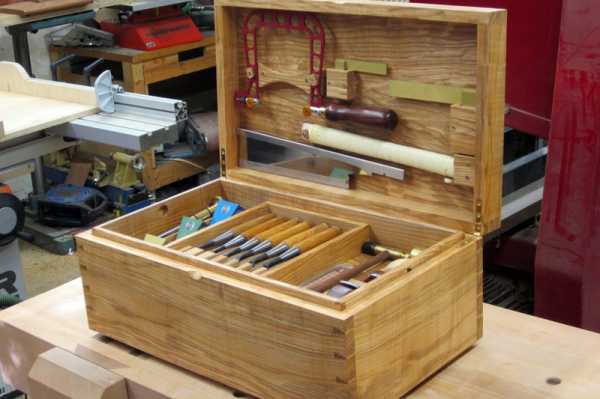
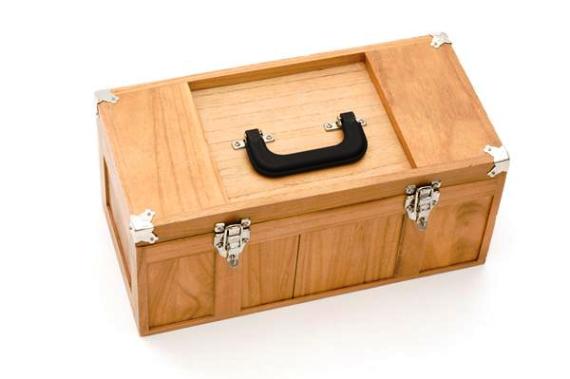
Wooden tool box
Also, boxes differ in the type of tool stored in them and are:
- Unprofessional. They are of a multi-compartment design. Bags or cases of different sizes are used for them.
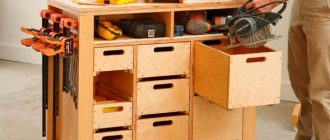
- Power tool. Special boxes used for storing drills, grinders, screwdrivers, etc. As a rule, such boxes are equipped with a large compartment for certain equipment and several smaller ones for additional equipment.
- Professional. Most craftsmen prefer this particular type of tool boxes, since they have separate seats for a certain type of equipment.
- Universal. Boxes of this type have a large number of compartments and are used to store a wide variety of tools. There are tool boxes with removable partitions, which allows you to rebuild the interior space at your own discretion.
Universal tool box
It is interesting: Types of drills for metal and wood - purposes and features
First, the body is made
1. Cut the A-pillars and B-panels out of 19mm plywood according to the dimensions shown in the List of Materials. To enhance the appearance of the entire project, we used premium quality plywood with no defects on the edges.
2. After fixing a rebate cutter with a bearing in the collet of the router, select 10 × 6 mm rebates along the trailing edges of the A pillars from the inside to insert the plywood wall G. Glue the pillars to the B panels, positioning the rebates as shown in fig. 1.

Glue the sides A / B to the bottom of C, fix with clamps and screw in the screws. The mounting square will help to avoid distortions.
3. Read the “Master's Advice” below. Then determine the width of the two covers and bottom C by measuring the width of the assembled sides A / B. Saw out the covers and the bottom of the required width and file to a length of 1016 mm. Attach the sidewalls to the bottom (photo A, fig. 1).
Quick tip! To prevent the plywood from splitting around the screw heads and the surfaces to be smooth, the mounting and guide holes for the screws must be countersunk.
Classic drawer options
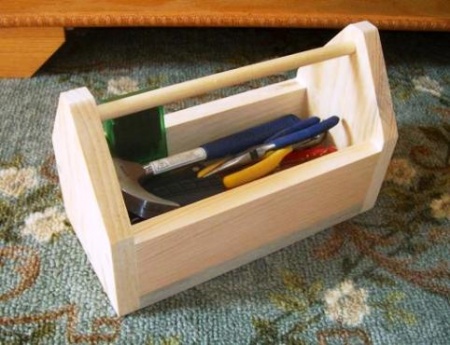
This kind of DIY tool case is easy to perform. The accessories of the basic set are in sight, each in its place. It will come in handy for transferring outside the workshop. Tool carriers are heavy and should not be made large or completely out of boards. Some parts can be replaced with plywood.
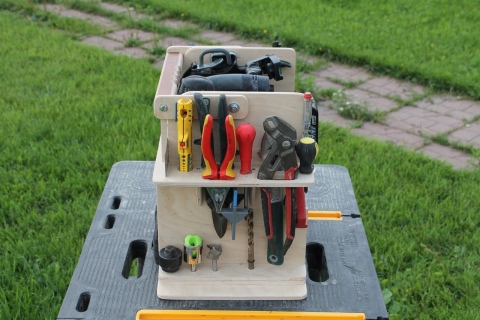
Open with partition
Before starting work, make sure that the material for the workpieces is dry. To make the first option, you will need the following materials and tools:
- pine boards;
- plywood;
- thermal or PVA glue;
- nails and screws;
- hacksaw, jigsaw or grinder;
- drill or brace and drill for wood;
- hammer;
- chisel;
- tape measure or ruler;
- pencil or marker.
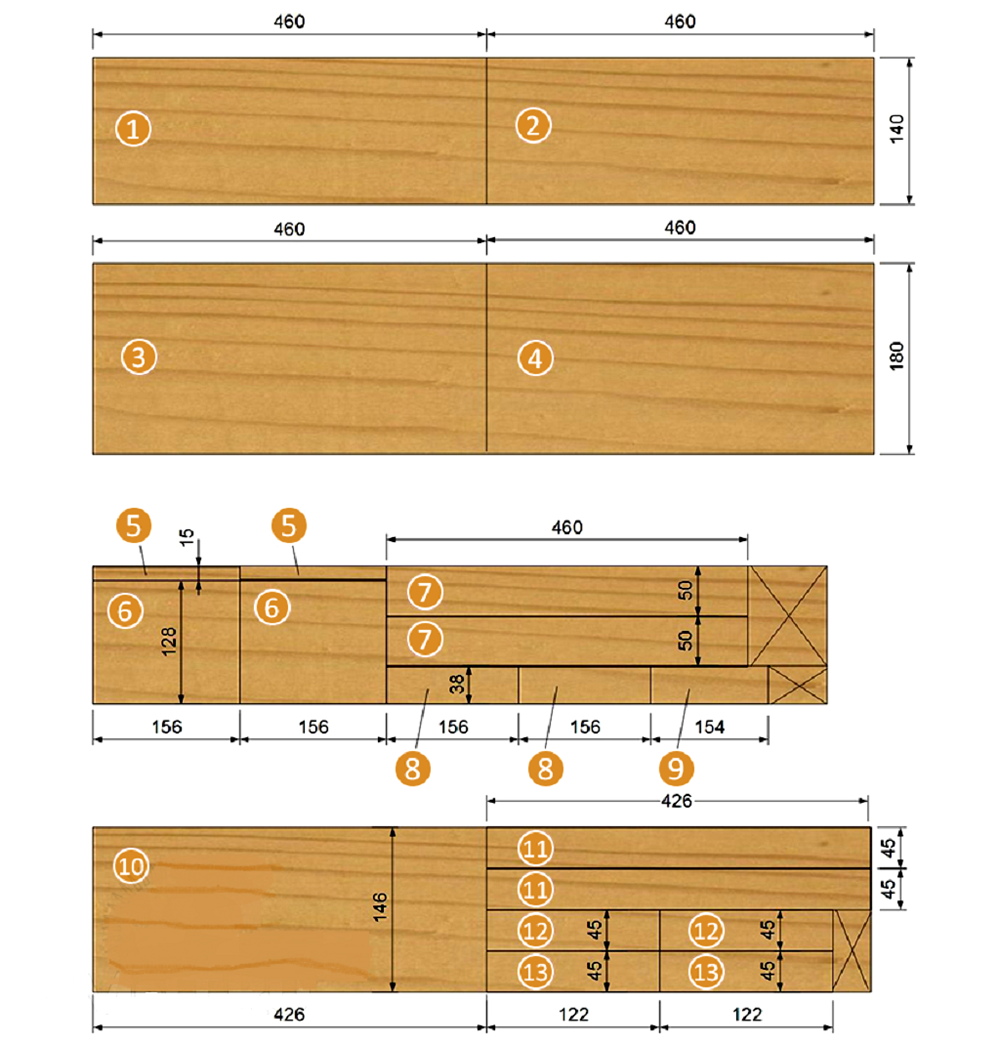
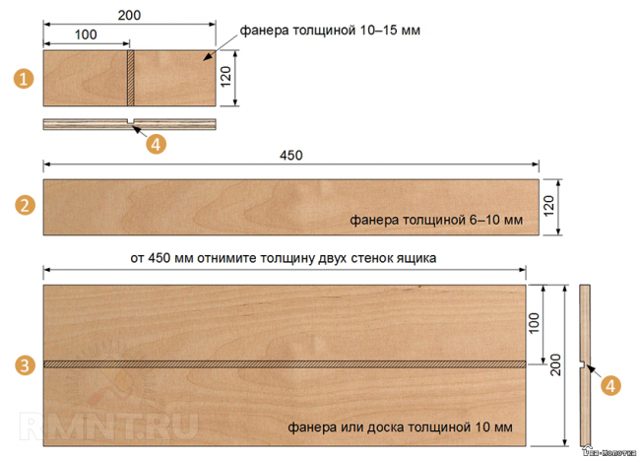
As a material, plywood or pine trims are suitable. According to the drawing, markings are made and blanks for the body are cut out. Special grooves are cut out in which the partition will stand.To organize them, you will need a milling cutter or a hacksaw with a chisel.
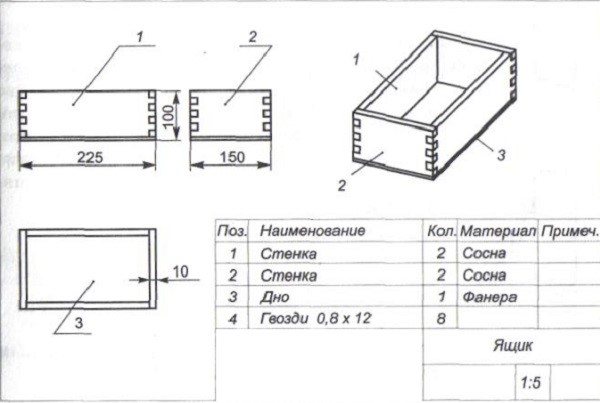
The drawing shows the classic dimensions, which are optimal for the assembly of the box. All blanks are cut according to the scheme; when one parameter is changed, it is necessary to proportionally subtract or add from the rest:
- transverse walls - 2 pcs.;
- sidewalls - 2 pcs.;
- bottom;
- partition groove.
Grind all prepared elements, assemble a rectangular box. To prevent the structure from falling apart, the attachment points and the ends of the blanks are coated with glue. Additionally, the box is knocked down with small nails or twisted with screws.
Lining for the handle is made from the blocks. The corners of the workpieces are processed with a plane and sandpaper, and fastened with glue or nails. From wooden slats, cut to the size of the partition, you need to make holders that are placed horizontally on the partition. For screwdrivers, suitable holes are drilled with a drill. Pliers, wire cutters, etc. are placed in the rectangular grooves.
The entire structure must be covered with a protective compound. To do this, you can use varnish or paint and varnish material with special additives.
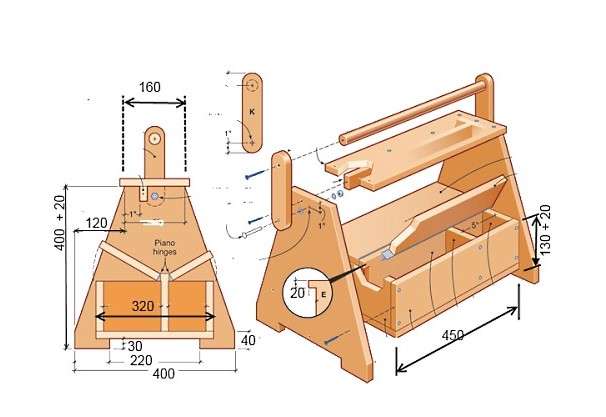
Organizer in a stool
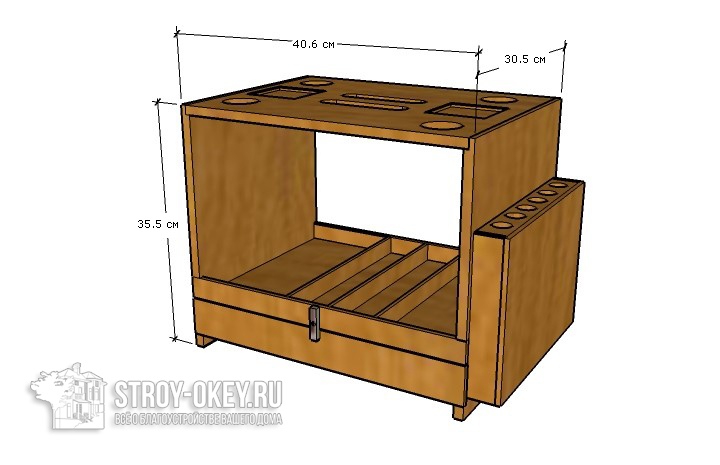
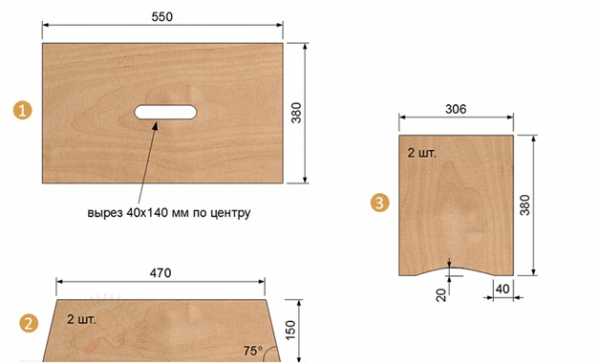
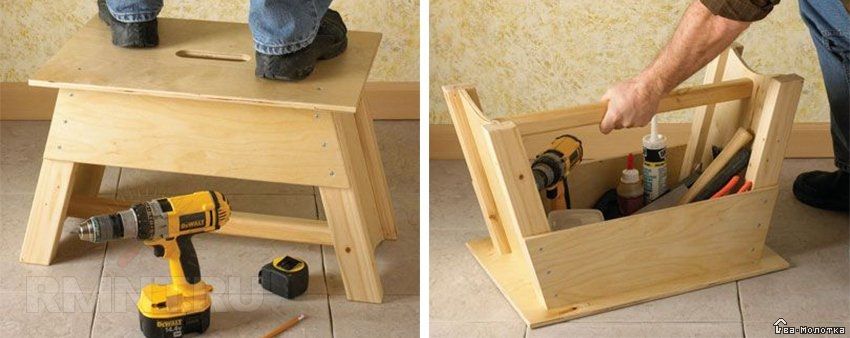
With this design of the organizer for tools with your own hands, you can transfer the tool to the right place and sit down on it and reach a place that is slightly higher than the height. Materials and tools are the same as in the previous case. Cut out from plywood:
- Cover 550x380 mm with a cutout in the center 140x40 mm.
- Longitudinal drawers 470x150x540 mm and a bevel angle of 75 °.
- Two sidewalls 306x380 mm.
- Legs and a handle are made of bars 385x40x50 mm. Saw off the bevels at an angle of 15 ° at the ends.
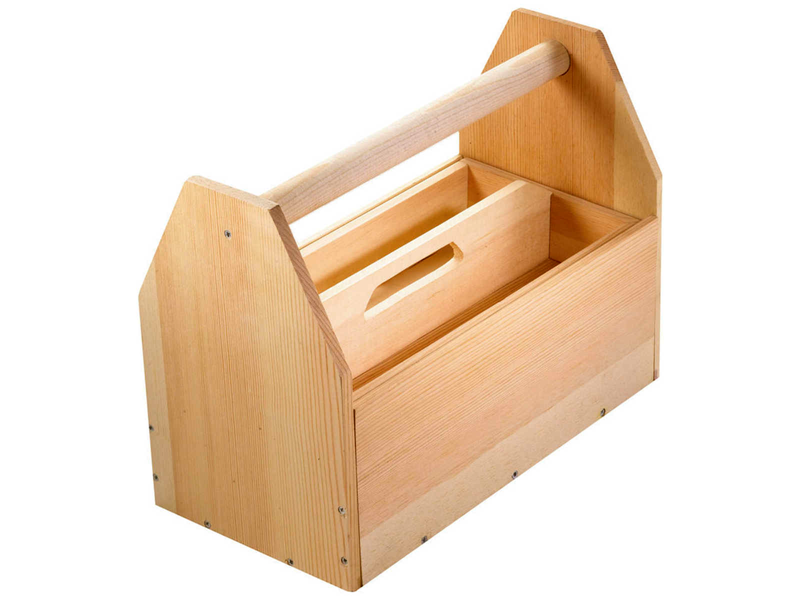
Homemade carrying type
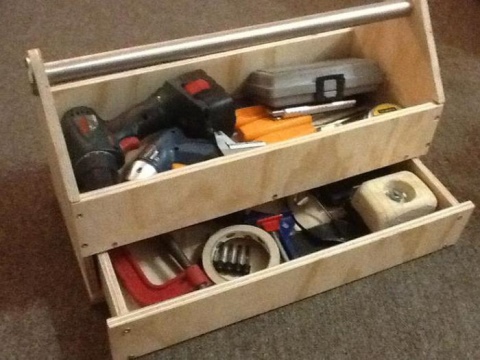
If you want to craft something a little more graceful with the embossed shapes of the side racks, this homemade toolbox is just the right thing. First you need to take boards with a thickness of 16 mm. Make parts from them, as in the diagram, and take a round aluminum stick or other metal tube.
Along the lines parallel to the edges, holes are drilled on the side walls for self-tapping screws to fasten the structure. Use a sanding paper or an electric machine to remove burrs and smoothen sharp corners. After that, the prepared parts are assembled: the bottom and sidewalls are fastened with glue and screws.
By the same method, vertical posts are installed by marking, between which a horizontal handle is fixed. Screwdriver holders are screwed on with self-tapping screws. The entire surface is cleaned of excess glue and dust.
Slides for drawers
Types of guides:
- Roller. This is the cheapest type. Its disadvantages lie in the incomplete departure of most of the box. They also knock loudly when they drive out or drive in.
-
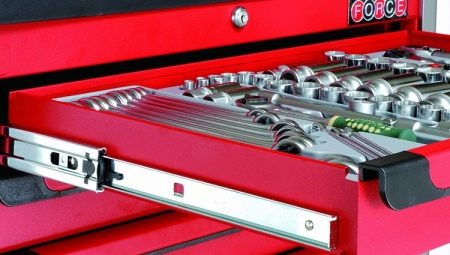
Ball-point. This is a telescopic rail type. There are two subspecies: regular and enhanced. Regular height - 35 mm (for light linen: socks, belts, etc.), reinforced - 45 mm (for heavy linen).
- Metal boxes, or metaboxes. They are installed on the bottom and are characterized by an improved load-bearing capacity. They differ from the first two in that they are the sides of the drawers.
- Closer and pusher systems. These are complex and expensive designs. Closers are needed for silent running. The pushers allow you to install the box without handles due to the spring, which, when pressed, automatically pushes the box.
Expert opinion
Alexander Didenko
Furniture assembler at Mabax
The system of door closers and pushers is a complex design, therefore it is advisable to entrust its installation to furniture specialists.
Drawer handles
Cabinet handles can be made in three ways:
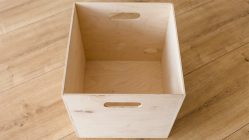
- Cutout. Oval cutout at the top of the drawer front. Cover the cut with melamine edging.
- Railing. For facades longer than 450 mm. Attach them with screws to the facade.When setting the dimensions of the length of the walls of the drawers and the facade, take into account the distance between the facade and the handle so that it does not protrude and allow the cabinet doors to close.
- Mortise. Save valuable cabinet space. Installation: make a cutout in the facade with a router. Insert the handle into the groove and fix it from the inside.
 On the left in the photo are cut handles. If you don't want to mess around with decorative cutting, you can make indents between the drawers and thus the handle will be the upper edge.
Instructions for making a vertical pull-out module:
- Determine the dimensions based on the inner cabinet niche. The height of the structure can be from 1 to 1.5 meters. Depth up to 50 cm. Now you can attach boxes to it.
- When making boxes, take into account the dimensions of the chipboard board, so make the length of one box less than the entire finished structure by 3.2 cm (1.6 cm on each side). The shelf width is from 30 to 50 cm.
- Screw the wheels to the bottom.
- Make the back wall and sides. Drill grooves for future shelves. At the same time, fix the wheels so that they do not move while working on the walls.
- Attach the shelves to the structure with nails or use two beams on both sides of the structure on which to install the shelves. Now take off, dust off and put on again.
 You can make such a box with or without wheels.
Manufacturing work
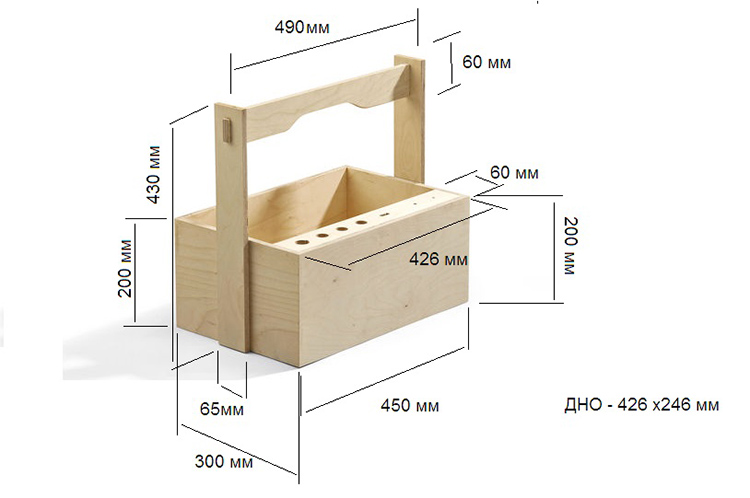
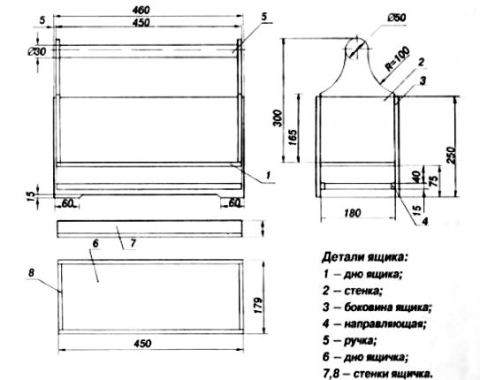
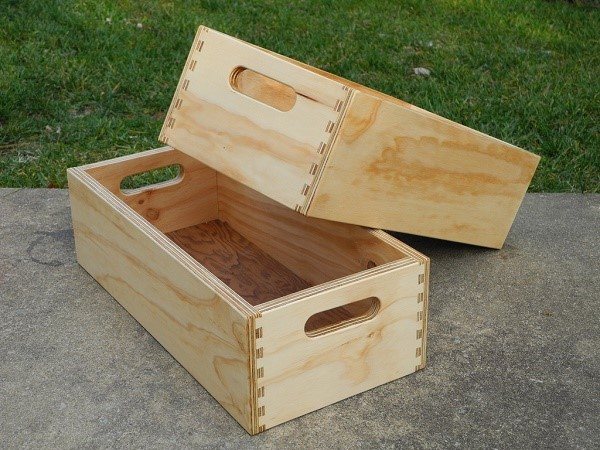
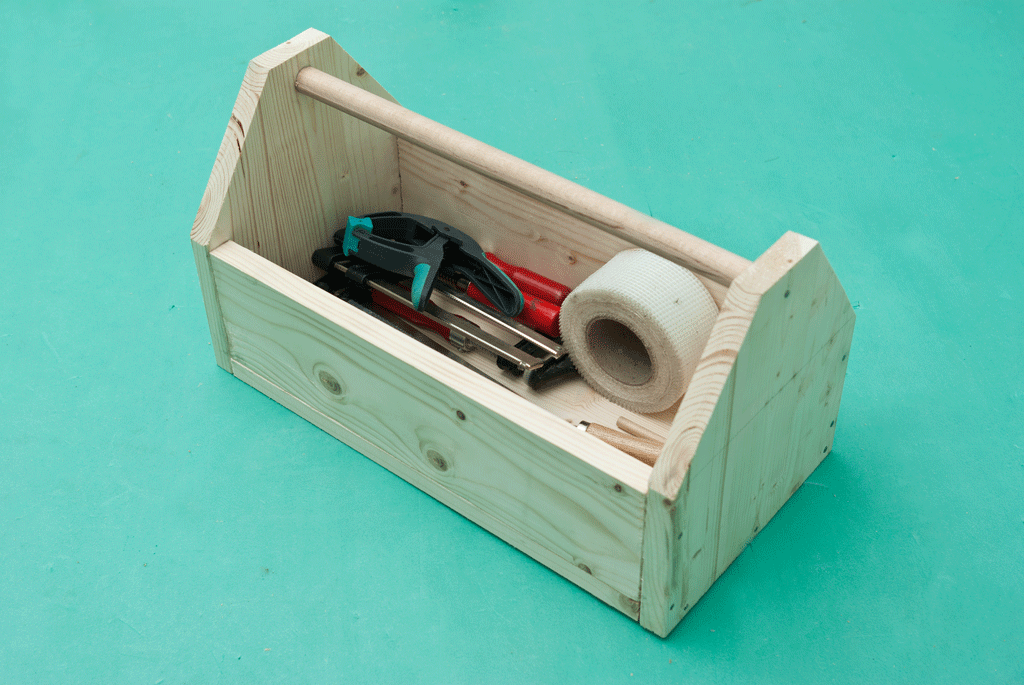
To understand the specifics of how to make a structure yourself, we will give a simple example, which is shown in the photo of a toolbox. The design is a box-box with a special handle for moving.
What is such a box made of? Plywood, plastic or metal materials work best. Their choice again depends on the personal preferences of the master. Typically, most use conifers for manufacturing. It's all about their availability, high quality and ease of processing.
Let's take a step-by-step look at the process of making a box-box:
- After a drawing is made on paper or a computer, it is transferred to the material that will serve as the basis for the design. That is, details are drawn on wood, plastic or metal with a pencil, and then cut out with a hacksaw.
- The main elements of the box: walls (4 pcs.), Bottom. The simplest toolbox may not contain a lid.
- Once all the pieces have been cut, they are glued together and allowed to dry.
- A few hours later, when the glue is completely dry, the joints are additionally fastened with nails or self-tapping screws.
- Installing the handle. A wooden rail is suitable as it.
By following these simple steps, you can get a great DIY toolbox.
The presented box-box is considered the simplest, but at the same time it is very convenient. Following step-by-step instructions, even a beginner can make such a box with his own hands.
Of course, later you can make a more advanced and complex model, but for the first experience, a simple box-box cannot be better suited.
How to make a tool box with your own hands
If the owner decided to make a box for his inventory on his own, first of all, he needs to decide on the dimensions and choose the design of the box.
To do this, you need to inspect all your tools, measuring the most overall elements and taking into account the small things (bolts, nuts, washers, etc.). These parameters are used to calculate the dimensions of the container itself and the internal compartments.
Tool box design
Speaking about the design of the boxes, they do not mean their shape, but the way of opening and the presence of additional sections. The following constructions are considered standard:
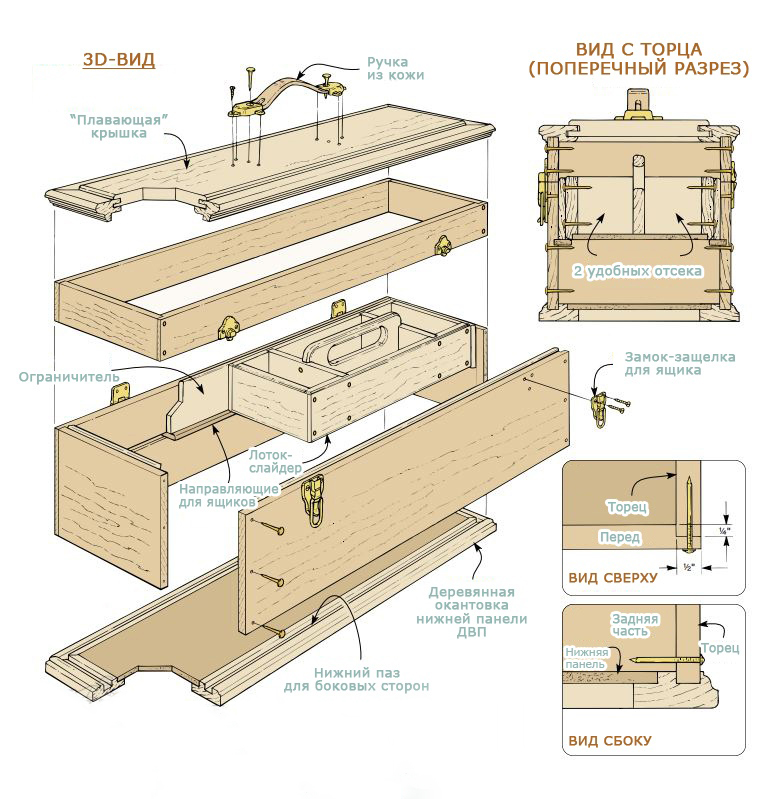
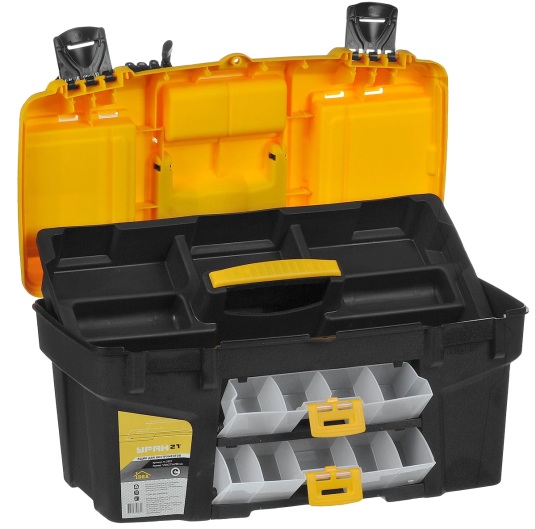
- Case - a portable rectangular box with a handle. As a rule, cases are divided into many sections, have removable partitions that allow you to independently divide the space inside the box. The weight and dimensions of such cases are usually small.
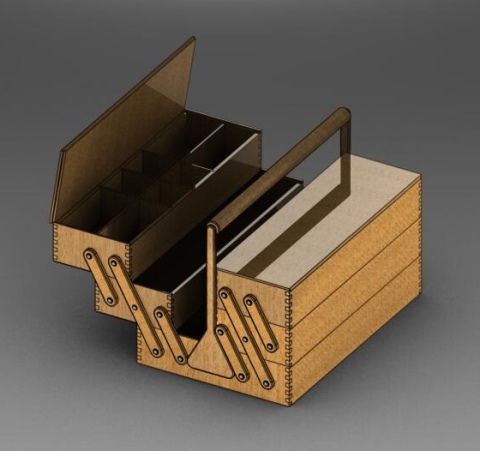
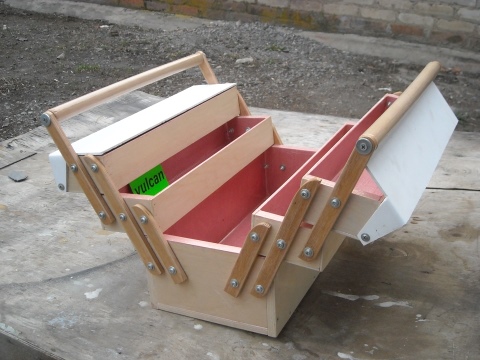
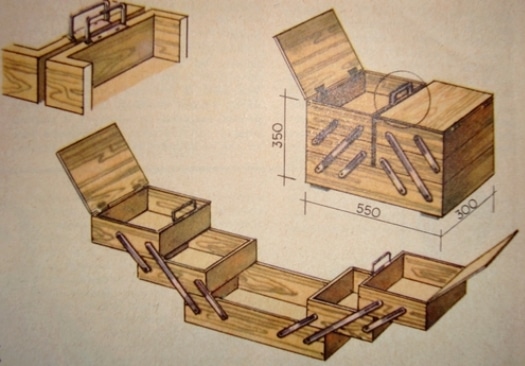
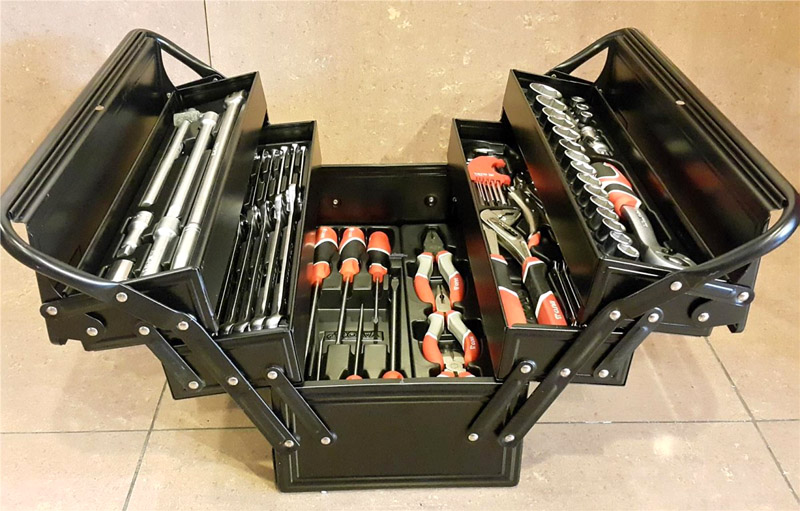
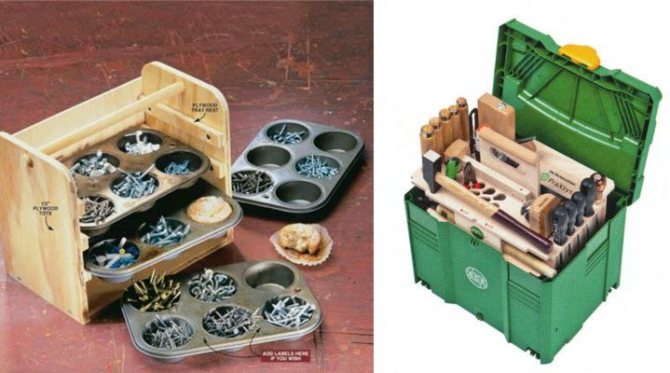
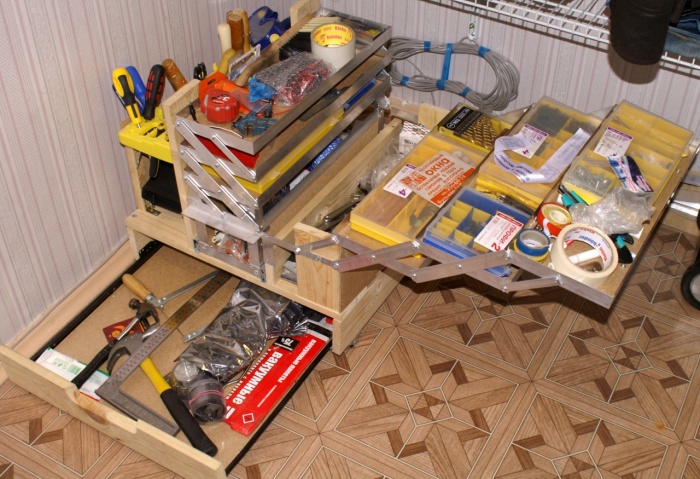
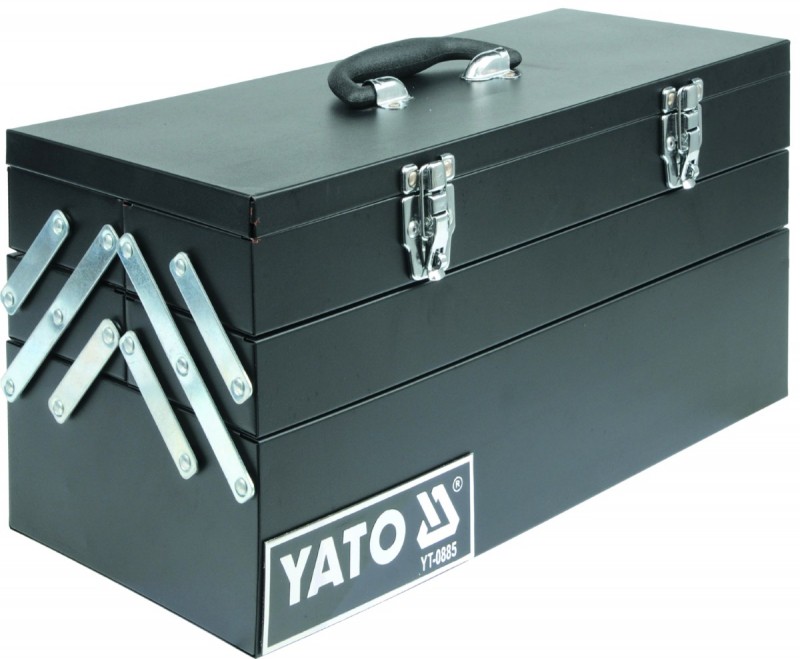
- A container is a larger box for a variety of tools. As a rule, it has a trapezoid shape with a rectangular bottom. Inside this box there are also partitions, or there may be separate smaller boxes (folded like a nesting doll). Sections of such a container can be pulled up and to the sides, forming a whole "trellis" with tools and fasteners. Large tool boxes of this type can be equipped with wheels, which is very convenient and practical.
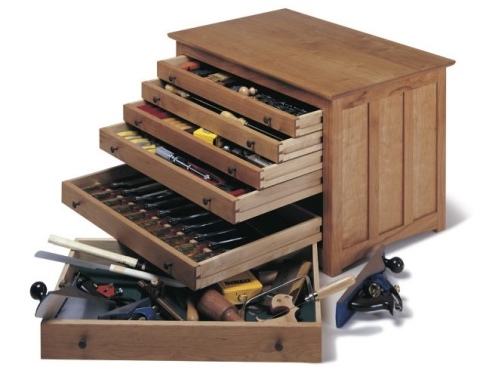
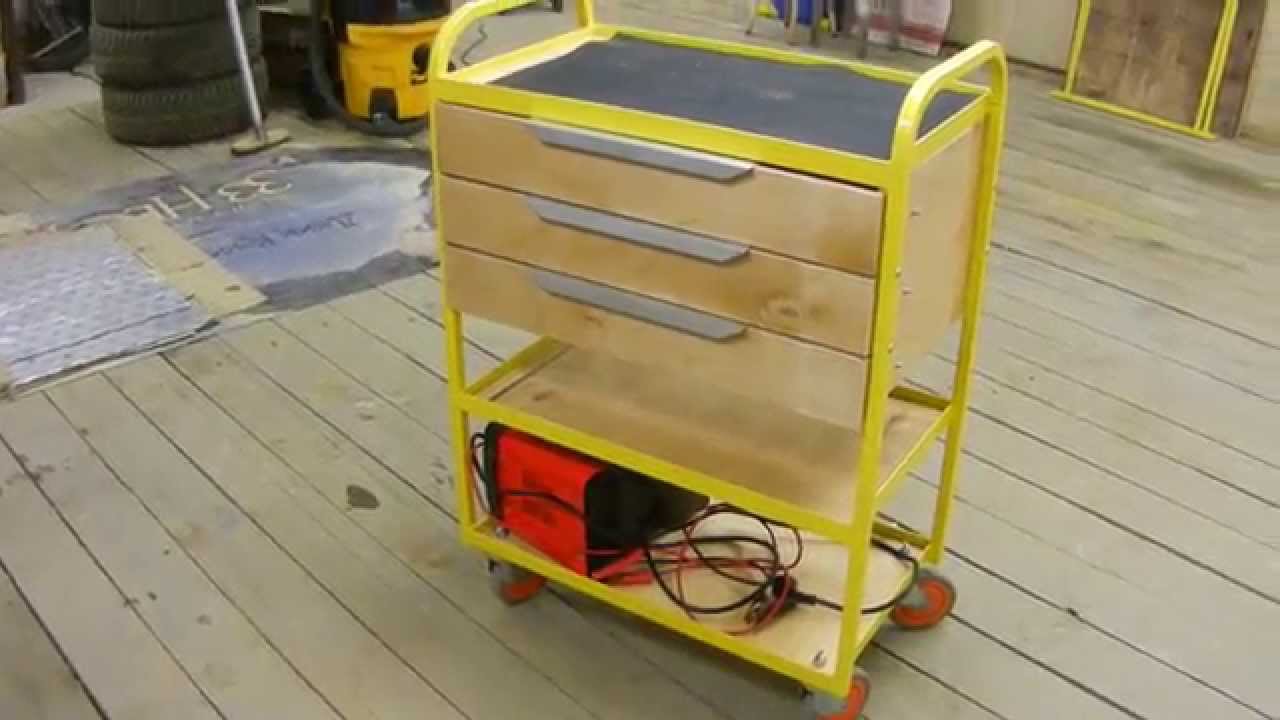
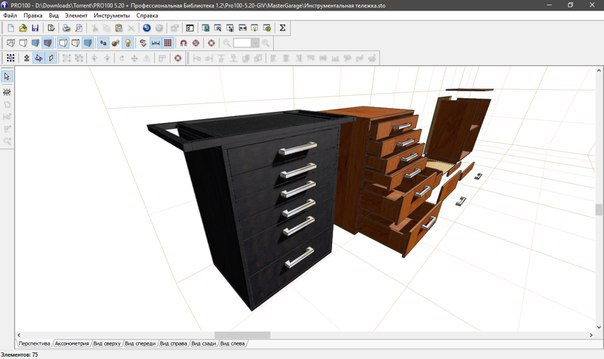
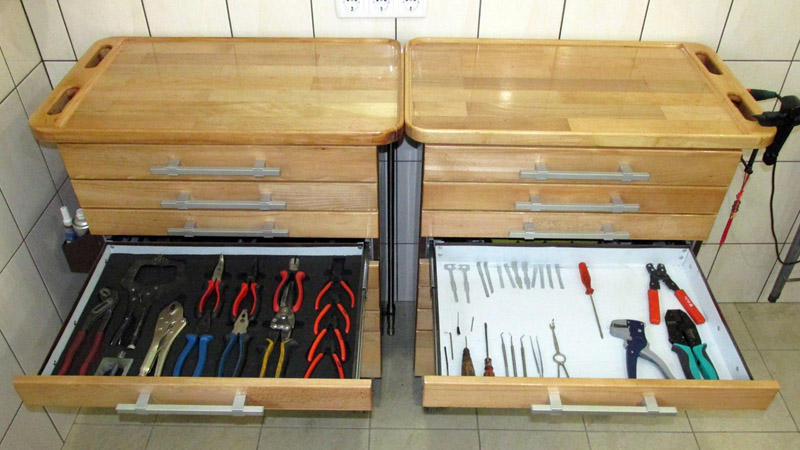
- Multiboxes are arranged vertically and drawers in them slide out along the guides, as in a regular chest of drawers.
It will be easiest to make a case for tools with your own hands, because in this design there are no complex mechanisms and hinges, with the help of which additional sections move out.
Important! Although it is quite possible to build a container with boxes that fold into several floors with your own hands. To do this, each pair of "floors" should be fastened with metal staples, providing the elements with mobility (as in the figure below)
Bringing the idea to life
If we talk about the material for making the box yourself, then, of course, the easiest way is to work with wood. For the first experience, it is better to choose inexpensive wood - planed conifers are quite suitable for boxing.
The whole process of making a tool box consists of several stages:
- Draw up a blueprint for the future of boxing. To do this, use a regular Whatman paper and a ruler or a professional program such as "AutoCAD".
- The resulting drawing is transferred to the wood using a simple pencil or marker.
- Cut parts along the contour using a jigsaw or saw.
- The tree is treated with antiseptic agents or stains to prevent rotting and make it "inedible" for insects and rodents.
- The box is being assembled. Now all the parts need to be connected into a single structure, according to the drawing. To do this, it is best to use wood glue, which is applied to the ends of the parts and press them together for a few seconds.
- It is better to additionally fix the elements of the box with self-tapping screws, making sure that the tree does not crack when screwing in the fasteners.
- Install the lid using conventional hinges or other device appropriate to the type of box opening.
- The lid is equipped with a handle for carrying and transporting the tool box.
- Inside, the box is marked into sectors, taking into account the diagram and drawing. Cut out additional partitions from the board and fix them in place with glue and self-tapping screws.
- The walls, bottom and lid of the box are sanded with several types of sanding paper, then painted or covered with several layers of varnish.
The box is ready to use, all that remains is to fill all its compartments with the appropriate tools and fasteners.

