Content [show]
An unusual experiment on growing crystals from salt can be done with children. This process is completely safe, since only salt and water are used and no additional reagents are required. Making such a craft with your own hands is quite simple, but several rules must be taken into account.
1 How to grow a crystal from salt - preparation of the tool and material
Before you start making crafts, prepare the necessary tools and determine the place for the container. The ripening process of the product will take some time, while the dishes cannot be moved or tilted.
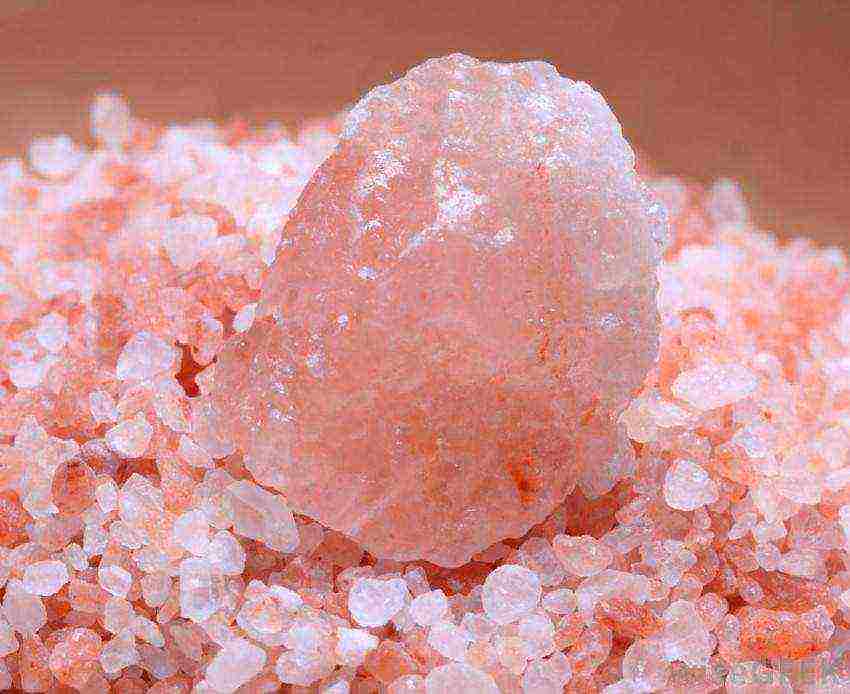
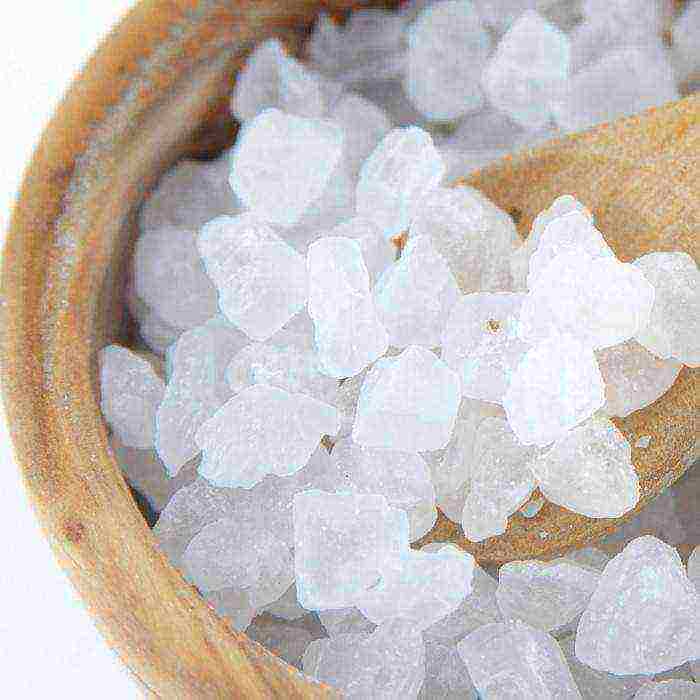
- The main component for crystal formation is salt. Use sea salt to get a smooth and transparent surface on your craft. It does not have impurities and small debris like table salt.
- Crystal formation will take place in water. It should also be well cleaned of impurities. It is best to pour in distilled water or boil the liquid and filter.
- The experimentware should not be metal. Since it can oxidize due to the action of brine. The volume of the growing dish is irrelevant and is only limited by the size of the desired crystal.
- Avoid debris and debris in the container. They will prevent salt buildup on the main crystal. Therefore, before the experiment, the dishes should be well rinsed and dried.
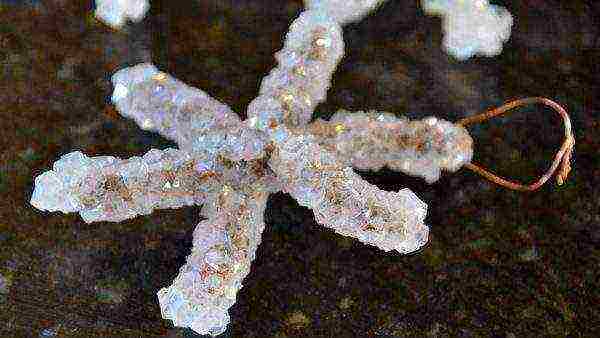
- You can use thread, fluffy wire, dried twigs, or a large piece of salt as a base.
- Additionally you will need: a wooden stirring spoon, a piece of gauze or bandage, paper towels, colorless nail polish, a saucepan and a pencil.
2 How to grow a crystal from salt with many facets
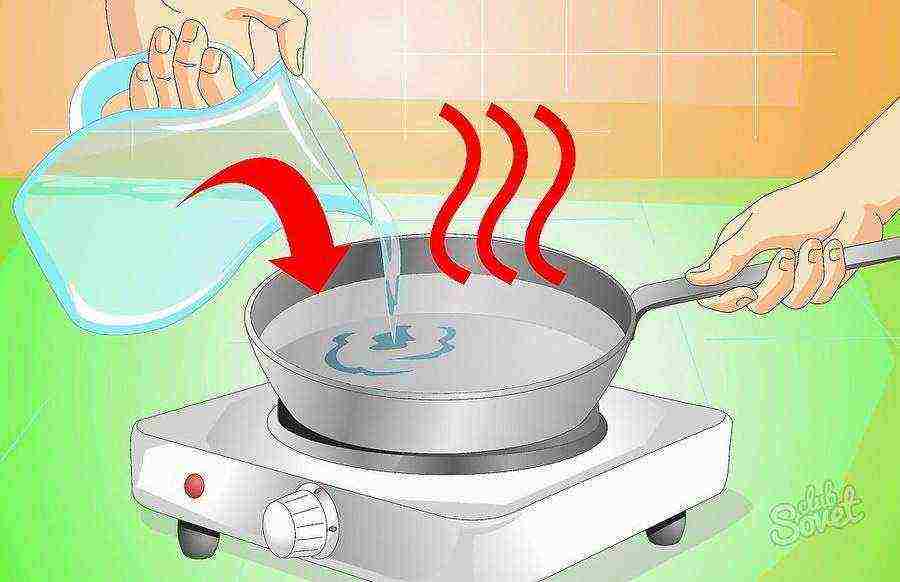
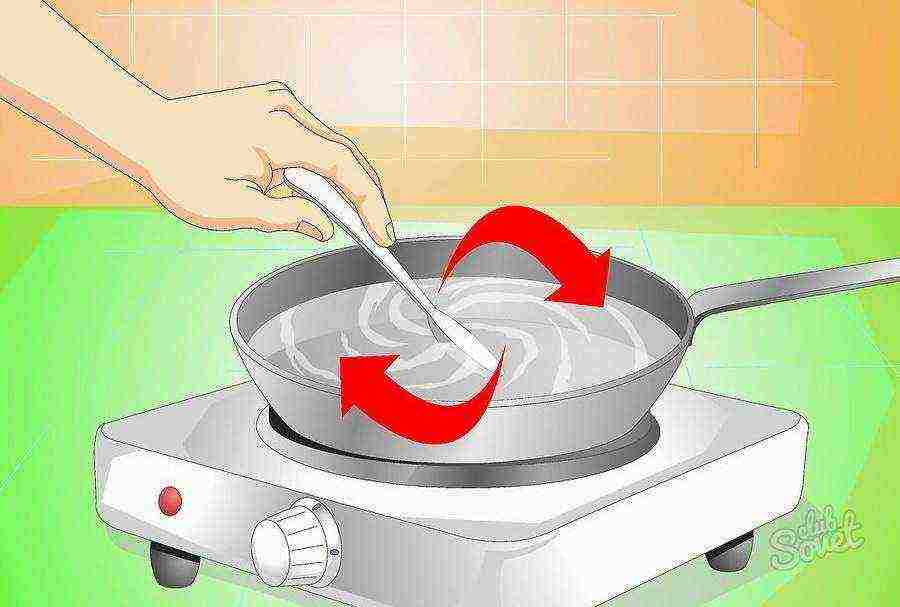
The initial stage of the experiment involves boiling the liquid. Therefore, help the children warm up the liquid so that they do not burn themselves.
- Prepare 120 ml. purified or distilled water. Pour it into a saucepan, place it on the stove and bring to a boil.
- Decide on the type of salt to form the crystal. So with the help of ordinary table salt, the craft is formed within a few days, sea salt forms a crystal in 1-2 days, and with iodized salt you will have to wait a very long time for the product to grow.
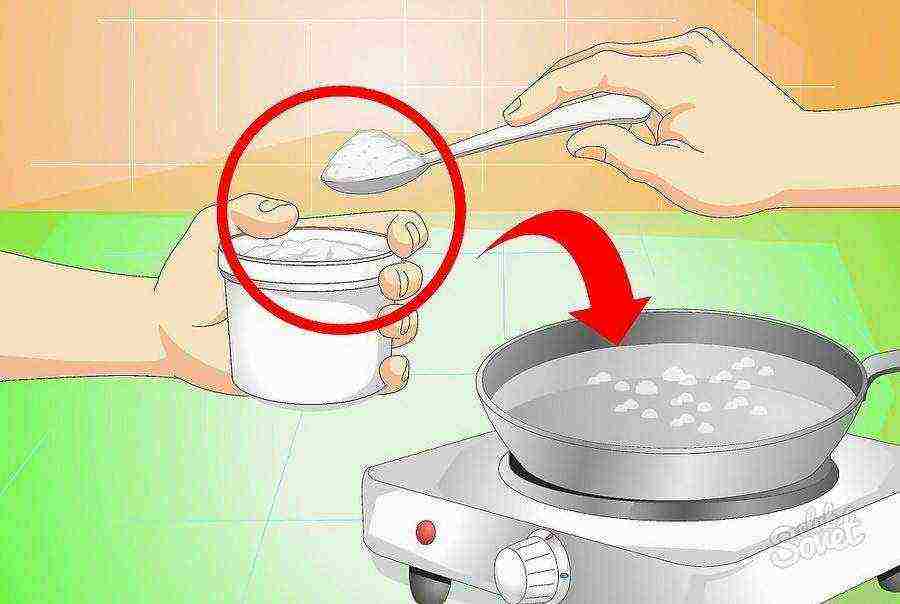
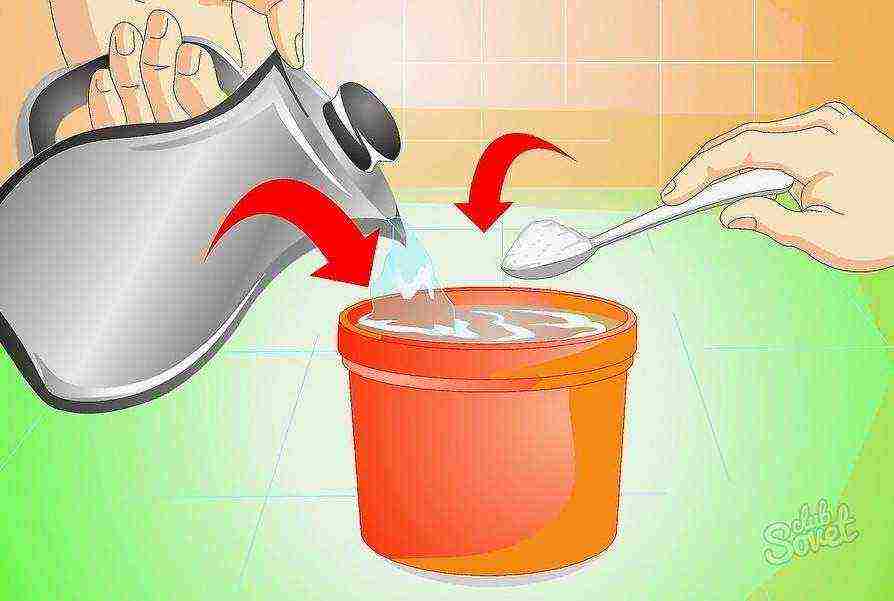
- Prepare a saturated salt solution. You can understand about its readiness by grains that could not dissolve in water. To do this, add salt to warm water and stir the solution thoroughly. First add half a glass of salt. If the water is clear without grains, then add another quarter glass.
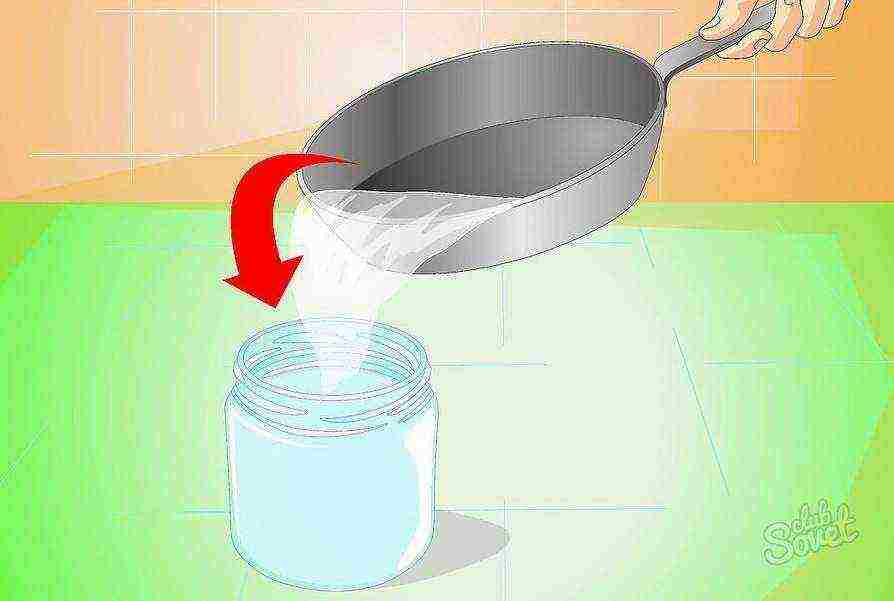
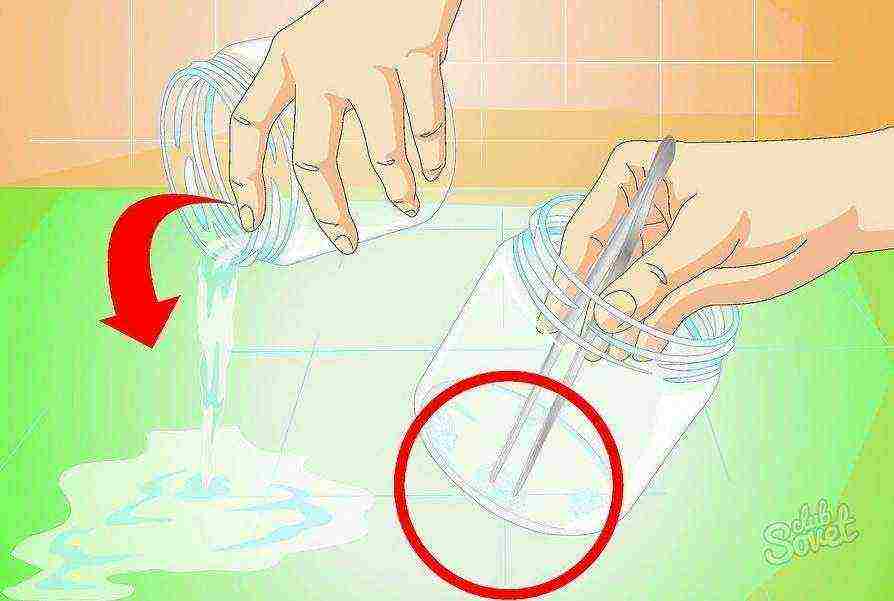
- Pour the solution into a dry and clean container. Make sure that the sediment remains in the pot, otherwise it will fall to the bottom of the jar and reduce the growth of the main crystal.
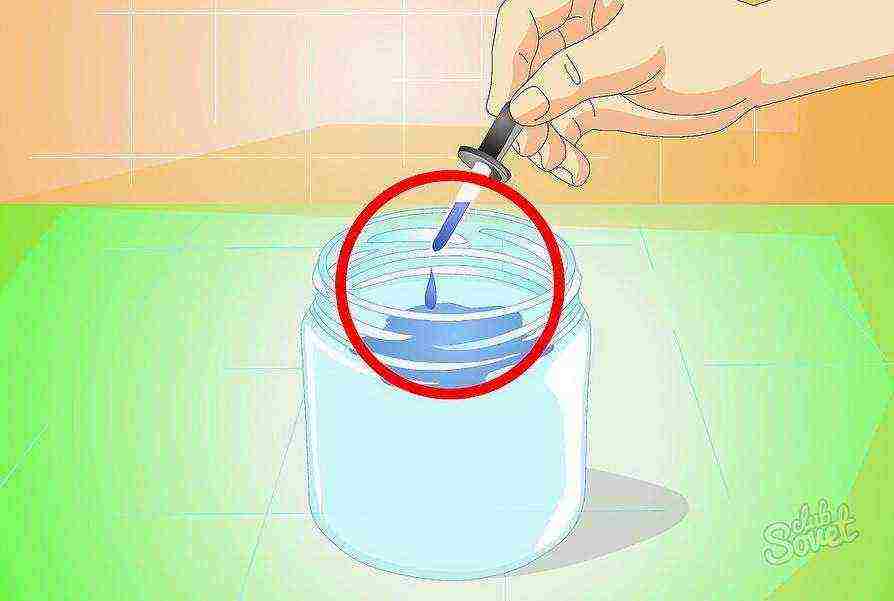
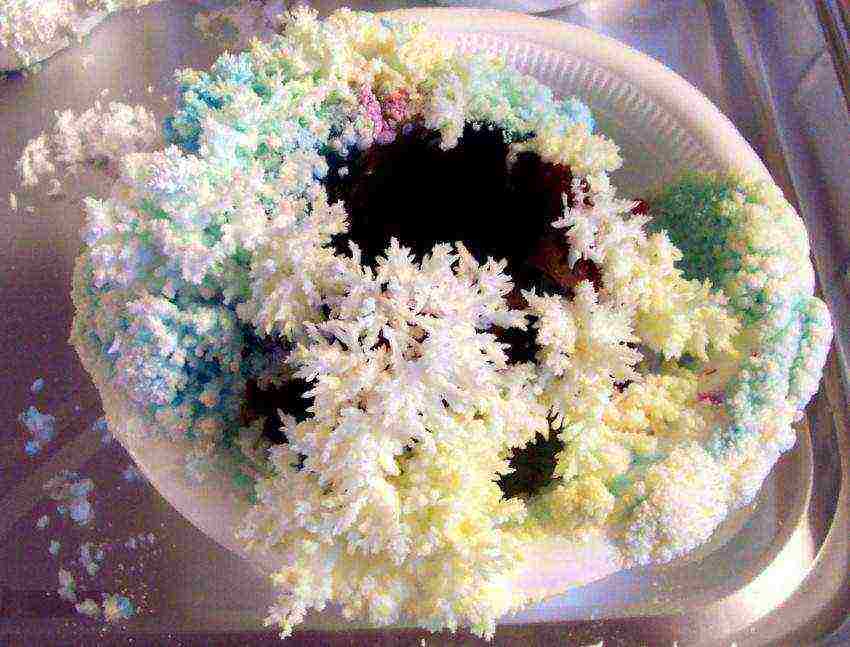
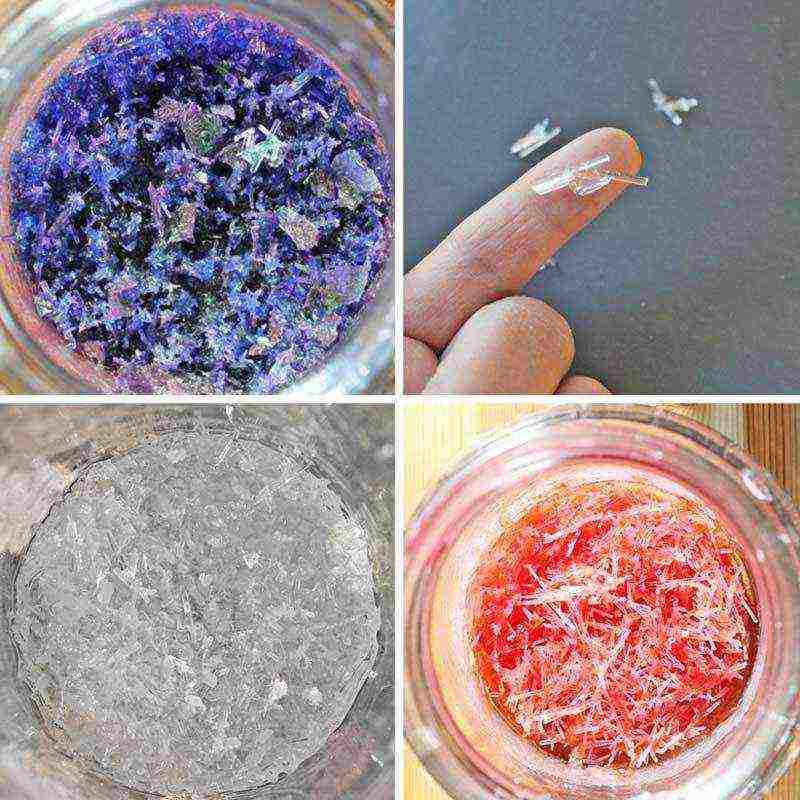
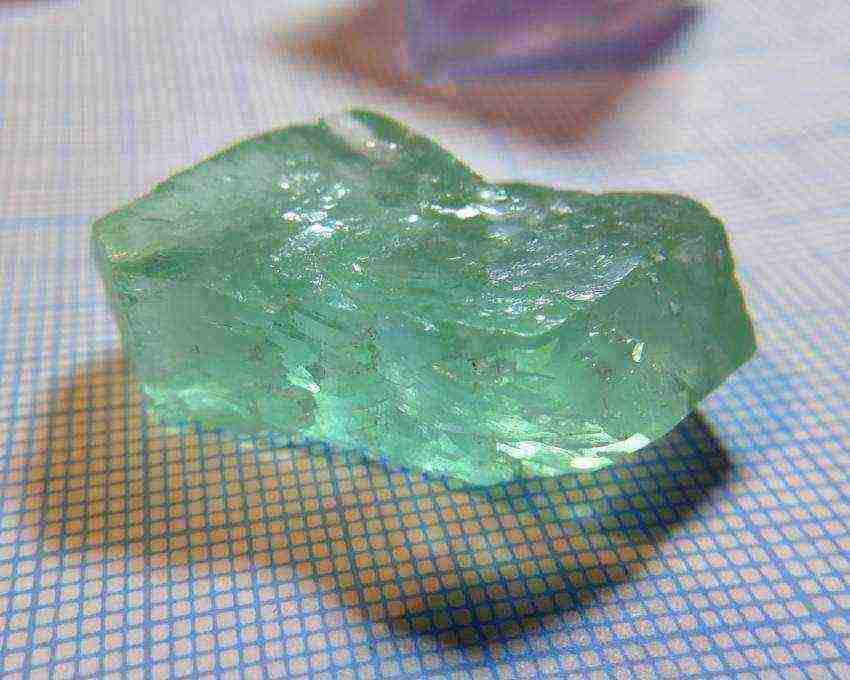
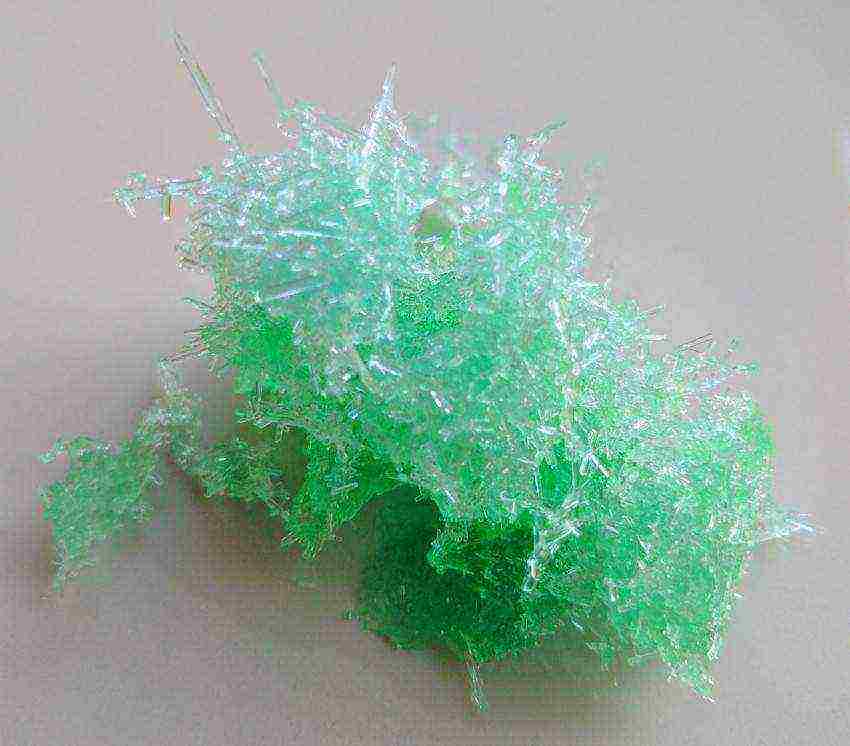
- At this stage, you can add a dye to change the color of the crystal. But do not add too much of it, as in large quantities, the product will make the craft fragile.
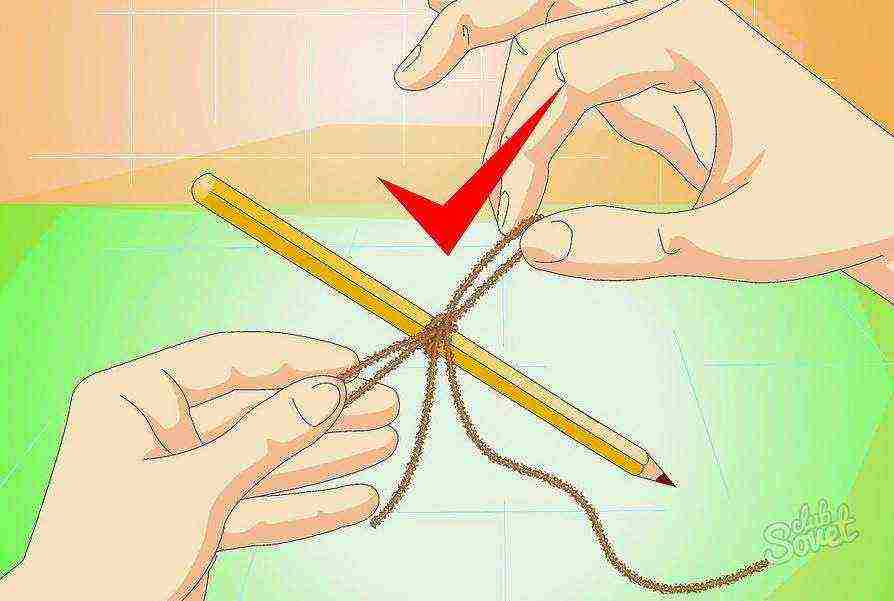
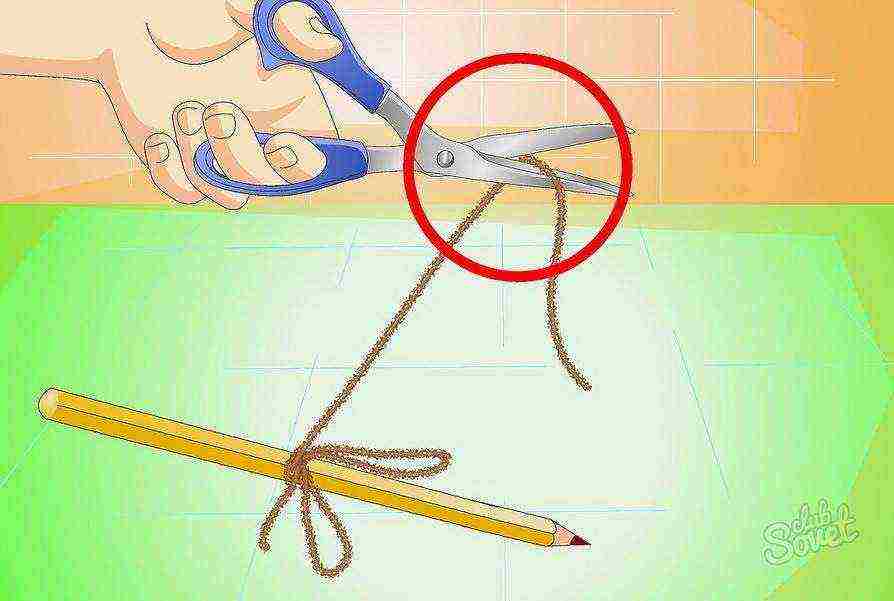
- Prepare the thread for the warp. It is desirable that it be thick with a rough surface. Tie it onto a pencil or long skewer.Their size should be larger than the diameter of the container for growing the crystal and with edges for stability.
- Measure the required length of thread and cut it off. Do not let it touch the bottom of the container.
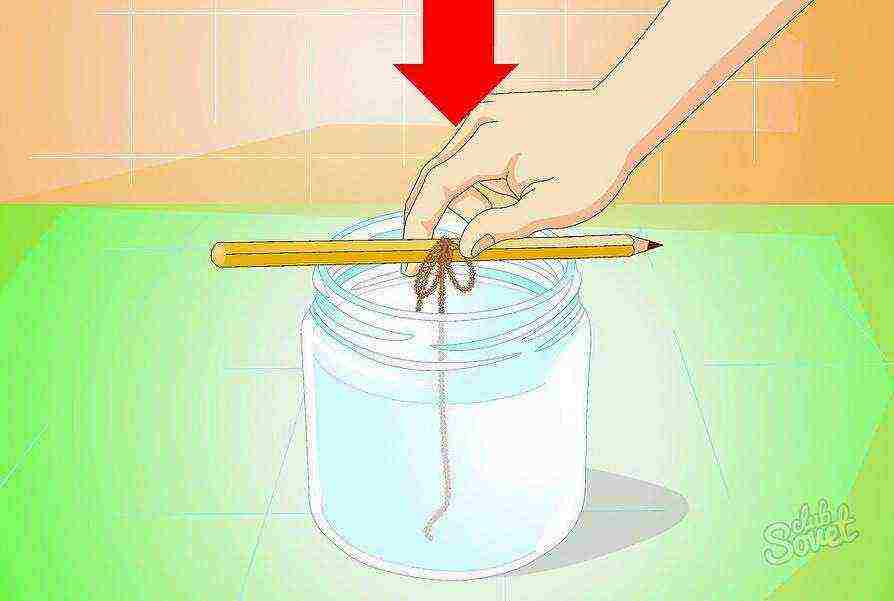
- Place the pencil on top of the container. Make sure that the thread does not stick to the sides of the can.
- Place the container of brine on a flat surface. If you want to grow a crystal with large ramifications, keep the filament liquid in a warm place. Place the container in a cold place to form a crystal with smooth surfaces.
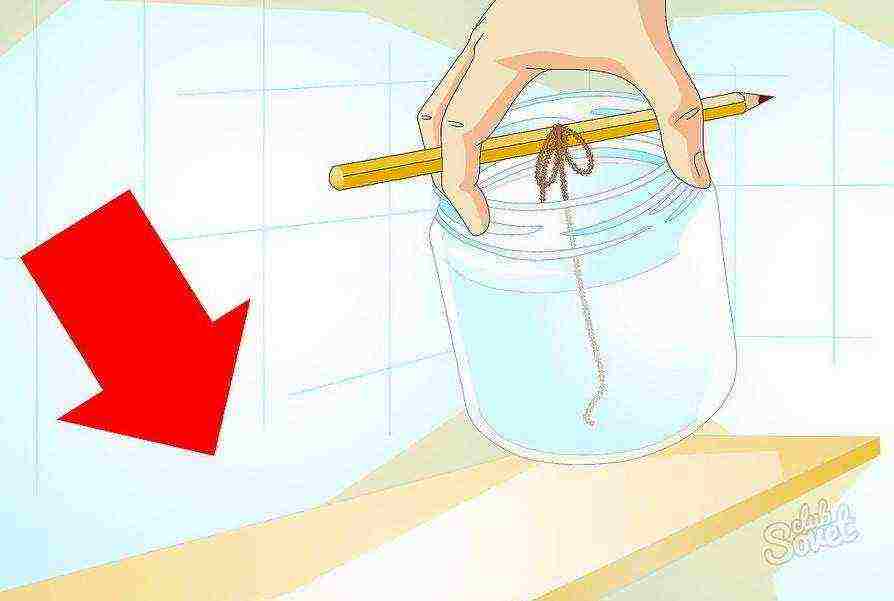
- Now you just have to watch the growth of the crystal.

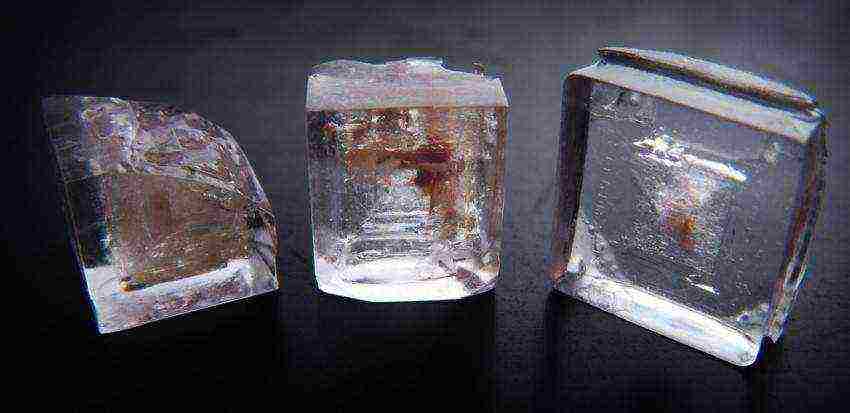
3 How to grow one large crystal from salt
To obtain a large crystal with smooth edges after the experiment, it is necessary to use a slightly different technology.
- Prepare a concentrated salt solution as in the previous point. Pour it into a container. But for this method of growing the craft, choose a flat and wide container. This way, a large crystal will not be able to connect with the rest, smaller parts.
- Leave the container with the solution for 2 days for small crystals to form. Then pour out the water and choose the most suitable grow piece.
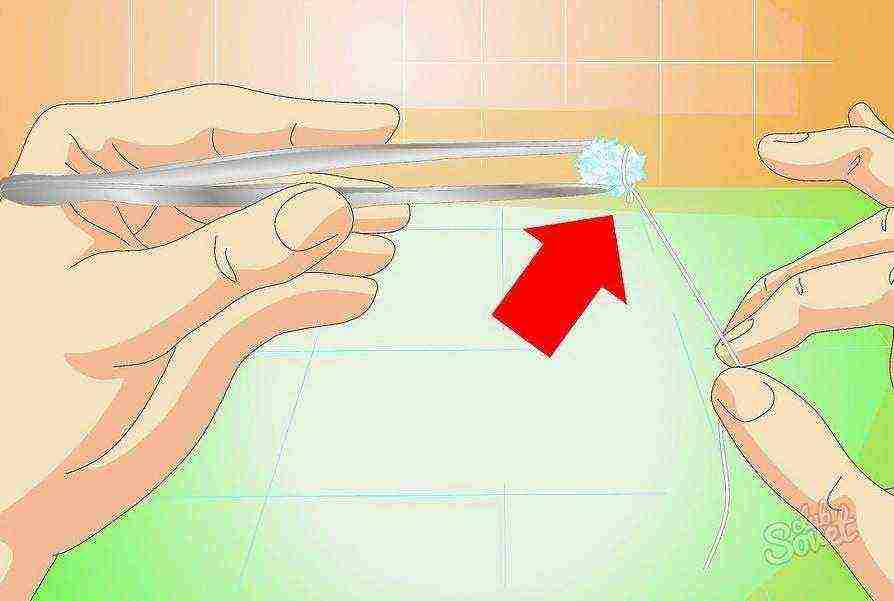
- Tie a small crystal to the fishing line. In this case, it is necessary to use a smooth thread or a thin wire (fishing line) so that salt grains cannot fix on it.
- Re-mix brine. But this time, do not bring the water to a boil, but only warm it up to room temperature.
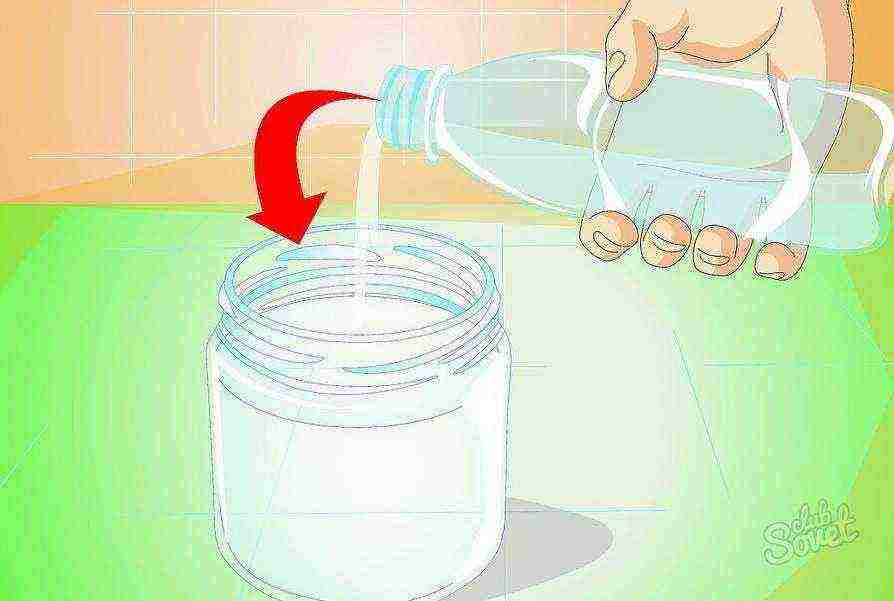
- Dip the crystal on the fishing line into the prepared container and pour in the saline solution in a thin stream. Attach the line to the surface of the container with a pencil. In this case, the crystal should be located in the center of the container.
- Growing a crystal in this way will take much longer than the previous option. Therefore, prepare a new salt solution every two weeks and be sure to filter it before pouring it into the container.
- When the crystals have grown to the desired size, remove them from the liquid, pat dry and be sure to cover with a thick layer of colorless nail polish. It will prevent the water from evaporating, which will make the craft more durable for a long period.
It is very easy and safe to experiment with growing a crystal from salt at home. But to obtain the desired effect, strictly follow the rules specified in the article and do not forget about the finishing of the product.
Do you like to conduct scientific experiments and want to involve your children in this? The best way to do this is to try to grow a crystal together from common salt, which everyone in the house surely has.
Safety regulations
The experiments are based on the chemical reaction of a saturated salt solution. Both cooking and seafood is used almost every day in everyday life, it will not harm you. But still try to work with gloves and a scarf. This will prevent foreign objects from entering the liquid - dust, hair.
If you have unhealed wounds or burrs on your hands, you need to be very careful, as the solution can corrode the skin in the damaged areas and cause acute pain.
In order to grow such a crystal at home, you do not need any laboratory equipment. Everything you need is at your fingertips.
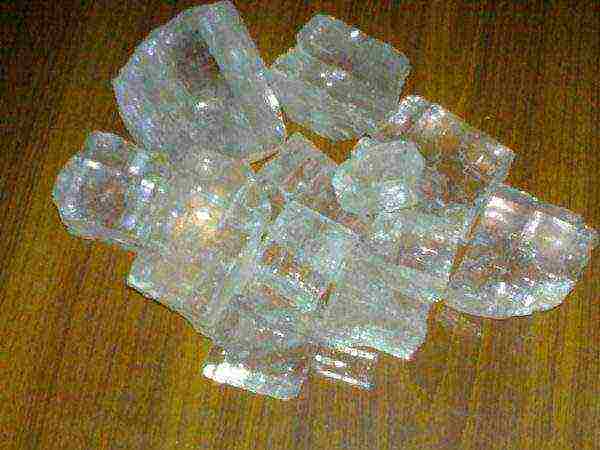
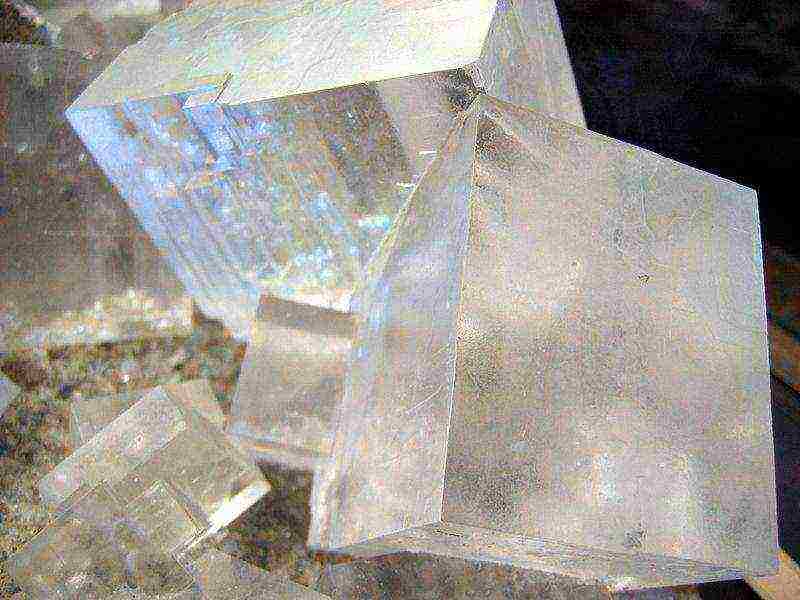
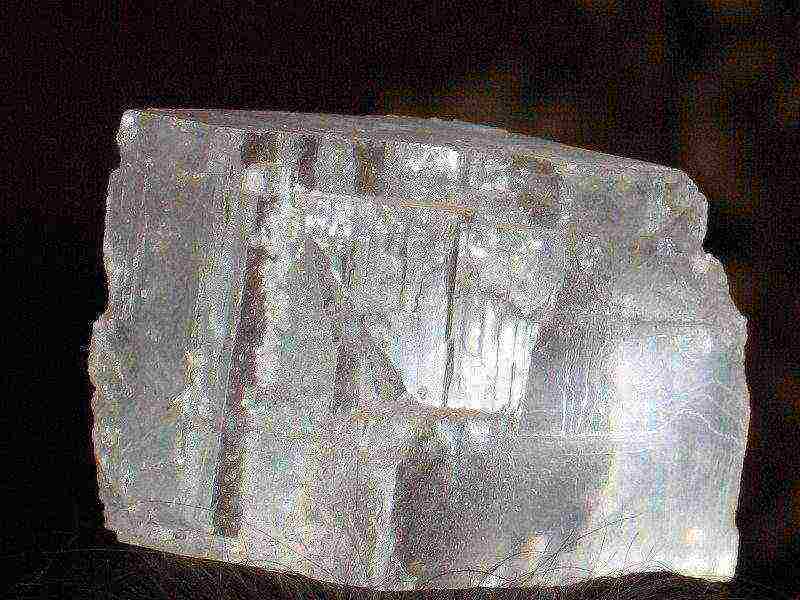
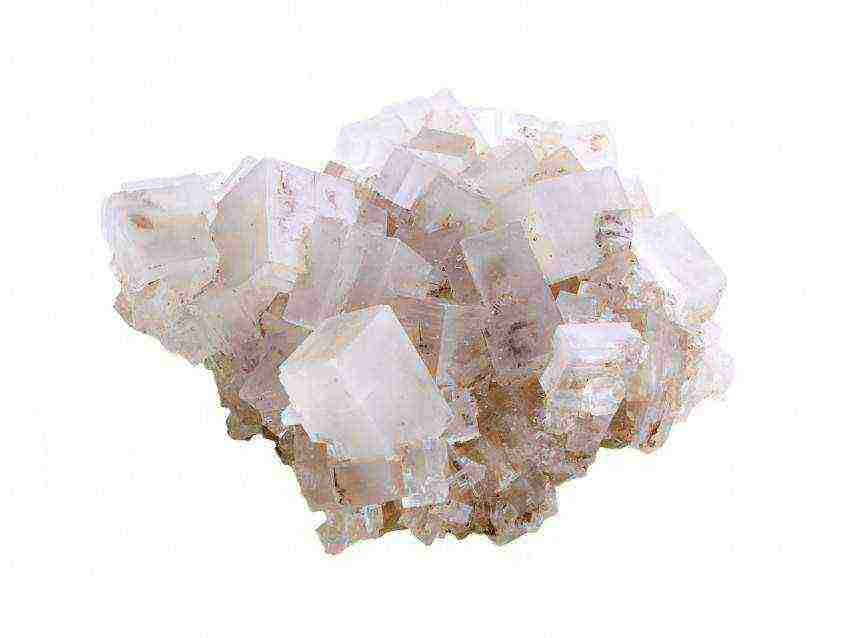
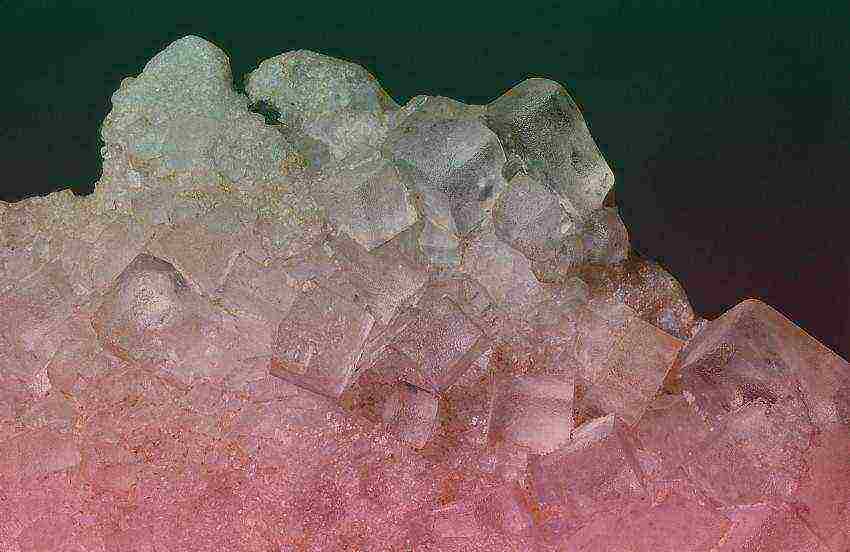
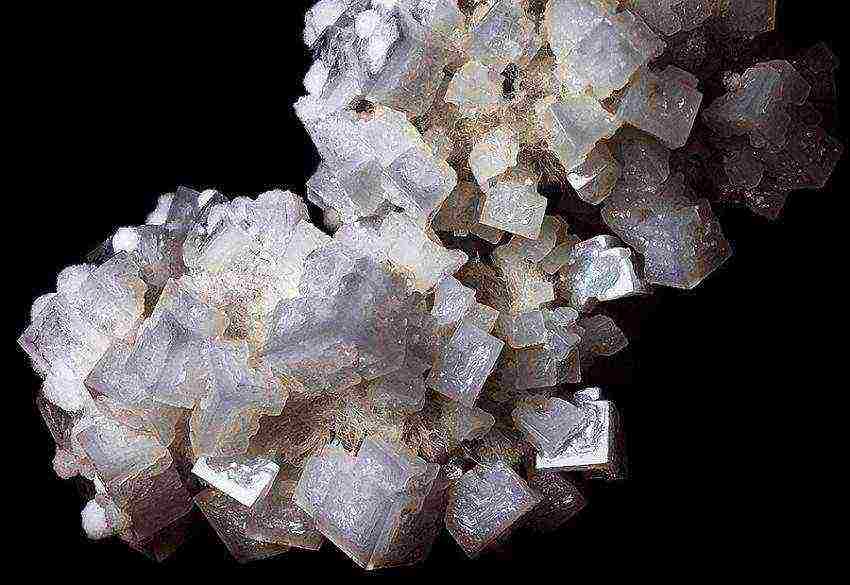
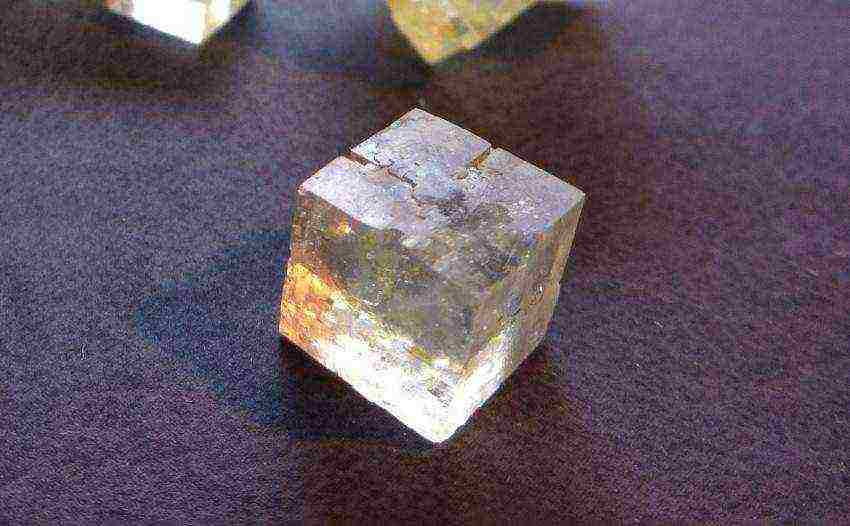
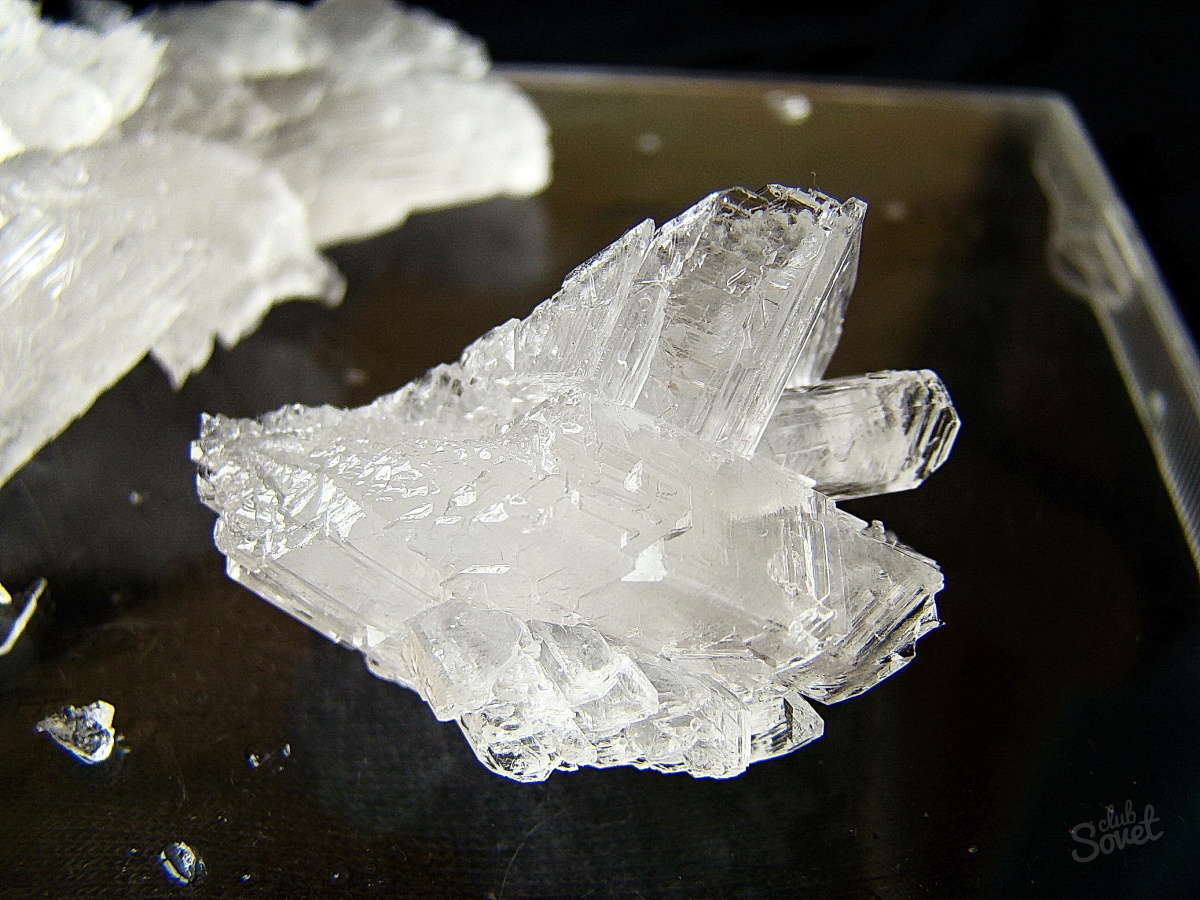
Regular salt crystals should have smooth, large edges.
Natural or artificial colors should not be added. This makes no sense: the salt crystal will still grow colorless.
How to grow a crystal
So, water and salt will act as reagents in the experiment, and the equipment will be:
- two containers (glasses, half-liter cans or not too large pots);
- filter paper;
- thread or hair.
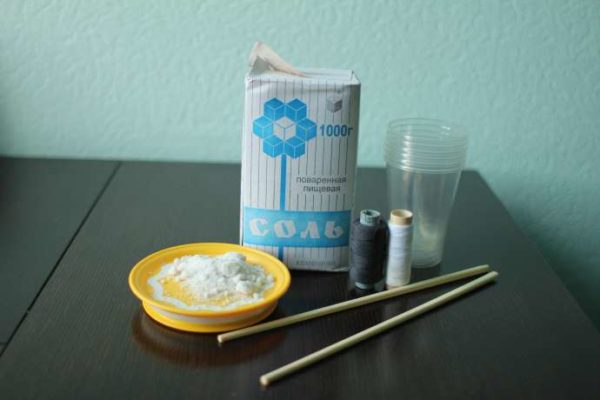
To grow a crystal, you will need salt, water, threads and some kind of container.
Note! Jars or glasses must be absolutely clean.Any speck on their inner surface can become the basis for the growth of additional crystals that interfere with the main one.
Preparation of the solution
- First of all, you need to prepare a saturated saline solution. Pour water into the jar. It is desirable that it be distilled or at least filtered. Fill the container to about 80%, place it in a water bath.
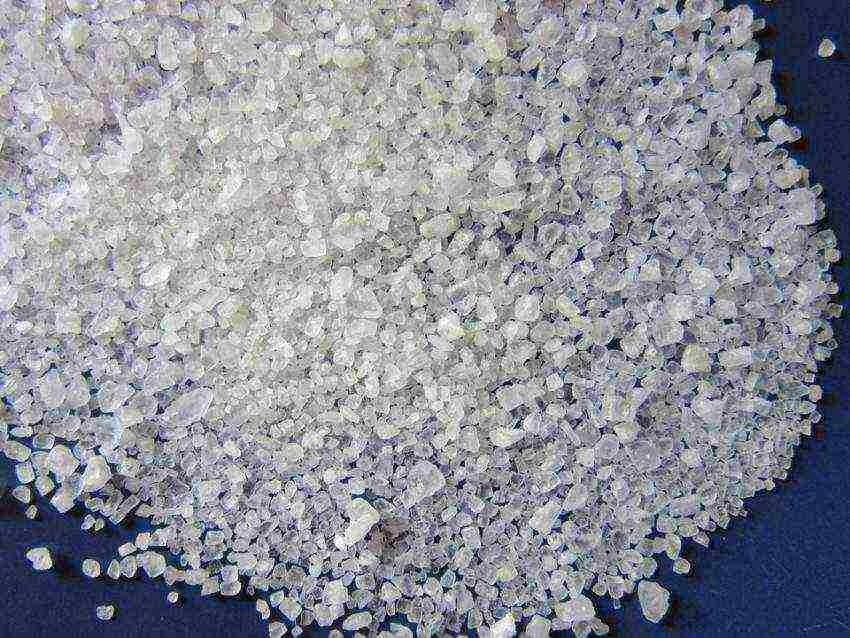
- At this time, add salt to the jar. If you use a cookery, an unpleasant surprise awaits you - various debris that will float to the surface. Gently remove it immediately or pass it through filter paper afterwards. Sea salt is sold, as a rule, pure. Just do not take flavored and colored with various additives, this will greatly harm the process.
- Pour salt with a margin so that the solution is saturated. The recommended proportion is 100 g of product per 150 g of water. Some of the substance must remain at the bottom, because it simply cannot dissolve. Just at this stage, pour the liquid into another jar, at the same time getting rid of small debris and undissolved salt.
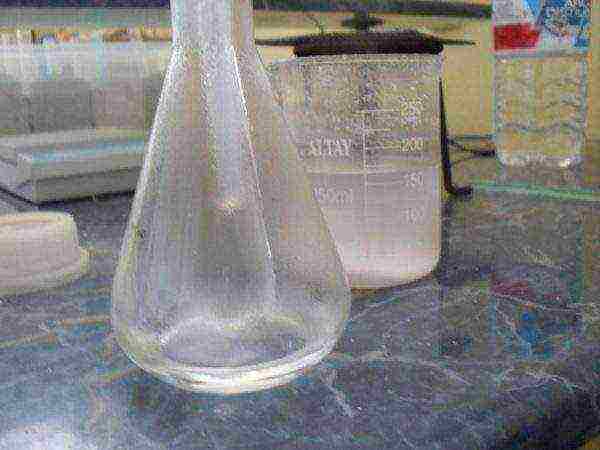
The salt solution must be very saturated
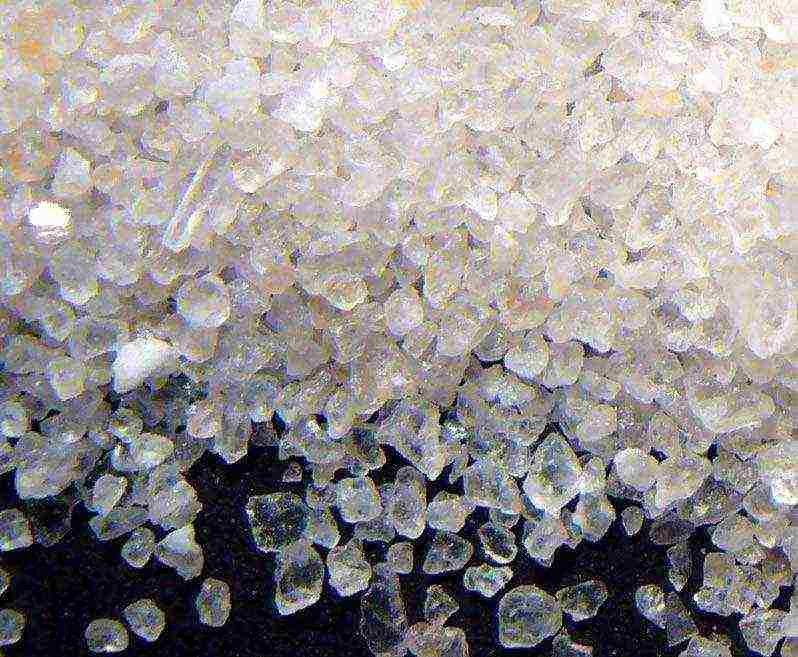
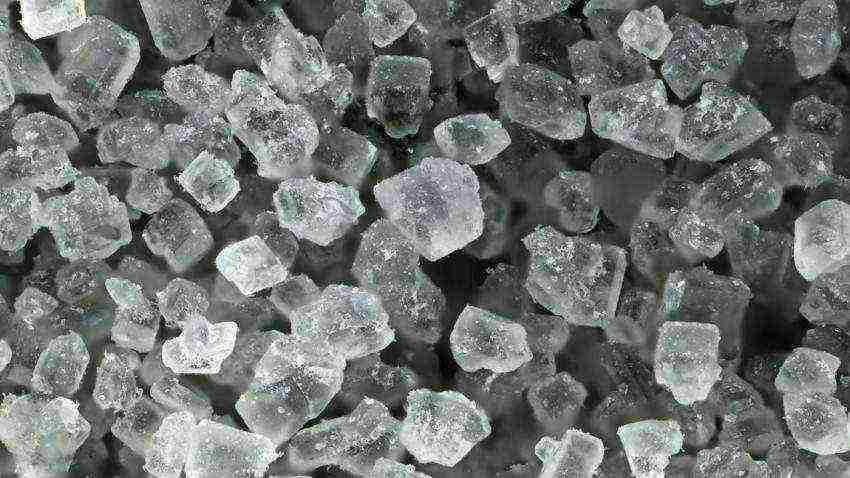
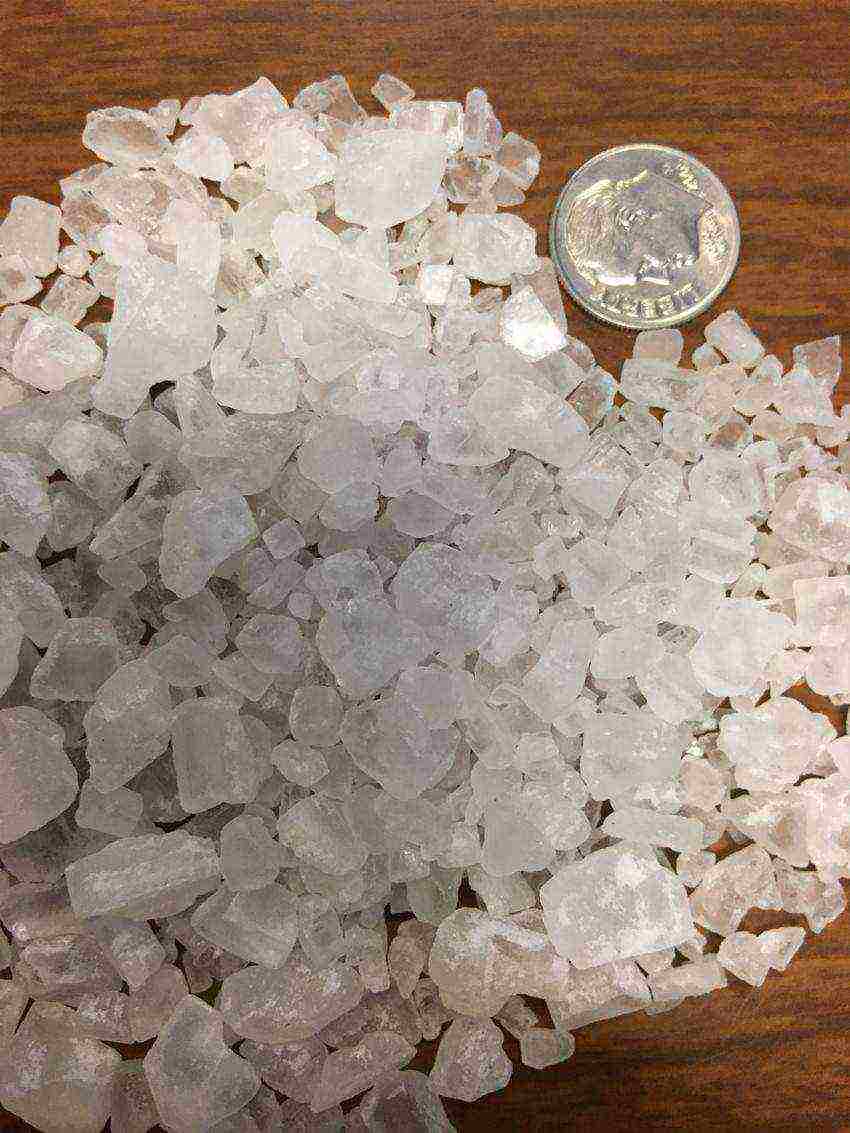
Seed crystal of sea or table salt
Prepare the embryos on which the crystals will grow. They should be large so that you can easily fasten them on a thread.
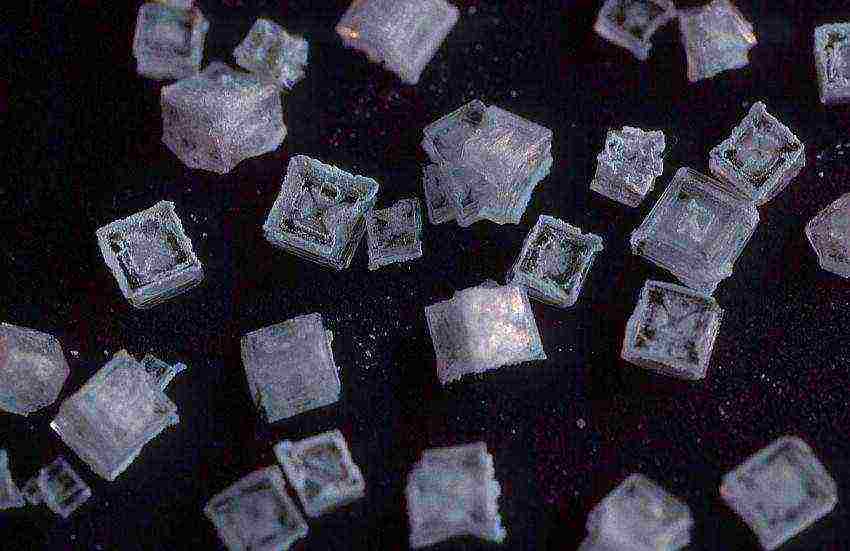
The easiest way to make a selection is in the following way: pour salt into a salt shaker and shake until all small crystals fall out. The ones that didn't go through the holes in the castor and stay inside are fine for our purpose. Choose the largest of them, with a shape close to a rectangle, with a minimum of deviations.

Try to choose the largest and smoothest crystals as the seed for the future crystal
Fix the selected embryo on a thread, and wind it, in turn, on a stick or pencil, so that over time it is easy to adjust the immersion depth.
Growth
The main and longest phase of the experiment begins. In a saturated solution poured into a second jar, immerse the embryos, wrap the container with something warm so that the liquid cools more slowly.
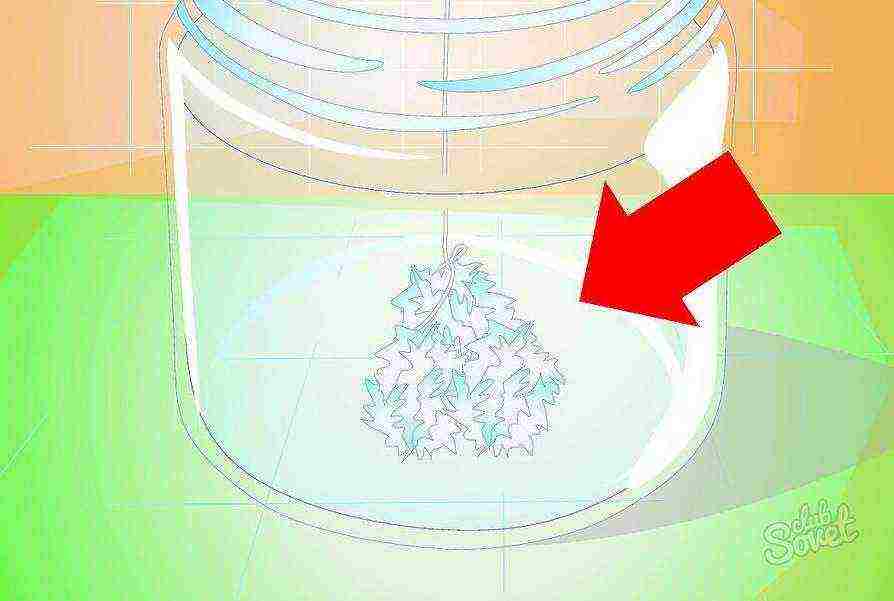
If the solution was sufficiently saturated and clean, the embryos will slightly increase in a day. Otherwise, they will dissolve.
Now cover the top of the jar with paper to avoid debris and dust and leave for 3-4 days. The water will gradually evaporate, and the salt will precipitate, growing on the nucleus and allowing the growth of crystals.
It is at this stage that mistakes made in the preparation process may appear. For example, you may have incorrectly fastened a loop of thread to the crystal, and it will simply grow into the middle. To avoid this, fasten the embryo not in a knot, but in a thread loop, both ends of which are brought out. After the growth process is over, pull the ends of the loop alternately to loosen the grip, and remove the thread.
You can set any shape to the crystal during the growth period
If you want to grow a crystal quickly, then after a few days remove it from the container. Over the past time, it should already increase in size. Prepare a new saturated salt solution and dip the crystal there again. Some experts advise you to simply add the required amount of salt to the jar and mix thoroughly.
How to make a crystal at home (video)
As you can see, growing a crystal is not that difficult. The main thing is to adhere to the technology and follow the recommendations. Despite the fact that this process is not a quick one, in the end you will get beautiful souvenirs that can be used as a decoration or a gift. Let us know in the comments about your experience and the challenges you faced. Good luck!
Good afternoon! My name is Svetlana. This site has become for me not only an additional source of income, but also an opportunity to share my knowledge of housekeeping with you. Rate the article:
(2 votes, average: 5 out of 5)
Growing crystals at home is a very long, laborious and painstaking process, but it is very exciting and definitely worth the time spent.Children love this experience, and most of the methods below are completely safe. So, let's take a look at the main ways to grow crystals at home.
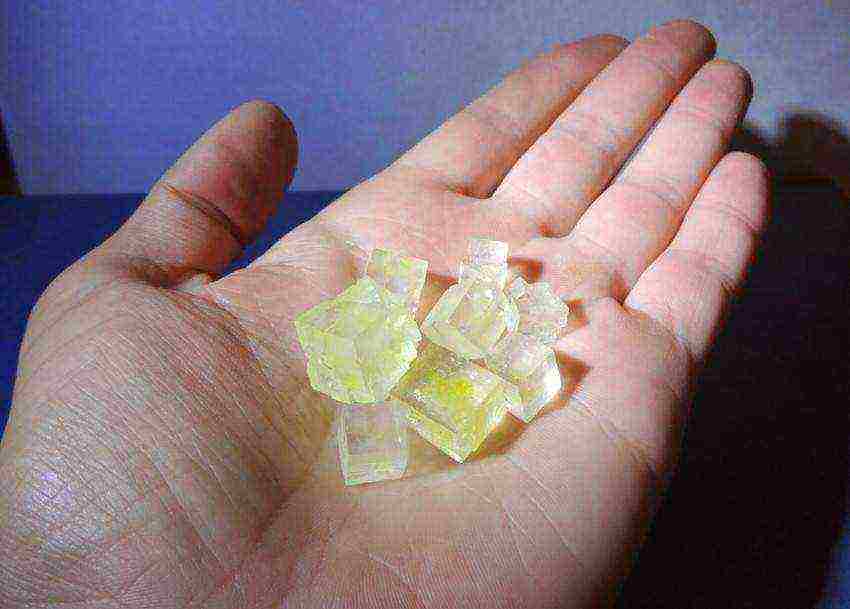
How to grow sugar crystal at home
It is best to start your experiments on growing crystals at home with the most interesting and enjoyable ones. The easiest way is to grow a crystal from sugar, and if you do this experiment with children, they will be able to taste the fruits of their creativity at the end of the process.
In order to grow a crystal from sugar, we will need:
- 2 glasses of water;
- 5 cups granulated sugar;
- wooden skewers;
- paper;
- small saucepan;
- several transparent glasses.
The crystal making process begins with making sugar syrup. To do this, take 1/4 cup of water and two tablespoons of sugar. Mix, bring on fire until syrup is obtained. Dip a wooden skewer in syrup and sprinkle with sugar a little. The more evenly the sprinkling of the skewer occurs, the more ideal and beautiful the crystal will be. Similarly, we make the required number of blanks and leave them to dry completely, for example, overnight.
Some time has passed, our skewers have dried up and now we can move on to the next part of the experiment. Pour 2 cups of water into a saucepan and pour 2.5 cups of sugar. Over low heat, stirring constantly, we turn our mixture into sugar syrup. Stirring must be carried out thoroughly until the sugar is completely dissolved! Add the remaining 2.5 cups of sugar and also, until completely dissolved, cook the syrup. After that, leave the syrup to cool slightly, this will take about 15-20 minutes. In the meantime, we continue to prepare blanks from skewers, the basis for our future crystal. We cut paper circles slightly larger than the diameter of our glasses and pierce the resulting circles with chopsticks. The main thing is that the paper is firmly fixed on the skewer. The paper will act as the holder and lid for the glass.
Pour the cooled, but still hot syrup into glasses. At this stage, you can add a little food coloring to the syrup, then the crystal will eventually turn out to be colored. We lower our blank (stick with a circle of paper) into a glass and leave it alone until the crystal ripens. It is important not to touch the walls and bottom! Well, we do the same with all the remaining blanks.
It will take about a week to grow the crystal. This is a very interesting and exciting process that children really like. Every day the crystal grows and takes on its individual shape. Some crystals grow faster, some slower, but the bulk matures in just 7 days. The resulting crystal from sugar is very good for the whole family to use at home tea, or just gnaw in moments of melancholy! So, entertaining chemistry is not only interesting, but also delicious;).
How to grow salt crystal at home
Growing a crystal from salt at home is a fairly simple process, but it requires patience and care. However, the result of the experiment exceeds all expectations. We need:
- pure water;
- pan;
- 2 glass jars;
- salt;
- strong thread.
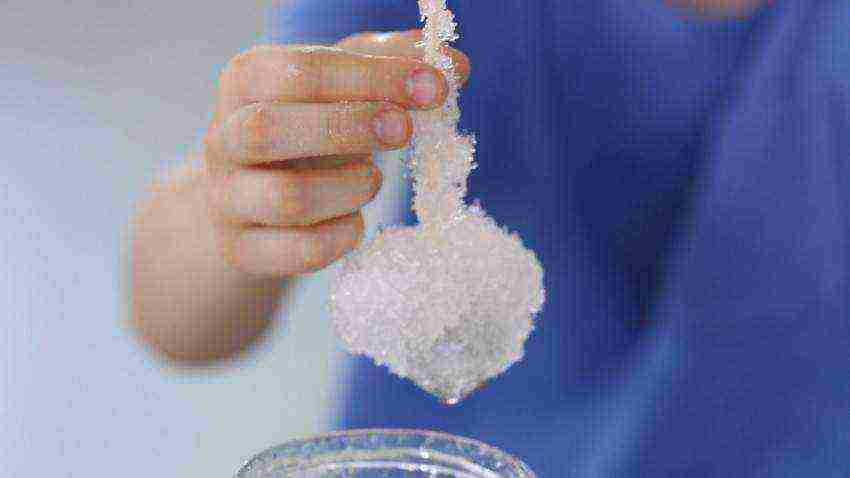
We heat water in a saucepan, we heat it very much, and do not bring it to a boil, the experiment will not work in boiling water. After heating the water, little by little, we begin to pour salt into it, stirring constantly until the portion of salt is completely dissolved. After that, add more salt, stir until dissolved. And so on until the salt stops dissolving. Pour the resulting saturated saline solution into a jar and let it stand well for a day. The next day we will see many small crystals of settled salt in the bank. We choose the most beautiful and largest of them, carefully take out and tie on a thread.We carefully pour the solution into an empty jar, making sure that the settled crystals do not fall into the new vessel. Then we dip the crystal on the thread into the filtered saline solution and be patient. After 2-3 days, you will notice an increase in the crystal, this growth will continue for some time until the end of growth. After you notice that the crystal has stopped growing, you can either end the experiment if you are happy with the result, or prepare another saturated saline solution, as we did above, and lower our crystal there. By the way, if you often change the salt solution, the crystal growth will be faster.
It is very important not to specially cool the solution and not to shake it, in this case, crystals of an imperfect shape are obtained. Also, do not add any dyes, the crystal will not be colored, and the experiment will be ruined.
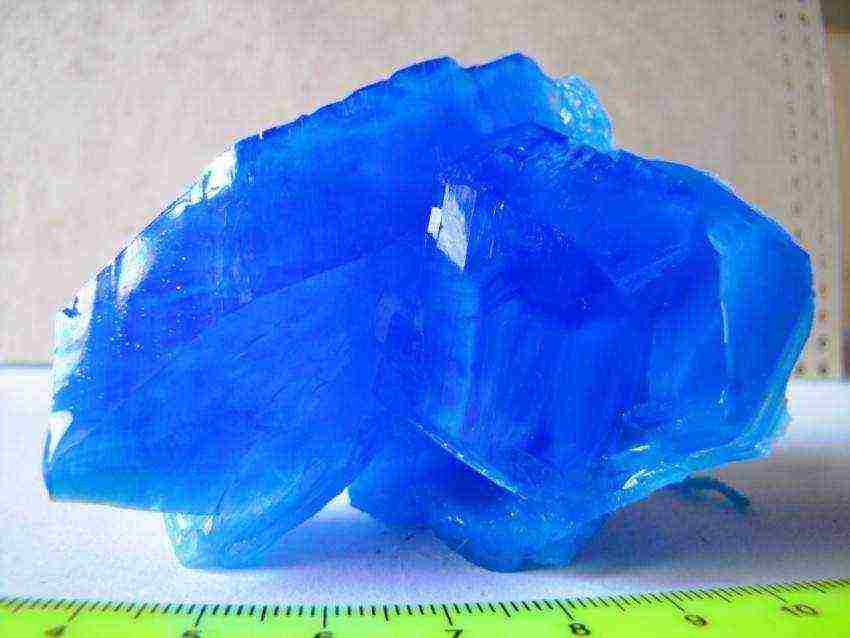
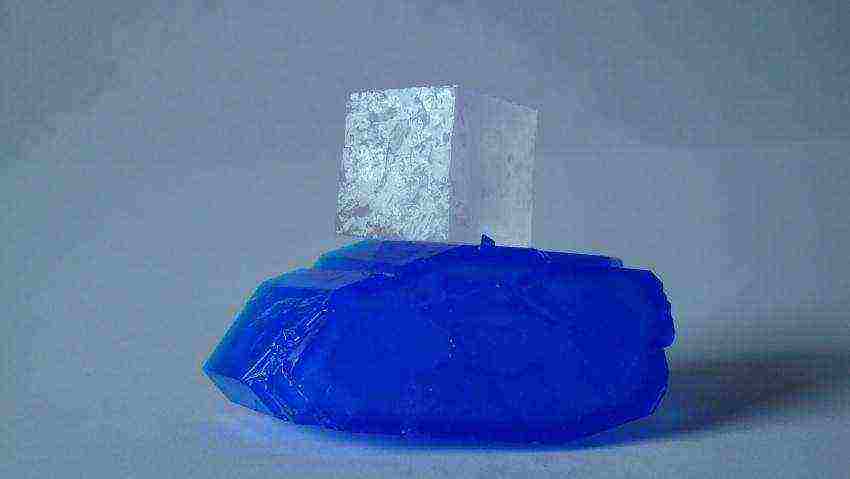
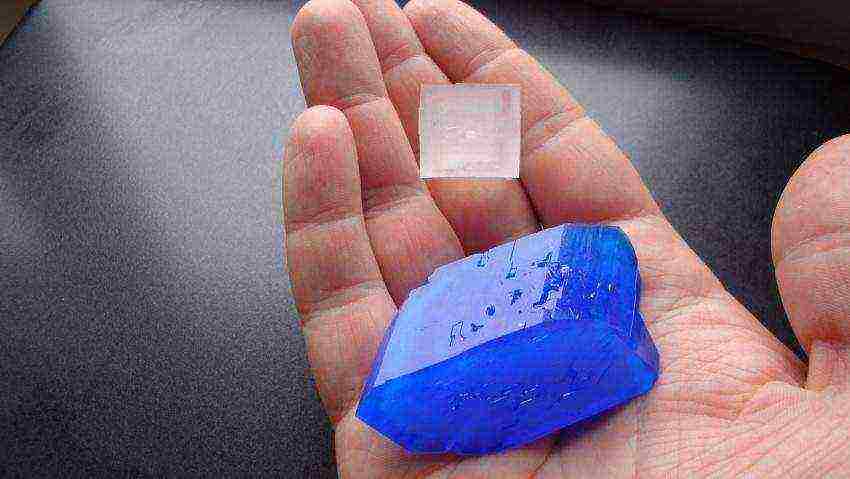
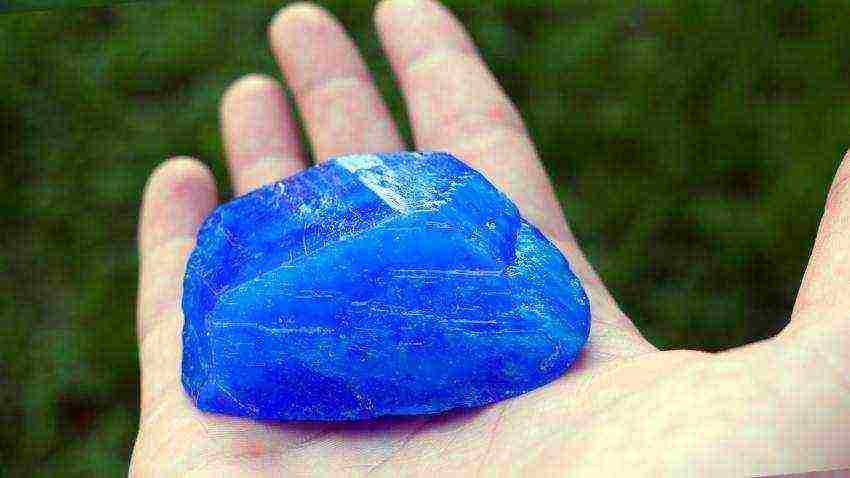
How to grow a copper sulfate crystal at home
Growing crystals from copper sulfate at home is already the next level of complexity, in which you need to comply with safety requirements and can only be performed by children under the supervision of adults.
To conduct the experiment, we need:
- water, better distilled;
- glass jar;
- copper salt (copper sulfate or copper sulfate, which can be purchased at a gardening store).
Before buying, be sure to consider the substance, it should be a bright blue homogeneous powder. If there are lumps and green blotches, it is better to refuse the purchase. For summer residents, he will go to the farm, but for us, novice chemists, no.
So, the correct vitriol has been purchased. Pour about 100 grams of powder into a glass jar and fill it with hot water little by little, stirring constantly. We must get a saturated solution in which the copper salt can no longer dissolve. We filter the solution and put it in the refrigerator. The next day, at the bottom, we will find many crystals. We select a couple of the largest and most beautiful ones and place them in a container with a filtered solution. Before that, we act with crystals in the same way as in the previous experiment with table salt, namely, we fix them on a thread and put them in a jar. We cover the vessel with thin paper and be patient. Growing a crystal from copper sulfate takes several weeks. After completing the formation of the crystal, it must be carefully removed, rinsed with cold running water and covered with colorless nail polish.
Regular table salt can be turned into an interesting art object, the creation process of which will be exciting for children and adults. Do not miss a unique opportunity, without leaving your home, to observe one of the natural phenomena - the formation of crystals.
Necessary tools and materials
We carefully prepare everything you need to grow a crystal from salt. Everyone in the house will always have everything they need for this job. It is noticed that a larger crystal grows in a larger container, but in this case a lot of salt will be needed:
- We take coarse and clean table salt. Impurities in it are not permissible, as they will interfere with the formation of crystals of the correct shape. Sea salt can be used despite its complex chemical composition.
- It is better to use filtered or distilled water.
- 2 containers: made of glass to observe the process and to heat water on a fire.
- Stick (pencil, ruler, etc.).
- A thread or thin copper wire.
- Funnel.
- Filter paper (gauze, cotton wool) is used to filter the solution.
- Napkins.
Preparation for growing
The higher the temperature, the more the substance dissolves in water. A seed is added to the resulting supersaturated solution, and upon cooling, the molecules adhere to it.Growth begins, depending on how much substance is dissolved at high temperature and how much "precipitated" when it decreases, for example: 2 g sodium chlorine compared to 50 g of copper sulfate.

Unlike other substances, the solubility of table salt is very high, upon cooling, the adhesion of the substance is minimal, but over time, more and more molecules join and the salt objects increase in size.
The instructions on how to make crystals from salt are quite simple and not difficult. We bring the water to 80-90 oC, remove it from the stove. Gradually add salt (38 g per 100 g of water), constantly stirring, until it dissolves more.
A supersaturated solution is obtained, the salt from which will easily crystallize when it is cooled. Lowering the temperature slowly gives the best result.

Put filter paper into the funnel and pour the contents into a glass container after 30-60 minutes. As a result, we remove all small crystals that can interfere with the main process, and get rid of impurities.
We make a notch on the stick for a more stable attachment. We tie one end of the thread (wire) to the notch. At the other end, we tie a knot or hang any small object on which molecules will grow.

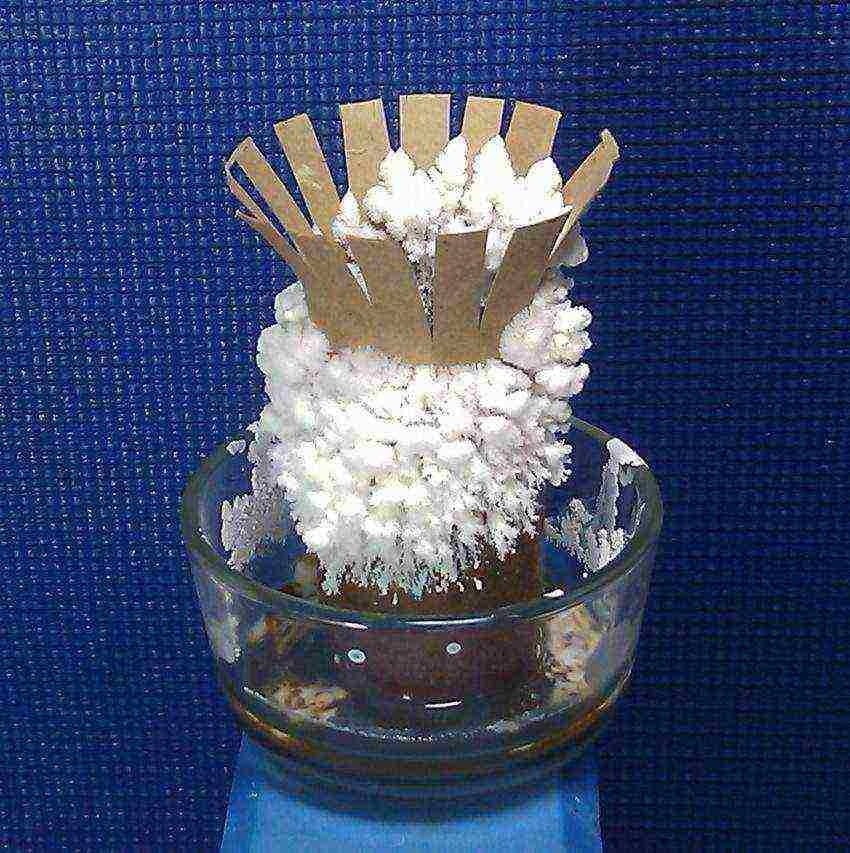
We lower the thread into the middle of the container. Wire can be used to make complex shapes that will become overgrown with crystals. In the photo of the salt crystals, a variety of different shapes can be seen, depending on the matrix seed.
Crystallization process
Cover the jar with a napkin on top: no foreign matter should get into the water solution. We place it in a permanent place without temperature changes and try not to move or shake it. Maintaining the same level in the liquid, periodically carefully add a saturated solution of sodium chlorine.
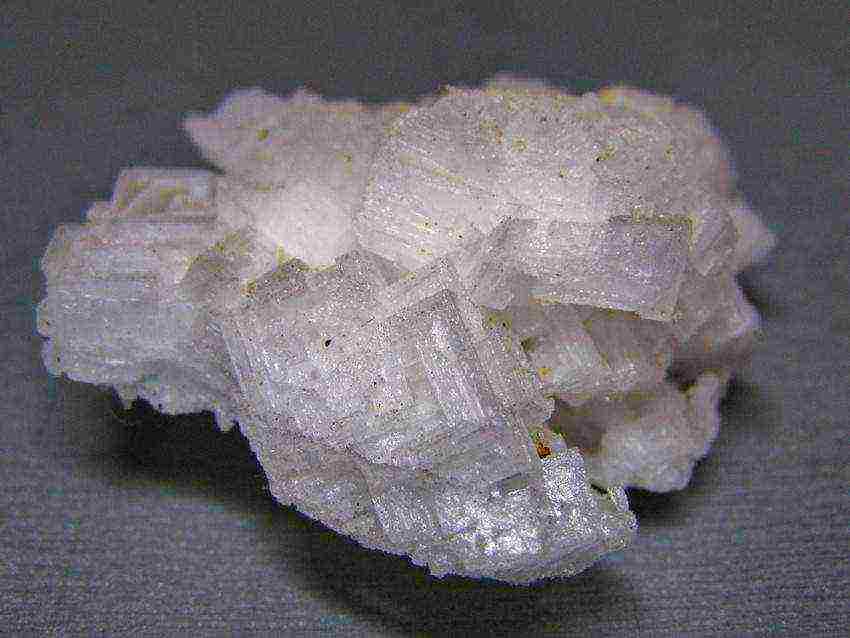
Soon, visible shifts are observed and after a month a small polycrystal can be seen. The longer it is in solution, the larger it becomes.
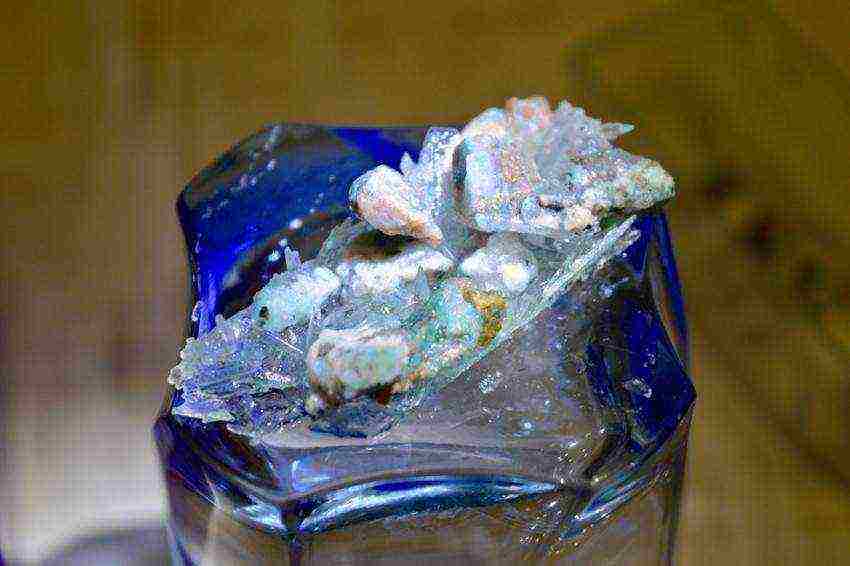
Crystallization occurs more intensively at the air-water interface. Variations in the movement of such a seed makes it possible to obtain salt "products" quickly enough.

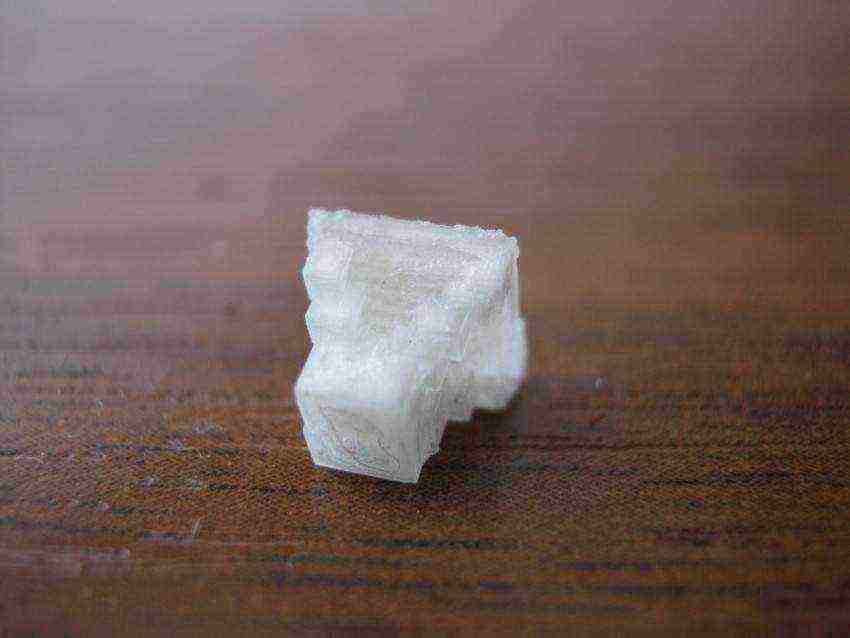
How to make a single crystal from salt? Is it possible to? Experts say that a crystal close to the natural rectangular shape can be obtained quite simply.
In a bag of table salt, select a large crystal and put it on the bottom of the prepared saline solution. Sea salt, as a larger one, is even more suitable for these purposes. To speed up the process, it is transferred to a new saturated solution after a few days. They monitor the shape and periodically scrape off excess adhesion, trying to keep the shape.
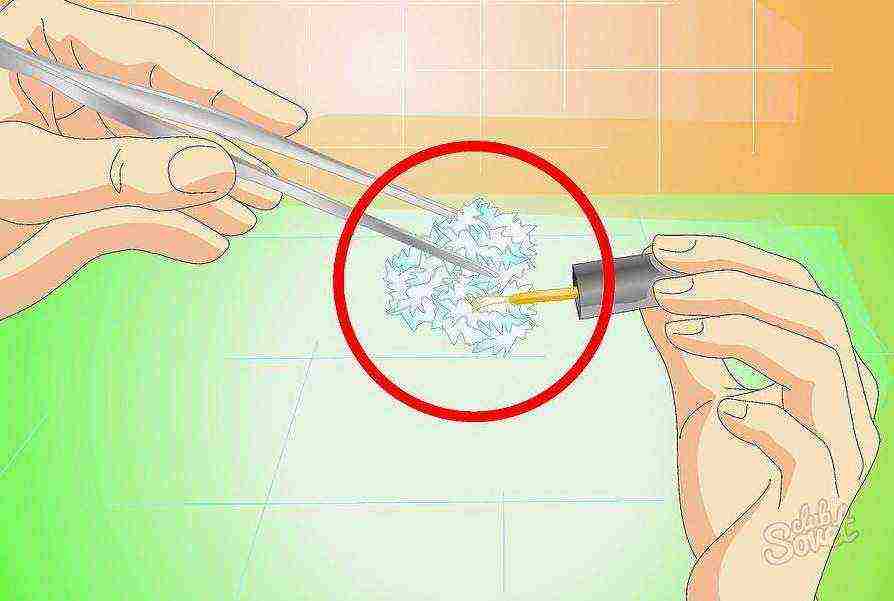
A single crystal can be seen much faster: individual tiny crystals appear at the border of air and water in the jar. They are transparent, of the correct shape, and are clearly visible under a magnifying glass.
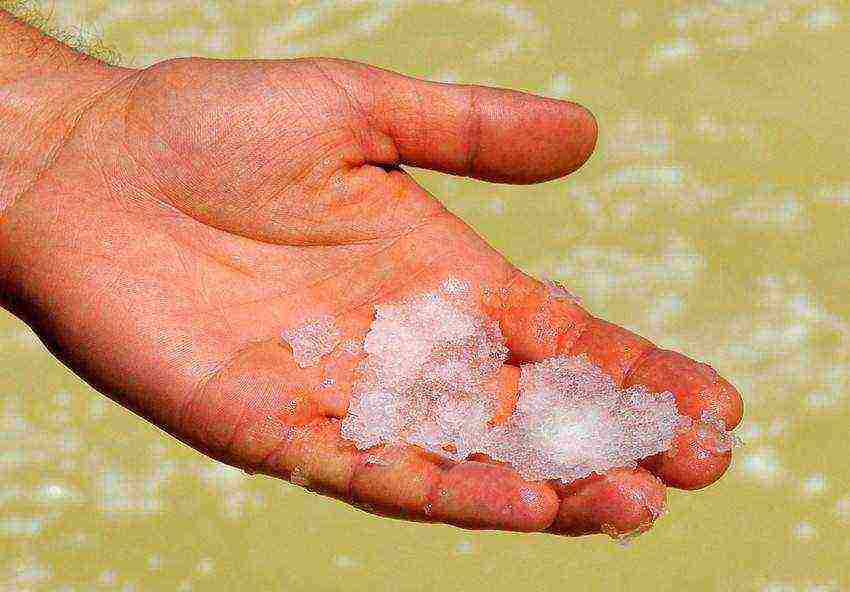
Staining and storage
The crystals obtained are dried and covered with a colorless varnish for better preservation. They are painted with varnishes of different colors.
They will look aesthetically pleasing on a special podium, while protecting them from destruction. No dyes are added to the saline solution, since they can only interfere with crystal formation.

The question is often asked: "Is it possible to get a crystal from salt in 1 day?" Hopefully, in the above, the answer has already been received. However, experiment, try, but remember how much time nature spends on growing its miracle!
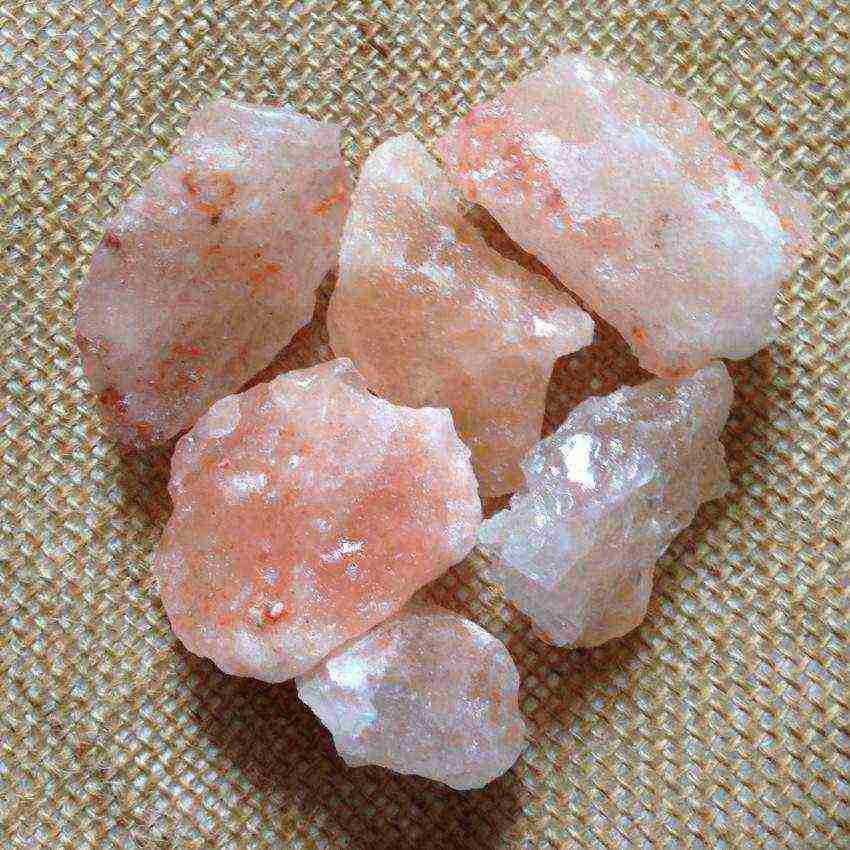
Photo of crystals from salt