Content
- 1 Home Crystallization Kits
- 2 Complete set of kits for young chemists
- 3 "Magic Crystals": instructions for growing at home
- 4 What to do with the grown crystal?
- 5 Safety in crystallization experiments
- 6 Price of crystallization kits at home
- 7 Reviews about "Magic Crystals"
- 8 Can I grow a crystal without a special kit?
- 9 Preparatory activities
- 10 Crystal Growing Instructions
- 11 How to grow a crystal from copper sulfate at home (video)
- 12 1 How to grow a crystal from salt - preparation of the tool and material
- 13 2 How to grow a crystal from salt with many facets
Every talented teacher knows that in order to teach a child something new, he must be interested. Today on sale you can find ready-made kits for creativity and entertaining experiences that can not only arouse interest in a child, but also keep him for a long time. Try to grow "magic" crystals at home - this experiment will bring a lot of pleasure not only to children, but also to their parents.
Home Crystallization Kits
Our parents did the experiment on growing crystals at school. Today, ready-made kits for carrying out such an experiment can be found on sale. What are their advantages?
Using a ready-made set, a child can not only grow "magic" crystals on their own. On sale you can find curly bases for crystallization, beautiful coasters, as well as a set of personal protective equipment for a young chemist. Often, the kit also contains a memo with a scientific explanation of the experiments and questions to test the knowledge acquired.
Complete set of kits for young chemists
Each set of "Magic Crystals" contains reagents for chemical experiments and the base on which they will be grown. Also, the package may contain a container for growing and sticks for stirring the solution. Expensive sets are sometimes also completed with an apron, gloves and glasses. These means of protection for the young experimenter are intended, of course, only to create an entourage. The crystal growing experience is completely safe.
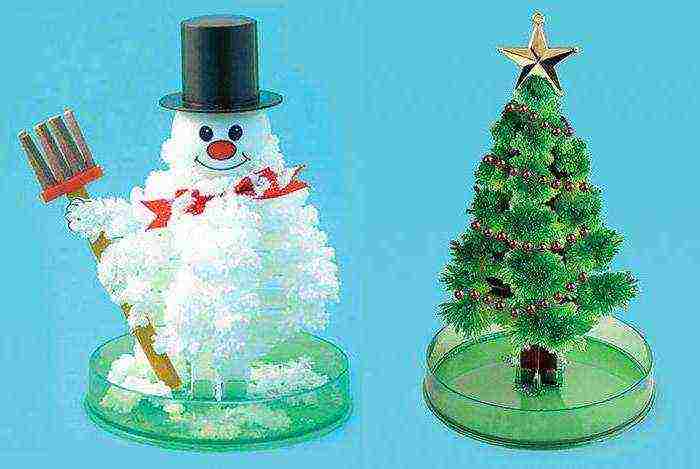
On sale you can find sets with pebble or curly bases. For example, the option "Magic Crystals: Herringbone" looks very interesting. In this set, the whole process takes place on a base made in the form of a Christmas tree. As a result of the experiment, an interesting craft is obtained - a herringbone consisting of greenish crystals.
"Magic Crystals": instructions for growing at home
Before starting your entertaining exploration, read carefully the instructions for using all the components of the selected set. The standard work plan is as follows:
- Place the crystallization base in a growing container.
- Fill in hot water with the appropriate reagent.
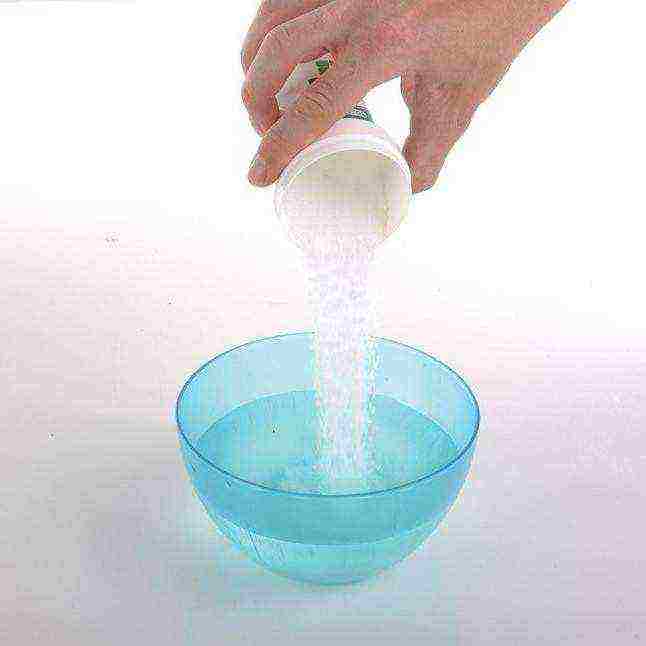
- Now powder can be added to the resulting solution for crystallization. It should be poured so much that undissolved grains remain. As soon as the active substance has ceased to dissolve, you have a saturated solution. In this case, you should have a few grains of the reagent.
- Then, pour the solution into a growing container so that the liquid completely hides the base. In this case, the sediment should remain in the original container.
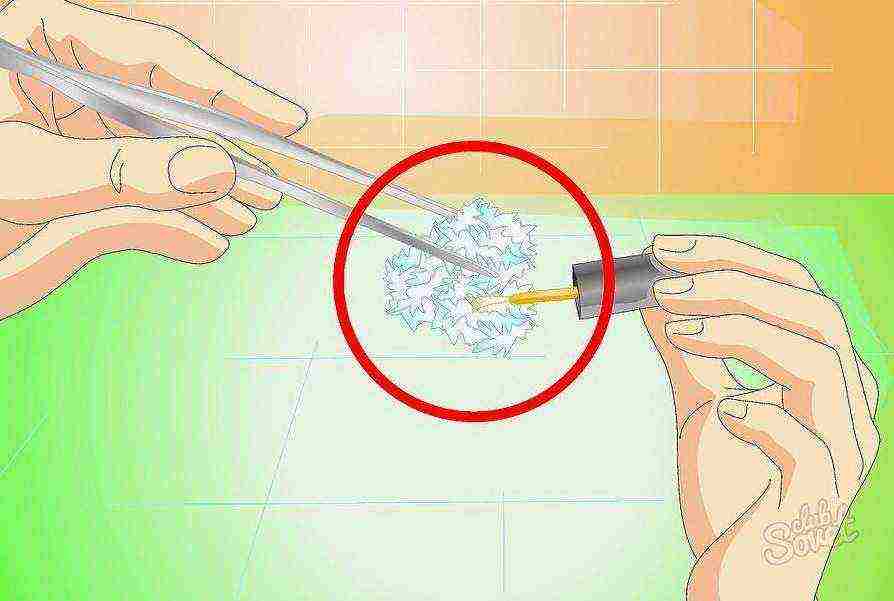
- Next, drop the remaining reagent grains onto the crystallization bases. These are the "seeds" from which your "magic" crystals will grow.
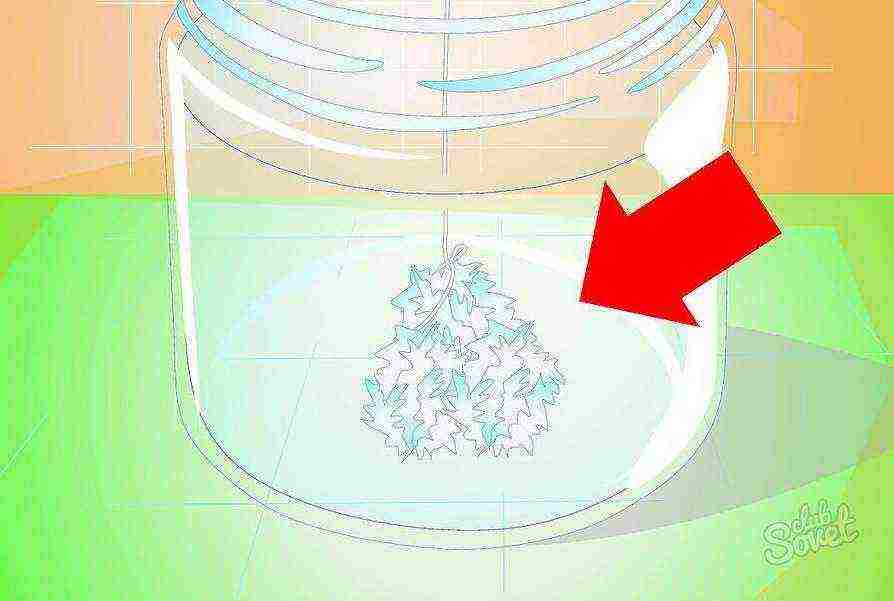
If, when pouring the solution, individual crystals surfaced on its surface, remove them immediately.Now all that remains is to remove the container to a safe place and leave it for a while. Cover the top with a piece of paper if the kit does not have a cover.
Crystal growth will begin almost immediately. Remember to keep an eye on the container. It is necessary to drain the solution as soon as one of the crystals appears on the surface. After that, you need to pull them all out and dry them for a day.
What to do with the grown crystal?
The experiment can be considered complete as soon as the crystallization process is over. What to do with ready-made "magic" crystals? The instructions in the kit usually do not answer this question.
If you follow the instructions, the crystal will be beautiful and interesting. It can be simply kept as a keepsake or used in some kind of craft. Crystallization on a figured base looks especially interesting. The finished product does not need additional decor and in itself looks interesting and unusual.
Safety in crystallization experiments
The instructions for the crystal growing kit usually say that children under 14 lei should be supervised to conduct the experiment. Follow this simple rule, and the experience will only bring you positive emotions.
The reagents included in the kit are safe. But, of course, they cannot be tasted, and if they come into contact with the skin, they should be washed off immediately with water. Ready-made crystals are also completely safe, they are strong enough, you can take them in your hands. Just try to avoid contact with water - liquid can ruin the result of your experience.
Price of crystallization kits at home
Now let's calculate how much it costs to grow a crystal at home. The cost of small sets designed for growing small elements is usually 150-200 rubles. Interesting sets, which include additional elements and curly bases, may have a higher price. For example, "Magic tree" (crystals grow here on the branches of the base) costs from 250 rubles.
Choose sets of your choice. If you wish, you can grow a whole collection of crystals of various shapes and colors with your own hands. The most important thing is to carefully study the instructions, since the kits may differ slightly from different manufacturers in terms of configuration.
Reviews about "Magic Crystals"
Crystallization kits hit store shelves a few years ago. During this time, many of our compatriots tried to grow a crystal at home. A large number of customers loved this interesting and entertaining experience.
Kits "Magic Crystals" have positive reviews. This is a great way to visualize chemical reactions to your child. Every parent knows that sometimes it is not at all easy to direct the child's energy in the right direction and to really captivate with something. And growing crystals is not only an interesting experiment, but also a real hobby for the whole family.
Although among the buyers of the described sets there are those who remained dissatisfied. It so happens that sometimes the crystals just don't start growing. There may be two reasons - non-observance of the rules for conducting the experiment or the manufacturer's defect (for example, incorrect packaging with reagents).
Can I grow a crystal without a special kit?
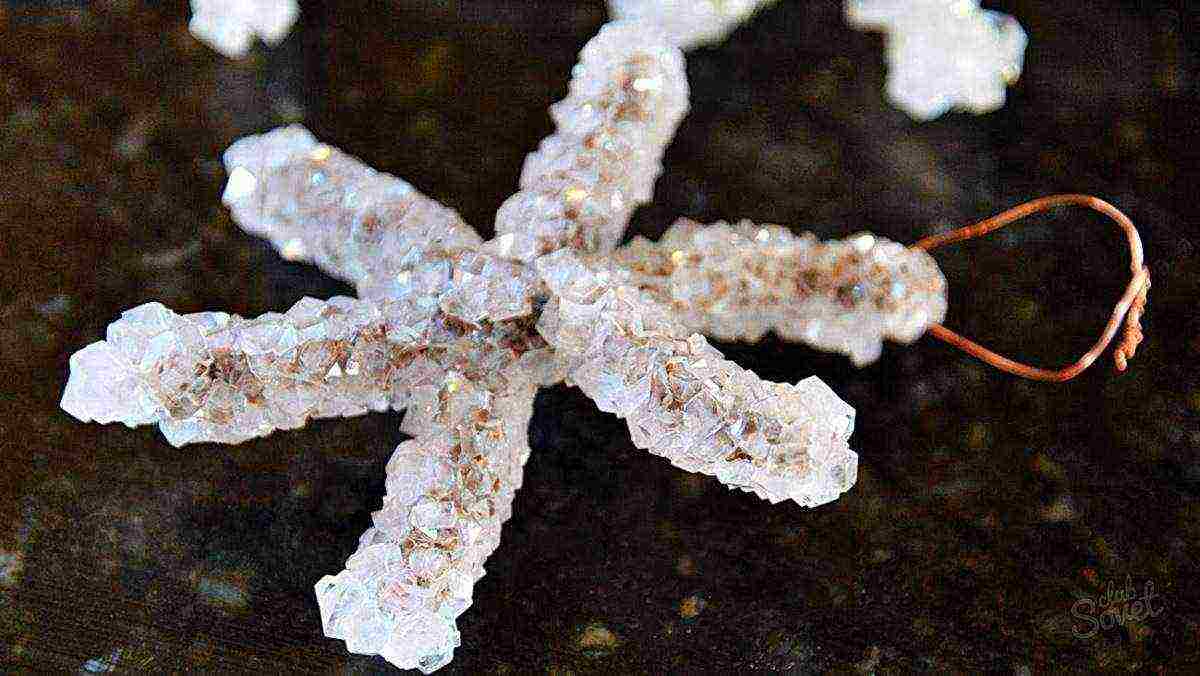
It is possible to carry out a crystallization experiment at home without any special substances and devices. For such an experiment, you will need ordinary table salt. Dilute the saturated solution by adding at least 2 tablespoons of the selected substance to 200 grams of hot water. Throw a small pebble into the liquid, leave the container in a cool place for a week. As a result, you get a base covered with salt crystals. It can be carefully removed from the solution and dried on a paper towel.
However, keep in mind that salt crystals are quite brittle. The value of this experience lies in the process itself.If you want to keep something as a keepsake, it makes sense to purchase a ready-made set of "Magic Crystals". Using real reagents and handy gadgets, you will be able to observe an entertaining chemical process. As a result, you get beautiful multi-colored crystals with good transparency and strength.
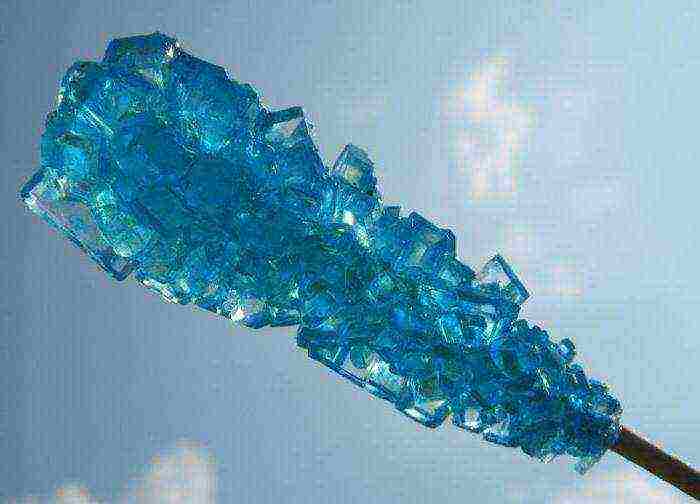
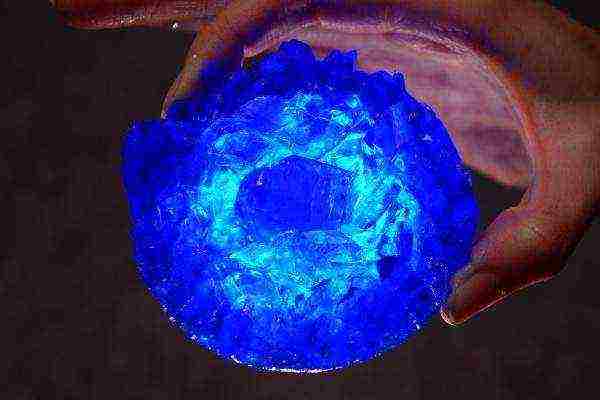
Copper sulfate is a substance that, due to its beautiful bright blue color, is ideal for growing crystals. They can be presented to your loved ones or used as a decorative element. In any case, they will not leave anyone indifferent, and the manufacturing process can become truly exciting. So, how to grow a crystal from copper sulfate?
Preparatory activities
Copper sulfate can be purchased at almost any hardware store. It is actively used in agriculture for pest control. However, one should not forget that this substance is toxic. When working with copper sulfate at home, be sure to use rubber gloves and do not allow it to enter the esophagus and mucous membranes. After finishing work, wash your hands thoroughly in running water.
A real miracle can be grown from copper sulfate, but during the manufacturing process, do not forget about safety precautions
In order to make a crystal, you will need:
- water - if possible, use distilled or, in extreme cases, boiled. Raw tap water is categorically unsuitable due to the content of chlorides in it, which will react with the solution and worsen its quality;
- copper sulfate;
- Cup;
- wire;
- wool thread - make sure it is thin. Long hair can be used. Copper sulfate crystals are transparent, and the thread should not be visible through them.
When placing the seed in a container with a solution, make sure that it does not come into contact with the walls or the bottom of the container. This can disrupt the crystal growth process and its structure.
Crystal Growing Instructions
There are two technologies for growing crystals from copper sulfate.
- If you don't want to wait long, you can use the fast method. It will take about a week in time, and as a result, you will get many small crystals, fixed one on top of the other, like a colony of mussel shells.
- The second method is longer. It will help you grow a large, solid, gem-like crystal.
But both of them are based on working with a saturated solution of a substance.
Note! The higher the water temperature, the faster copper sulfate dissolves in it. But when the liquid reaches + 80C °, subsequent heating does not affect the solubility of salts in any way.
Fast way
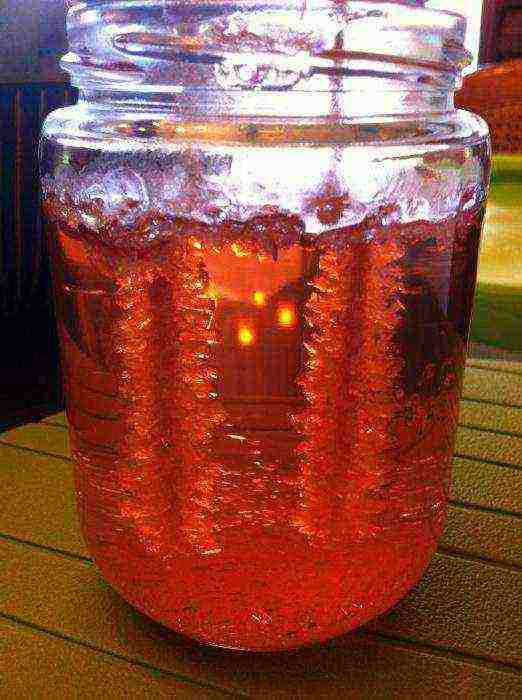
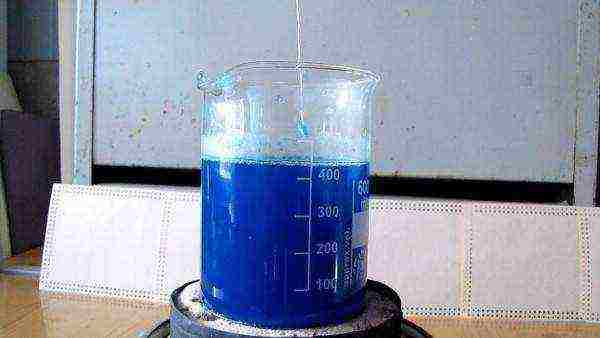
- Take a 500 ml glass or jar, add 200 g of copper sulfate and fill them with 300 ml of water. Place the container in a sand bath and start heating, stirring constantly. Copper sulfate crystals must completely dissolve.
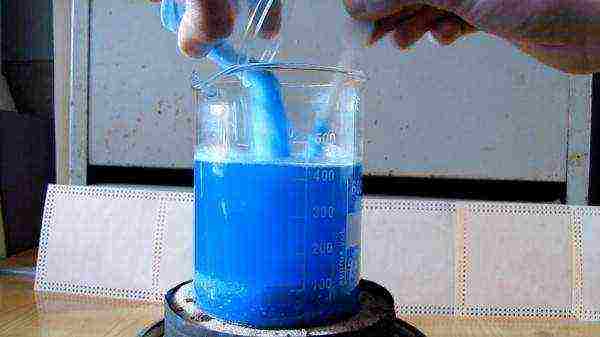
Dissolve copper sulfate thoroughly in warm water
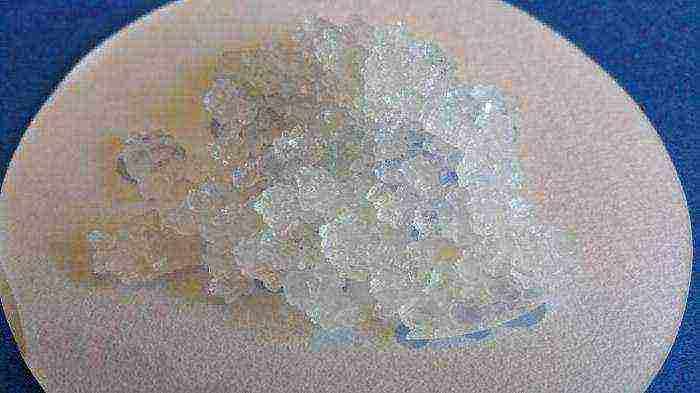
- Remove the dishes from the sand bath, place them on a cool surface, such as ceramic tiles. The solution should cool slightly. Now you need to place a seed in it. It will serve as a crystal of copper sulfate, which must be selected in advance - the largest and evenest.
Place the seed in the solution
- Make sure that the seed does not come into contact with the inside of the glass. Even if the crystal dissolves, don't worry - it doesn't matter. When cooled, the saturated solution gives off salts that settle on the thread. The largest amount of vitriol will concentrate on the bottom of the dishes, since it is in this place that the glass contacts the cool surface.
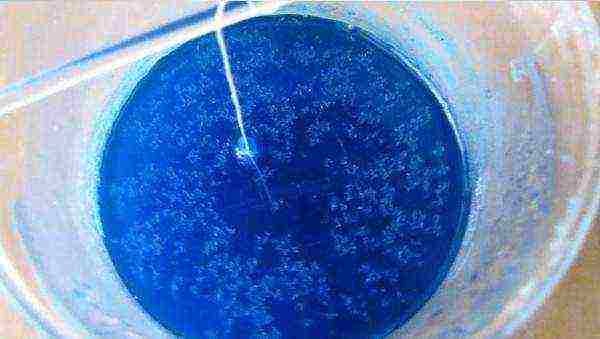
A saturated solution of vitriol will begin to form crystals on surfaces
- Remove the thread with the crystals formed from the container with the solution.Repeat the procedure: place the glass in a sand bath and heat so that the precipitate dissolves. Turn off heating. Without removing the dishes from the bath, cover it with a lid of a suitable diameter (for example, a petri dish) and let the solution cool slightly.
Thread with the first crystals
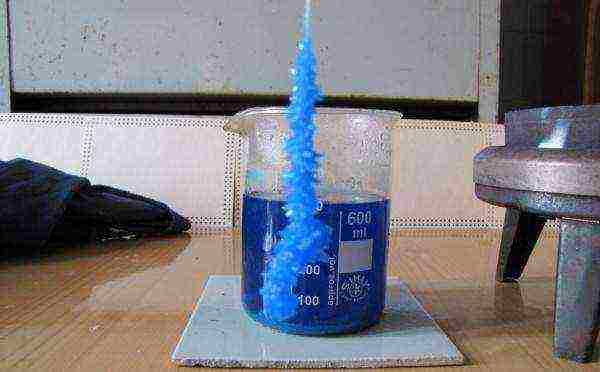
- Place the string with crystals in the solution, secure it so that it does not come into contact with the bottom and walls. Cover the container and leave overnight. In the morning you will find in a glass a large cluster of beautiful crystals of an unusual shape.
You can get such a crystal in a day.
- You can try to shape the cluster of crystals. To do this, you need to use wire instead of thread.... Bend it into a square, circle, heart, or star. The wire will become a strong stable frame for the future shaped crystal. If at the same time you need to limit the growth of some of the edges, lubricate them with petroleum jelly or grease.
By growing copper sulfate crystals quickly, you don't have to worry about seeding: you can do without it altogether. The sediment will easily fix on the thread.
Second way
In this case, you can grow a large crystal of copper sulfate, but it will take much longer. In addition, unlike the first method, the choice of the seed is fundamentally important. In addition, you will have to make sure that small crystals do not stick to it.
The larger and smoother the crystal of copper sulfate selected from the total mass, the more beautiful the final product will be.
You will need 200 g of warm water and about 110 g of copper sulfate.
Manufacturing instruction:
- mix vitriol and water in a suitable container (glass or jar), leave for a day. Stir occasionally: the active substance should completely dissolve. After that, filter the solution through cotton wool or special filter paper. The sediment remaining on the surface of the filter can be dried and used again if necessary;
- pour the resulting solution into a clean container;
- select a crystal for a seed, tie it to a thread (hair). Fix the other end of the thread on a stick, put it horizontally on the container. The seed should sink into the solution in a strictly vertical position. Cover the dishes with a piece of cloth so that dust does not get inside;
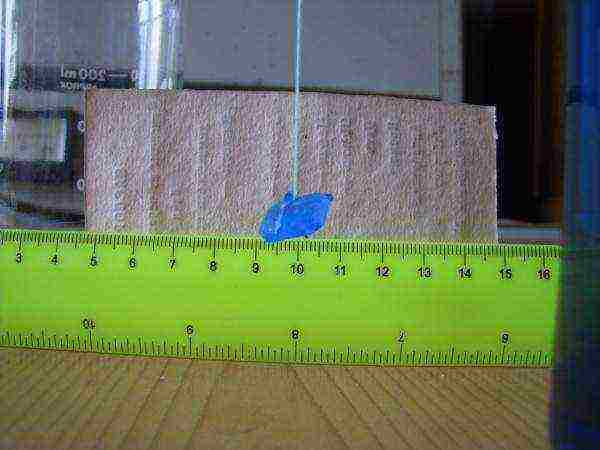
Copper sulphate crystal suitable for seeding
- after a few days you will notice that the crystal is growing. After a week, it will reach 1 cm, and over time it will increase even more;
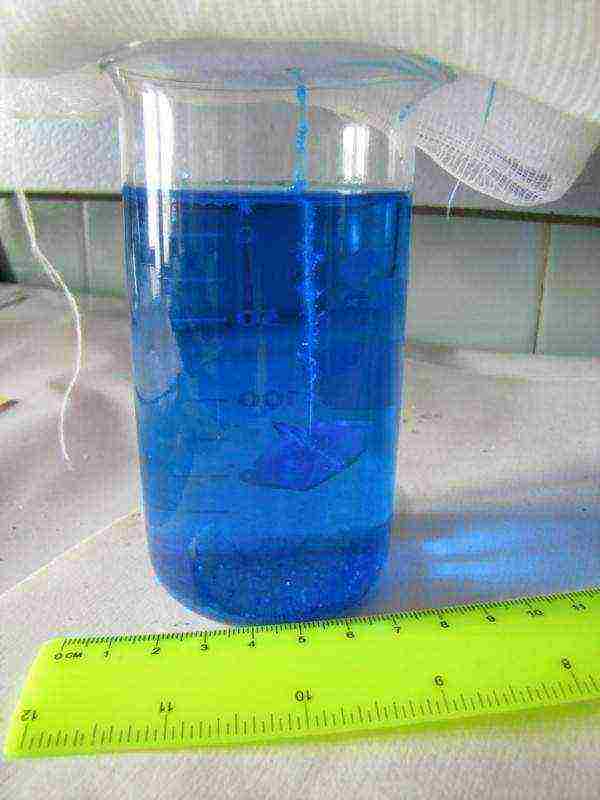
Be sure to cover the container with the solution and the seed with a piece of cloth.
While working, you may encounter some difficulties. They are easy to overcome by adhering to simple rules.
- If during the growth process additional small crystals are formed inside the container, the solution must be poured into a clean dish and the main crystal must be transferred there.
- Small crystals can form on the thread holding the seed over time. To avoid this, lift the main crystal a little higher: the smaller piece of filament will be in contact with the solution.
- You can experiment and use nylon thread instead of cotton or woolen thread. A thin copper wire is also suitable. But in this case, the seed will grow worse and the growth process will take longer.
- If the temperature rises in the room in which you are conducting the experiment, the seed may dissolve. Add a few tablespoons of copper sulfate to the solution and let it brew for 5-7 hours, stirring regularly. Drain the solution so that no sediment remains in it, and repeat the experiment.
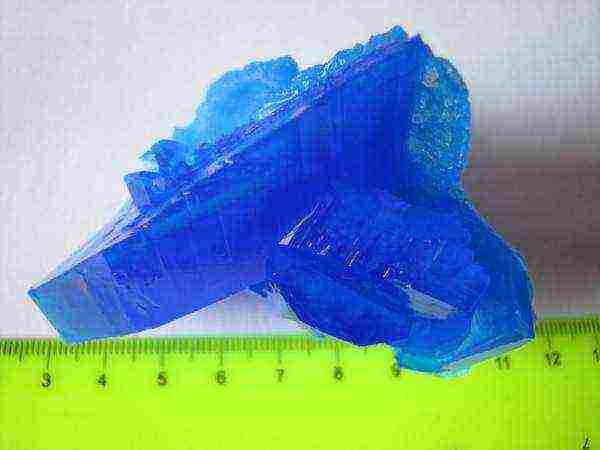
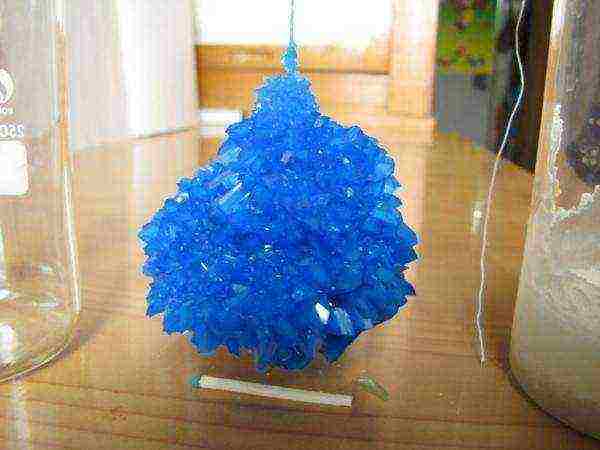
Large crystal obtained by long-term growth
When exposed to air, a crystal of copper sulfate loses some of its moisture, erodes and eventually collapses. To avoid this, store it in a tightly closed container in a cool place. Experts advise covering it with a colorless varnish - this will create a reliable protective film.
How to grow a crystal from copper sulfate at home (video)
Growing copper sulfate crystals is a long process, it requires attention and patience. However, the result will surely please you. Share your experience with us in the comments. Good luck to you!
Good afternoon! My name is Svetlana. This site has become for me not only an additional source of income, but also an opportunity to share my knowledge of housekeeping with you.
An unusual experiment on growing crystals from salt can be done with children. This process is completely safe, since only salt with water is used and no additional reagents are required. Making such a craft with your own hands is quite simple, but several rules must be taken into account.
1 How to grow a crystal from salt - preparation of the tool and material
Before you start making crafts, prepare the necessary tools and determine the place for the container. The ripening process of the product will take some time, while the dishes cannot be moved or tilted.
- The main component for crystal formation is salt. Use sea salt to get a smooth and transparent surface on your craft. It does not have impurities and small debris like table salt.
- Crystal formation will take place in water. It should also be well cleaned of impurities. It is best to pour in distilled water or boil the liquid and filter.
- The experimentware should not be metal. Since it can oxidize due to the action of brine. The volume of the growing dish is irrelevant and is only limited by the size of the desired crystal.
- Avoid debris and debris in the container. They will prevent salt buildup on the main crystal. Therefore, before the experiment, the dishes should be well rinsed and dried.
- You can use thread, fluffy wire, dried twigs, or a large piece of salt as a base.
- Additionally you will need: a wooden stirring spoon, a piece of gauze or bandage, paper towels, colorless nail polish, a saucepan and a pencil.

2 How to grow a crystal from salt with many facets
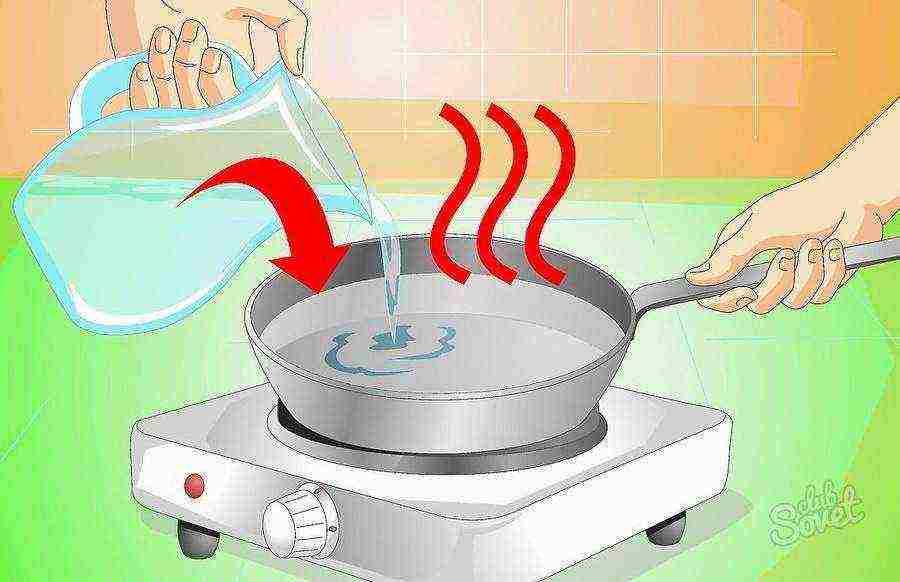
The initial stage of the experiment involves boiling the liquid. Therefore, help the children warm up the liquid so that they do not burn themselves.
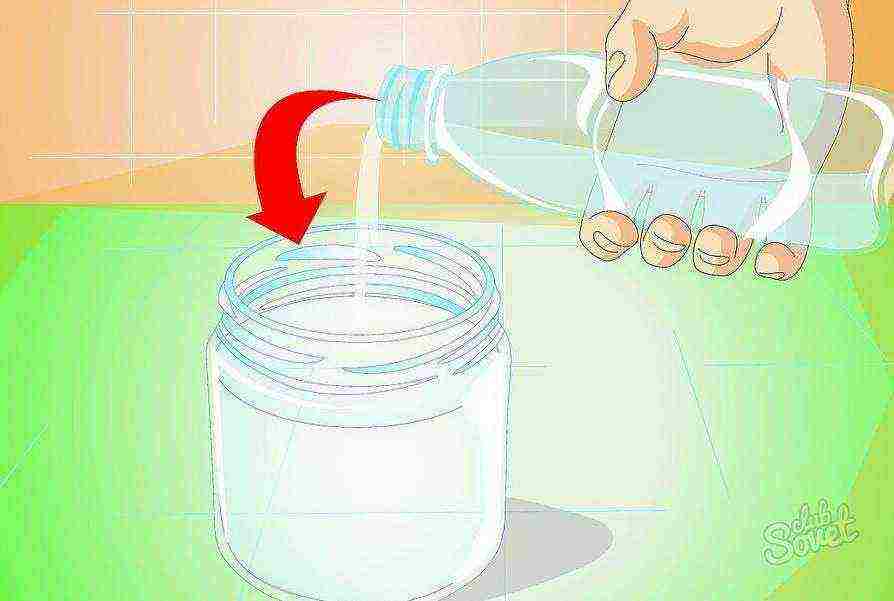
- Prepare 120 ml. purified or distilled water. Pour it into a saucepan, place it on the stove and bring to a boil.
- Decide on the type of salt to form the crystal. So, using ordinary table salt, the craft is formed within a few days, sea salt forms a crystal in 1-2 days, and with iodized salt you will have to wait a very long time for the product to grow.
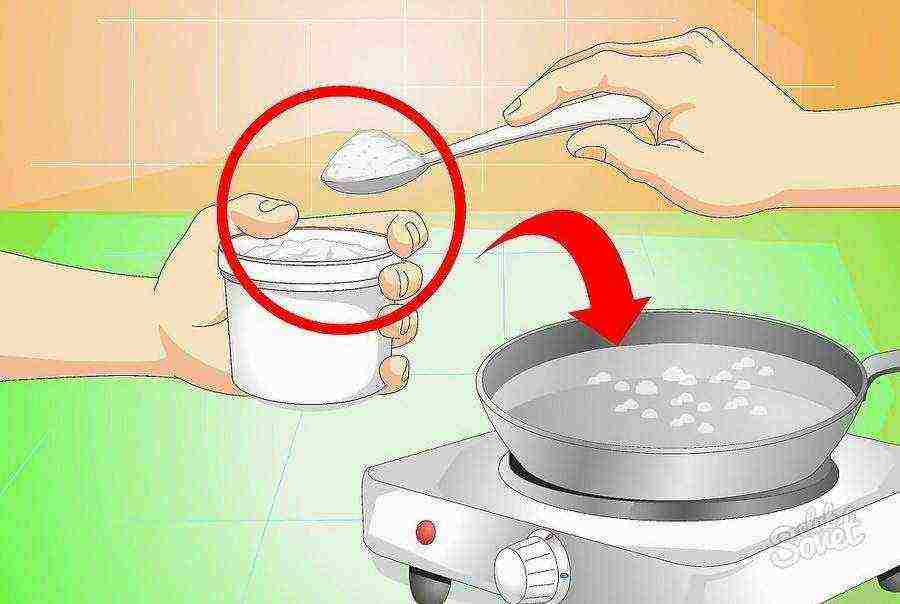
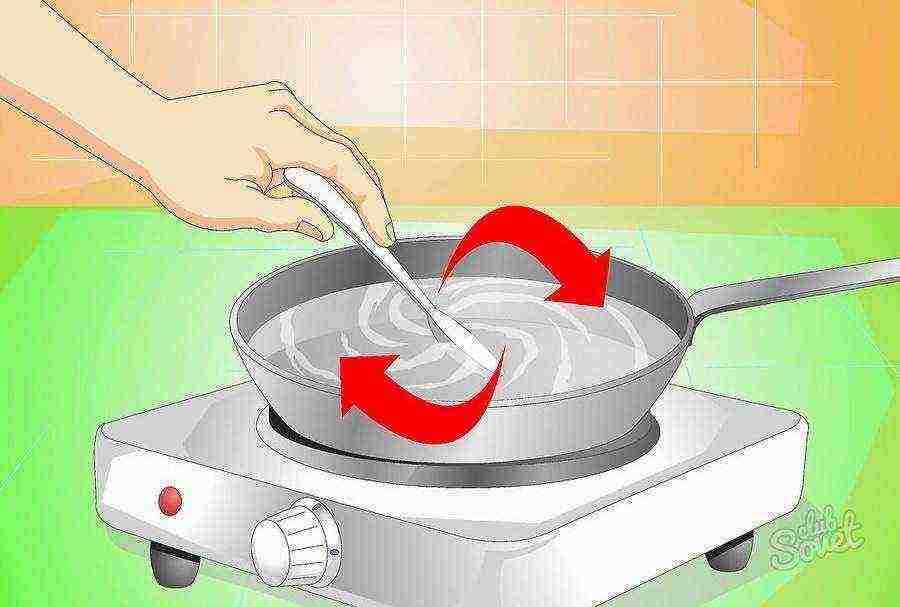
- Prepare a saturated salt solution. You can understand about its readiness by grains that could not dissolve in water. To do this, add salt to warm water and stir the solution thoroughly. First add half a glass of salt. If the water is clear without grains, then add another quarter glass.
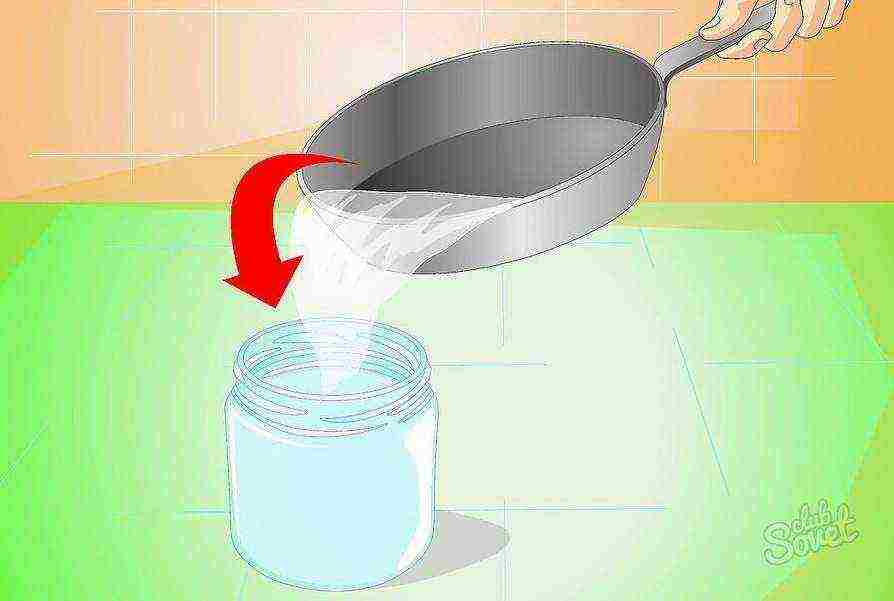
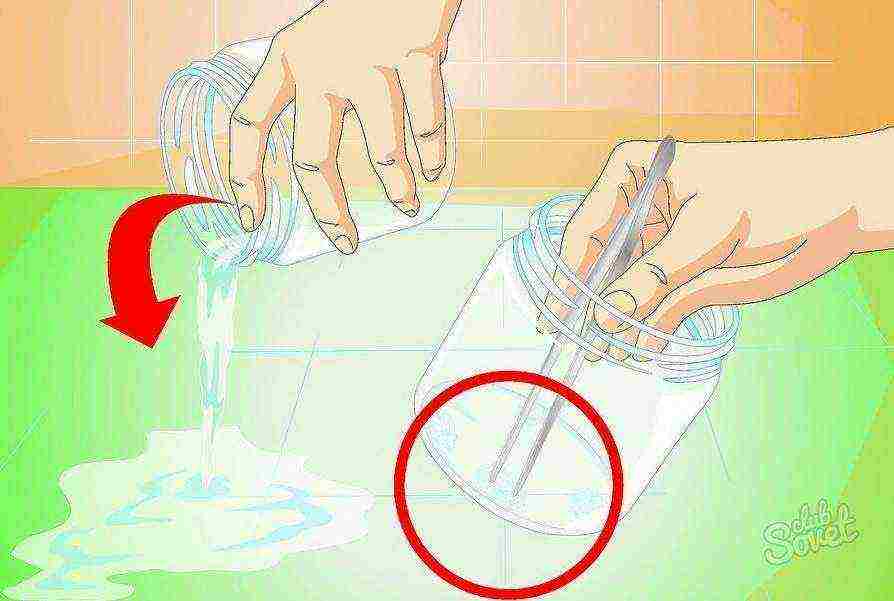
- Pour the solution into a dry and clean container. Make sure that the sediment remains in the pan, otherwise it will fall to the bottom of the jar and reduce the growth of the main crystal.
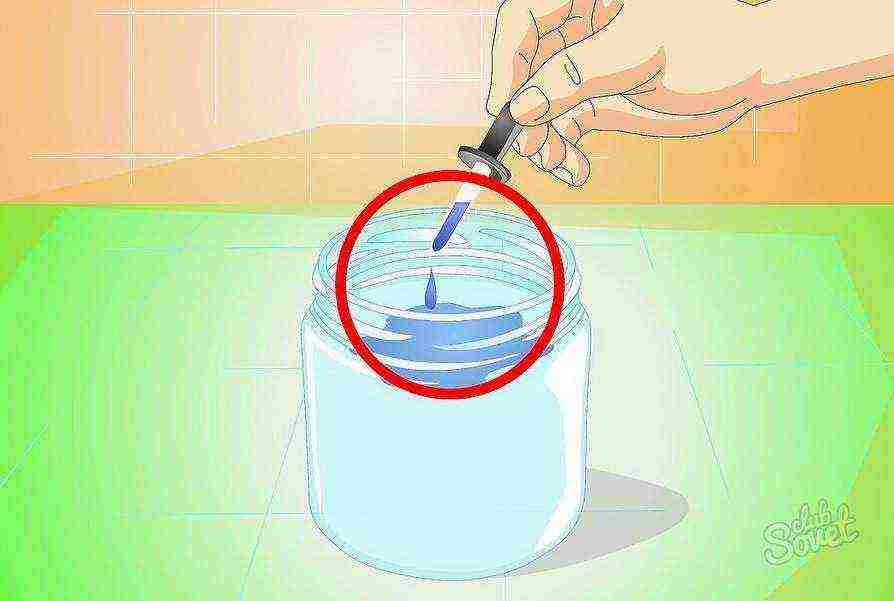
- At this stage, you can add a dye to change the color of the crystal. But do not add too much of it, as in large quantities, the product will make the craft fragile.
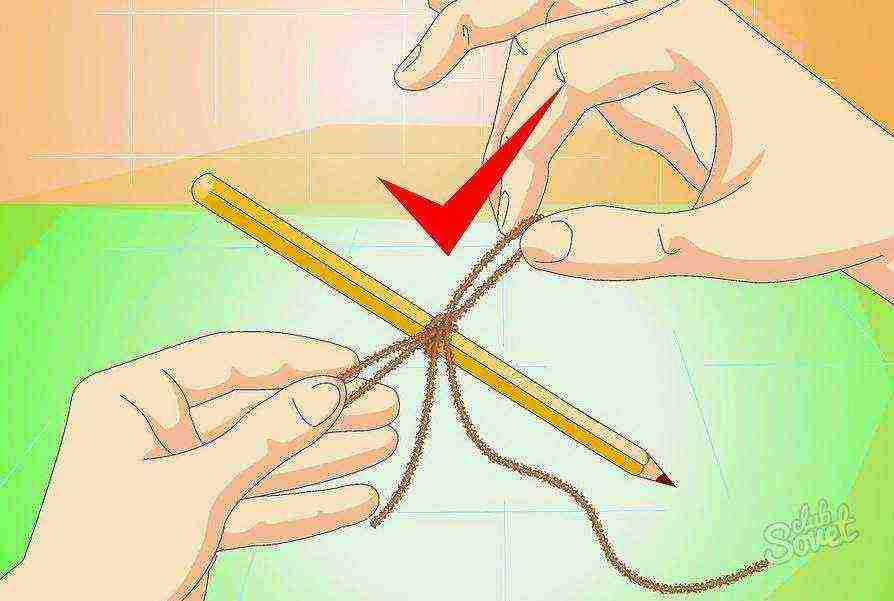
- Prepare the thread for the warp. It is desirable that it be thick with a rough surface. Tie it onto a pencil or long skewer. Their size should be larger than the diameter of the container for growing the crystal and with edges for stability.
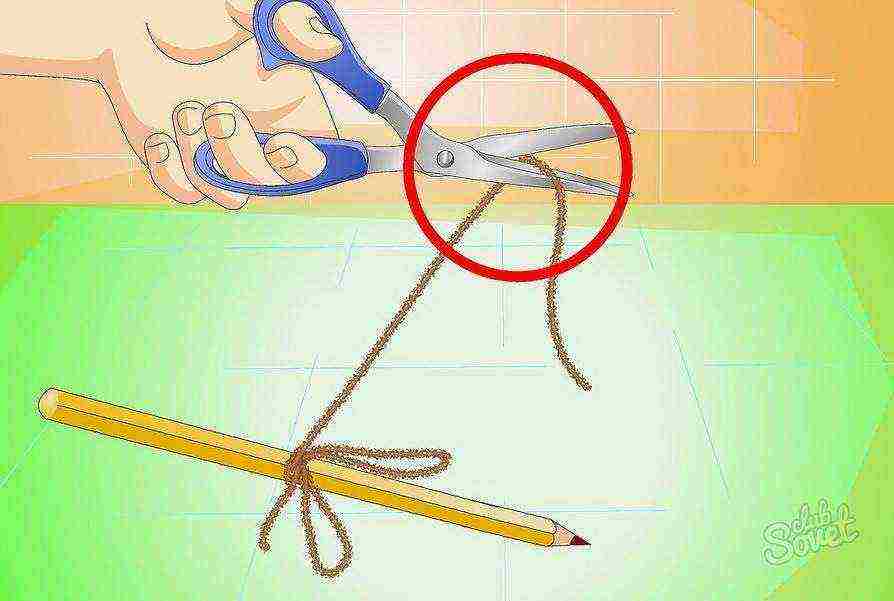
- Measure the required length of thread and cut it off. Do not let it touch the bottom of the container.
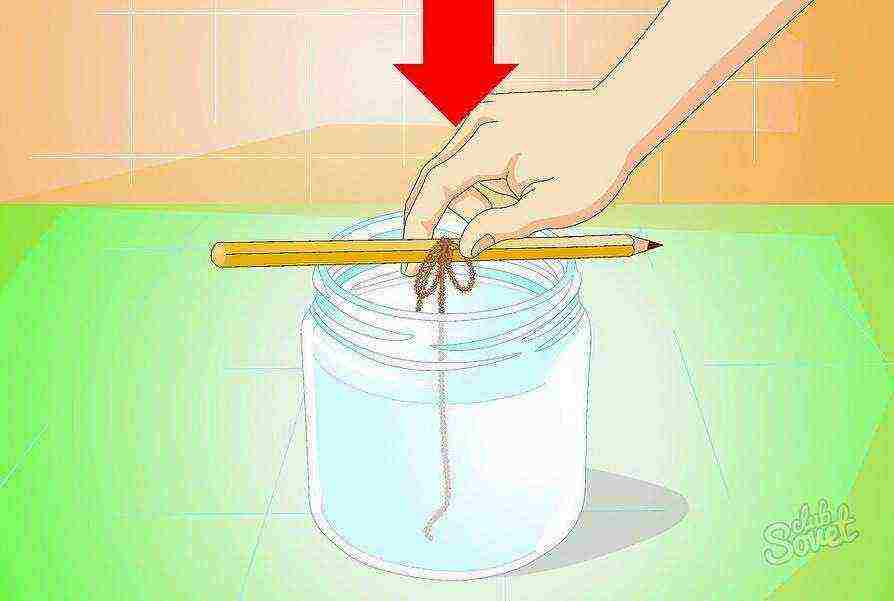
- Place the pencil on top of the container. Make sure that the thread does not stick to the sides of the can.
- Place the container of brine on a flat surface. If you want to grow a crystal with large branches, then keep the liquid with the filament in a warm place. Place the container in a cold place to form a crystal with smooth surfaces.
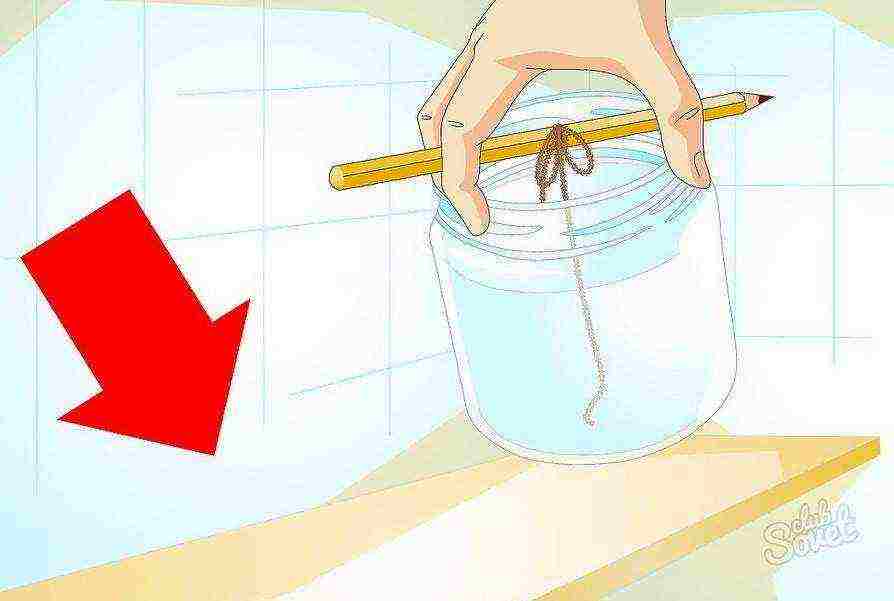
- Now you just have to watch the growth of the crystal.
3 How to grow one large crystal from salt
To obtain a large crystal with smooth edges after the experiment, it is necessary to use a slightly different technology.
- Prepare a concentrated salt solution as in the previous point. Pour it into a container. But for this method of growing the craft, choose a flat and wide container. This way, a large crystal will not be able to connect with the rest, smaller parts.
- Leave the container with the solution for 2 days for small crystals to form. Then pour out the water and choose the most suitable growing piece.
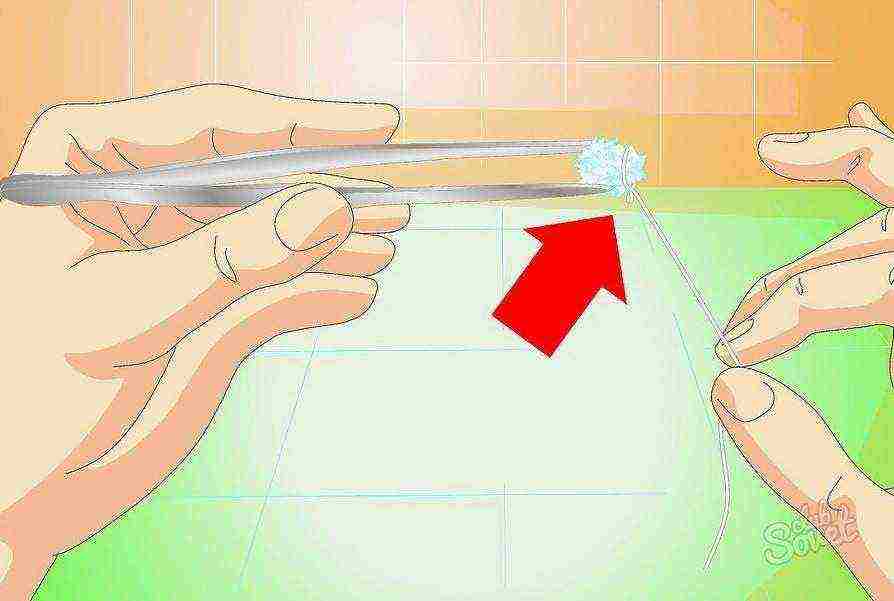
- Tie a small crystal to the fishing line. In this case, it is necessary to use a smooth thread or a thin wire (fishing line) so that salt grains cannot fix on it.
- Re-mix brine. But this time, do not bring the water to a boil, but only warm it up to room temperature.

- Dip the crystal on the fishing line into the prepared container and pour in the saline solution in a thin stream. Attach the line to the surface of the container with a pencil. In this case, the crystal should be located in the center of the container.
- Growing a crystal in this way will take much longer than the previous option. Therefore, prepare a new salt solution every two weeks and be sure to filter it before pouring it into the container.
- When the crystals have grown to the desired size, remove them from the liquid, pat dry and be sure to cover with a thick layer of colorless nail polish. It will prevent the water from evaporating, which will make the craft more durable for a long period.
It is very easy and safe to experiment with growing a crystal from salt at home. But to obtain the desired effect, strictly follow the rules specified in the article and do not forget about the finishing of the product.
In nature, real crystals grow for thousands of years, but with the help of the Magic Crystals set you can grow your crystal in a few days! This is a very interesting and entertaining activity that develops children's attentiveness, creativity and love of science. Watching the growth of the crystal every day, you will see how they change their shape and size, and at the end of their growth you will receive an extraordinary souvenir made by your own hands!
There is a wide variety of kits for growing crystals:
Here are some of them presented in our store:
|
Crystals in the form of trees, flowers, animal figurines growing on a cardboard base. Growth time is only 6 hours! |
Crystals with wishes. Great gift, which child can do it yourself! Growth time 2 weeks. |
One of the very first crystal growing kits. You can see the master class and instructions, as well as the contents of the box below! |
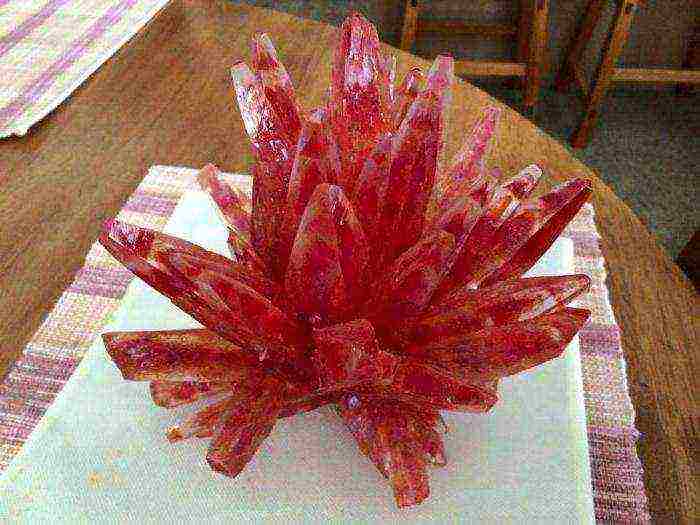
And in this article we will consider growing crystals using the example of medium (purple) and small (yellow) crystals.
When working with the kit, pay attention to the precautions and instructions for growing!
The sets are identical, differ only in size.
And so, open our set:
It includes:
- Crystal Growth Powder
- Seed crystals
- Plastic container for growing crystals
- Powder stirring spoon
- Stone base for growing crystals
- Gloves
- Instructions
It is a crystalline powder. We pour it into a plastic glass.
Next, you need to boil water and pour it into the same container up to the horizontal mark on the side of the container.
Stir the powder until completely dissolved with a wooden stick or plastic spoon.It is important that the powder is completely dissolved, this may take 2 or more minutes.
We take a stone base, wash it with running water.
carefully pour into a container with hot crystalline
solution. Use a stick to distribute the pebbles evenly along the bottom of the container. Cover tightly.
We are waiting for the solution to cool to room temperature.
Then carefully fill in the seed crystals (this is a small bag with white powder, it says "seed crystals"). The container must not be moved or shaken during and after these actions.
Cover tightly again and leave for 24 hours.
After 24 hours, remove the lid and then leave the container open.
Crystal growth can take 1 to 4 weeks.
During growth, the container must not be shaken or moved. Even music can disrupt crystal growth !!!
When the top of the highest crystal appears above the surface of the solution, you need to drain the rest of the solution and carefully follow the instructions to separate the crystal with a stone base from the bottom of the container.
Air dry the crystal, avoid contact of the crystal with water.
Enjoy the result!
Good luck to you and your children in experiments and experiments !!!
This set for growing crystals is available in our online store:
Similar master class
Master class on growing a Crystal with a Wish!
All "Master classes"


