Content
- 1 How to grow large garlic correctly
- 1.1 Basic requirements for growing garlic in the country or in an apartment on a home windowsill
- 1.2 When to plant winter and spring garlic in the garden - the right conditions
- 1.3 Preparing the soil before growing and sowing
- 1.4 Preparation of planting material
- 1.5 Planting process
- 1.6 Care for good and large heads and feathers
- 1.7 Diseases and pests
- 1.8 Harvesting and storage
How to grow large garlic correctly
Garlic is one of the most common crops that can be found in every garden plot in any region of the country. Such plants bear spicy fruits with a pungent taste, besides, garlic is very easy to grow and it is not afraid of cold, return frosts and other weather factors.
You can grow a vegetable in a garden or dacha, or sow at home, for example, in a pot at home, on a balcony or in an apartment on a windowsill in winter.
Basic requirements for growing garlic in the country or in an apartment on a home windowsill
Growing garlic is a fairly simple process that even a novice gardener can do. The main thing is to adhere to all the rules and perform the necessary actions on time: take care of it properly, although if you grow it correctly, it can take a lot of trouble.
Having decided to grow a vegetable on your site, you first need to choose a suitable type, because planting and growing winter and spring crops are different from each other.
Also, before planting it on your site, you should think about a suitable place that will meet all the requirements. The soil must be light, nutritious and have neutral acidity. It can take a lot of time to achieve all these indicators on the wrong ground.

When to plant winter and spring garlic in the garden - the right conditions
Planting dates depend not only on the preferences of the gardener and on the climatic conditions of the region, but also on the species that is planned to be grown.
Spring garlic is planted in early spring, once after the snow melts, but no later than April 10... This species has small heads with chaotically spaced teeth. The disadvantage of such fruits will be their less intense and pungent taste; the advantage is considered to be a long shelf life and the possibility of using it within 12 months.
Winter crops are planted before winter, that is, during the time period from mid-September to mid-October... It is very important to take into account the fact that before the onset of the first frost, the teeth must have time to build up a powerful root system, on average, this process lasts 3-4 weeks.
The winter crop boasts large heads, with even and sharp teeth. The main disadvantage of the species will be a shelf life of 3-4 months.
In spring, plants are planted as early as possible so that they have time to ripen before the onset of cold weather. An early fall planting can also ruin the entire crop, because if the frost comes too late, the garlic will start to grow, after which it will die.
Preparing the soil before growing and sowing
It's a non-harmful culture, but finding the right place you can significantly increase the amount of the harvested crop. The plant prefers fertile soil with neutral acidity. Also, the soil should be light and breathable. Loams are best suited for such purposes.
The place must meet the following criteria:
- plenty of sunlightrequired for fruit ripening;
- melt water and precipitation should not accumulate on the site. A deep location of groundwater is also desirable;
- Peas, cabbage, squash, pumpkin, or greens are considered the best crop precursors. It is not recommended to plant it in those places where cucumbers, tomatoes, onions, carrots and garlic itself grew before it.

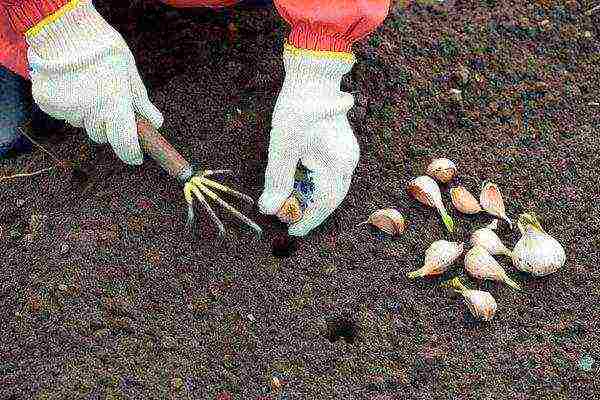
Regardless of the timing of planting, the land must be prepared in the beginning of September... To do this, it is dug up, weeded, cleaned of stones and debris, after which the following fertilizers are applied to each square meter:
- 1 bucket of humus or rotted manure;
- 30 grams of superphosphate;
- 20 grams of potassium salt.
Preparation of planting material
Before planting garlic in open ground, planting material must be sort, choosing from the total mass of damaged, diseased, soft, curved, too small and uncoated teeth. They are not suitable for planting and are unlikely to be able to give a decent harvest.
Preparation of cloves for planting is as follows:
- for stratification, the planting material is placed in a refrigerator for 15-20 days;
- then the teeth are disinfected, keeping for 2 hours in a solution of wood ash, potassium permanganate or copper sulfate;
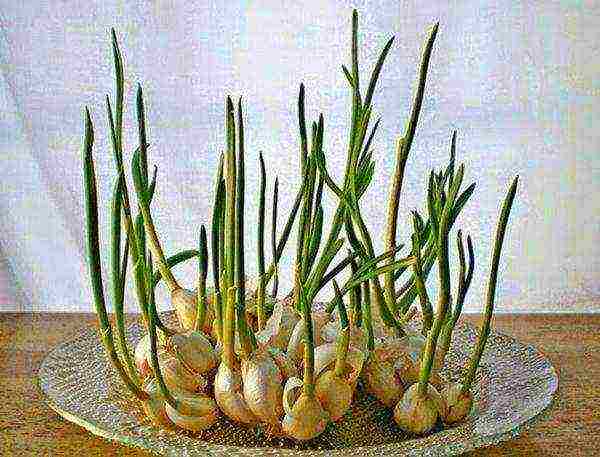
- so that the teeth germinate as soon as possible, they are treated with a growth stimulant or wrapped in a damp cloth, put in a plastic bag and kept in this state for 2-3 days.
Planting process
Landing is carried out according to a certain scheme:
- Initially, furrows are made in the garden, at a distance 20-25 centimeters apart;
- When planting spring garlic, the depth of the furrows should be 7-9 centimeters, and when using winter varieties, 15-20 centimeters;
- The distance between individual plants will depend on the size of the planting material. Usually, spring varieties are planted from a distance 6-8 centimeters from each other, and winter varieties at a distance 12-15 centimeters.
The teeth are buried strictly vertically. In the event that the rib is located to the south, then the garlic feathers will grow more green and saturated. If the soil is dry, it must be watered immediately after planting.
Care for good and large heads and feathers
Care is extremely simple and consists of several usual operations, which include watering, weeding, loosening and feeding the plants.
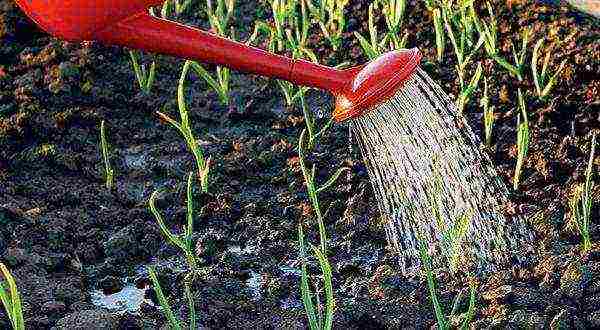
Water the vegetable in such a way that the soil always stayed wet... In dry weather, such work is performed 2-3 times a week, while on rainy days, watering can be completely abandoned. It is worth remembering that in August, soil moistening must be stopped. At this time, the bulb begins to gain weight and volume and does not need watering.
All dressing of garlic is carried out in conjunction with watering, this is necessary for the best assimilation of fertilizers. Winter and spring garlic are fertilized according to different schemes.
| Spring garlic | Winter garlic | |
| 1 top dressing | As soon as the plant releases the first leaves, it is fertilized with nitrogen fertilizers (urea, mullein solution or bird droppings) | In early spring, about 7-10 days after the snow melts, 1 square meter of soil is added: 100 grams of superphosphate, 50 grams of potassium sulfate and 50 grams of ammonium nitrate. |
| 2 feeding | Complex mineral fertilizers are applied 2 weeks after the first feeding | After 25-30 days, using the same composition. |
| 3 feeding | In late June-early July, phosphorus-potassium fertilizers are applied | The last top dressing is applied in mid-July, when the head begins to grow. |
For larger heads of garlic, you need to remove the arrows every time they reach a size of 15 centimeters.
Diseases and pests
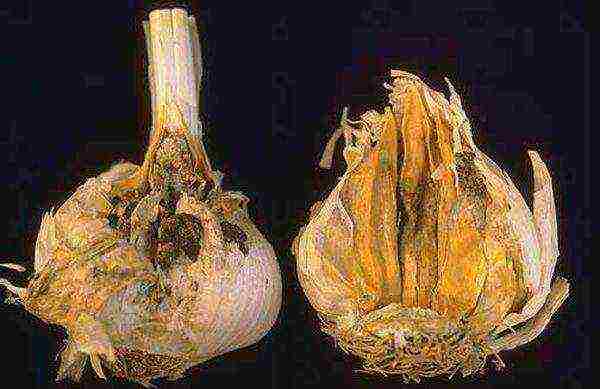
Garlic is often affected by diseases and pests. Of all the existing diseases on such a culture, the most common are:
- white, gray and neck rot;
- helminthosporiosis;
- fusarium;
- smut;
- downy mildew;
- mosaic;
- rust, etc.
Insects most commonly found on garlic:
- onion lurker;
- tobacco thrips;
- nematode;
- caterpillars;
- onion flies;
- bear;
- onion moth;
- centipede.

Unfortunately, many diseases destroy plants, so it is impossible to get rid of them, the only way out is removal of affected garlic and prophylactic treatment of healthy individuals with fungicides or folk remedies, which include ash infusion.
In order to prevent the appearance of such troubles, you need to follow the rules for planting plants, to prevent unwanted neighborhoods and predecessors. It is also very important to pre-disinfect the planting material.
Harvesting and storage
After a rich harvest of garlic is obtained, it must be kept safe as long as possible. Collecting the fruits of winter garlic is carried out late July-early August, and spring a month later.
You can see the maturity of garlic by the following signs:
- new feathers stopped forming, and old ones turned yellow and lay on the ground;
- the visible head has acquired the correct color and size.
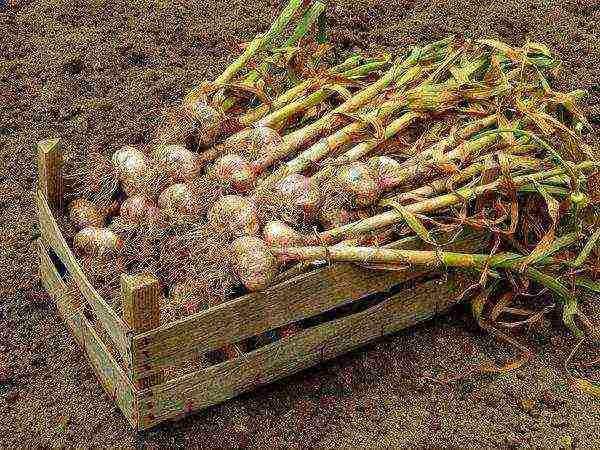
After harvesting, it is prepared for storage by doing the following:
- The heads are shaken off the ground and dried for 10 days at a temperature 25 degrees outdoors or in a well-ventilated area;
- The roots and leaves are completely removed, the neck is cut off up to 2-5 centimeters;
- At the last stage, the heads are folded into boxes with holes, nets or braided into pigtails.
Growing garlic on your own plot is a very interesting activity, during which you can learn useful skills regarding the correct planting and care of plants. If you follow all the recommendations, then a rich harvest will delight every gardener from year to year.


