Content
Not everyone likes to tinker with houseplants. Not everyone has a talent for this, and the flowers perish without having time to settle down. However, without greenery, window sills look lonely, and the interior is boring. And if you share this point of view, you should figure out how to grow moss at home. It does not cause allergies, is very unpretentious, resistant to the vast majority of diseases and pests, does not require fertilizers, pruning and hilling. And with it, you can create wonderful mini-landscapes and amazing compositions.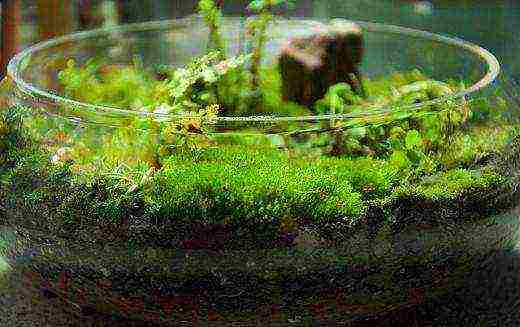
How to grow moss at home: fundamental principles
Before you start breeding mosses, you need to understand for yourself their needs and requirements. First, mosses growing on trees will not survive on rock or soil, and vice versa. So you need to settle the brought "shred" on a suitable basis.
Secondly, mosses need diffused and indirect light. If the sun only illuminates them in the morning or evening, the mosses will delight you with a bright color. But the midday rays will make the moss pale, dull, and can completely destroy it.
Thirdly, the source of the planting material is important. Before wondering how to grow moss at home, ask specialty stores if they sell it. So you will definitely be engaged in healthy specimens and will not infect the plants at home with anything. If there is no moss for sale, go to the forest. Just remember clearly what came from, and remove the moss with a layer of turf.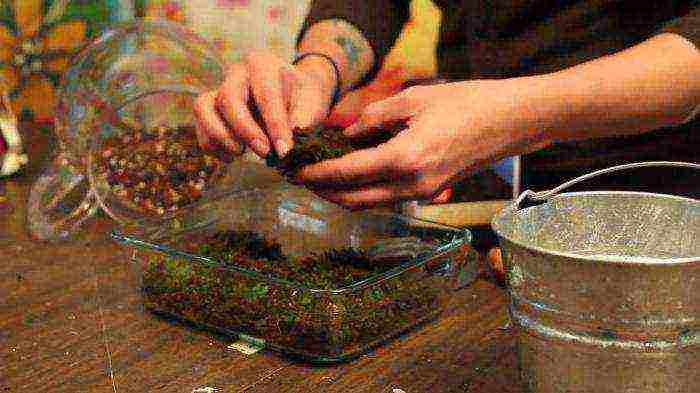
Landing
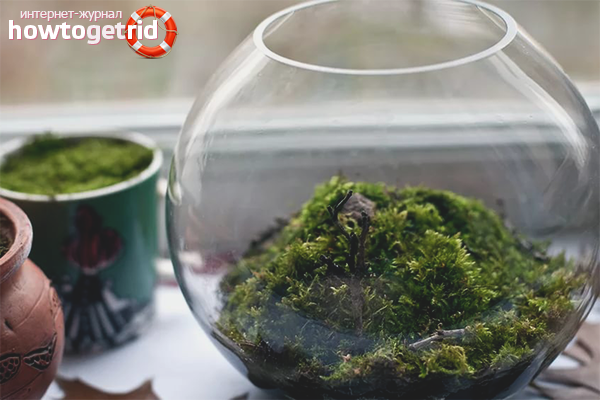
It must be taken as seriously as possible, since it is unrealistic to grow moss at home, which was initially incorrectly placed. Any vessel can be taken under the plantation. But it will look most impressive in a glass bowl, a rounded vase or a spherical aquarium. In addition, in such containers it is easier to create and maintain the desired microclimate.
To make the moss feel comfortable at home, small expanded clay or washed pebbles are poured onto the bottom of the dish. Charcoal-granulate is placed on top of the drainage, and the substrate is already placed on it. As the soil, take the one that is intended for epiphytes and marsh plants, then the mosses will settle down faster. A landscape is formed on the ground and moss is laid out, with a light pressure from above. After the formation of the landscape, it is poured abundantly with water to stimulate survival.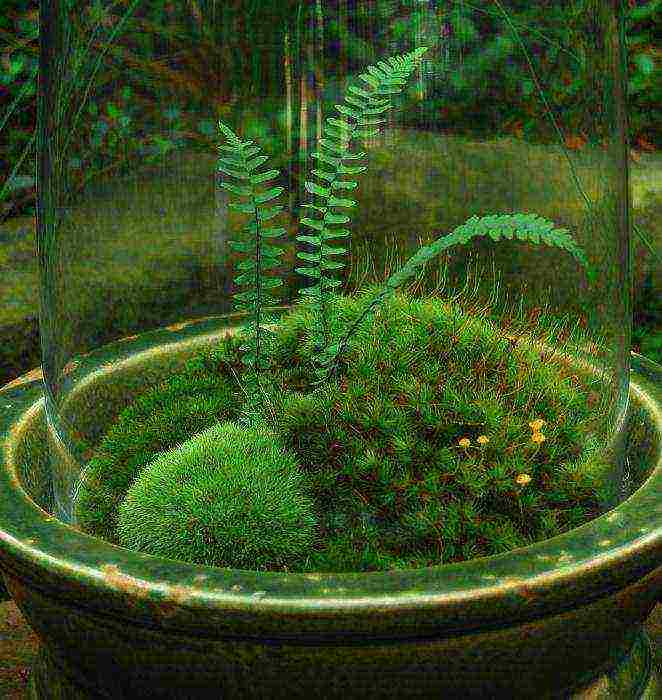
Care
The moss composition does not require special attention. But only after the “greens” have taken root. Therefore, the main subtlety of how to grow sphagnum moss at home is to provide it with abundant moisture at first, and then maintain it at a constant average level. For a week or two, the pads should be sprayed daily, while observing so that there is no flooding effect. Condensation should form on the walls of the vessel only in the morning. If the moss cover begins to darken, it means that the intensity of watering must be reduced. When the mosses begin to grow, spraying is carried out less frequently, once every three or even five days.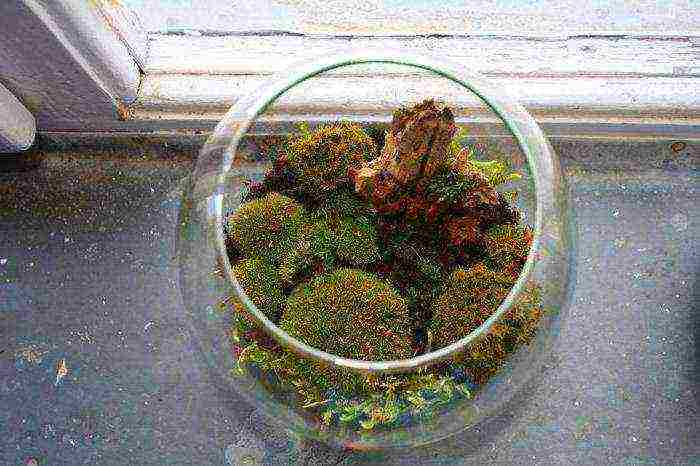
Growing moss at home can also mean fighting mold in the first step. It usually appears if the "rugs" are not brought from the store. In this case, problem areas are treated with phytosporin. Although some moss breeders believe that the plantings themselves will cope with this scourge.But it seems to us that it is better to help them: the moss is weakened until the moment of full adaptation, and it does not need additional stresses and loads.
If you created an installation in an open dish-pot, then you need to spray the moss daily. Otherwise, it will quickly dry out and lose its decorative effect.
Moss in the garden
Much easier is the case with the cultural cultivation of moss cover in the open air. Here you do not have to painstakingly create the necessary conditions and plant pads. You need to get a sufficient piece of moss, healthy, without dried and suspicious areas. The blender is loaded with two glasses of water and milk, plus the extraction from the forest. Having received a cocktail consistency, you "paint" the intended area with this composition. Thanks to milk, moss takes root over the entire treated surface with a 90-95 percent probability.
With some hard work and a strong artistic flair, your fence, wall, or rock garden can be a work of art. Your immediate task will include only regular watering of the "picture" until the moss is definitely entrenched in the territory provided to it.
3 parts: Grow the moss Plant the moss in the garden / lawn Propagate the moss
Moss is a plant that grows from spores, not seeds. Mosses grow in all climatic zones on Earth. Most of them grow out of the ground, but they can grow on any hard surface: they can often be seen on tree trunks, stones and other solid objects. Moss is ideal to add a luscious green color to your garden and can be used as a ground cover instead of grass.
Part 1 Growing moss
-
 Select the type of moss.
Moss is an amazingly diverse plant. There are dozens of options for the traditional soft green carpet. The two main plant types are pleurocarpous and acrocarpous. Pleurocarpous spreads low on the ground and grows rapidly in breadth. Acrocarpous grows in "bushes" and first stretches in height and becomes thicker, and only then spreads horizontally.
- Moss never blooms. From time to time, small stalks with thickened tips appear in it - sporangia, or capsules with spores, with which moss propagates.
- If you want to cover a large area with moss, such as your entire lawn, consider using two types of moss at the same time, pleurocarpous and acrocarpous.
-
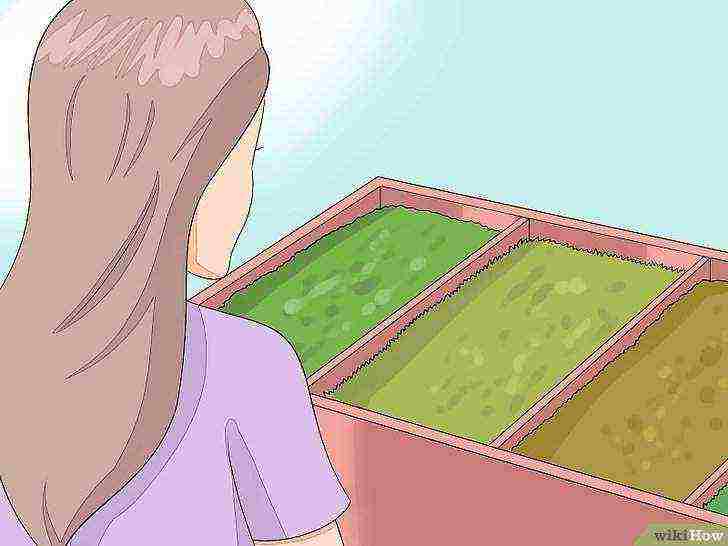 Choose moss from your garden nursery, if desired.
For professional advice or to look at a variety of moss species, head to your local garden nursery. Different types of moss grow beautifully together, so feel free to mix them up as you see fit.
- If you are interested in a wide variety of moss, but there is no nursery nearby, look for one in online gardening stores.
- Read the label how fast the moss grows. Some species grow at incredible rates, so you only need a few; others will have to buy more.
-

Get some moss from another garden or forest. If you are not too picky about what kind of moss to grow, or want to save money, try planting wild moss. Just take a shovel or scoop and scoop up some moss from the ground or from a tree trunk. Try to grab the moss along with the soil (or other substance it grows on) so that it doesn't dry out and make replanting easier.
Part 2 Planting moss in the garden / lawn
-
 Choose a damp area out of direct sunlight.
Moss is not very picky, but ideal conditions exist for it. Most species prefer humid locations and indirect sunlight (i.e. slightly shaded areas). It makes a great green carpet under large trees and other plants. However, if the only suitable place is in the bright sun, don't worry: most likely, the moss can grow even there.
- Moss perfectly absorbs excess moisture in places that are heavily flooded by rain. Plant it in such areas of your garden to improve drainage.
- Moss does not have a root system, so it can easily grow in rocky soil where grass cannot be grown.
-
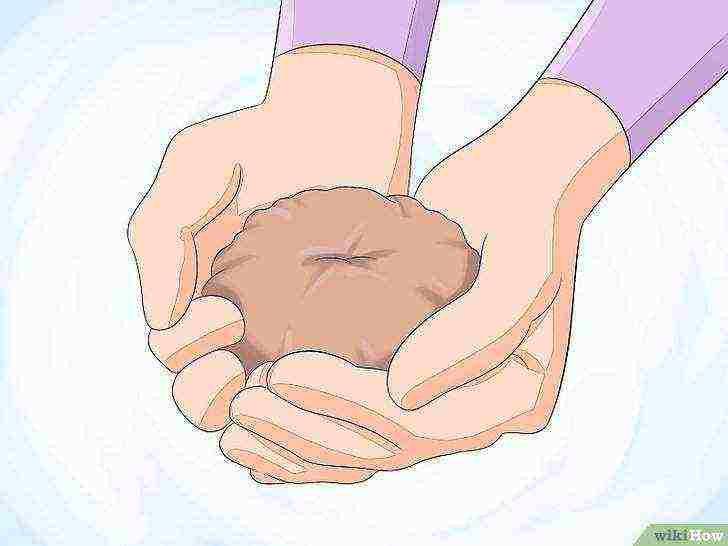 Choose an area with acidic soil.
If you will be planting moss in the ground, loosen the soil with a rake until it becomes soft and loose - just enough that you can easily pick it up in handfuls. Check the pH level and if necessary
adjust it
... Moss prefers acidic soils with a pH between 5 and 5.5. Clear the area in advance of grasses and other plants.
- If you are planting moss in a flat area, you need to carefully level the ground. Unlike grass, moss will only accentuate all the minor irregularities in the ground.
-

Press the moss down onto a damp surface. Use a hose or sprayer to liberally water the planting area. Then place each copy on top of it with a firm hand. Press the moss into the soil or press it against the stone surface so that it takes root and does not move anywhere.
-
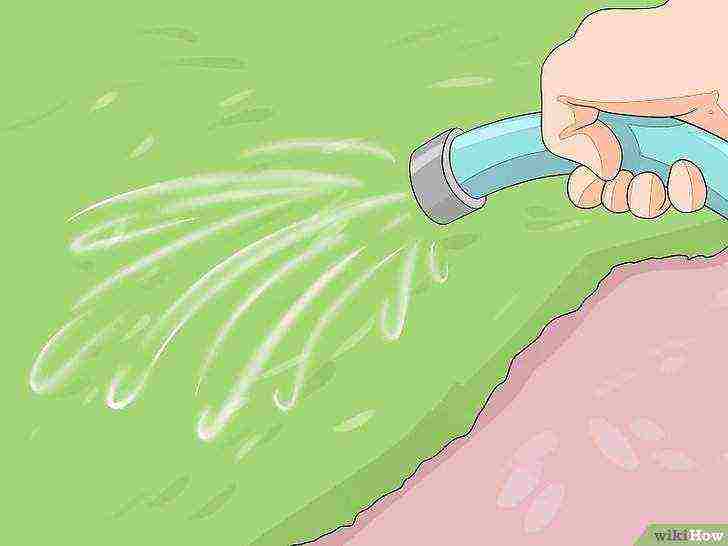 Water the moss daily for 2-3 weeks.
Watering daily will speed up the growth of the moss and help it settle in place. This will help grow and keep the moss in place. Better to use a spray bottle or hose with a very narrow tip that will spray water onto the moss. A strong jet of water can damage plants. Alternatively, a very gentle irrigation system can be used to keep the moss constantly moist.
- If the moss turns dark green or stains over time, you are most likely watering too much.
- You can reduce watering about a month after planting, but the moss should always remain damp if possible.
Part 3 Propagating moss
-
 Divide and plant the moss.
One way to spread the moss is to cut the existing moss into 0.5–1 cm pieces and plant them separately. Plant the resulting pieces 2-3 cm apart.
- This method will only work if you are planting moss in the ground. Attempting to plant moss in this way on rocks or other objects is unlikely to succeed, as small pieces of moss will not stick.
-
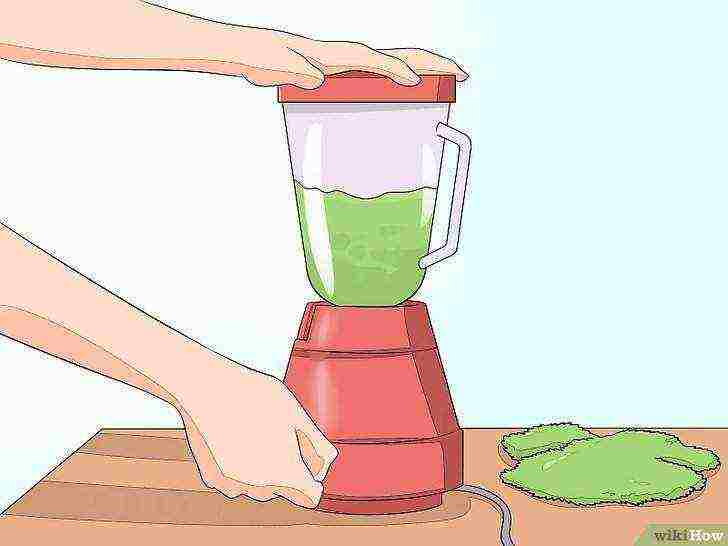 Make a moss milkshake to plant on a vertical surface.
No, you definitely don't need to drink such a cocktail! Make a super-mix for growing moss on anything, turning it into a liquid that can be applied to objects and vertical objects - walls, rocks, flower boxes, trees. Place a large piece of moss, two glasses of buttermilk, and two glasses of water in a blender. Mix until the contents are similar in consistency to a regular milkshake.
- This mixture does not have the most pleasant aroma, so it is best to do it outdoors so that the house does not smell.
- You can use dead or live moss - any will do.
-
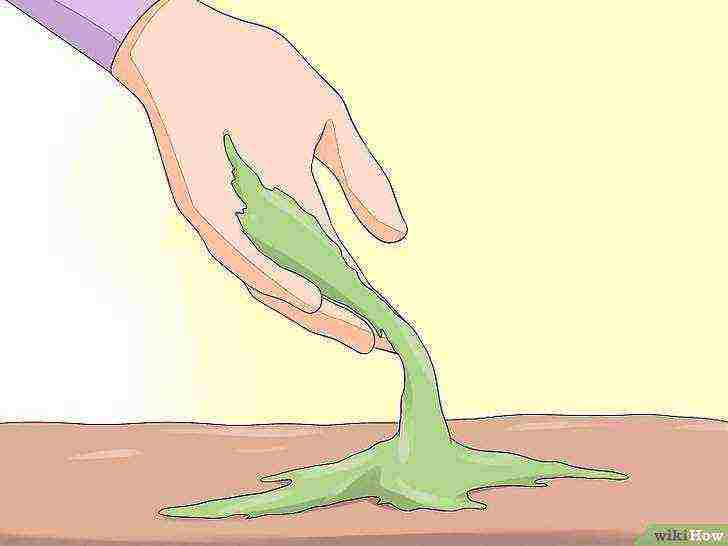
Apply your cocktail to the surface where you plan to grow the moss. Cover the desired objects or garden area with a moss cocktail. You can simply pour the mixture over the objects, use a brush or spray bottle. You can also water the soil with this mixture instead of planting whole plants or plant pieces, although this will not look so attractive.
Tips
- When planting moss, try placing a board or other hard object on top and applying pressure. This will allow the moss to bond better to the soil.
- Because moss gets its nutrients from the air rather than the soil, it is easy to care for. He does not need feeding or fertilization.
- After planting or replanting moss, keep the area moisturized constantly. Water it by hand or install an automatic sprayer. A water reservoir (for example, a decorative pond) located on the site will also help maintain high humidity levels.
What do you need
- Shovel or scoop
- Putty knife
- Blender
- Water
- Buttermilk
Article Information
Categories: Gardens and vegetable gardens
In other languages:
English: Grow Moss, Español: cultivar musgo, Italiano: Far Crescere il Muschio, Deutsch: Moos anpflanzen, Português: Cultivar Musgo, 中文: 种植 苔藓, Nederlands: Mos als bodembedekker toepassen, Čeština: Jak pěstovat Indonesia: Jak pěstovat Indonesia , Français: faire pousser de la mousse, 日本語: コ ケ の 栽培, Tiếng Việt: Trồng rêu, العربية: زراعة الطحالب
- Seal
- Edit
- Write a letter of thanks to the authors
This page has been viewed 86,050 times.
Was this helpful?
How to grow moss at home? Just don't ask why. And don't say that he grows well on the street. On the street - it's not in a pot on the windowsill.
Grow it first in a large, circular aquarium with appropriate surroundings. Admire. Then we'll see why or go crazy, give two!
Moreover, where it grows, let it be there. And at home, you still need to work hard to grow this. Strict points on humidity and the amount of light will not allow you to shove a piece of moss from the forest into a jar and sit, waiting for a beautiful picture.
So. We plant moss at home. Stop. How do we plant? Neither species has roots or seeds. How will we propagate? By disputes, as in nature. And where to get them? It's not like wandering around with a microscope in search.
In fact, everything is simple. Go for a walk. We don't go to the forest. Forest moss that grows on trees is very aggressive and shaggy. Instead of an alpine idyll, you will get the count's ruins after the bombing. We need a moss that grows on stones, snags, old walls. Even just from the shaded side of buildings.
We pinch ourselves a little. You can just remove the plate. Who writes there: be careful not to damage the roots? You should have a bonus. Nobel Prize. Still, for the first time in millions of years, roots were found on moss!
And we calmly stomp home. By the way, in nature, the ripening time for spores is approximately July and August.
how to germinate wheat at home
Herbal cocktail
If you just put a plate of a plant on the bottom of the aquarium, it will dry out. And you will not get a beautiful landscape. Therefore, we will make a cocktail. No, not for drinking. For lubricating surfaces. To prepare it, you only need a blender. Here are some recipes:
- 100 g moss, 2 tbsp. l. sour cream, 200 ml of pure water.
- 200 g of the plant, 400 ml of any beer, 1 tbsp. l. granulated sugar.
- 1 tbsp. moss, 2 aspirin tablets, 2 tbsp. plain water.
- 200 g of a plant, 200 ml of kefir, 300 ml of water, 1 tsp. Sahara.
We take ingredients from any recipe. Well, those that will be at hand. Amicably and cheerfully put in a bowl or jug. Then briskly grind with a blender. I warn you right away: the smells of cocktails using dairy products are disgusting. Well, nothing. Beauty always requires ...
Apply the composition
Of course, even before preparing this wonderful slurry, we arranged pebbles inside the aquarium. They put an artificial lock, put old snags. They added sand to the bottom, poured a little fine gravel. Wasn't it lovely? But something is missing.
How did the well-known cartoon character say there? It will not be enough. Not enough! Let's add aesthetics. By the way, they have already sniffed the stench from the jug. Now we take the old brush. We dunk it well in a cocktail and start writing. Over the stones, over the castle, over snags. We smear from the bottom of our hearts, we do not regret it. You can even splash a little.
We carry what remains to the backyard. There we select the darkest and dampest corner. And we draw with slurry right on the walls. Anything that came to mind. At least your autograph. Good results are obtained when drawing through a stencil. Guests will puzzle for a long time how the moss could grow so. Naturally, keep them in the dark until the very end. After all, this is your exclusive!
Of course, then the moss will fill all the free space. But even just a fluffy soft wall attracts the eye. And don't be afraid to damage buildings. Moss does not destroy the base, but only covers it, like a carpet.
The eerie-colored mixture is over. But our business is not yet. Let's move on to the next step.
how to grow kiwi
Care after sowing
Yes Yes. Our spreading of the slurry is scientifically called spore seeding. And if there is sowing, then there must be a harvest! And what else is required to obtain it? That's right - leaving.
In principle, at home, it consists in periodically moistening the moss and dragging the aquarium into the sun, then back. Just two hours, early in the morning, but always every day.Otherwise, our pet will not have that desired juicy green shade. The rest of the time it can be kept shaded. But not quite at the back of the room. Better somewhere near the window, but with cover.
About moisturizing. In the morning we got up - we look at the glass. Is there condensation? This means that there is no need to water today. Is the glass completely dry? We stomp behind the spray bottle. By the way, the water in it is extremely melted. Or filtered. Otherwise, an ugly white bloom will appear on the moss. We don't need it at all.
Why a spray bottle, not a watering can. Because the moss drinks on the surface of the body. He has no roots. Therefore, we spray the plant a little. Carefully, without fanaticism. Overflow threatens with darkening and death. Bald spots and mold will appear. All beauty down the drain.
Of course, these procedures are carried out only after you see the result of your drawing with liquid. This usually occurs within about 10 days. Until then, it is best to simply cover the aquarium with a piece of glass or thick plastic wrap. Do not wear in the sun during this period! But be sure to air it once a day.
Then, after the microsystem adjusts its climate, you will only have to admire the mini-alpine lawn on your table.
how to grow bonsai at home
Interesting utility
- Instead of an aquarium, you can take a wide bottle. And even with a cork. There is a known case when one man planted moss in such a bottle and watered it. I closed it with a stopper and did not open it again. This was over 40 years ago. And the microsystem is still alive today. With its own climate, humidity levels and, of course, moss. Try it again!
- By the way, the scientific world still does not know pests and diseases that would like moss. Unless molds sometimes taste it. And even then, only after a strong waterlogging.
- Do not keep your plantings near the central heating battery. Too dry air is harmful to moss.
- The rougher the stones in your composition, the easier it will be for the plant to adhere to them. Smooth pebbles will remain bald. By the way, they are perfectly replaced by broken shards from ceramic pots. Only without glazing.
How to grow moss at home? It's very simple and fun. It’s even fun in places. This does not require a lot of effort and material costs. Well, maybe for the purchase of an aquarium.
how to grow a money tree
Video: create a living wall from moss
Growing moss at home is easy. All he needs is a humid environment and adequate lighting. Having grown it at home, you can create interesting green compositions with your own hands - beautiful landscapes, miniature gardens.
Moss description
The plant does not have a developed root system and leaves. They are simply “green pads” that absorb nutrients from the water during irrigation in order to develop.
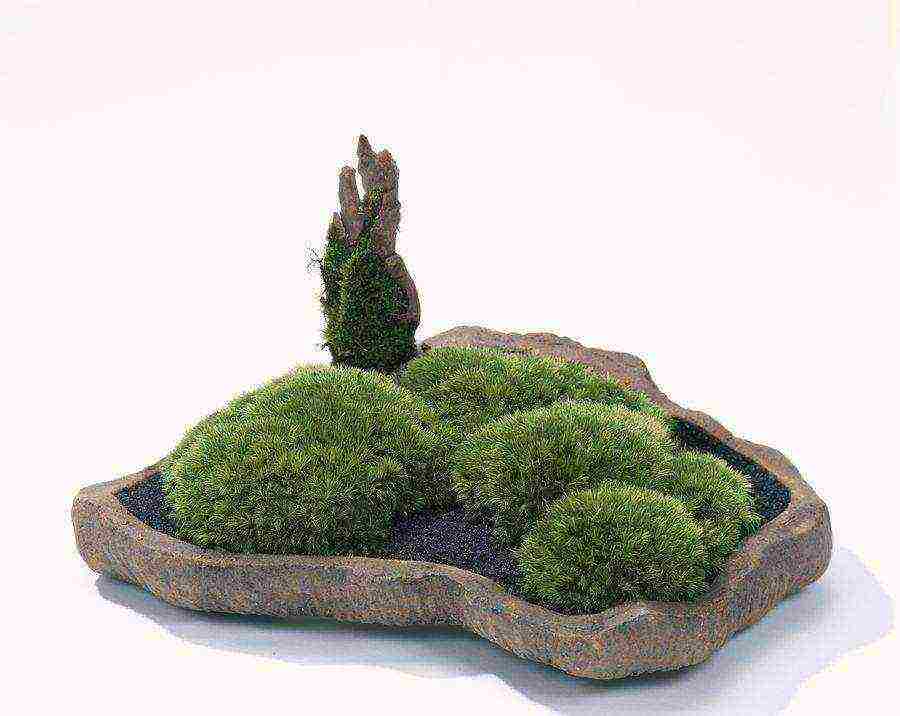
You can also grow moss on your personal plot.
It is very important to choose the right place from where you can take a seedling for planting. It is best to purchase it from a flower shop. This will help eliminate the risk that the plant will be infested with parasites. After all, a sick and infected plant can harm the flowers growing in your home. If you have not found it in the store, you can go in search of the forest. Remember: it is important to take planting material along with a layer of turf.
How to plant moss at home
Planting moss:
- Any free container will do. But still, from an aesthetic point of view, moss will look most advantageous in a transparent round vase or bowl. Having chosen a container, pour small pebbles on the bottom - for example, pebbles or expanded clay.
- On top of the drainage layer, you need to lay out the coal granulate, and place the soil on it. It is best to take special soil for growing moss, intended for marsh plants. Your indoor pet will like it the most, and it will take root on it more easily. The pads should be laid out on the ground and lightly pressed on top of it.
After planting, the plant should be watered generously with water.
Moss care
At first, abundant hydration is required. This is necessary in order for it to take root safely. Sprinkle the pads with water from a spray bottle every day for 1-2 weeks. It is important not to flood the plant. Please note: if it darkens on top, reduce the intensity of watering. When the plant takes root well and begins to grow, it will need to be watered less often - once every 3-5 days.
It is better to place the container in a room with not too bright lighting. For example, in the hallway. But direct sunlight is best avoided. Will feel good near aquariums.
Ordinary beer or kefir is well suited for feeding. These drinks can be mixed and sprinkled on the pads once every few days. Thanks to this, the plant will receive all the nutrients it needs and will actively grow.
Growing moss is not a laborious process. If you follow the rules specified in the article, you can easily grow an unusual plant that will decorate your home. Really original and interesting compositions are obtained from it.
See also: growing nandina home
