Content

Pear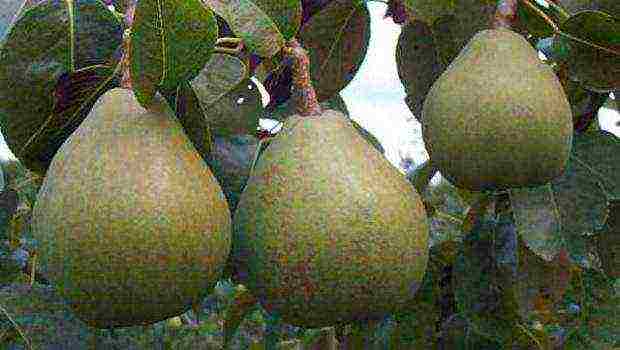
Published by 28.02.2014 |
Pear is a healthy and tasty product. There are about a thousand varieties of this wonderful, juicy and sweet fruit with beneficial properties and high taste. Due to the warming climate and the emergence of new varieties, the pear grows not only in warm regions, but also actively spreads to the northern territories. In the wild, it is found in central and southern Russia, Ukraine, Belarus, the Caucasus and Central Asia. Amateur gardeners willingly plant pears, as they yield a bountiful harvest every year. Pears are used both fresh and dried, as well as in pickling, making marshmallows, juice, jams and preserves.
Features of the pear tree
Pear belongs to the type of shrubs and trees of the Rosaceae family. It is a pome fruit tree, reaching a height of up to 30 meters. The trunk, covered with wrinkled bark, reaches 80 cm in diameter. The wood is hard, strong, heavy. A pear can be considered a long-liver, since it lives from 100 to 300 years. The crown can be oval or pyramidal in shape, it depends on the variety and place of growth. The root system of the plant is sparsely branched, pivotal and penetrates deep into the ground. Leaves are dark green, elongated, shiny, with wavy edges or flat. As a culture, pear is grown in gardens, but it is often found on the edges of deciduous forests, clearings, as well as on rocky slopes.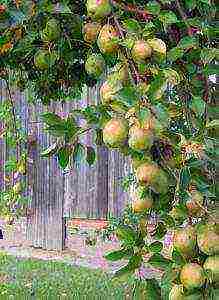
The pear tree is unpretentious, it does not require special soil, easily withstands drought and frosts down to -30 ° C, yielding a little to apple and cherry in this. The flowers of the pear are large, fragrant, white, sometimes pink or red, collected in shields. The time of fruiting begins at 5-6 years and lasts until the end of the tree's life. Pear fruits are round or elongated, expanding to the bottom, bright yellow, white-yellow or green in color with a pink barrel. The weight of the smallest fruit is 30 g, and the largest one is more than 300 g. The yield from one tree can be on average about 100 kg. With age, the number of fruits on the tree increases. The crop is harvested 1-2 weeks before the fruit is fully ripe.
Pear fruits have a variety of flavors.
According to the consistency and taste of the pulp, they can be divided into 4 groups:
• Dessert pears. These are high quality varieties with a sweet taste. These include most of the fruits of the cultivated pear.
• Table pears. These varieties have good taste and can be used in canning, provided the fruits are firm and not quite ripe.
• Kitchen or household pears. As a rule, these are varieties that have a tart and tasteless pulp. They are consumed exclusively in processed or boiled form.
• Cider pears. Not suitable for consumption fresh or cooked. Used for making cider and juices.
The shelf life of a pear is also not the same. If the fruits have a juicy pulp, then such pears are eaten almost immediately after harvesting for a month. Harder pears no more than 250 days.
All pear varieties can be divided into summer, autumn and winter. At the end of September, pears of autumn and winter varieties ripen. Summer varieties ripen much earlier and must be harvested 2 weeks before final maturity.
Summer varieties of pears include "Beloruska", which has small yellow fruits with pale white buttery sweet pulp; "Bergamot", delicate, fragrant and juicy, resistant to scab and pests, "Central Russian", distinguished not only by a delicate sweet taste, but also by a pronounced nutmeg aroma.
Of the later varieties intended for storage, the early autumn variety "Annushka" is popular, the fruits of which are distinguished by their yield and excellent qualities of dessert varieties. The variety "Lira" surpasses other varieties in its winter resistance, has a greenish color and a weak aroma.A widespread variety of pears "Conference", very popular in Russia, is grown in the southern regions. Its fruits are oblong in shape, with yellowish pulp and sweet and sour taste.
Pear wood is very hard and resilient. It is perfect for cutouts and indoor products. The so-called "stone cells", contained both in the fruit and in the wood, allow cutting it in any direction without cracking. Exceptionally suitable for making musical instruments and furniture. Kitchen furniture made from pear wood is durable. It does not absorb odors and stains, and is also not susceptible to water. A distinctive feature of pear wood is the beautiful dark amber color that it acquires with aging. If the wood is treated with black stain, then it can easily replace expensive ebony.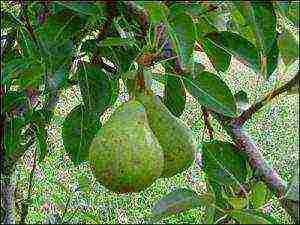
Dance school in the pear garden
The history of the appearance of the pear is lost in ancient times. It is known that the first mention of the pear dates back to the 3rd millennium BC. For the first time, it was bred and began to grow in Iveria, on the territory of modern Georgia. At the same time, ancient sources mention China and Greece. The founder of botany, Theophrastus, as well as Pliny and Palladium, describe many different varieties of pears. Ancient travelers called Greece the "Country of Pears".
In ancient times, the pear did not yet have such a sweet and juicy taste, only in the 18th century the first delicious varieties appeared. From the Greeks and Romans, the pear spread throughout Europe, and subsequently many varieties of this wonderful fruit appeared. The pear was considered a symbol of longevity in ancient China, which is why it was impossible to share pears between friends and lovers. And the first dance school in China bore a very poetic name - "Academy in the Pear Orchard".
In the 17th century, pear orchards also appeared in Russia. And today the largest pear plantations belong to France.
Useful properties of pear
The pear is of great benefit to man, which is why it is called the "Queen of Fruits". The pulp of this fruit contains a huge amount of macro- and microelements, vitamins A and B, as well as C, E, P and PP. Thanks to its essential oils, pear is a powerful immune stimulant that protects the body from infections and bacteria. It is rich in fructose, which facilitates the work of the pancreas, therefore it is recommended for diabetics in small doses. In addition, the pear is considered a dietary food, and, in spite of its nutritional value, it is low in calories. With anemia, it is useful to combine a pear with honey in equal proportions.
For depression, doctors recommend eating pears as the main food that produces endorphins - the hormones of happiness. The organic acids in the pear help to improve the digestion process. A decoction of pear leaves has antifungal, diaphoretic and anti-inflammatory properties. Pear helps with bleeding, as it contains special tannins.
It should be remembered that a pear should not be eaten on an empty stomach, as this will cause a feeling of heaviness. You should also not drink a pear with cold water, this can lead to indigestion. It is best to eat a pear one hour after a meal, steamed optimally for the stomach. For those who have digestive problems, a baked pear will be more useful.
Good quality fruits should have a fragrant odor and smooth skin, free from dents and signs of rotting. Uneven coloration also indicates excellent fruit quality.
How to grow a "queen of fruits" at home?
In order to grow a real pear tree, you need to be patient and follow the basic rules: consistency in actions and compliance with all care recommendations. At home, the pear is not so common, but it is quite possible to grow it in a large pot.
1. First stage. Preparing the seed for planting.The dried bone must be washed and placed on a damp gauze cloth, covered with glass and placed in a room with a temperature of 22-23 ° C. In such conditions, the stone begins to turn green and bloom, and also a primary root sprouts from it. This process takes about 15 days.
2. Second stage. The sprouted bone is ready for planting. A ceramic or clay pot, 10-12 cm in diameter, should be filled with a small layer of drainage. Then a layer of clean sand and the last and most essential nutrient layer for the pear - humus. Immerse the bone in humus to the optimum planting depth of 4-5 cm.
3. Third stage. Watering the plant. After planting the seeds, it is necessary to water the ground abundantly with water. At the same time, the water should be moderately warm and get exactly at the planting site during watering. Then you need to cover the ground with a thin plastic wrap for 25-30 days. All this time, good watering is required. After some time, a green sprout will hatch from the ground.
4. Fourth stage. Plant care. In order to grow a pear tree at home, a competent approach is required. Cold air and dry soil are unacceptable. A pot with a pear can be placed on a glassed-in balcony or loggia, on the sunny side. Particular attention should be paid to the fact that the pot itself is in the shade, and the branches of the plant are heated by the sun. Be sure to water the plant regularly: 2 times a week in the summer and 3 times a month in the winter. The air should be warm and slightly humid. To do this, you can spray the tree from a spray bottle, creating an optimal climate and comfort for it.
An alternative to growing a pear from a seed can be planting a cuttings. This is the easiest way. In order to grow a pear from a cutting, you need to purchase a sapling of a columnar or dwarf pear. These species are distinguished by the small size of the tree, its compactness, early fruiting and abundant harvest. In addition, dwarf pear trees are a wonderful decoration for a home garden.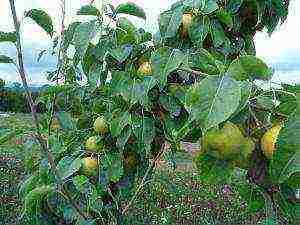
A few basic rules for planting a columnar pear seedling at home:
• The seedling must be with ripe shoots and always removed leaves.
• Before planting, the seedling must be placed in a cool place, not allowing the root system to dry out.
• Planting a seedling in the soil should be at the usual time of the year, namely in autumn or spring.
• Choose a large pear pot so that the roots are free to sit and not bend. The soil at the root collar must be compacted in order to avoid earthen voids in the root zone.
• After planting, the soil should be watered abundantly. Then the pear needs to be fed with urea and manure 3 times. The first feeding is carried out in May, then 2 more times with an interval of 14 days.
• Choose a place for growing a columnar pear on the sunny side of a balcony or loggia, avoiding drafts.
The undoubted advantage is the quick fruiting of this type of pear. 1 year after planting, large fruits ripen with juicy fleshy pulp, delicate aroma and sweet taste. The downside is poor winter hardiness, which means that the pear needs a long warm period. Therefore, with the onset of cold weather, the tree is best placed in the house.
Before deciding to grow pears at home, you need to understand the purpose of this event well. If pear cultivation is planned as a home plant for interior decoration, then all the previous points should be observed and a beautiful tree with small inedible fruits will grow. It will undoubtedly decorate any balcony or loggia in its miniature version. If you grow a pear as a fruit-bearing tree, you should definitely inoculate 2-3 varieties in the crown, since almost all varieties of pears are self-infertile. Then, after a few years, depending on the method of planting, you can get the first harvest from a home tree and appreciate your own efforts.
The fruits of the pear tree, sweet and juicy, bring positive emotions to a person. The pleasure of what you have done with your own hands makes you even more joyful. The main thing is to believe in your own strength, apply perseverance and work, and then the fruits grown with love will bring incomparable results!
Sometimes such a luxurious pear fruit falls into the hands that it remains to be regretted that the same variety does not grow in your garden. It is possible to buy seedlings in the nursery, but it is not always clear which variety to ask. However, you should not be upset much: if you got a pear fruit that impressed you, a fruiting tree can be grown from seeds.
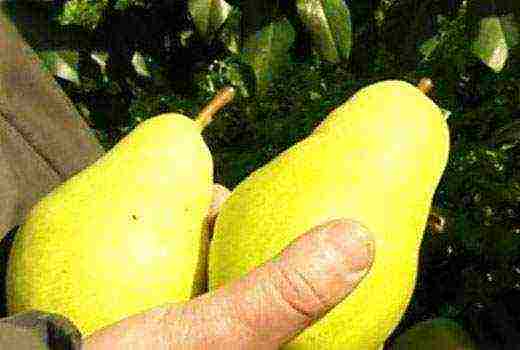
True, there is no guarantee that trees will grow from the seeds that will give exactly the fruits you liked. A tree grown from seed does not inherit maternal characteristics, so you may end up with something different. But, you may be lucky. And if the fruits of the pears you grow do not suit you, it will be possible to graft some other variety into their crowns. There are already trees!
Of course, you will have to spend a lot of time growing pears from seeds. Prepare for a few months to pass before the seeds develop into full-fledged seedlings that can be planted in the garden. But one fruit will give you several seedlings, and this will be a great reward for your patience.
1. In late autumn or winter, cut a ripe pear with a sharp knife. Remove the #seeds from the fruit and place them in a small bowl. Add hot water (not boiling water) to rinse the seeds. Place the seeds on paper towels or napkins to dry.
2. Fill a plastic bag with damp peat (sphagnum moss can be used).
3. Plant pear seeds about 10-12 cm deep and tie a bag. Place it in the refrigerator - in the vegetable section. There he should lie down for up to three months, or until the frost ends. Check periodically for wet peat / moss. It shouldn't be dry, but it shouldn't be wet either.
4. Remove the bag from the refrigerator, dig up the seeds. This must be done at a time when a constant temperature of at least + 5 ° C has already been established on the street.
5. Soak the seeds in a bowl of warm water for two days to help soften their hard outer skin.
6. Pear seeds can be planted either in regular flower pots or in biodegradable #peat_pots installed in a plastic tray. The latter, of course, is more convenient and safer for plants, since the root system of a pear is highly branched.
7. Fill 3/4 of the pots with soil. You can use either the soil from the garden, or the soil purchased for flowers / seedlings.
8. Spread the seeds on the ground and sprinkle with sand or a layer of soil 1-1.5 cm. Water your crops and cover the pots with plastic wrap. Here we do everything in the same way as when sowing #seeds_for_seedlings.
9. Place the pots indoors in a warm place, not in direct sunlight.
10. Keep the soil moist until the seeds germinate. Germination will depend on the pear variety.
11. Remove the film when the pear seeds appear above the soil surface in each pot.
12. Move containers with seedlings to #greenhouse or #greenhouse. There should be enough sun in them.
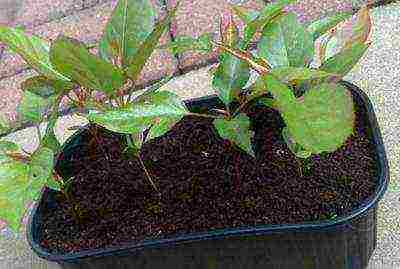
13. Continue to moisten the soil, feed the seedlings with liquid full mineral fertilizer.
14. Plant the grown, matured pear seedlings in open ground in early September. By that time, their "growth" may be 25-30 cm. Choose a site for planting that is not waterlogged, sunny.
15. You can leave seedlings of pear seeds in the greenhouse until spring to plant in the warmth.
16. Pour peat and compost into the hole before planting - the soil should not only be fertilized, but also loose.
17. If you have several seedlings, plant them at least 7-10 m apart.
|
Leave your review |
|
| I am not a robot. | |
|
send
Reset |
|
Average rating: 0 reviews
Tags:
grapes cherry currants
Seed pears are grown for a long time under certain conditions. This procedure is used only if there is a strong desire to plant a tree with your own hands.
Description of culture
Pear includes a large number of subspecies and hybrids. The fruits have a pleasant taste and a set of useful qualities. They are due to the presence of a rich chemical composition. You can grow a tree on any soil. Fruits vary in shape and color depending on the variety. The structure distinguishes between round and oblong pears. The color range ranges from light green to bright yellow, the barrel of the fruit is often decorated with shades of red.
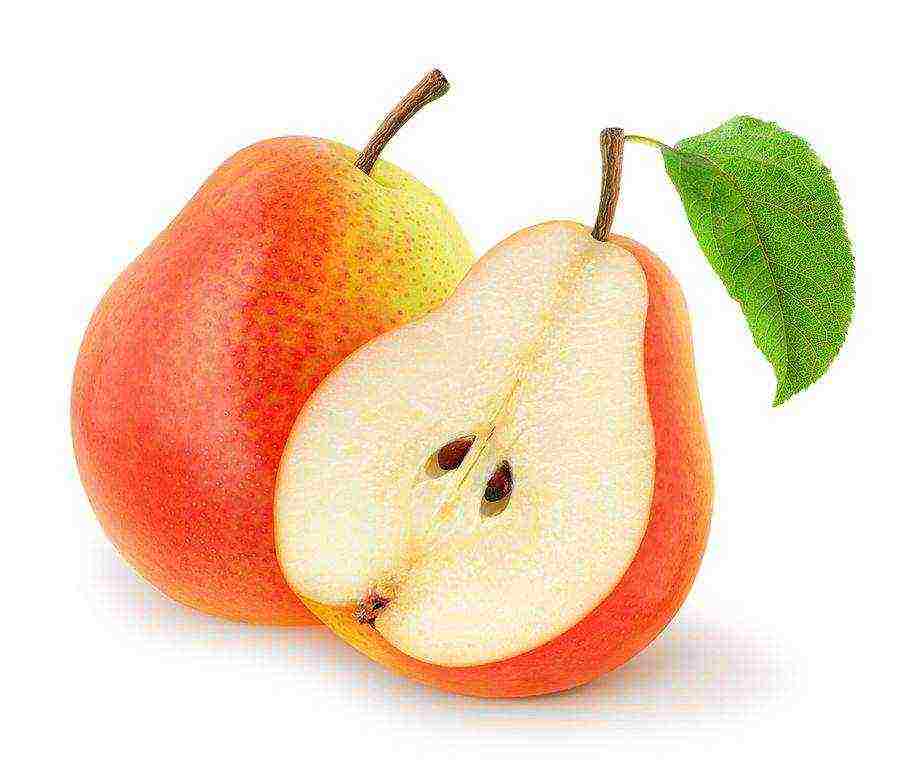
Seed pear is grown as an ornamental plant
According to the taste of pears, the following types are distinguished:
-
- dessert. Sweet taste, high quality harvest. A large percentage of cultivated trees have such fruits;
-
- dining rooms. Sweetish taste. Used for preservation in an unripe form;
-
- household. Unsuitable for fresh consumption due to astringency;
-
- cider. Not used in any form.
The variety of species is great. Fruit seedlings can be purchased at specialized stores.
How to grow a pear from seeds
The cultivation of the tree as a houseplant is less common. Often this culture has only a decorative function. To grow a fruit tree, crown grafts are required.
To plant a pear in a pot, you need to adhere to the following rules:
-
- prepare the bone. The seed removed from the fruit must be dried. Then rinse and place on prepared moistened gauze. Then the gauze cloth is covered with glass to create a greenhouse effect. The temperature is maintained at about + 22 ... + 23 ° С. After half a month, the first root appears;
-
- prepare a pot for planting. For this, a small container with a diameter of up to 12 cm is taken. The bottom is covered with a layer of drainage, which is covered with a layer of sand. Humus is poured over the sand. Its thickness should be at least 5 cm - the seed is placed at this depth;
-
- care. Immediately after planting, abundant watering is performed. It is recommended to use a warm liquid, and direct the stream to the place where the bone is located. The pot is covered with foil for a month. In this case, regular watering is done;
-
- growing a plant. When a sprout has appeared, you need to carefully monitor its comfort. A sunny room and no drafts are required. Dry land and cold air temperatures are detrimental to pears. The root system should be in the shade, and the grown branches should be in the sun.
Proper care will result in small decorative pears if not vaccinated.
Growing a plant from seeds is a fun process. Patience and adherence to the rules will allow you to decorate the room with a home pear.
See also: description of the Hungarian plum
2 parts: Planting seeds Caring for seedlings and pear seedlings
Have you ever thought about the possibility of growing a pear tree from the seed of an ordinary pear? If so, you will be interested to know that this is quite simple to do. After the seeds have germinated, they need to be planted in medium-sized containers and wait until strong young seedlings grow out of them. Then you need to regularly tend the plants until the seedlings are strong enough to be transplanted into the garden.
Part 1 Planting Seeds
-
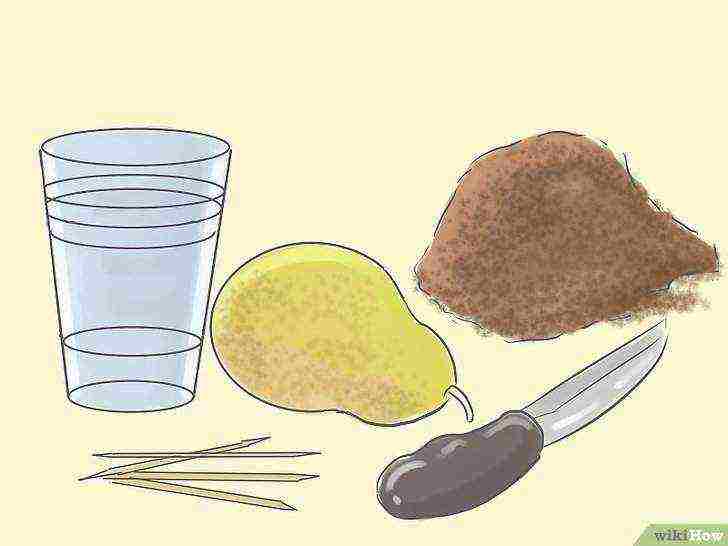
Take a plastic cup, four toothpicks, a pear, a knife, and some soil. It is best to take a universal primer for these purposes.
-

Pour water into a plastic cup. Place it on a countertop.
-
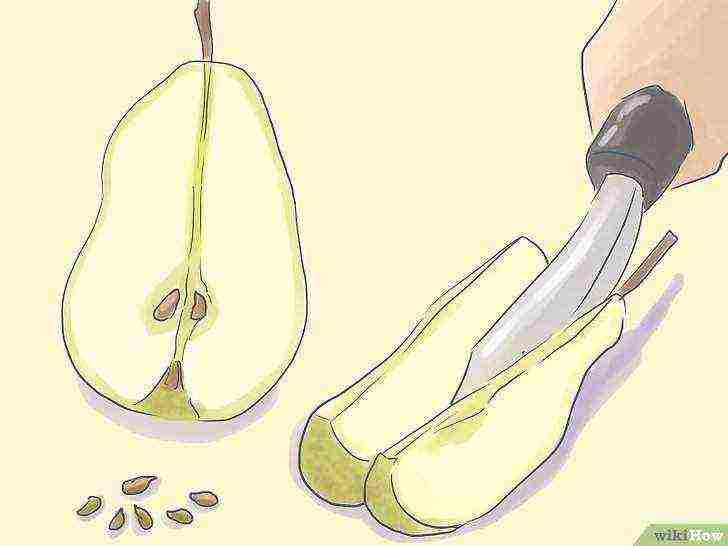
Cut open the pear and remove the seeds. Each fruit contains about eight seeds.
-
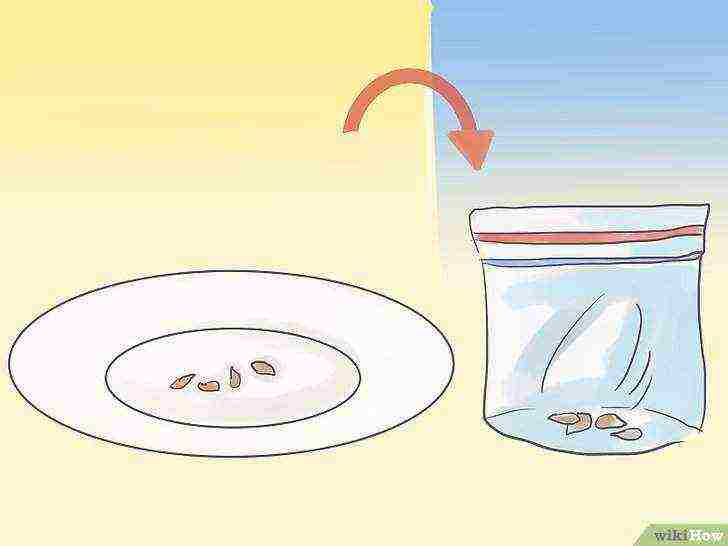
Set four seeds on a saucer and dry them in a warm place for a day or two. Then transfer the seeds to a sealed plastic bag and store in a cool, dark place, such as the refrigerator.
-
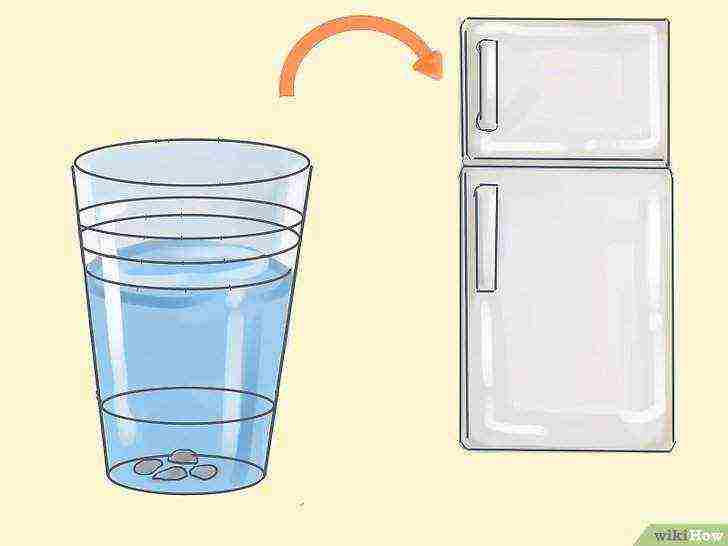
Take the remaining four seeds. Place them in a glass of water and refrigerate for four to five days.
-

Remove the glass from the refrigerator after four to five days. Drain the water. If you notice that a seed (or several seeds) has floated to the surface, discard them - such seeds will not germinate.
-
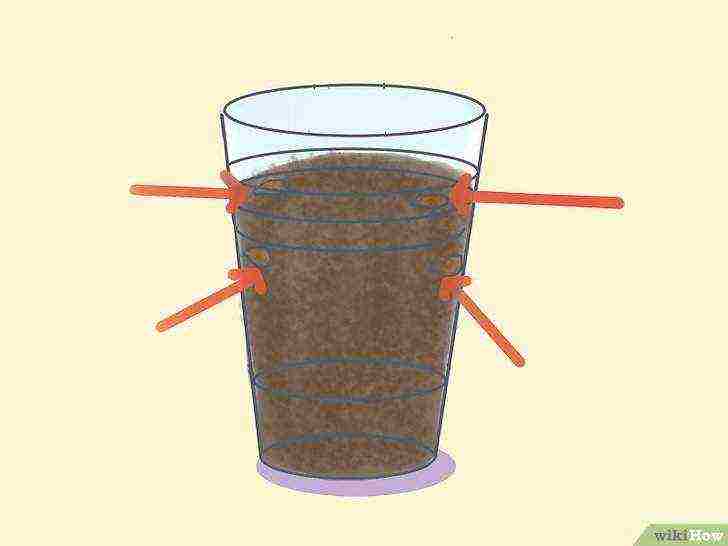
Fill a glass with potting soil and plant the seeds in it. Imagine that a square is inscribed in the circle formed by the edges of the glass, and plant each seed in the corner of an imaginary quadrilateral.
-
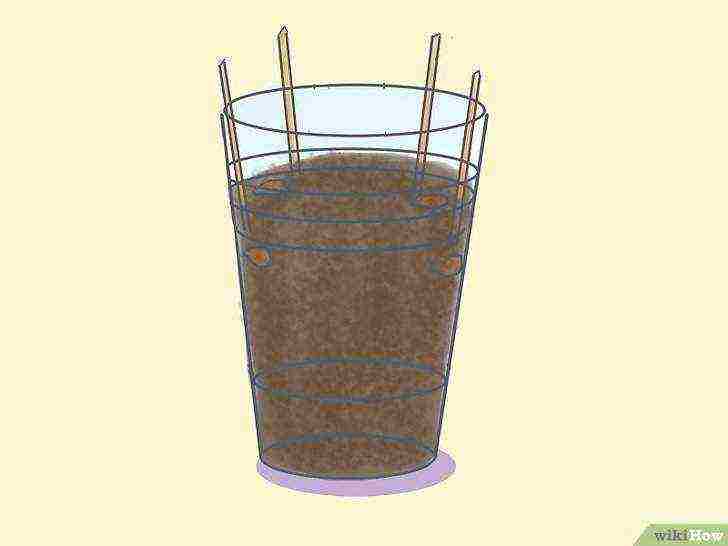
Place toothpicks next to each seed to mark the planting site.
-
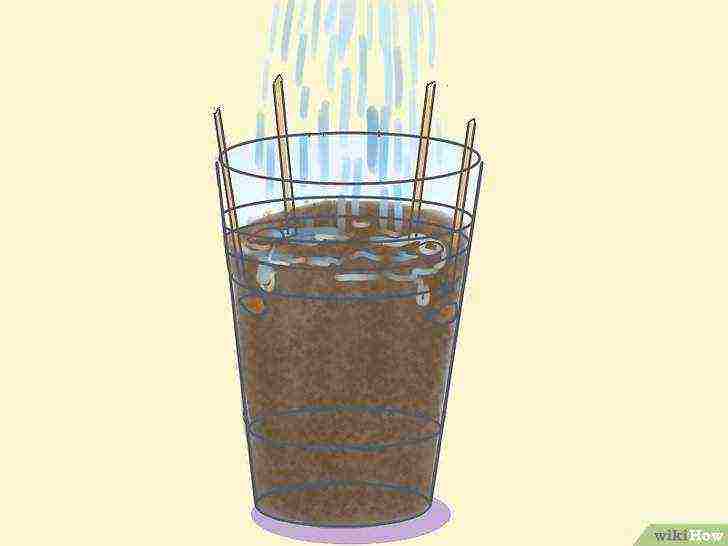
Water the soil. You will have to wait two to three weeks for the seeds to hatch.
Part 2 Care of seedlings and seedlings of pear
-

Transplant the seedlings into larger pots when they have formed four or more leaves of the main shoot.
-
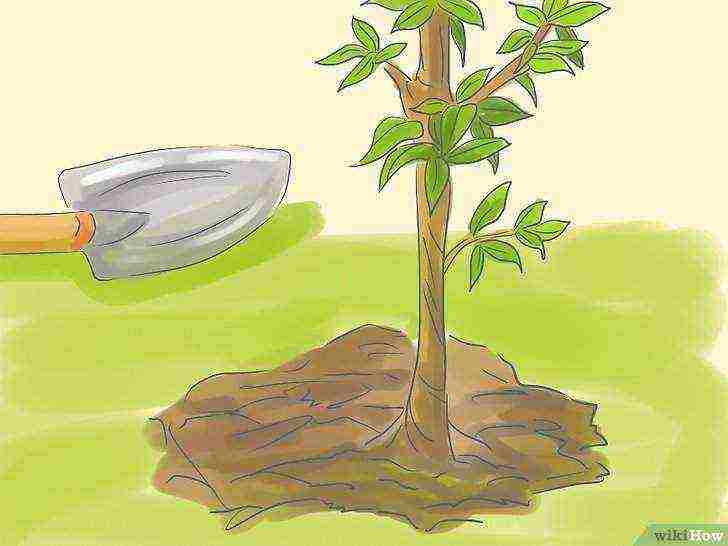 Transplant pear seedlings outdoors when large pots become too cramped for them.
Try to live in this house long enough for your pear trees to grow into fairly large and beautiful trees. In this case, even if you sell the house, new tenants will not cut down young pear trees and will not mistake them for weeds. If you move, try to keep the pear trees healthy, because new owners are unlikely to care for sick, damaged plants and will probably get rid of them.
- By the way, if you have planted the seedlings in large enough pots, you can take them outside when the seedlings grow up. This will make the plants stronger and help them adapt to local weather conditions. In addition, you can bring young pears indoors to help them overwinter, and return them to fresh air in the spring.
-
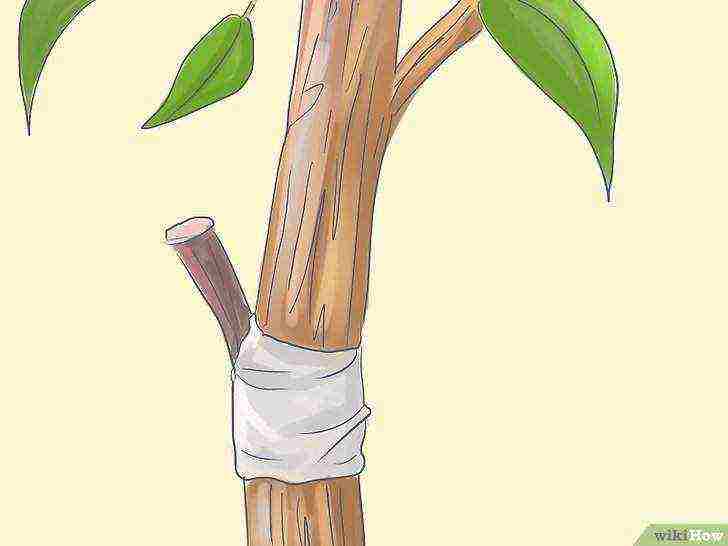
Plant a pear if you see fit. If you want, graft the stalk of the pear variety you need onto the young plant. However, you can do without this and leave the plant that you grew from the seed to grow and bear fruit. Who knows, perhaps its fruits will be very juicy and tasty!
-
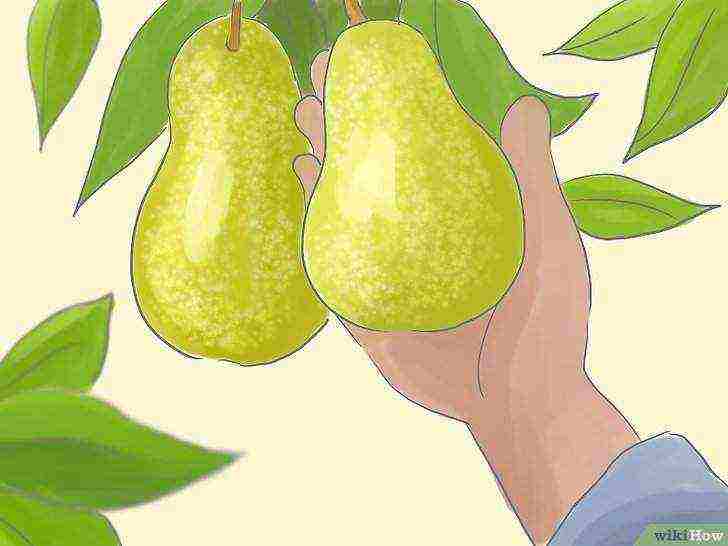
Enjoy your pears. Take care of the plants over the next years, and they will delight you with a rich harvest of juicy fruits.
Advice
- Add fertilizing in the second and fifth years of the plant's life.
Warnings
- If your pear tree fruit is round and no more than a centimeter in diameter, you have grown a Chinese pear (Kalleri pear). The fruits of this tree have a bitter taste, however, if you remove the skin from them and add a little sugar, they can be used as a filling for a pie. If you want your plant to have sweet fruits, you need to graft a stalk of the variety you need onto the Kalleri pear.
What do you need
- Sliding plastic bag
- A glass or other container for planting seeds
- Soil (universal soil)
- Water
- Toothpicks
- Larger tanks for transplanting pear seedlings.
Article Information
This page has been viewed 1,070 times.
Was this helpful?
